Have you ever looked in the mirror and thought, “I look great today!” only to be disappointed by how you appear in photos? It’s a common frustration. We often find ourselves deleting countless selfies in pursuit of that one perfect shot. But what if taking good photos of yourself wasn’t a matter of luck, but rather a skill you could learn and master?
Forget endless deletion sprees. We’re here to equip you with practical tips and insights to elevate your self-photography game. We’ll explore the art and science behind looking your best in pictures, helping you bridge the gap between your mirror reflection and your photographs.
Whether you’re aiming for a captivating Instagram selfie, a professional headshot for LinkedIn, or simply want to document your life with confidence, this guide is for you. By the end, you’ll be taking self-portraits that you’ll be proud to share.
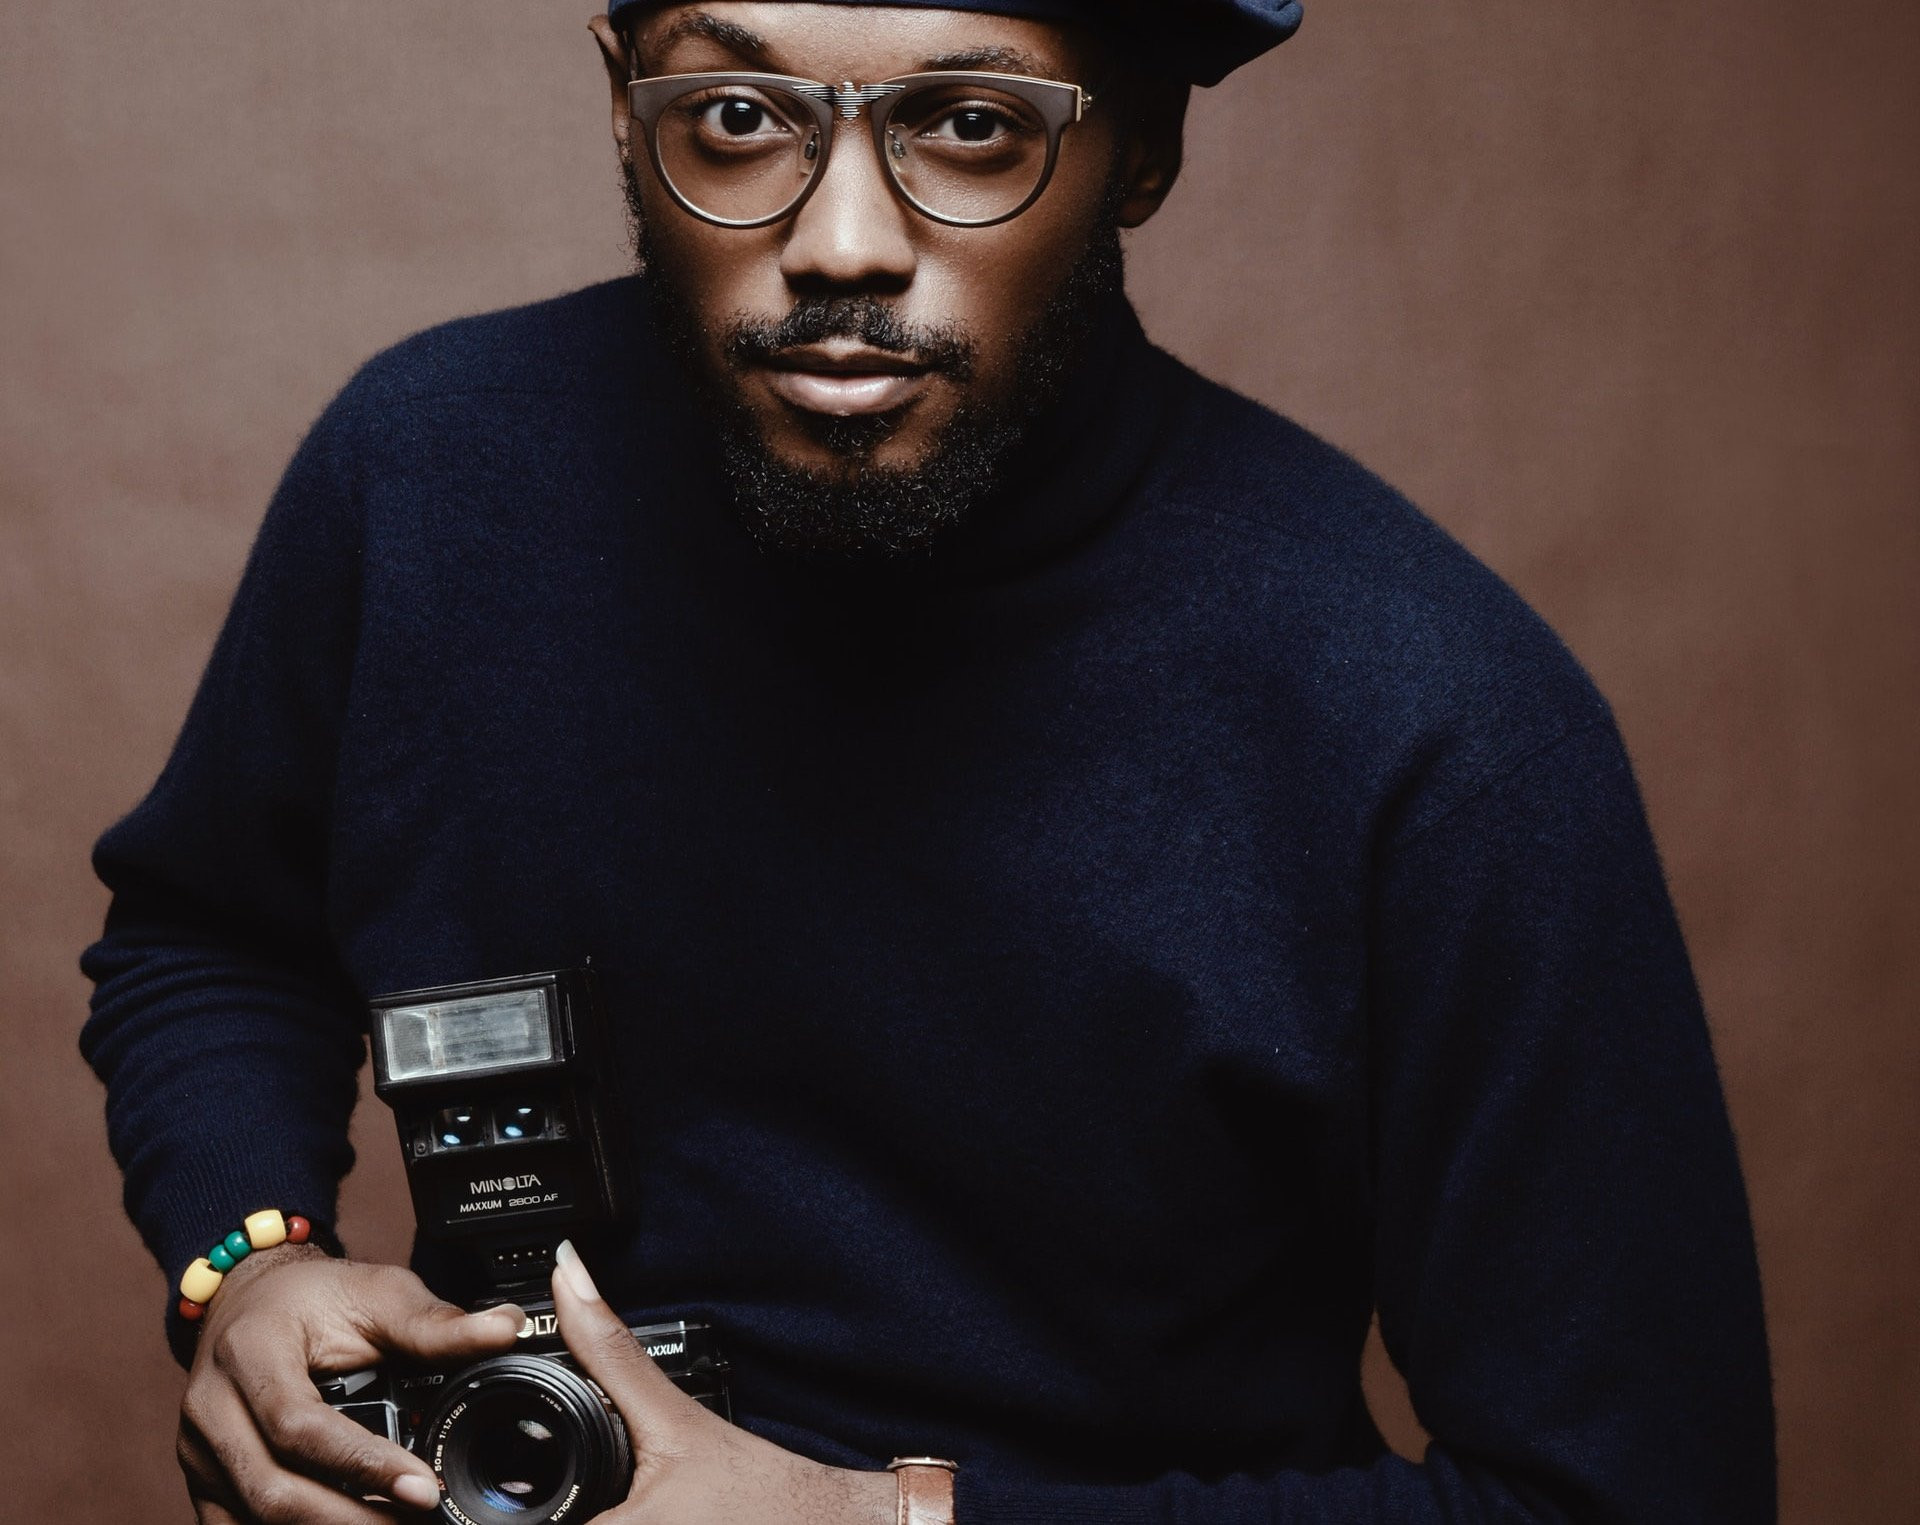 photographer holding DSLR camera, posed for a self portrait shot, how to take the best selfies
Unlocking Your Photogenic Potential: It’s More Than Just Luck
Many believe that being “photogenic” is an innate quality, a gift bestowed upon a lucky few. However, the truth is far more empowering. Being photogenic isn’t about inherent beauty; it’s about understanding how to present yourself effectively in front of a camera. It’s about technique, awareness, and practice.
The more comfortable and confident you feel in front of the lens, the more naturally your personality and best features will shine through in your photos. And of course, a bit of photographic know-how goes a long way! That’s why we’ve compiled these top tips to help you practice and enhance your “photogenic-ness.”
1. Discover Your Most Flattering Angle: Embrace Asymmetry
We’ve all heard the playful phrase, “Get my good side!” It’s often said jokingly, but there’s a real element of truth to it.
While our perception of beauty is often linked to facial symmetry, perfect symmetry is actually quite rare. And while slight asymmetry is part of what makes each face unique and interesting, it can sometimes appear less flattering in photographs.
The solution? Identify your best angle. This is the side of your face that you find most appealing in photos, often the side where your features appear most balanced and defined.
Here’s how to find your angle:
- Selfie Experiment: Grab your phone or camera and take a series of selfies, alternating between posing with the left and right sides of your face towards the camera.
- Compare and Contrast: Review the photos. Which side do you prefer? Which side do you feel looks more “you”?
- Seek Second Opinions (Optional): If you’re unsure, ask a trusted friend or family member for their honest opinion. You might be surprised by their perspective.
Once you’ve identified your preferred side, make a conscious effort to angle it towards the camera when taking photos. This simple adjustment can significantly improve your self-portraits.
2. Angle the Camera Down: The Slimming Secret
This tip is universally flattering, whether you’re capturing a close-up selfie or a full-body shot. Slightly angling the camera downwards creates a slimming effect that tends to be more visually appealing in photos.
Shooting from a higher angle can:
- Minimize the appearance of a double chin: Tilting your chin slightly down while the camera is positioned above helps to elongate the neck and define the jawline.
- Create a more balanced facial proportion: A slightly downward angle can make the forehead appear smaller and the eyes more prominent.
- Add depth and dimension: It can create subtle shadows that enhance facial contours.
Experiment with different downward angles to find what works best for you, but generally, a slight tilt is all it takes to make a noticeable difference.
3. Master “Smizing”: Smiling with Your Eyes
“Smizing,” coined by supermodel Tyra Banks, is a technique used by professional models to convey genuine emotion and engagement in photos. It’s about making your eyes look like they’re smiling, even if your mouth is only slightly curved or closed.
Here’s how to “smize”:
- Relax your face: Start by consciously relaxing your facial muscles, especially around your eyes and forehead. Tension can make you look stiff and unnatural.
- Engage your eyes: Think of something that makes you happy or evokes a positive emotion. Let that feeling translate into your eyes. Imagine you’re smiling with your eyes, even before your mouth moves.
- Subtle smile: A slight, closed-lip smile often works best for smizing. Too wide of a smile can sometimes detract from the eye expression.
- Posture matters: Good posture enhances your overall presence. Pull your shoulders back and gently lift your head to elongate your neck, which further emphasizes your eyes and smile.
Smizing might feel a bit strange at first, but with practice, it becomes more natural. It’s a powerful way to convey warmth, confidence, and approachability in your self-portraits.
4. Harness Natural Light: Your Best Friend for Flattering Photos
Lighting is paramount in photography, and natural light is often the most flattering and forgiving source, especially for portraits. While artificial lighting like ring lights can be useful, they often can’t replicate the soft, diffused beauty of natural light.
For the most flattering self-portraits, prioritize natural light:
- Outdoor advantage: Whenever possible, take photos outdoors, especially during “golden hour” – the hour after sunrise and the hour before sunset. This light is warm, soft, and minimizes harsh shadows.
- Window light indoors: If you’re indoors, position yourself near a window. Soft, indirect window light is excellent for portraits. Avoid direct sunlight streaming through the window, as it can create harsh shadows and squinting.
- Face the light source: Ensure the primary light source is in front of you, illuminating your face directly. Backlighting (light behind you) can create silhouettes and hide your features in shadows.
Natural light enhances skin tones, minimizes imperfections, and creates a more authentic and appealing look in your photos.
5. The Paper Trick: Banishing Unflattering Shadows
This might sound unconventional, but it’s a simple yet effective trick recommended by makeup artists like Michelle Phan to combat unflattering shadows under the chin and eyes.
Here’s the paper trick:
- Sunlight setup: Position yourself with the sun facing you.
- White paper reflector: Hold a white piece of paper (printer paper or even a napkin will work) just below your chin, angled slightly upwards towards your face.
The white paper acts as a reflector, bouncing soft light upwards to fill in shadows under your chin, jawline, and eyes. This technique can make your face appear slimmer, brighter, and more evenly lit, especially in outdoor sunlight.
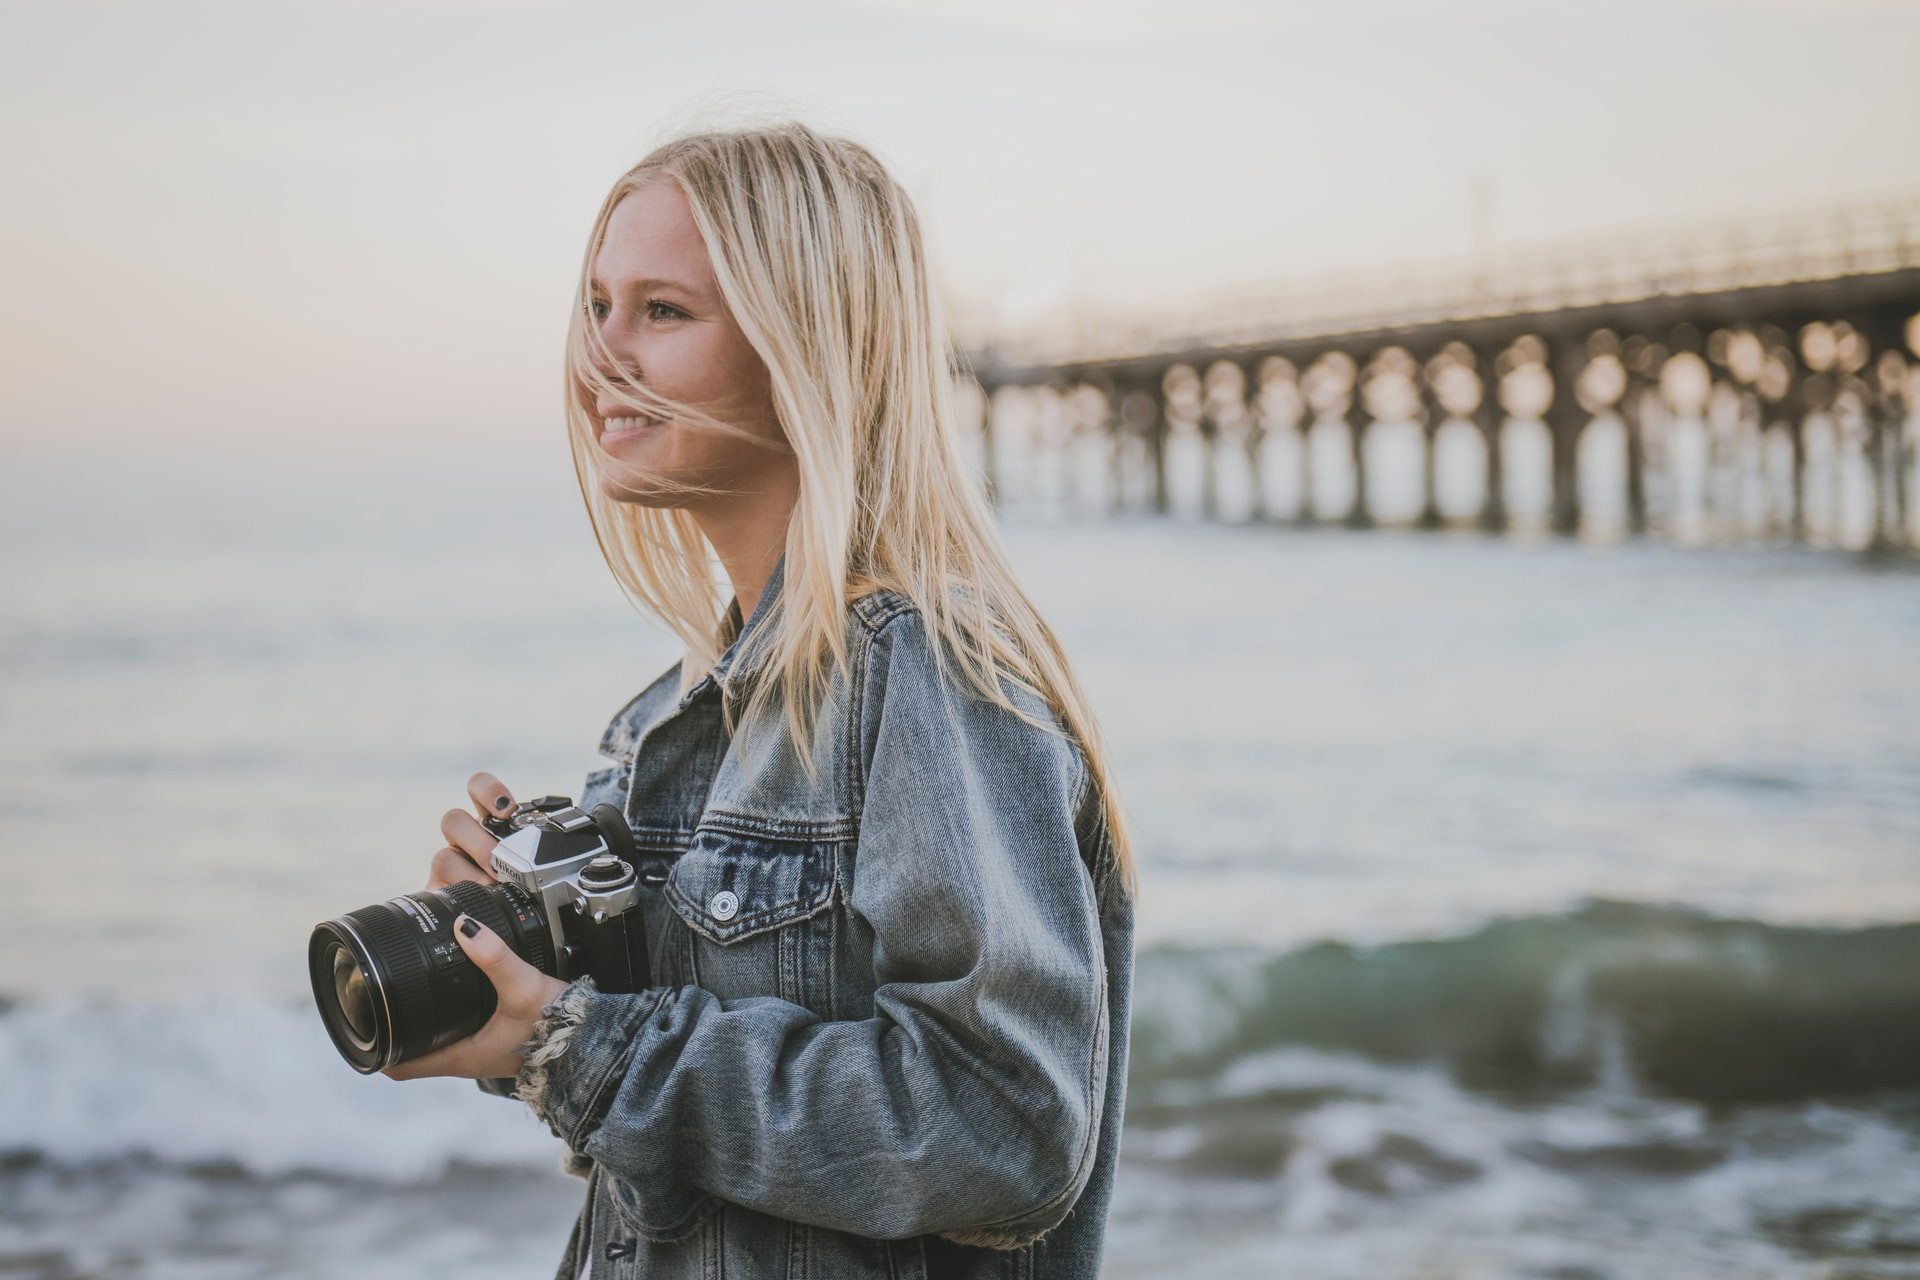 photographer by the shore holding a DSLR, looking off-camera and smiling
Taking Self-Portraits Like a Pro: Beyond the Basics
Mastering the art of self-photography to a professional level involves more than just posing and lighting. It’s about understanding your equipment, composition, and post-processing.
Let’s delve into the techniques that can elevate your self-portraits from snapshots to stunning images.
1. Invest in the Right Equipment: From Smartphones to DSLRs
While smartphone cameras have become incredibly advanced, having the right equipment can significantly impact the quality and creative possibilities of your self-portraits.
- Smartphone versatility: Your smartphone is a convenient and capable tool for everyday selfies and self-portraits. Explore its features like portrait mode, burst mode, and manual exposure settings.
- DSLR advantage: For truly professional-quality self-portraits, a DSLR or mirrorless camera offers superior image quality, lens versatility, and manual control. Experiment with different lenses to achieve various effects, from wide-angle environmental portraits to shallow depth-of-field close-ups.
- Tripod essential: A tripod is invaluable for self-portraits, especially when using a DSLR or for achieving sharp, blur-free images with your smartphone. It allows you to set up your composition precisely and use a timer or remote shutter release.
- Remote shutter release: A wireless remote shutter release is a game-changer for self-portraits with a DSLR or mirrorless camera. It eliminates camera shake and allows you to trigger the shutter at the perfect moment without being tethered to the camera.
Choosing the right equipment depends on your goals and budget, but understanding the capabilities of different tools is crucial for taking professional-looking self-portraits.
2. Curate Your Background: Setting the Scene
The background of your self-portrait plays a vital role in setting the mood and telling a story. While a simple background can be effective, a thoughtfully chosen backdrop can elevate your image significantly.
- Start simple: When you’re learning, a plain, uncluttered background is ideal. It allows you to focus on posing, lighting, and composition without distractions.
- Location scouting: As you become more confident, explore different locations for your self-portraits. Look for backgrounds that complement your style, outfit, and the mood you want to convey.
- Consider context: Think about the story you want to tell. Do you want an urban, natural, or studio setting? The background should enhance the narrative of your self-portrait.
- Avoid distractions: Be mindful of distracting elements in the background, such as clutter, busy patterns, or unwanted people. A clean and well-composed background will draw attention to you, the subject.
- Privacy matters: When shooting in public locations, choose semi-private spots where you feel comfortable and can set up your equipment without being disturbed.
A well-chosen background adds depth, context, and visual interest to your self-portraits.
3. Pose with Purpose: Express Yourself
Posing is a crucial element of self-portraiture. It’s about conveying your personality, confidence, and the message you want to communicate through your image.
- Practice posing: Experiment with different poses in front of a mirror or camera. Discover what angles and postures flatter your body and showcase your best features.
- Variety is key: Don’t be afraid to try different poses in a single photoshoot. Mix it up with standing, sitting, and dynamic poses.
- Candid approach: While posed shots are important, aim for a balance with candid-looking images. These often capture more natural expressions and personality. Loosen up, move around, and have fun during your photoshoot.
- Body language: Pay attention to your body language. Stand tall, relax your shoulders, and maintain eye contact with the lens (or slightly off-camera for a different look).
- Express emotion: Let your emotions shine through in your poses and expressions. Whether it’s joy, confidence, contemplation, or playfulness, genuine emotion makes your self-portraits more engaging.
Posing isn’t about being stiff and unnatural; it’s about expressing yourself authentically and confidently in front of the camera.
4. Master Photo Editing: The Finishing Touch
Professional photographs are almost always edited or retouched to some degree. Photo editing is not about creating a fake version of yourself; it’s about enhancing the natural beauty and impact of your images.
- Essential editing software: Explore photo editing software like Adobe Lightroom and Photoshop. These tools offer a wide range of adjustments to refine your images.
- Basic adjustments: Learn to use basic editing tools like exposure, contrast, brightness, highlights, shadows, and color correction. These adjustments can dramatically improve the overall look of your photos.
- Retouching subtly: If you choose to retouch your photos, do so subtly and tastefully. Focus on minor adjustments like smoothing skin texture, removing blemishes, and enhancing eyes, without drastically altering your appearance.
- Presets and filters: Photo editing apps often offer presets and filters that can quickly apply stylistic effects to your images. Use these judiciously and choose filters that enhance, rather than overwhelm, your natural look.
- Consistency is key: Develop a consistent editing style for your self-portraits to create a cohesive visual aesthetic, especially if you’re sharing them on social media or building a portfolio.
Photo editing is a powerful tool to refine your self-portraits and achieve a polished, professional look.
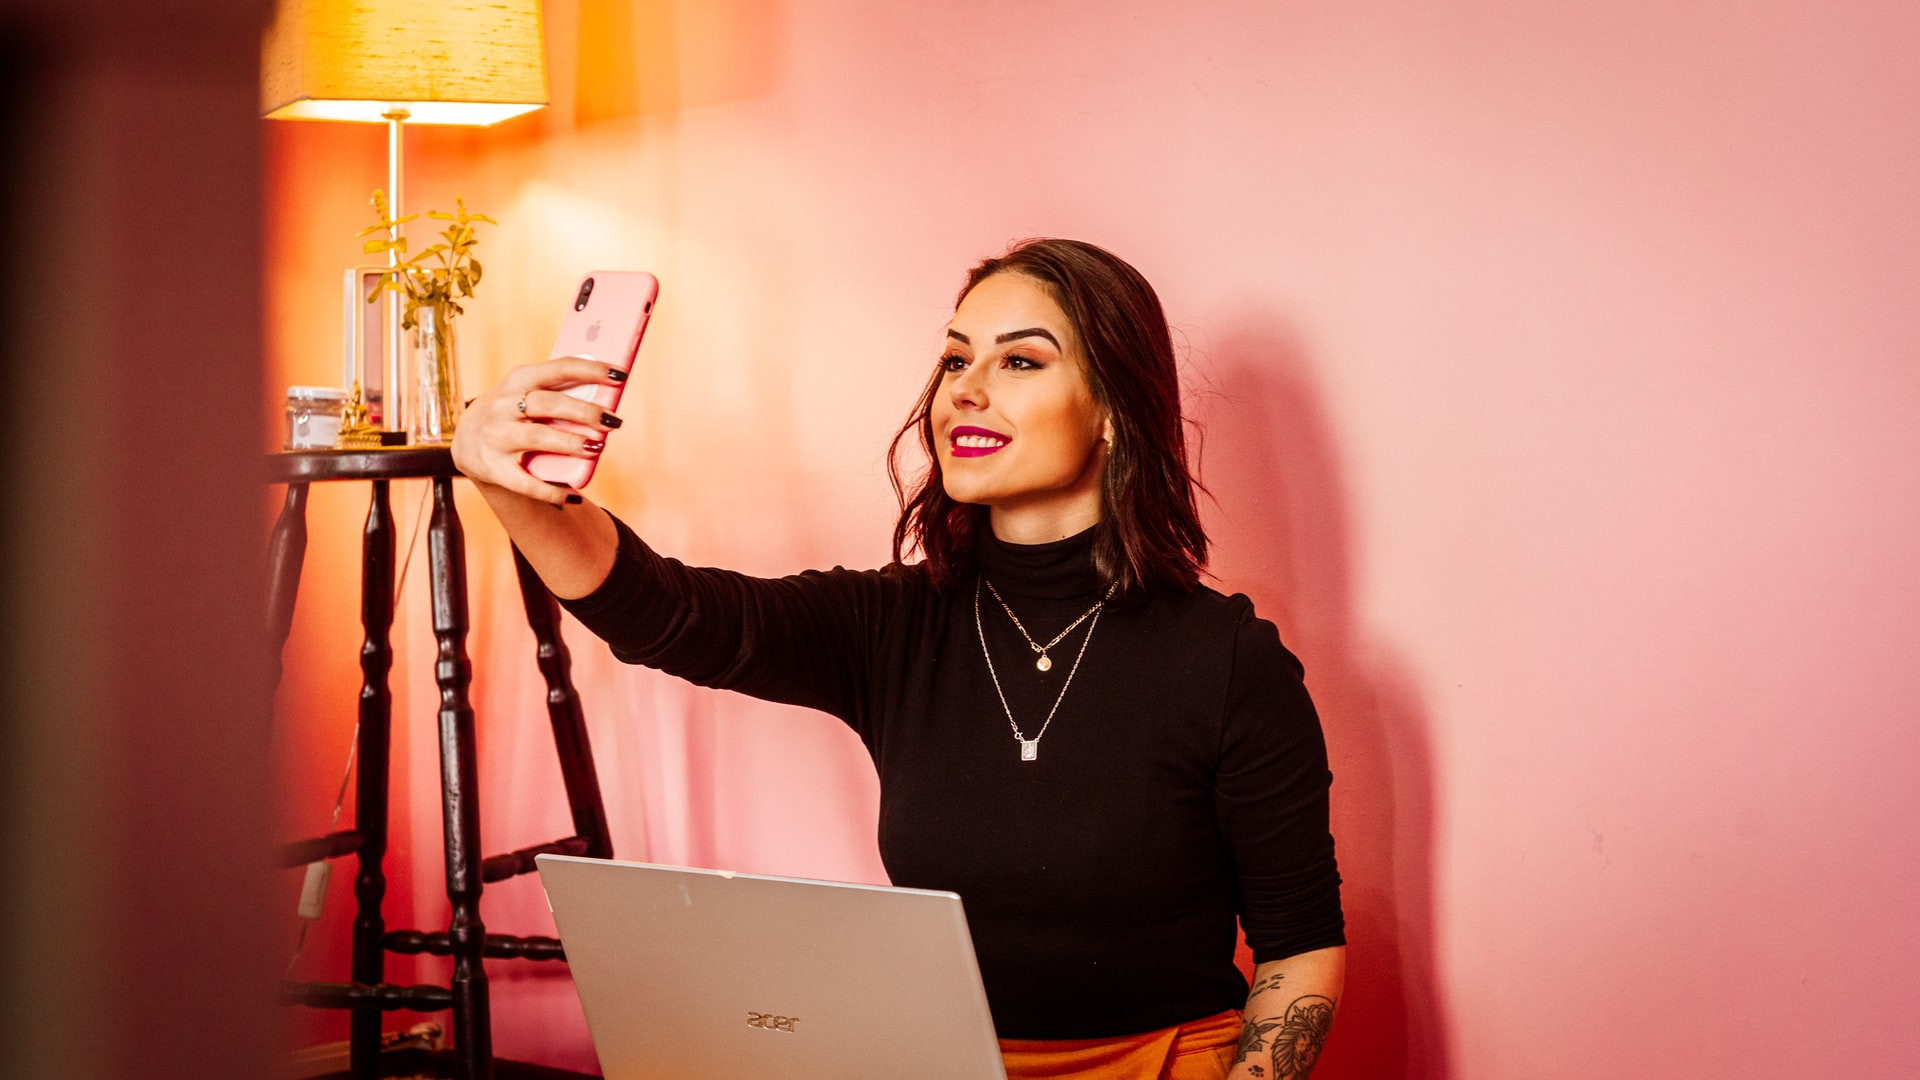 person taking a selfie with smartphone, how to take photos of yourself with your phone
Smartphone Selfies: Quick, Convenient, and Creative
Smartphones have democratized photography, making it easier than ever to take self-portraits anytime, anywhere. They offer a range of features and modes that are specifically designed for selfies and self-photography.
Here are some smartphone camera tips for taking great self-portraits:
- Square Mode: Utilize the square mode for Instagram-ready crops and compositions.
- Burst Mode: Capture a sequence of photos in quick succession using burst mode. This is ideal for capturing action shots or choosing the best expression from a series of frames. Simply hold down the shutter button to activate burst mode.
- Manual Exposure: Take control of your smartphone camera by using manual exposure settings. Adjust the exposure compensation to brighten or darken your image before you take the shot. This is especially useful in challenging lighting conditions.
- Portrait Mode: Many smartphones offer a “portrait mode” that creates a shallow depth of field effect, blurring the background and emphasizing the subject.
- Self-Timer: Use the self-timer function to give yourself time to pose and get ready for the shot when taking selfies with the rear camera or when using a tripod.
- Front Camera Features: Explore features specific to your front camera, such as beauty modes or filters, but use them sparingly to maintain a natural look.
While dedicated cameras offer more advanced capabilities, your smartphone is a powerful tool for capturing high-quality self-portraits.
The Mirror vs. The Photo: Why the Discrepancy?
It’s a universal experience: feeling confident in your mirror reflection, only to be disappointed by your photos. Why does this happen?
The discrepancy arises from a few key factors:
- Mirror image vs. photographic image: A mirror reflects a reversed image of yourself, which is the version you’re most accustomed to seeing. Photos, on the other hand, capture your face as others see it, which can feel unfamiliar and sometimes unflattering.
- Lens distortion: Camera lenses, especially wide-angle lenses often found on smartphones, can introduce distortion, particularly when you’re close to the lens. This distortion can alter your facial proportions in photos.
- Familiarity bias: We are naturally drawn to familiar images of ourselves. Since we see our mirror reflection more often, we tend to prefer it over photographs, which present a less familiar perspective.
Understanding these factors can help you manage your expectations and focus on techniques that minimize distortion and enhance your appearance in photos, regardless of how you perceive yourself in the mirror. As we’ve discussed, mastering your angles, lighting, and posing are key to bridging this gap.
Final Thoughts: Embrace Your Self-Portrait Journey
Taking good photos of yourself is a skill that combines technique, self-awareness, and practice. It’s about understanding how to work with light, angles, and posing to capture your best self.
To summarize the key takeaways:
- Master your angles: Discover your most flattering angles and use them to your advantage.
- Find your light: Harness natural light whenever possible for soft, flattering illumination.
With these tips and techniques, you’re well-equipped to embark on your self-portrait journey. So, grab your camera or smartphone, start practicing, and discover the joy of capturing confident and compelling photos of yourself. Explore the world of photography equipment at Camera World and find the perfect tools to enhance your self-portrait endeavors, including DSLR cameras and incredible deals on pre-owned cameras.
