Creating a photo collage is a fantastic way to display multiple cherished memories in a visually appealing format. Whether you want to commemorate a special event, create a unique gift, or simply showcase your favorite photos, a photo collage is a perfect solution. While Apple’s Photos app doesn’t have a dedicated collage feature, there are several easy and effective methods to create beautiful photo collages using other Apple applications and readily available tools. This guide will walk you through the steps to create your own photo collage using Pages, Keynote, and even a clever workaround with the Photos app itself.
One of the simplest methods to create a photo collage on your Mac is by using Pages. This versatile word-processing and layout application offers a flexible canvas to arrange your photos exactly as you envision.
Steps to create a photo collage in Pages:
-
Open Pages and Create a Blank Document: Launch Pages and choose a blank document layout. For a custom-sized collage, especially for printing, you can set up the page dimensions before you start adding photos.
-
Customize Page Size (Optional but Recommended): For specific print sizes like 20×30 inches, go to File > Page Setup. In the “Paper Size” dropdown menu, select “Manage Custom Sizes.” Click the “+” button to add a new custom size, enter your desired dimensions (e.g., Width: 30 inches, Height: 20 inches), and click “OK.” Then, select your newly created custom size.
-
Insert Photos: Drag and drop photos directly from your Finder or Photos app onto the Pages document. Alternatively, you can use the Media button in the toolbar to browse and insert photos.
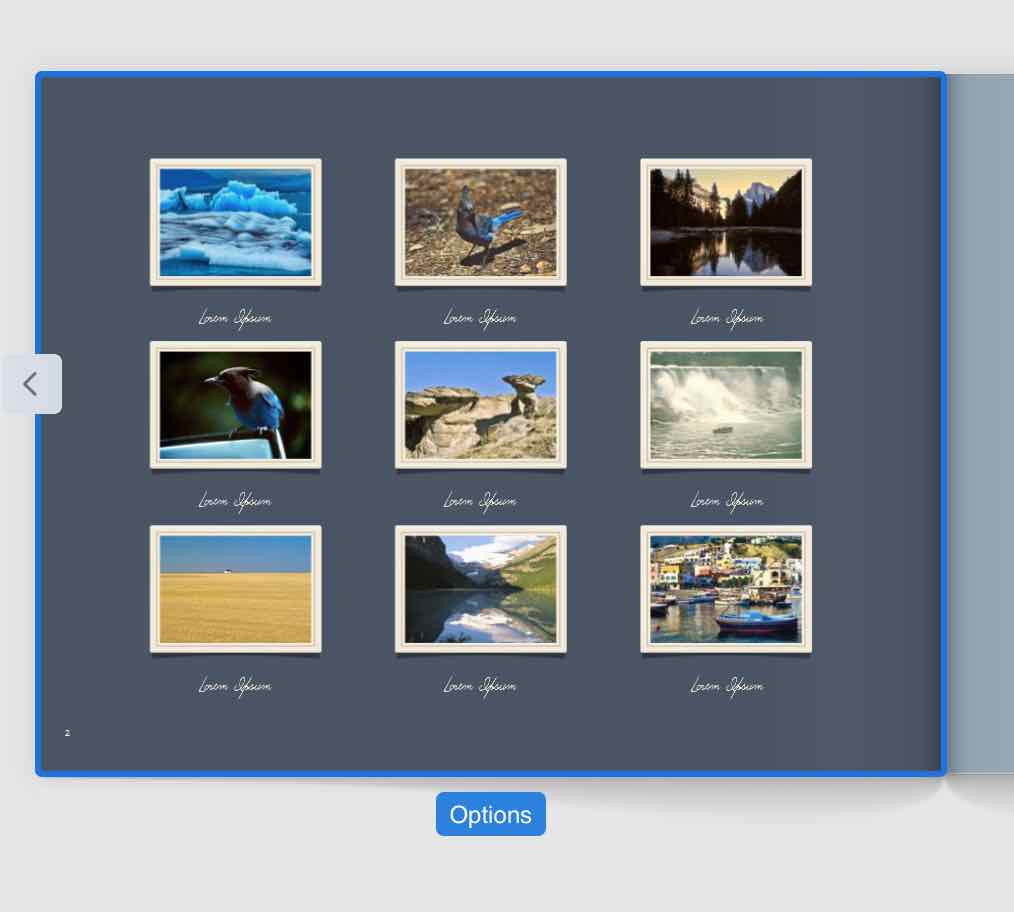
 Example of a photo collage created in Pages
 -
Resize and Arrange Photos: Click on a photo to select it. Use the handles to resize the image and drag it to your desired position on the page. Pages allows for free-form arrangement, so you can overlap photos, rotate them, and create any layout you like.
-
Add Text and Shapes (Optional): Enhance your collage by adding text boxes with captions, dates, or quotes. You can also insert shapes to create borders or graphic elements around your photos.
-
Export or Print Your Collage: Once you are satisfied with your collage, you can export it as a PDF or image file by going to File > Export To, or print it directly by going to File > Print.
Another powerful tool for creating photo collages is Keynote, Apple’s presentation software. Keynote offers similar layout capabilities to Pages and is excellent for creating visually rich collages.
Using Keynote for Photo Collages:
- Open Keynote and Choose a Blank Presentation: Launch Keynote and select a blank presentation theme. Delete any default text boxes on the slide to start with a clean canvas.
- Adjust Slide Size (Optional): Similar to Pages, you can customize the slide size to match your desired collage dimensions. Go to Document > Slide Size and choose “Custom Slide Size” to enter your preferred width and height.
- Import Your Photos: Drag and drop photos onto the Keynote slide or use the Media button to insert them.
- Arrange and Modify Photos: Resize, rotate, and position your photos as desired. Keynote provides alignment guides to help you arrange photos neatly. You can also use image editing tools within Keynote to adjust brightness, contrast, and colors.
- Add Design Elements (Optional): Keynote allows you to add shapes, lines, and text to further personalize your collage. You can even add animations if you intend to use the collage digitally.
- Export Your Collage: To save your collage as a single image, go to File > Export To > Images. Choose your desired image format (JPEG, PNG, etc.) and export.
While the Photos app itself lacks a direct collage feature, you can utilize its Book project function as a workaround to create a single-page collage.
Creating a Collage Using Photos App (Book Project):
-
Open Photos and Create a Book Project: Open the Photos app and navigate to File > Create > Book > Photos. Choose any theme, as the theme is not crucial for this method.
-
Add Photos to a Page: Select photos you want to include in your collage and add them to a page within the book project. You can add multiple photos to a single page and arrange them.
 Example of a book page layout in Photos app
 -
Customize Layout: Photos offers various page layouts within the book project. Choose a layout that accommodates multiple photos on one page. You can adjust the size and position of photo placeholders within the layout.
-
Print to PDF (Single Page): Once you have arranged your photos on a page, go to File > Print. In the print dialog, select “Save as PDF” instead of choosing a printer. Specify that you only want to print the single page containing your collage.
-
Save as Image: Open the generated PDF file in Preview. In Preview, go to File > Export. Choose your desired image format (JPEG, PNG, etc.) and save your collage as an image file.
For users seeking more dedicated collage creation tools, the Mac App Store offers a variety of free and paid photo collage maker apps. These apps often come with pre-designed templates, advanced customization options, and features specifically tailored for creating collages quickly and easily.
Creating a photo collage doesn’t have to be complicated. By utilizing Pages, Keynote, or the book feature in Photos, you can easily design and personalize your own stunning photo collages right on your Mac. Experiment with these methods and explore third-party apps to find the workflow that best suits your creative vision and enjoy showcasing your treasured photos in a beautiful collage.