Your iPhone automatically creates your personal contact card, known as “My Card,” using your Apple Account details within the Contacts app. This feature allows you to personalize your contact information, including adding or modifying your name, address, phone number, birthday, and importantly, your Contact Photo and Poster. This visual element is what others see when you call or message them, offering a great way to personalize your interactions. Let’s explore how you can easily change your contact photo on your iPhone and manage other aspects of your contact card.
Completing or Editing Your ‘My Card’ Information
The ‘My Card’ in your Contacts app is your digital identity on your iPhone. Keeping it updated ensures your information is accurate and how you want to be represented. Here’s how to access and edit it:
-
Open the Contacts App: Locate and tap the Contacts app icon on your iPhone’s home screen.
-
Access ‘My Card’: At the top of your contact list, you should see “My Card.” Tap on it, then tap “Edit” to begin making changes.
Alt text: The add contact button icon on iPhone contacts app, a plus sign inside a circle.
If ‘My Card’ is not visible: Tap the add button (the plus icon), input your contact details, navigate back to the contact list, then touch and hold your newly created contact and select “Make this My Card.”
-
Enter Your Details: Fill in or modify your contact information as needed. The Contacts app intelligently suggests addresses and phone numbers as you type, making the process smoother.
Tip: For correct pronunciation of your name by Siri, you can set up pronunciation assistance. Look for the Siri settings within your Apple ID or Contacts settings to teach Siri how to say your name accurately.
How to Add or Change Your Home Address
Ensuring your home address is correctly entered in ‘My Card’ is useful for services like AutoFill in Safari and other apps. Here’s how to manage your home address:
- Go to Contacts App: Open the Contacts app on your iPhone.
- Edit ‘My Card’: Tap “My Card” at the top, followed by “Edit.”
- Add or Edit Address: Scroll down and tap “Add Address” to enter a new address or tap on an existing address to edit it.
- Label as ‘Home’: Tap the label option located to the left of the address field and choose “Home” to categorize it correctly.
By setting your home address here, you can leverage the AutoFill feature in Safari for online forms and shopping, saving you time and effort. Updating your ‘My Card’ automatically updates your AutoFill information.
Steps to Change Your Contact Photo and Poster
Your Contact Photo and Poster are visual representations that appear when you communicate with others. Changing these is a key way to personalize your iPhone experience. Here’s how to change your contact photo on your iPhone:
-
Access Contact Photo & Poster Settings: Open the Contacts app on your iPhone. Tap “My Card,” then select “Contact Photo & Poster.”
Alt text: Contacts app icon on iPhone home screen.
-
Customize Name and Poster: In the Contact Photo & Poster settings, you can optionally tap “Name” to adjust how your first and last name appear to others. Then, tap “Edit” under your current poster to choose a new one or create a completely new design.
This section allows you to select an existing photo from your library, take a new photo, use a Memoji, or even create a custom poster with various styles and fonts. Experiment with different options to find a photo and poster that best represent you.
Managing Name & Photo Sharing
The Name & Photo Sharing feature gives you control over how your contact photo and name are shared with others. You can choose to share automatically or be prompted each time.
- Navigate to Sharing Settings: Go to the Contacts app on your iPhone, tap “My Card,” and then “Contact Photo & Poster.”
- Enable Name & Photo Sharing: Toggle “Name & Photo Sharing” to the on position to activate sharing.
- Choose Sharing Preference: Select either “Contacts Only” to automatically share with people in your contacts or “Always Ask” to receive a prompt before sharing your details with anyone you communicate with.
This feature provides a balance between convenience and privacy, allowing you to manage how your personal branding is presented when you reach out to others.
Adding or Editing Pronouns in Your Contact Information
Adding pronouns to your contact card is an inclusive way to share how you wish to be referred to. You can also add pronouns to other contacts in your list.
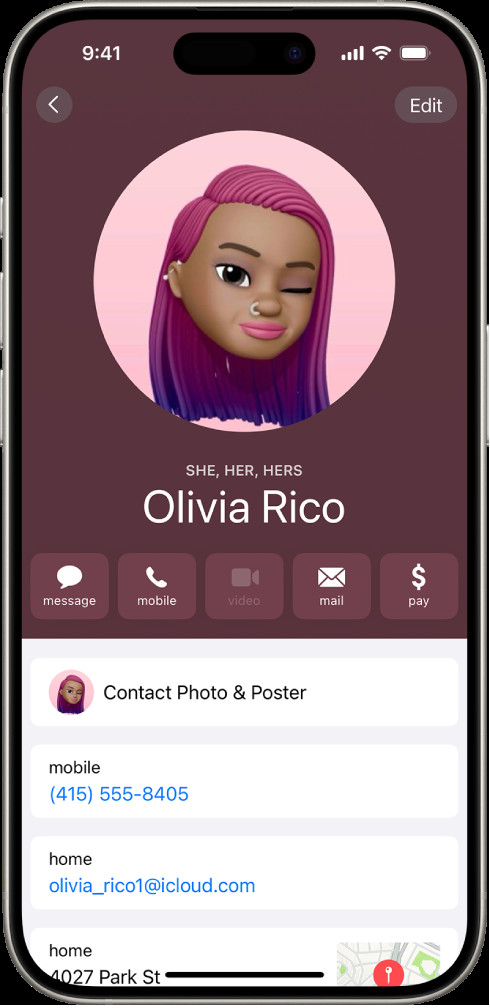 A contact named Olivia Rico with She, Her, and Hers pronouns below the contact photo.
- Access Pronoun Settings: Open the Contacts app on your iPhone. Tap “My Card” to add your pronouns, or select another contact to add theirs.
- Edit Contact and Add Pronouns: Tap “Edit,” then scroll down and tap “Add Pronouns.”
- Select Language and Pronouns: Choose your language and enter your pronouns. You can add pronouns in multiple languages by tapping “Add Pronouns” again.
Important Note: Pronouns are not shared by default when you share contact information via Contacts or NameDrop, ensuring privacy in information sharing.
Creating or Editing Your Medical ID
While less directly related to your contact photo, your Medical ID is another important feature accessible through ‘My Card.’ It allows you to store health information that can be vital in emergencies.
To access or modify your Medical ID, tap “My Card” at the top of your contacts list, tap “Edit,” scroll to the bottom, and tap either “Create Medical ID” or “Edit Medical ID.”
In Conclusion
Customizing your contact photo and ‘My Card’ information on your iPhone is a simple yet impactful way to personalize your device and control how you are represented digitally. By following these steps, you can easily change your contact photo on your iPhone, update your personal details, and manage how your information is shared. Take a moment to personalize your ‘My Card’ today for a more tailored and user-friendly iPhone experience.