Enhancing your Microsoft Word documents with images can significantly improve visual appeal and communication. However, sometimes a picture might contain unnecessary elements or not perfectly fit your layout. That’s where cropping comes in handy. Cropping a photo in Word allows you to remove unwanted outer areas, focus on the most important part of the image, and achieve a cleaner, more professional look for your documents. This guide will walk you through the simple steps to effectively crop photos directly within Word, and also explore other useful image formatting options to elevate your document presentation.
Cropping Basics: Removing Unwanted Areas
The most fundamental use of cropping is to eliminate parts of a picture you don’t want to be visible. This is particularly useful when you have an image that’s too large or contains distractions around the main subject. Here’s how to perform a standard crop:
- Select the Image: Begin by clicking on the picture you intend to crop within your Word document. Selecting the image will activate the Format tab in the Word ribbon, which is your go-to place for all image editing tools.
- Access the Crop Tool: Navigate to the Format tab, typically located at the top of the Word window. Within the Format tab, locate and click on the Crop command. It’s usually found in the Size group.
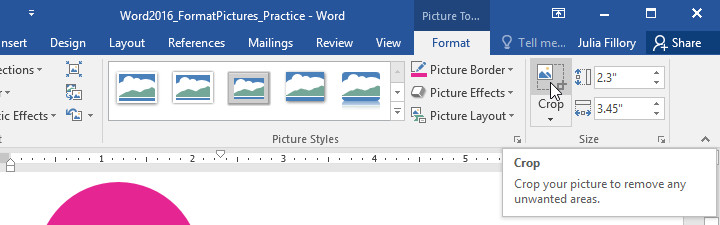 Crop command in Word Format tab
- Utilize Cropping Handles: Once you click the Crop command, black cropping handles will appear around the edges and corners of your selected image. These handles are distinct from the white resizing handles you might be familiar with. Be careful not to accidentally use the resizing handles.
- Drag to Crop: Click and drag any of the cropping handles inwards to remove the corresponding portion of the image. Dragging a side handle will crop from that side, while dragging a corner handle will crop both horizontally and vertically simultaneously.
 Using cropping handles to crop a photo in Word
- Confirm Your Crop: After adjusting the cropping handles to your desired area, finalize the crop by clicking the Crop command again. Alternatively, you can click anywhere outside the image area in your document. The image will now be cropped to your specifications.
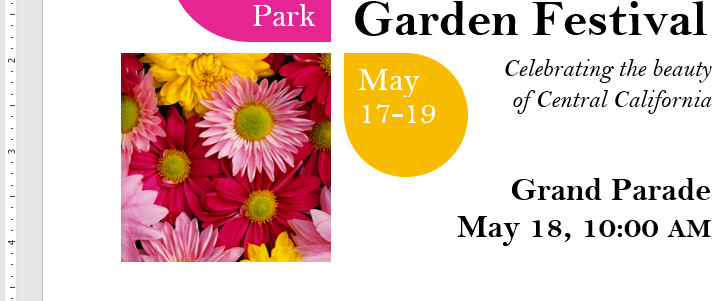 Finished cropped image in Word document
Using the corner handles offers a convenient way to crop both dimensions of the image at once, maintaining proportions while focusing on a specific area.
Creative Cropping: Shaping Your Photos
Beyond simple rectangular cropping, Word allows you to crop images into various shapes, adding a creative touch to your documents. This feature is perfect for making your visuals more engaging and unique. Here’s how to crop a picture to a shape:
- Select the Image and Access Crop Options: Just like before, select the image and go to the Format tab. Click the Crop command, but this time, click the dropdown arrow associated with the Crop button.
- Choose Crop to Shape: In the dropdown menu, hover over Crop to Shape. A gallery of shapes will expand.
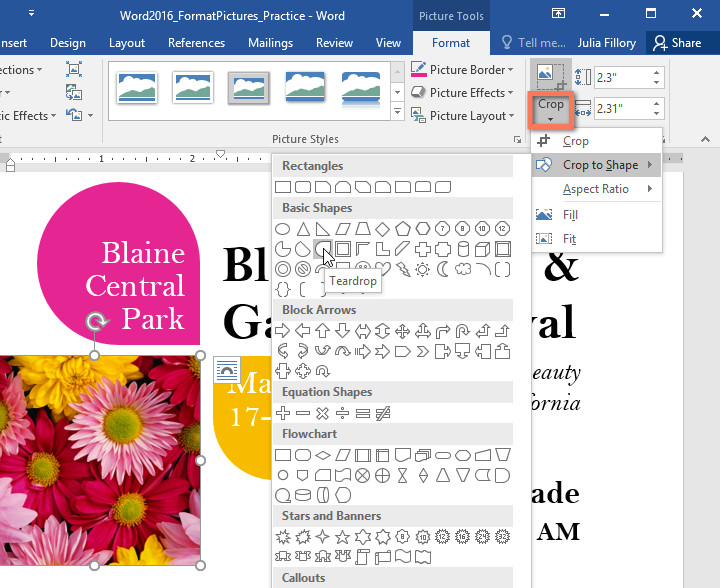 Crop to Shape dropdown menu in Word
- Select Your Desired Shape: Browse through the shape options and select the shape you want to apply to your image. Word offers a wide array of shapes, from basic circles and triangles to more complex arrows, stars, and banners.
- Shape Applied: Once you select a shape, Word will instantly crop your image to fit within the boundaries of the chosen shape.
 Image cropped to a teardrop shape in Word
Experiment with different shapes to find the perfect aesthetic for your document. Cropping to shapes can be particularly effective for logos, icons, or to add visual interest to otherwise standard images.
Enhancing Your Images Further: Other Formatting Options
Cropping is just the beginning when it comes to image formatting in Word. To truly polish your document’s visuals, Word provides a suite of tools beyond just cropping.
Adding Borders to Pictures
Adding a border can help define your image and make it stand out on the page. Here’s how to add a border:
- Select your Image and Go to Format Tab: Select the image you want to modify and click the Format tab.
- Access Picture Border Options: Click on the Picture Border command in the Format tab. A dropdown menu will appear with various options.
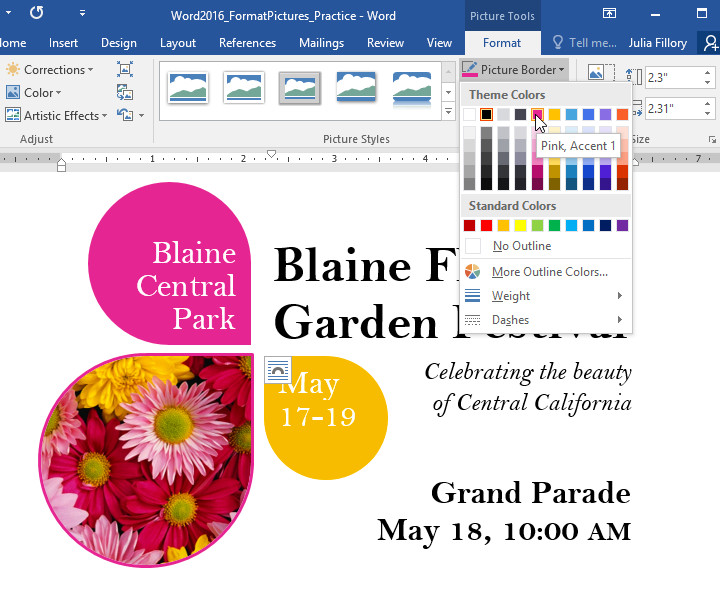 Picture Border options in Word Format tab
- Customize Your Border: From this menu, you can select a color for the border, adjust the weight (thickness) of the border line, and even choose to have a dashed or dotted line style.
- Border Applied: After making your selections, the border will immediately be applied to your image.
Making Image Adjustments
Word also offers tools to adjust the visual characteristics of your images, such as color, brightness, and style. These options are available in the Format tab under the Adjust group.
 Image adjustment options under Format tab in Word
- Corrections: Use the Corrections dropdown to fine-tune the sharpness or softness of your image, as well as adjust brightness and contrast.
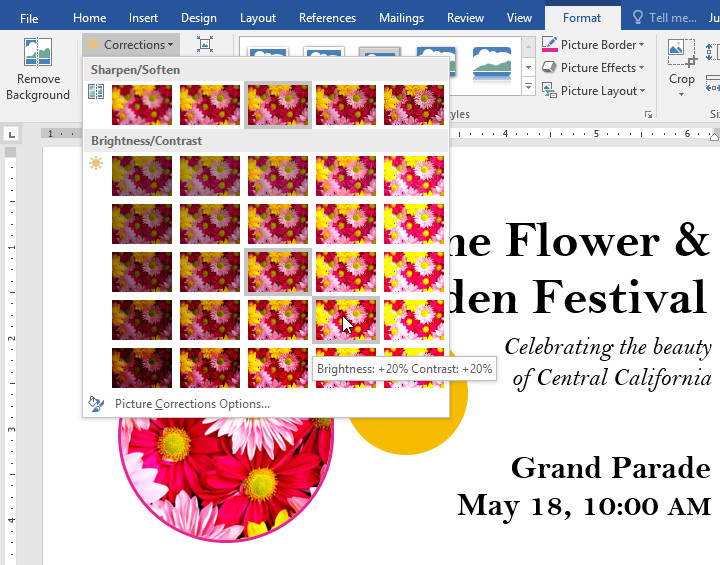 Corrections dropdown menu for image adjustments in Word
- Color: The Color command allows you to modify the image’s saturation, tone, and apply color recoloring effects.
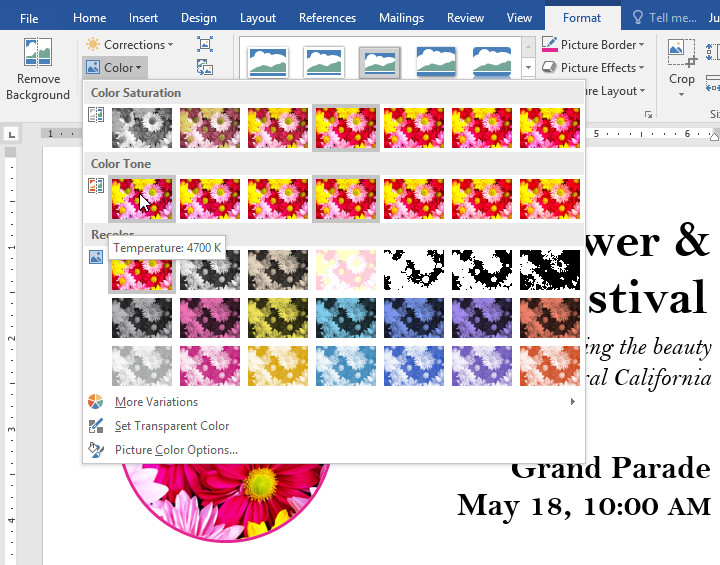 Color adjustment options for images in Word
- Artistic Effects: For more stylized looks, explore the Artistic Effects menu. Here you can apply various effects like watercolor, pastel, or sketch effects. Use these sparingly, especially in professional documents, as they can be quite pronounced.
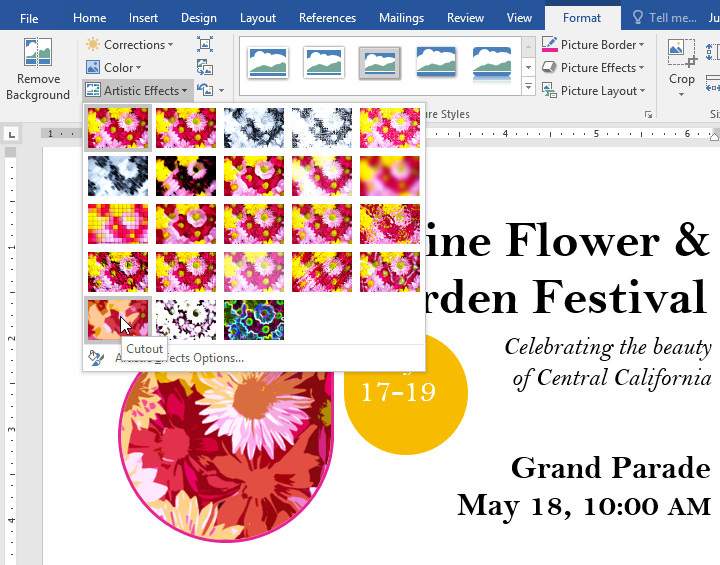 Artistic Effects options for pictures in Word
- Picture Styles: For quick and easy formatting, the Picture Styles gallery offers a range of predefined styles that include borders, frames, shadows, and other effects.
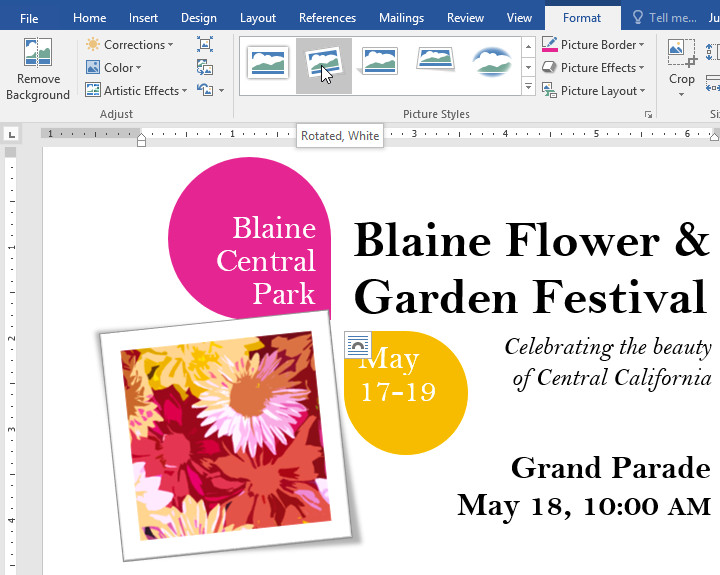 Picture Styles gallery in Word
Compressing Pictures
When working with documents containing many images, file size can become a concern, especially for emailing. Word provides a Compress Pictures feature to reduce file size by lowering image resolution and removing cropped areas that are saved by default.
- Select Image and Access Compression: Select any image in your document and go to the Format tab. Click the Compress Pictures command.
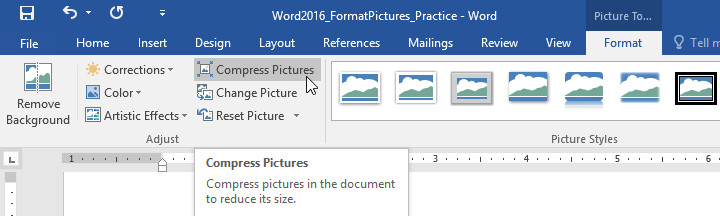 Compress Pictures command in Word Format tab
- Compression Settings: In the dialog box, you can choose to Delete cropped areas of pictures to further reduce size. You can also choose to apply compression to only the selected picture or all pictures in the document.
- Target Output: Select a Target output resolution. For emailing, the Email (96 ppi) option is recommended for the smallest file size.
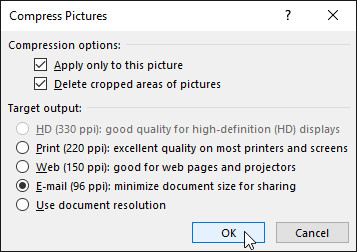 Compress Pictures dialog box in Microsoft Word
- Apply Compression: Click OK to apply the compression settings. Be aware that compressing images can slightly reduce their quality, so it’s advisable to save a backup copy of your document beforehand if image quality is paramount.
By mastering How To Crop A Photo In Word and utilizing its broader image formatting capabilities, you can ensure your documents are not only informative but also visually appealing and professionally presented. Experiment with these tools to discover the best ways to enhance your images and communicate effectively through your Word documents.