Printing your digital photos brings cherished memories to life, transforming them into tangible keepsakes. However, ensuring your prints look their best requires more than just hitting the print button. Understanding how to resize your photos for printing is crucial for achieving optimal print quality, avoiding distortion, and managing file sizes effectively. This guide will walk you through everything you need to know about resizing photos for printing, ensuring your precious moments are displayed beautifully.
Why Resize Photos for Printing?
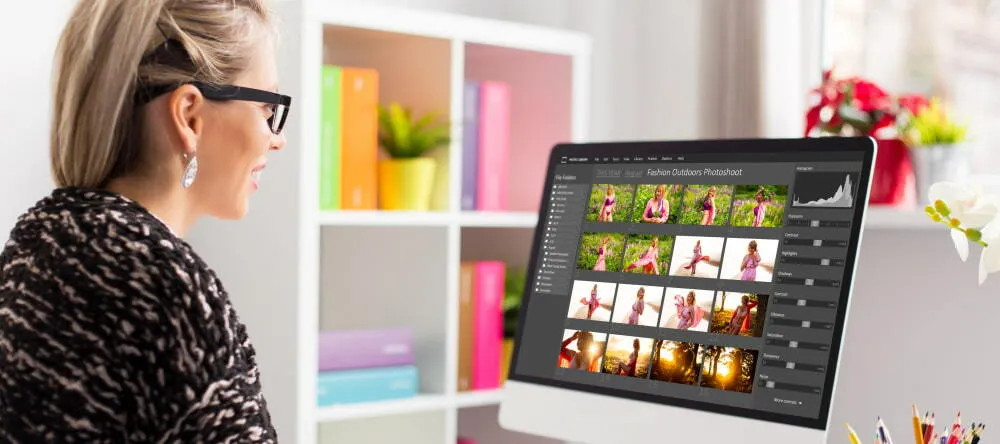
 How to resize an image: a person looking at a collection of photos
Resizing photos for printing isn’t just about making them smaller or larger; it’s about optimizing them for the printing process. Here are the key reasons why resizing is an essential step:
- Ensuring Optimal Print Quality: When you print a photo, the printer uses dots of ink to recreate the image on paper. The density of these dots is determined by the image’s resolution. If your image resolution is too low for the print size you desire, the printed photo may appear blurry, pixelated, or lack detail. Resizing helps you match the image resolution to your desired print dimensions, ensuring sharpness and clarity.
- Preventing Distortion and Cropping Issues: Sometimes, the aspect ratio (the ratio of width to height) of your digital photo doesn’t perfectly match the aspect ratio of your desired print size. Without resizing or cropping appropriately, your print might be distorted (stretched or squashed) or automatically cropped in undesirable ways. Resizing allows you to control the dimensions and aspect ratio, ensuring your entire intended image is printed correctly and proportionally.
- Managing File Size for Easier Handling: High-resolution images, while excellent for printing, can result in large file sizes. These large files can be cumbersome to handle, slow to upload to online printing services, and take up significant storage space. Resizing to a suitable print resolution reduces file size, making your images more manageable without compromising print quality for typical print sizes.
Understanding Resolution for Printing
Resolution is a fundamental concept when it comes to image quality, especially for printing. It refers to the number of pixels that make up an image, usually measured in dots per inch (DPI) or pixels per inch (PPI). A higher resolution means more pixels, which translates to more detail and sharpness in your image.
For printing, resolution is crucial because it directly impacts the clarity of your printed photos. A general guideline for good print quality is 300 DPI. This means that for every inch of your print, there are 300 dots of ink. Printing at 300 DPI generally results in sharp and detailed photos that look great up close.
However, the required resolution depends on the intended viewing distance and print size. For larger prints viewed from a distance, a slightly lower resolution (e.g., 200 DPI) might still be acceptable. Conversely, for very small prints or prints intended for close inspection, 300 DPI or higher is recommended.
It’s important to note that simply increasing the resolution of a low-resolution image (also known as “upscaling”) will not magically add detail. It will merely spread the existing pixels over a larger area, potentially leading to a blurry or pixelated result. It’s always best to start with the highest resolution image available and resize down if necessary for printing.
Resizing vs. Cropping for Print: What’s the Difference?
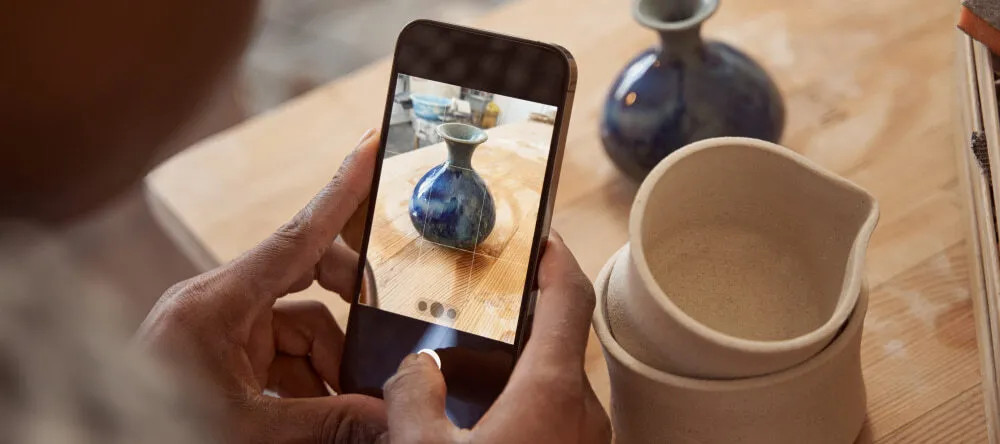 How to resize an image: a person taking a picture with a smartphone
While both resizing and cropping are image manipulation techniques, they serve different purposes when preparing photos for printing:
- Resizing: Resizing alters the overall dimensions of your image, making it larger or smaller. When you resize, you’re essentially changing the number of pixels in the image. Resizing is used to adjust the image to fit specific print dimensions or to change the file size. When resizing, it’s crucial to maintain the aspect ratio to avoid distortion unless you intentionally want to change it for creative purposes.
- Cropping: Cropping, on the other hand, involves removing unwanted portions from the edges of your image. Cropping changes the composition of your photo and can be used to improve focus on the subject, remove distracting elements, or adjust the aspect ratio. Cropping does not change the resolution of the remaining image area; it simply cuts away parts of it.
When to Resize vs. Crop:
- Resize when: You need to fit your photo into a specific print size (e.g., 8×10 inches), reduce file size for online printing services, or adjust resolution for optimal print quality at a given size.
- Crop when: You want to improve the composition of your photo, remove distracting backgrounds, or change the aspect ratio to better fit a frame or print format without distorting the main subject.
Often, you might use both resizing and cropping in combination to prepare a photo for printing. For example, you might first crop your photo to improve its composition and then resize it to fit your desired print dimensions while ensuring the correct resolution.
Step-by-Step Guides for Resizing Photos for Printing
You don’t need expensive software like Photoshop to resize your photos for printing. There are numerous free and user-friendly tools available on Windows, Mac, and online:
Resizing in Windows Photos
Windows Photos is a built-in application that comes with Windows and offers basic image editing features, including resizing:
- Open your image in Windows Photos: Right-click on the image file and select “Open with” > “Photos”.
- Click “Edit & Create”: In the top menu bar, click on “Edit & Create”.
- Select “Resize”: From the dropdown menu, choose “Resize”.
- Choose a Preset Size or Custom Size: Windows Photos offers preset sizes like “Small,” “Medium,” and “Large.” You can also select “Custom size” to enter your desired width and height in pixels.
- Apply and Save: Click “Apply” to resize the image. Then, click “Save a copy” to save the resized image as a new file, leaving the original image untouched. It’s always recommended to save a copy to preserve your original image.
Resizing in Mac Preview
Preview is the default image viewer on macOS and also includes image resizing capabilities:
- Open your image in Preview: Double-click the image file to open it in Preview.
- Click “Tools” > “Adjust Size”: In the menu bar, click on “Tools” and then select “Adjust Size”.
- Enter New Dimensions: In the “Width” or “Height” field, enter your desired pixel dimensions. Make sure the “Scale proportionally” checkbox is ticked to maintain the aspect ratio.
- Review and Click “OK”: Preview will show you the new dimensions. If you are satisfied, click “OK” to resize the image.
- Save the Resized Image: Go to “File” > “Save” to save the changes to the current file or “File” > “Export” to save it as a new file with a different name or format.
Online Resizing Tools
 How to resize an image: a woman looking at a photo collection on the computer
For quick and convenient resizing without installing any software, online image resizing tools are excellent options. Many free services are available, including:
- Canva: A versatile online design platform that includes image resizing tools.
- I Love IMG: A suite of online image editing tools, including a dedicated resize image tool.
- PicResize: A straightforward and easy-to-use online image resizer.
- Adobe Express: Adobe’s free online tool offering basic image editing features, including resizing.
- BeFunky: An online photo editor with resizing and other editing capabilities.
- Resize Pixel: A simple and direct online image resizing tool focused on pixel dimensions.
General Steps for Using Online Resizing Tools:
- Go to the website of your chosen online resizing tool.
- Upload your image: Usually, there’s a button or drag-and-drop area to upload your photo.
- Enter desired dimensions: Specify the new width and height in pixels or percentage, ensuring “keep aspect ratio” is selected if you want to maintain proportions.
- Resize and Download: Click the “Resize” or similar button to process your image. Once resized, download the new image to your computer.
When Should You Resize Photos for Printing?
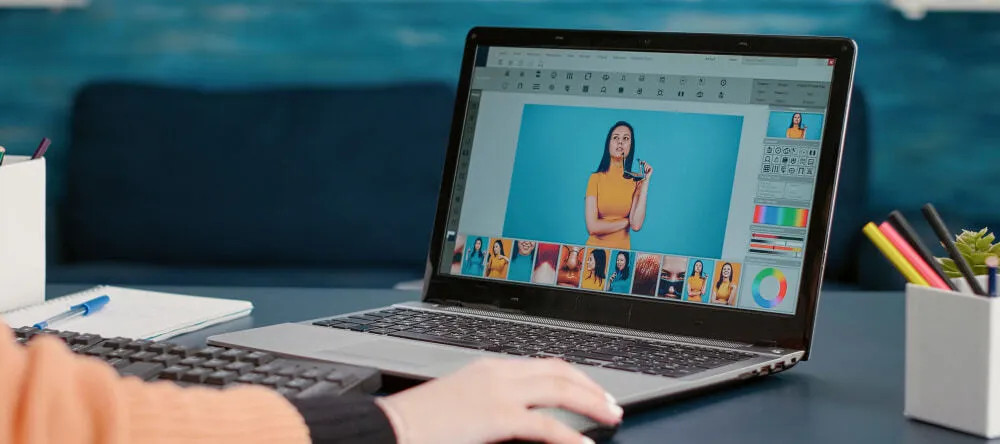 How to resize an image: a person editing photos on the computer
While resizing isn’t always necessary, it’s a beneficial step in several scenarios to optimize your photos for printing:
- Printing Large Format Photos: If you are printing photos in large sizes (e.g., posters, canvas prints), resizing becomes crucial to ensure adequate resolution for the print dimensions. You might need to slightly enlarge your image while maintaining a suitable DPI to avoid pixelation.
- Printing Scanned or Old Photos: When you scan old physical photos, the digital copies might have a very high resolution, leading to large file sizes. Resizing these scanned images to a suitable print resolution can make them more manageable without sacrificing print quality for standard print sizes.
- Preparing Photos for Specific Print Sizes: If you have a specific print size in mind (e.g., 5×7, 8×10, 11×14 inches), resizing your photos to match those dimensions while maintaining the correct aspect ratio ensures a perfect fit and avoids unwanted cropping or distortion during the printing process.
- Reducing File Size for Online Printing Services: Many online photo printing services have file size limits for uploads. Resizing your photos to a print-appropriate resolution can significantly reduce file size, making uploading faster and easier, especially for large batches of photos.
Understanding How To Resize Photos For Printing empowers you to take control of your print quality and ensure your photos are displayed beautifully. By using the right techniques and tools, you can confidently prepare your digital images for printing, knowing that your cherished memories will be preserved in stunning detail and clarity. Happy printing!
