Google Drive has become an indispensable tool for managing our digital lives, offering a seamless way to store, share, and access files, including photos, from anywhere. However, as our digital footprint grows, decluttering and managing storage space becomes essential. If you’re looking to streamline your Google Drive and remove photos, this guide will walk you through various methods to efficiently delete photos and maintain an organized cloud storage.
Understanding Google Drive and Photo Management
Google Drive is more than just a storage space; it’s a comprehensive platform for file synchronization and collaboration. Its photo storage capabilities are widely used, but effective management is key to optimizing its benefits.
What is Google Drive and Why Manage Photos?
Google Drive, a service by Google, provides secure cloud storage for diverse file types, with a strong emphasis on photo and video storage. Regularly managing your photos in Google Drive is crucial for several reasons:
- Optimize Storage Space: Deleting unwanted photos frees up valuable storage, especially with the initial 15GB free limit shared across Google services.
- Enhance Organization: A well-organized photo collection in Google Drive allows for easier access and retrieval of important memories.
- Protect Your Privacy: Removing sensitive or outdated images is important for maintaining personal privacy and data security.
- Improve Google Drive Performance: A less cluttered Drive can operate more efficiently, improving overall performance.
Different Ways to Delete Photos from Google Drive
Let’s explore the various methods to delete photos from your Google Drive, catering to different devices and user preferences.
Method 1: Deleting Photos Individually via Google Drive Interface
This method is ideal for removing specific photos directly through the Google Drive web interface.
- Access Google Drive: Begin by navigating to the Google Drive website and logging into your Google account.
- Locate the Target Photo: Browse through your files and folders to find the specific photo you intend to delete.
- Initiate Removal: Right-click on the selected photo. A context menu will appear with various options.
- Move to Trash: From the menu, select the “Remove” option. This action immediately moves the photo to your Google Drive’s Trash folder.
- Permanent Deletion (Empty Trash): To permanently delete the photo and free up space, click on “Trash” in the left-hand sidebar. Locate the photo within the Trash, right-click on it, and select “Delete Forever”. Confirm your decision in the pop-up window to permanently remove the photo.
 Man using web interface to remove photos from google drive
Method 2: Deleting Photos Using the Google Photos App
If your photos are synced with Google Photos, managing them through the app can be more convenient, especially for bulk deletions.
- Open Google Photos App: Launch the Google Photos application on your smartphone or tablet.
- Select Photos for Deletion: Navigate through your photo library and select the photo(s) you wish to delete. You can usually do this by long-pressing on a photo to enter selection mode and then tapping on other photos to select multiple images.
- Use the Trash Icon: Once you have selected the photos, tap on the trash can icon, typically located at the top right of the app interface. This will move the selected photos to the Trash within Google Photos.
- Empty Google Photos Trash: To permanently remove the photos, go to the “Trash” or “Bin” section within the Google Photos app (usually found in the menu). In the Trash, you can choose to “Empty Trash” to delete all items or select individual photos and choose to “Delete” them permanently.
Method 3: Deleting Photos via Google Drive Website
For users who prefer working on a desktop, the Google Drive website offers a straightforward way to manage and delete photos.
- Visit Google Drive Website: Open your web browser and go to the Google Drive website. Sign in with your Google account credentials.
- Find the Photo to Delete: Navigate through your Google Drive folders to locate the photo you want to remove.
- Select and Delete: Click on the photo to select it. Once selected, a toolbar will appear at the top of the interface.
- Click the Trash Icon: In the toolbar, click on the trash can icon. This action will move the photo to the “Trash” folder in your Google Drive.
- Permanently Delete from Trash: To complete the process and permanently delete the photo, access the “Trash” folder from the left-hand menu. Find the photo, and click “Delete Forever” to permanently remove it from Google Drive.
Method 4: Deleting Photos Using the Google Drive Mobile App
The Google Drive mobile app provides flexibility for managing and deleting photos directly from your smartphone or tablet.
- Launch Google Drive App: Open the Google Drive application on your mobile device.
- Locate the Photo: Use the app’s navigation to find the photo you wish to delete.
- Select for Deletion: Tap the three dots (More options) icon, usually located next to the photo’s file name or thumbnail.
- Move to Trash: From the options that appear, select “Remove”. This will send the photo to the Trash folder.
- Empty Trash on Mobile: To permanently delete, tap on the menu icon (often three horizontal lines) in the top left corner, and navigate to “Trash”. Find the photo, tap the three dots icon again, and select “Delete Forever” to permanently erase the photo.
Quick Backup Tip for Your Precious Videos
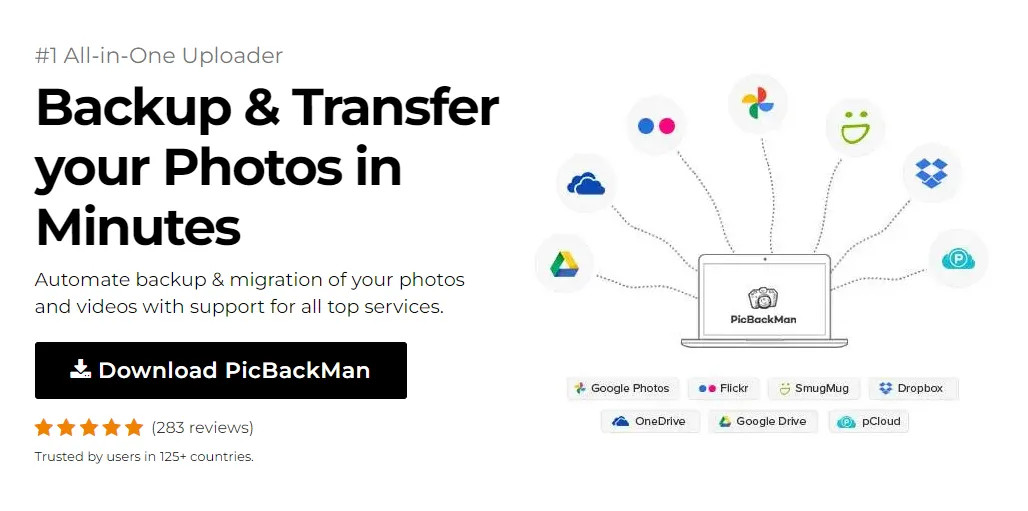 Download PicBackMan to backup your videos
Videos often hold irreplaceable memories, and losing them due to technical issues can be heartbreaking. PicBackMan offers a simple and effective solution to safeguard your videos. It’s an easy-to-use tool that automatically backs up your videos to one or more cloud accounts. Just Download PicBackMan (it’s free to start!), register, connect your cloud storage accounts, and specify the locations of your videos. PicBackMan takes care of the rest, automatically uploading your videos and continuously monitoring for new ones to backup. It runs in the background, ensuring your video memories are always safe without any manual effort.
Frequently Asked Questions (FAQs)
How Can I Recover Photos Deleted from Google Drive?
Accidentally deleted a photo? Google Drive’s Trash folder is your first stop for recovery:
- Open Google Drive: Go to the Google Drive website or app.
- Navigate to “Trash”: Find and click on the “Trash” option in the left-hand menu on the website, or in the side menu of the app.
- Locate and Restore: Find the photo you wish to recover. Right-click on it and select “Restore”. The photo will be returned to its original location in your Google Drive. Remember, items in Trash are typically kept for 30 days before permanent deletion.
Can I Delete Multiple Photos Simultaneously?
Yes, deleting multiple photos at once is possible and efficient across all Google Drive interfaces.
- Web and Desktop: Hold down the Ctrl key (Cmd key on Mac) and click on each photo you want to delete to select multiple items, then right-click and select “Remove” or click the trash icon.
- Mobile App: In the Google Photos app, long-press the first photo to enter selection mode, then tap on other photos to select them. Then, tap the trash icon to delete them all at once. In the Google Drive app, you can typically select multiple files for deletion through a similar selection mode.
What Happens to Photos After Deletion from Google Drive?
When you delete photos from Google Drive, they are initially moved to the “Trash” folder. They remain there for 30 days, giving you a window to recover them if needed. After 30 days, Google Drive automatically and permanently deletes the items in the Trash, freeing up storage space.
Is There a Storage Limit in Google Drive?
Yes, Google Drive provides 15 GB of free storage, which is shared across Gmail, Google Photos, and Google Drive. For larger storage needs, Google offers various Google One subscription plans that provide additional storage.
Can I Remove Photos from Google Drive Without Permanently Deleting Them?
Yes, if you want to remove photos from your main Google Drive view without deleting them, you can move them to a different folder. Creating an “Archive” folder and moving photos there is a good way to declutter your primary folders while still retaining the photos in Google Drive.
How Do I Ensure Photos are Permanently Deleted from Google Drive?
To permanently delete photos and ensure they are not recoverable, you must empty the “Trash” folder. Access the Trash, select the photos, and choose the “Delete Forever” option. Be aware that this action is irreversible, and permanently deleted photos cannot be recovered.
Conclusion: Take Control of Your Google Drive Photo Storage
Effectively managing your photos in Google Drive is crucial for maintaining an organized digital environment, optimizing storage space, and ensuring privacy. This guide has provided you with comprehensive methods to delete photos from Google Drive across various platforms, along with answers to frequently asked questions.
By following these steps, you can confidently declutter your Google Drive, enhance its performance, and keep your digital photo collection well-managed. Regularly reviewing and deleting unnecessary photos will contribute to a smoother, more efficient digital experience with Google Drive.
