Gallery walls bring personality and charm to any home, and a staircase wall offers a unique canvas to display your cherished photos and art. Transforming this often-overlooked space into a stunning focal point can dramatically enhance your home’s décor. If you’re looking for creative ways on How To Arrange Photos On A Staircase Wall, you’ve come to the right place. This guide provides essential tips and inspiring ideas to help you create a cohesive and visually appealing staircase gallery wall.
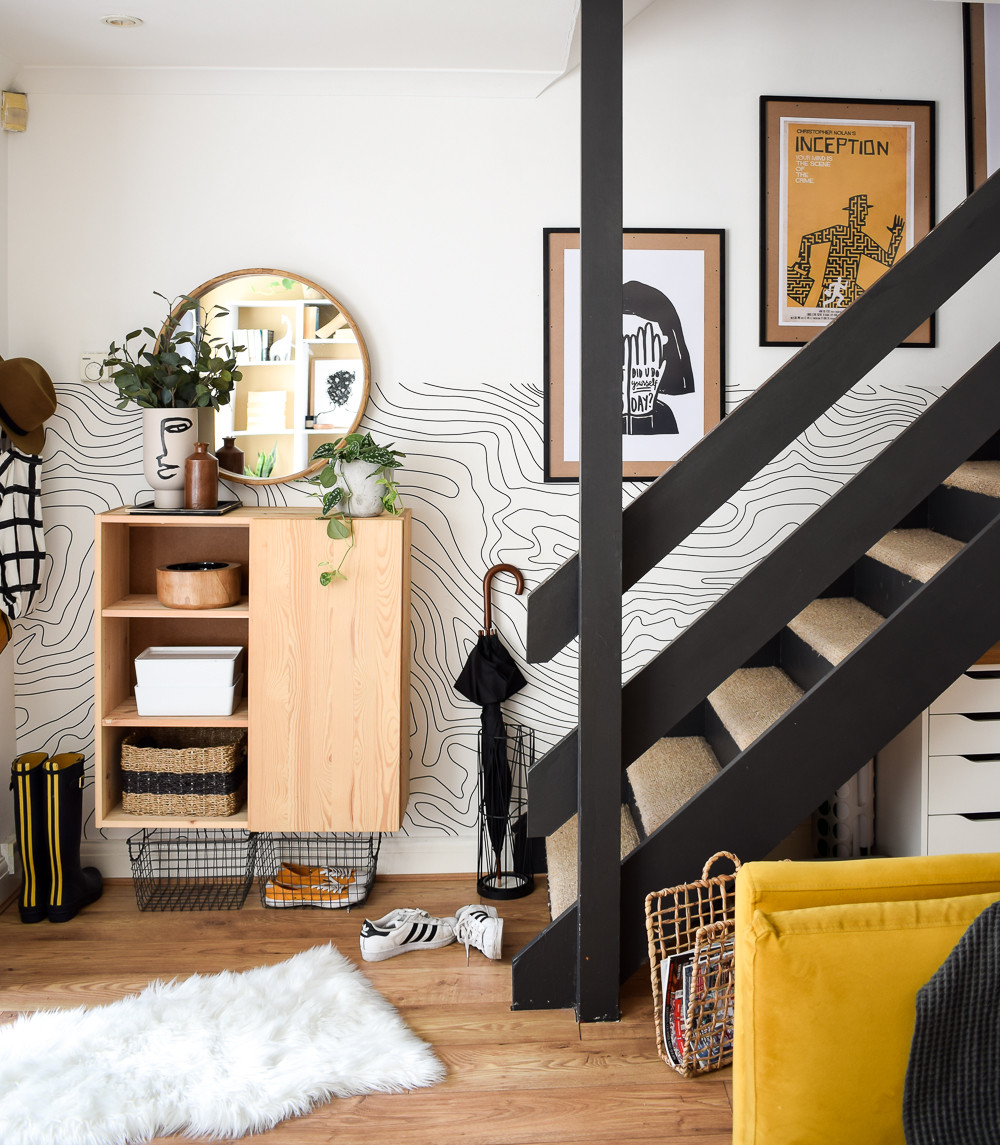
 Elegant staircase gallery wall featuring a variety of picture frames and art, demonstrating how to arrange photos on a staircase wall
Why dedicate your staircase wall to a gallery? Staircases are often the first thing guests see when entering your home. A bland staircase wall is a missed opportunity to inject style and character into your living space. Instead of leaving it bare, turning it into a gallery wall allows you to showcase your personality and create a visually dynamic transition between floors. It’s a fantastic way to make an often-awkward area feel intentional and beautifully decorated.
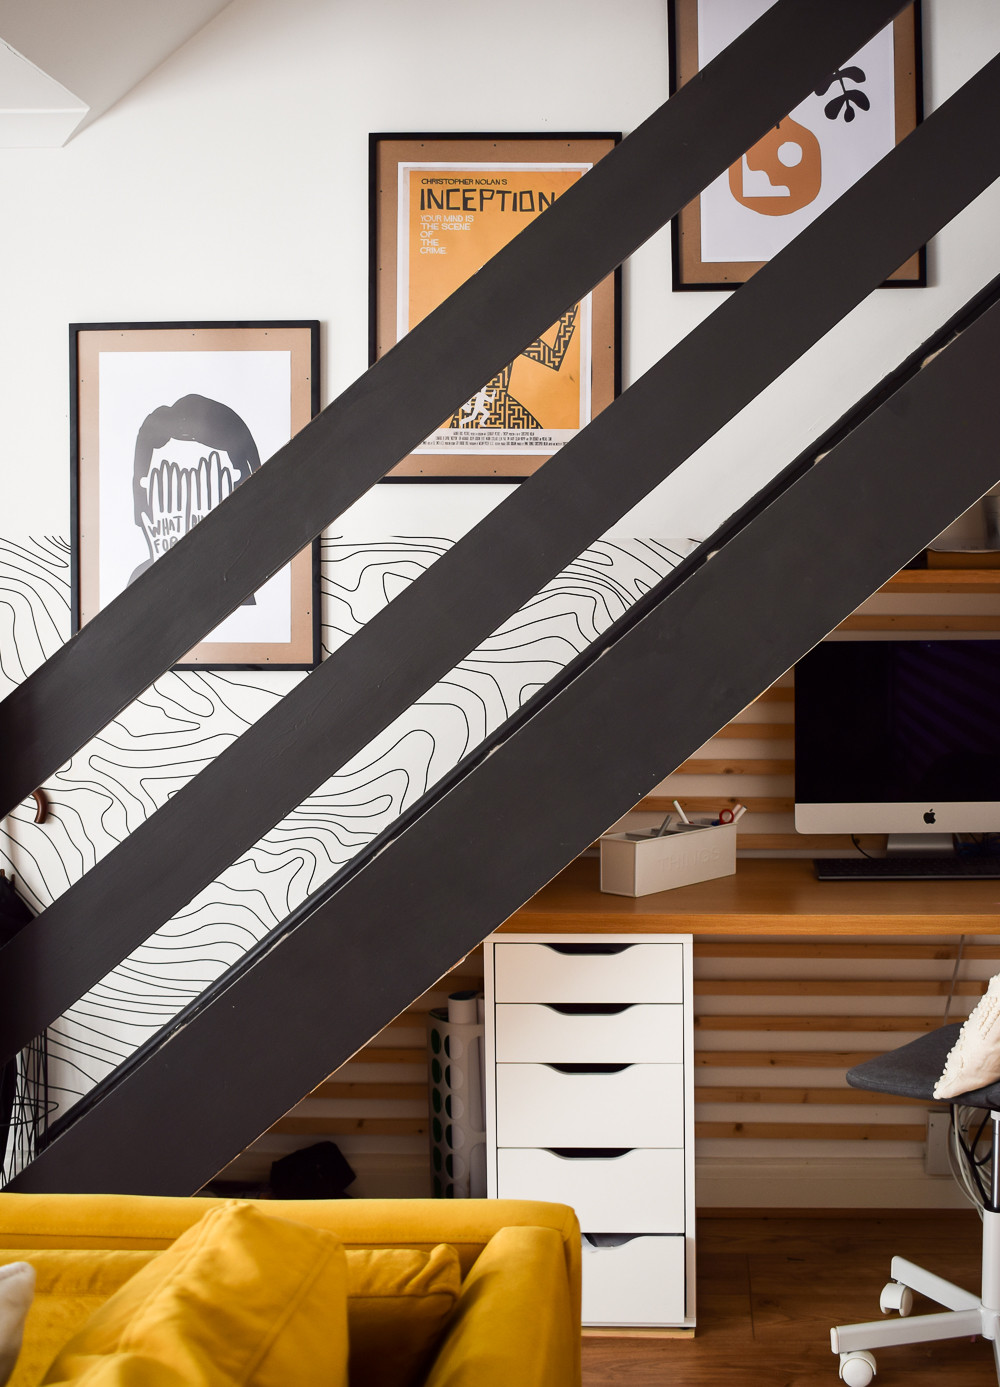
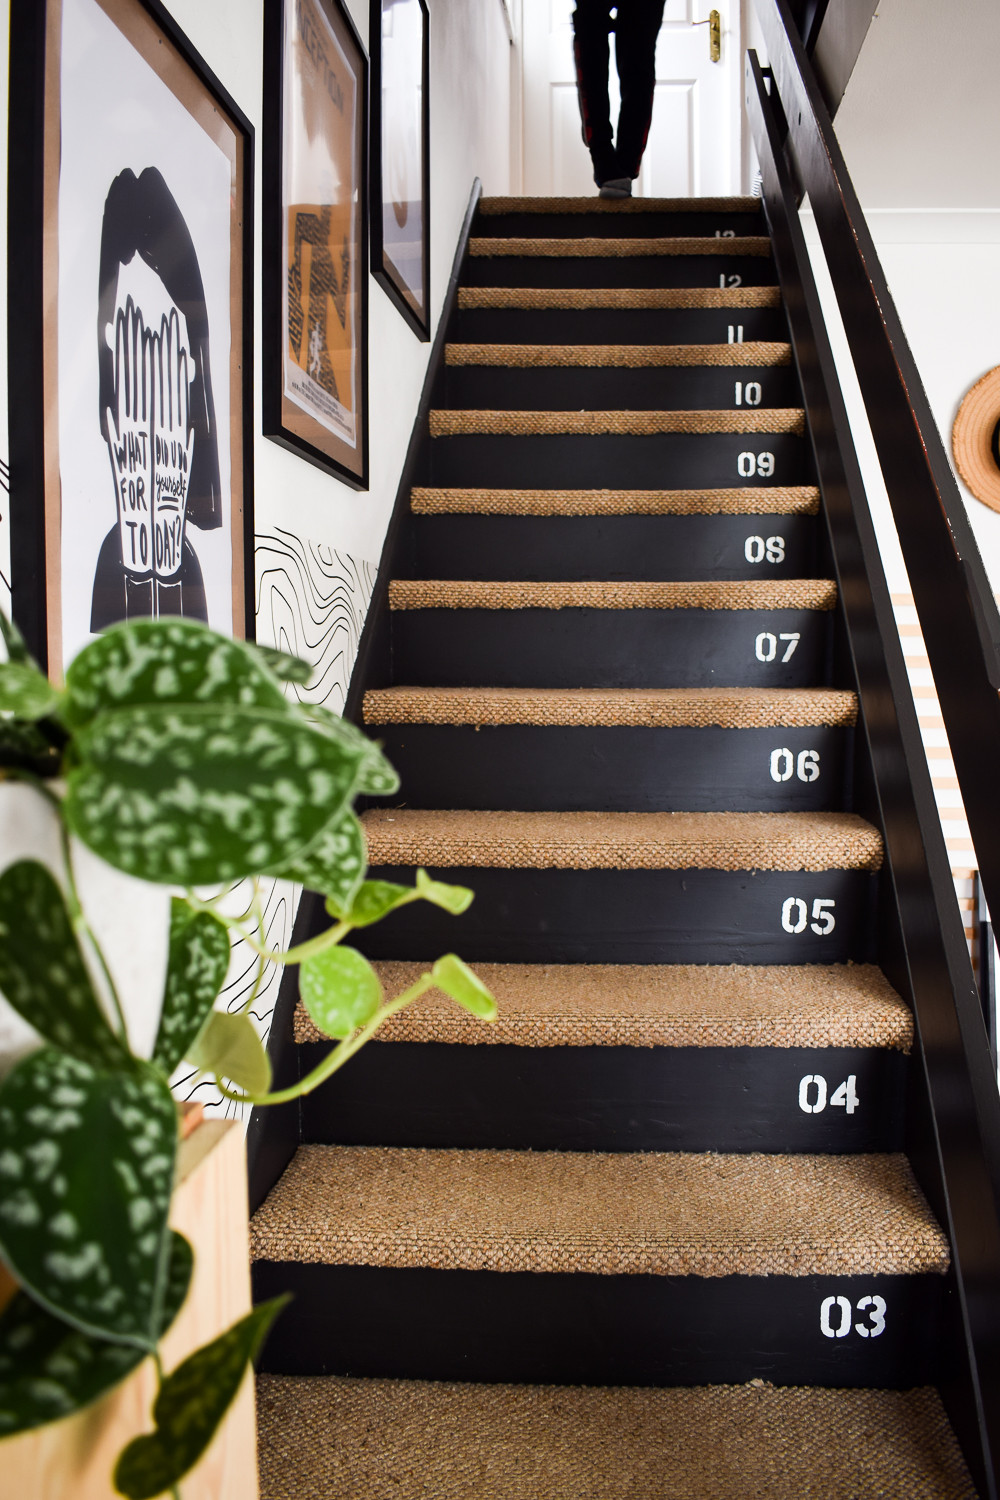 Staircase gallery wall featuring black painted stairs and carpeted treads, illustrating a classic home decor approach
Hanging pictures on a staircase wall can seem daunting due to the angled steps. However, with a few simple techniques, you can achieve a balanced and professional-looking display. This guide will walk you through the basic steps of creating a staircase gallery wall and offer various layout ideas to inspire your project.
Tools You’ll Need to Create Your Staircase Gallery Wall
Before you begin, gather these essential materials to ensure a smooth and efficient process:
- Kraft Paper Roll: For creating templates of your frames.
- Painter’s Tape: To temporarily secure paper templates to the wall and mark layouts.
- Pencil: For tracing frame templates and marking nail positions.
- Scissors: To cut out paper templates.
- Level: To ensure your frames are hung straight.
- Hammer: For traditional nail hanging.
- Nails or Self-Adhesive Strips: Choose your preferred hanging method. Self-adhesive strips are excellent for damage-free hanging, especially in rentals.
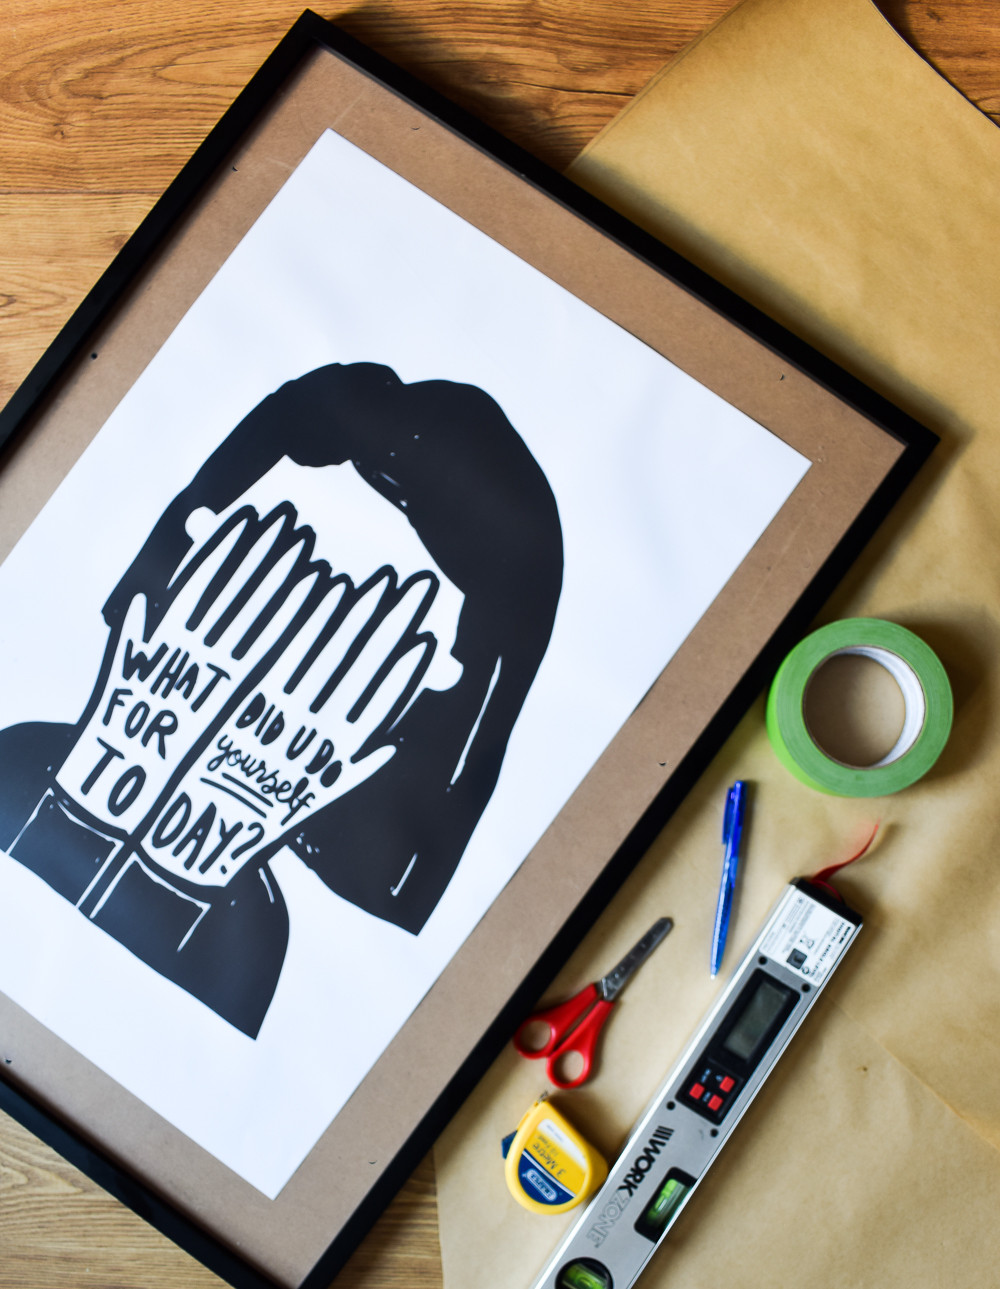 Materials needed to create a staircase gallery wall, including kraft paper, painter's tape, pencil, scissors, level, and hanging hardware
Step-by-Step Guide: How to Arrange Your Photos
Follow these simple steps to arrange your photos and transform your staircase wall into a stunning gallery:
1. Select Your Art and Frames
The first step in creating a cohesive gallery wall is choosing your artwork and frames. Having a theme in mind from the start will simplify the selection process. Consider these questions to guide your choices:
- What is your art style preference? Are you drawn to abstract art, photography, or illustrations?
- Do you want to tell a story or display memories? Family photos, travel prints, or personal milestones can add sentimental value.
- Is there a quote or lyric that inspires you? Word art can inject personality and motivation.
- Do you have a color scheme in mind? Coordinate with your home décor for a harmonious look. Yellow accents, for example, can bring warmth and vibrancy.
For a relaxed, eclectic gallery wall, mix frame styles, sizes, and colors. For a more formal and streamlined look, opt for uniform frames. The key is to create a sense of visual harmony through consistent elements within your arrangement.
2. Measure Your Staircase Wall (Optional)
While some prefer a mathematical approach, measuring isn’t always necessary. However, if you desire precise planning, measure the width and height of your staircase wall. This will help you determine the overall size of your gallery wall and estimate the number of frames you can comfortably hang. Measuring can be particularly useful if you want specific spacing between frames.
3. Plan Your Gallery Wall Layout
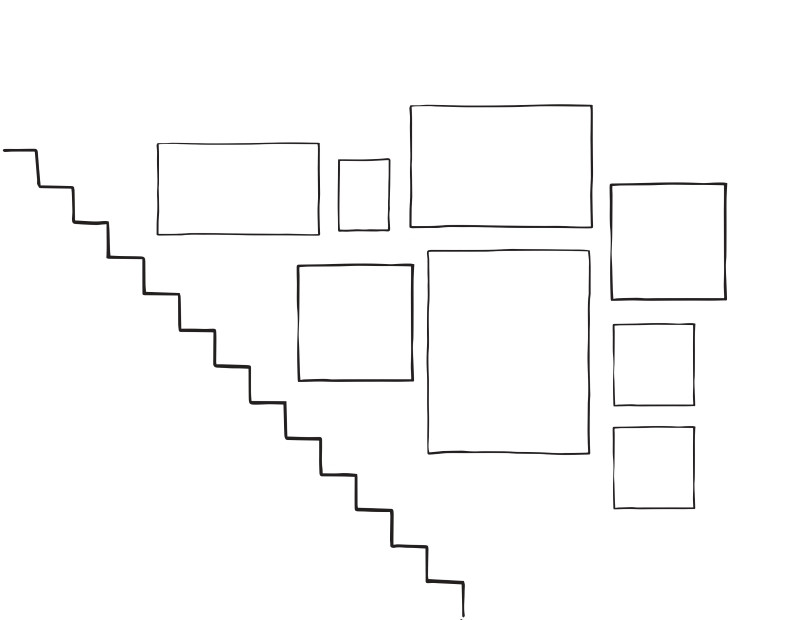
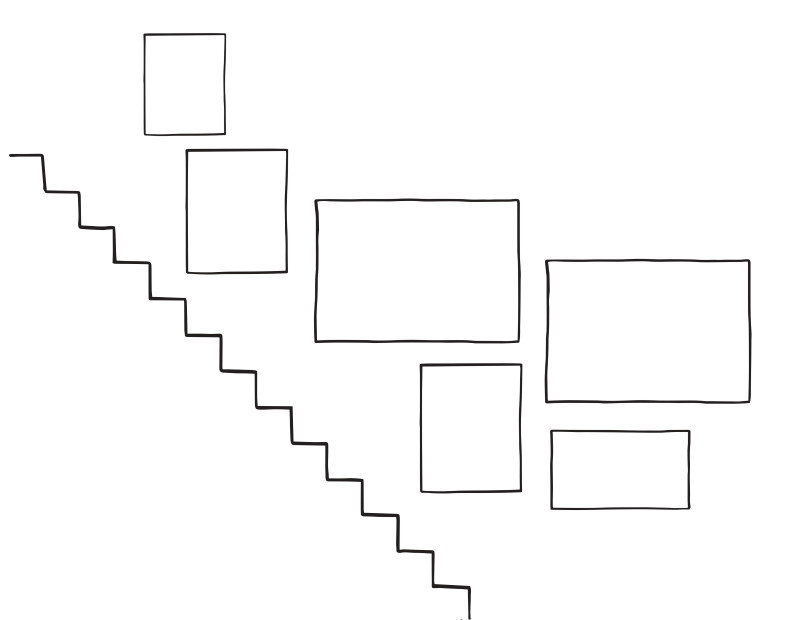
Planning your layout beforehand is crucial to avoid mistakes and achieve your desired aesthetic. Here are several staircase gallery wall arrangement ideas for inspiration:
 Gallery wall arrangement sketch featuring 7 frames, including 2 large statement pieces, designed for staircase walls
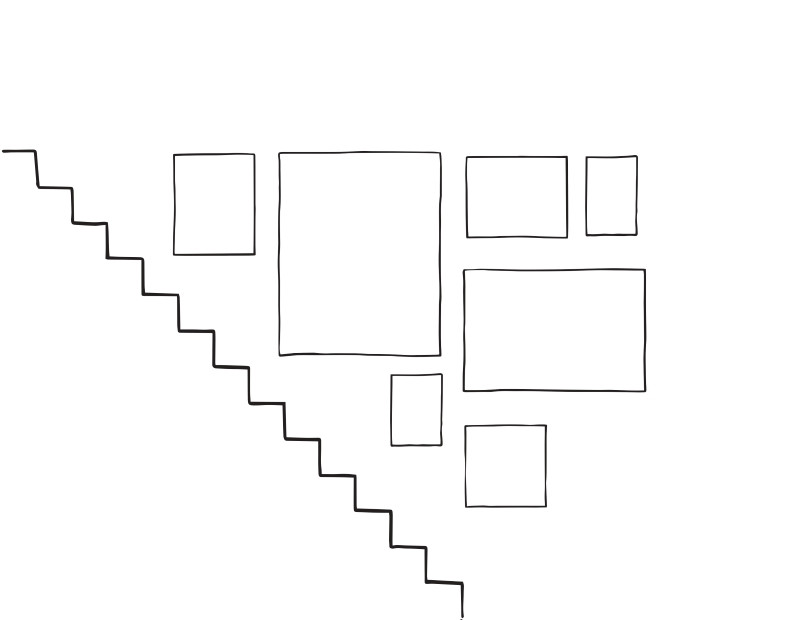
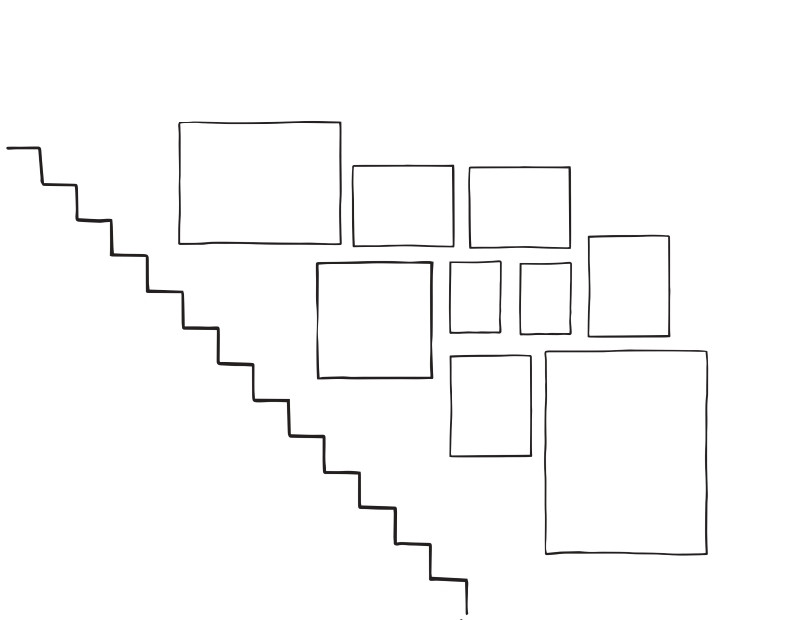
 Gallery wall arrangement sketch with 8 frames in a balanced layout, suitable for a medium-sized staircase wall
 Gallery wall arrangement sketch presenting 9 frames in a slightly asymmetrical design, adding visual interest to staircase decor
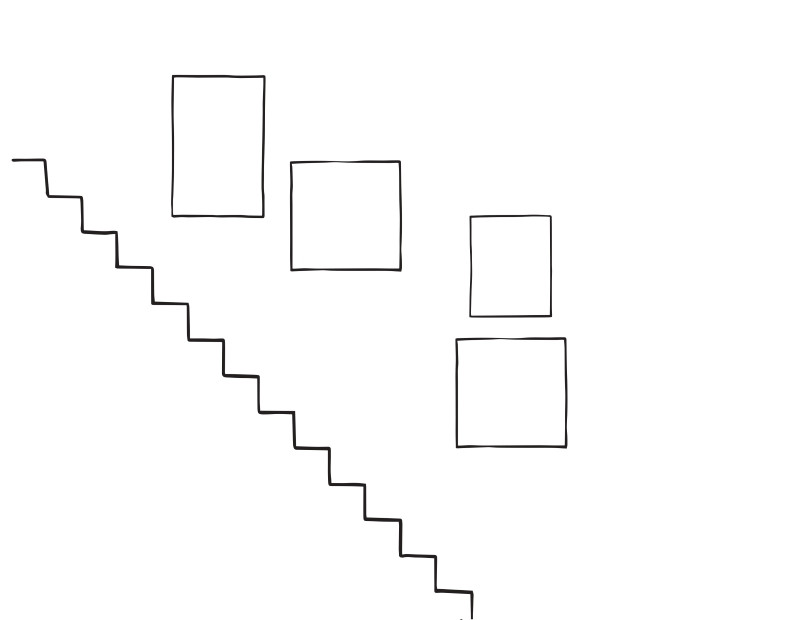 Gallery wall arrangement sketch using 4 frames for a minimalist staircase gallery wall, perfect for smaller spaces
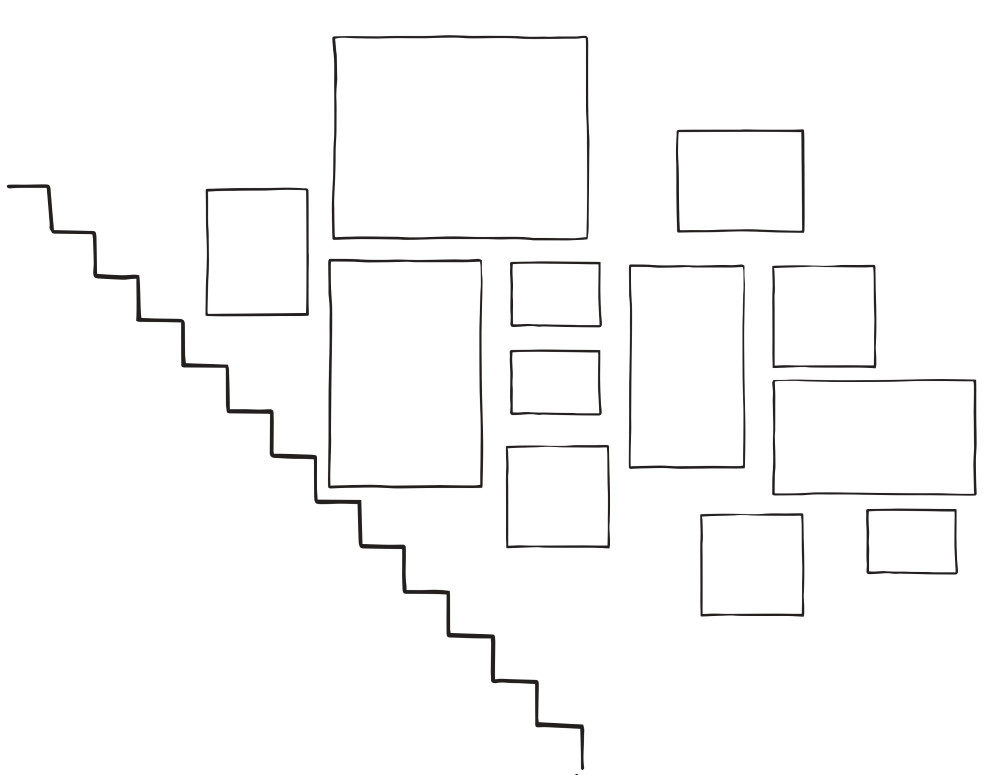 Gallery wall arrangement sketch displaying 12 frames in a grid-like pattern, offering a structured look for staircase walls
 Gallery wall arrangement sketch with 6 frames in a vertical layout, designed to complement the lines of a staircase
Visualize with Templates:
A highly effective method for planning your layout is to use kraft paper to create templates of your frames. Trace each frame onto the paper and cut out the shapes. Use painter’s tape to temporarily stick these paper templates to your staircase wall. Arrange and rearrange them until you achieve a layout you love.
Creating a Stepped Arrangement:
For a classic “stepped” gallery wall that follows the angle of your staircase, use painter’s tape to create a guideline. Start by marking vertical points along your staircase wall, either at the top of each step or every few steps (approximately 60 inches high or adjust based on your wall height). Connect these points with painter’s tape to create a diagonal line.
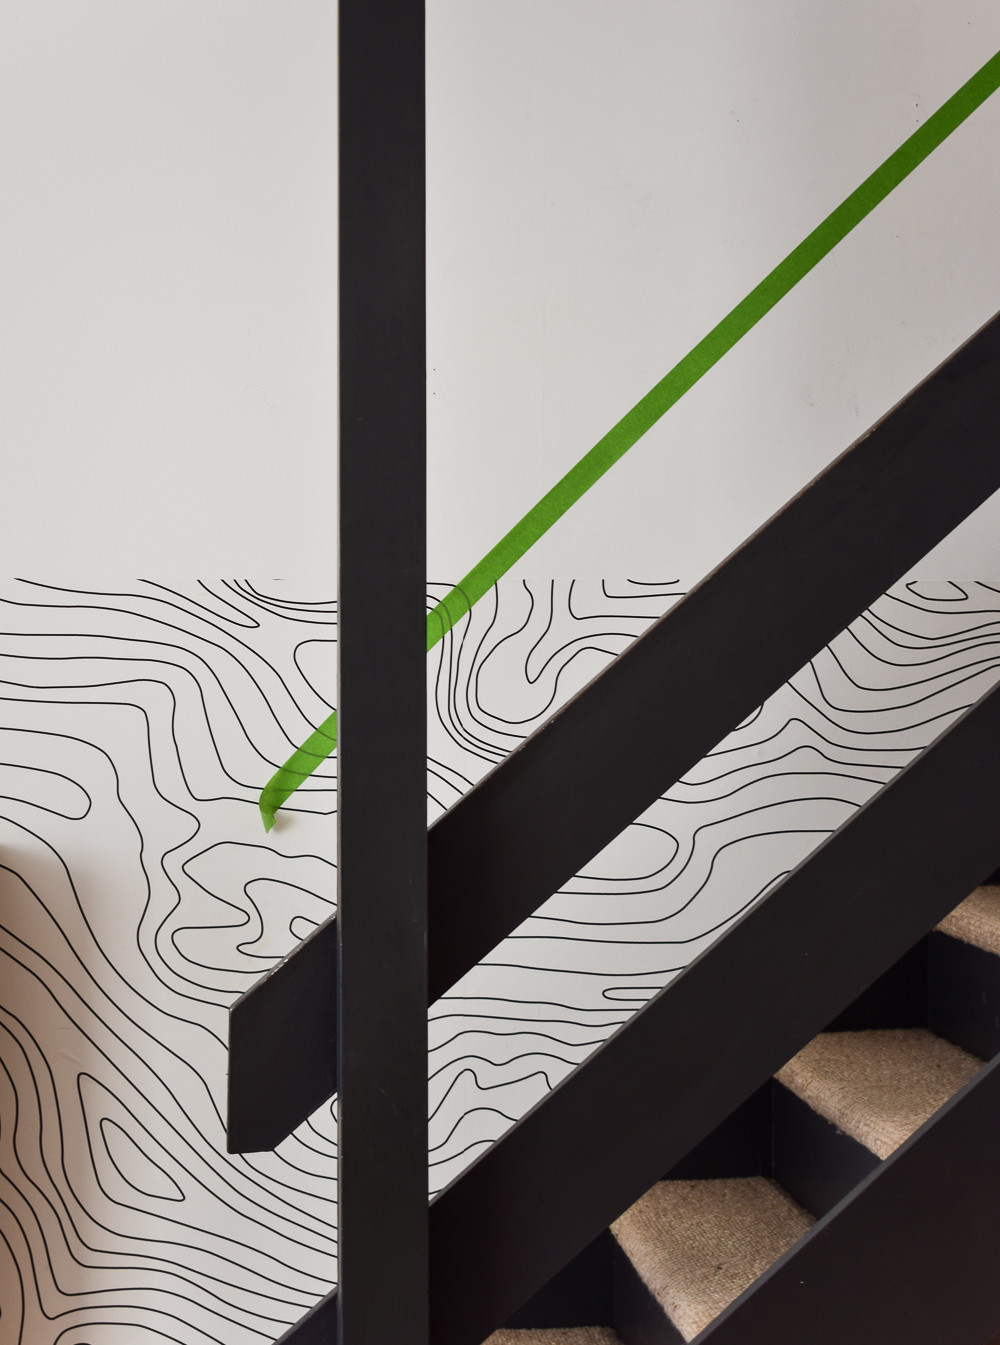 Painter's tape template used to create a stepped arrangement for a staircase gallery wall
Position your paper templates along this taped line, ensuring even spacing between them. Step back frequently to assess the overall symmetry and balance. Taking a photo with your phone can also help you visualize the arrangement from a different perspective.
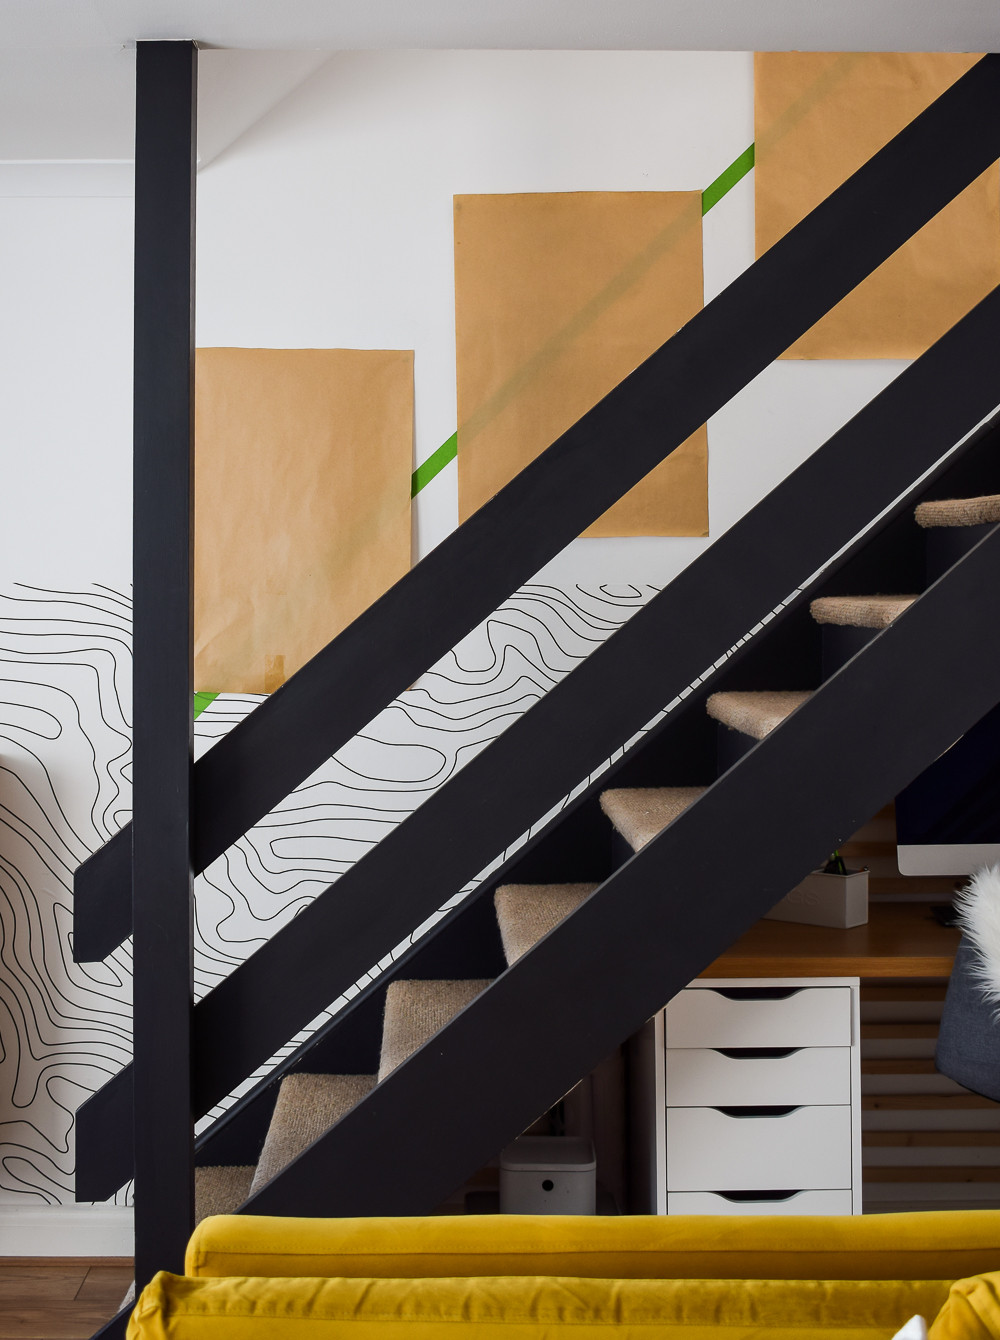 Kraft paper frame cutouts arranged on a staircase wall to visualize a gallery wall layout
Use a level to ensure your paper templates are straight, particularly if you plan to use self-adhesive strips, as they offer less room for adjustment once applied.
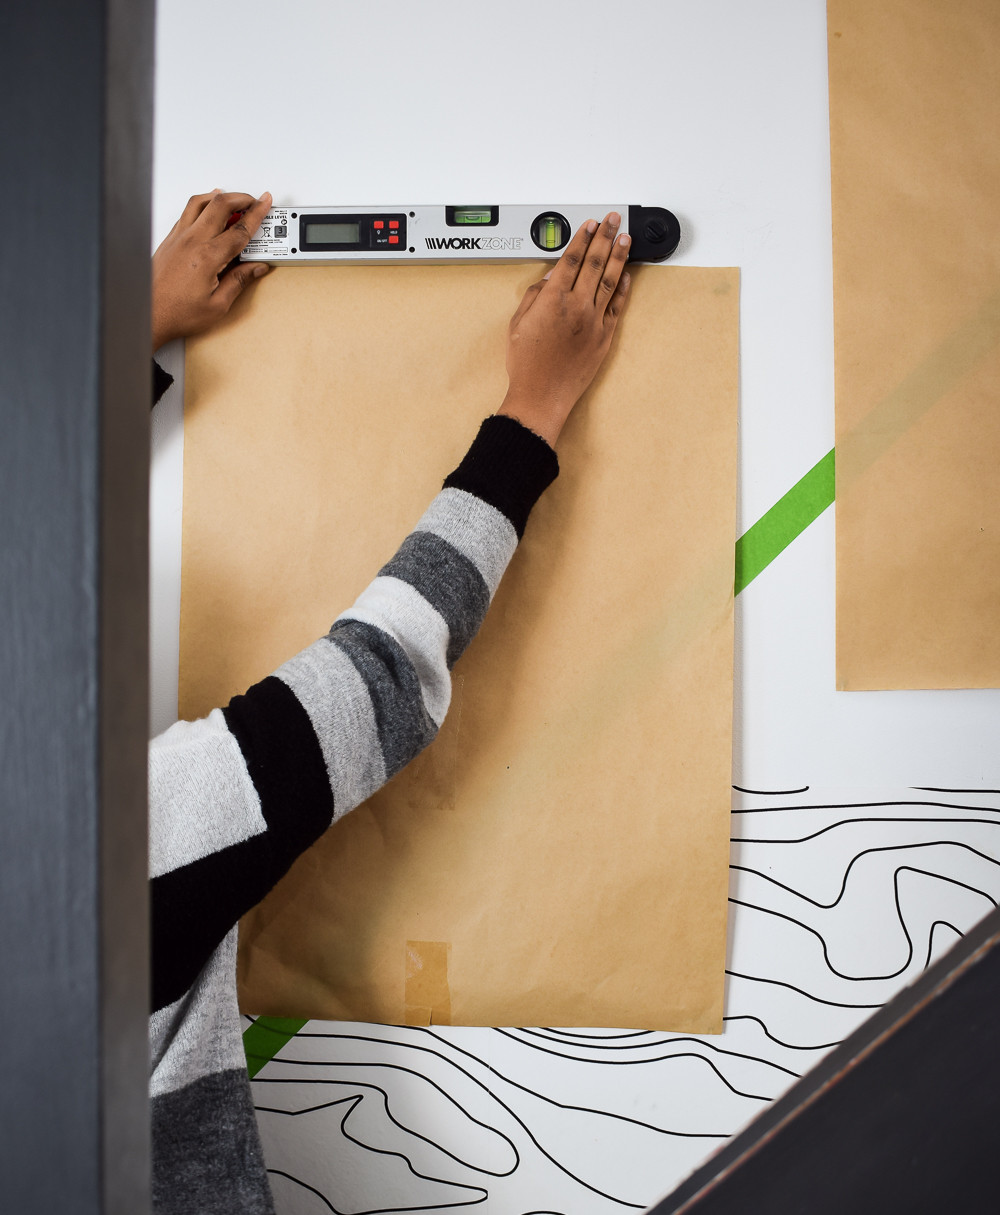 Level being used to ensure paper cutouts are straight on a staircase wall for gallery wall planning
4. Hang Your Pictures
Once you’re happy with your layout, it’s time to hang your pictures. If you don’t mind using nails, picture nails are a straightforward option. For a damage-free solution, removable wall strips are ideal. To prevent frames from shifting after hanging with nails, add small wall bumpers or blue tack to the corners of the frames for extra stability.
 Final staircase gallery wall with a mix of frame styles and artwork, creating a stylish living room feature
Congratulations! You’ve successfully created a staircase gallery wall.
Creating a staircase gallery wall is a rewarding project that elevates your home décor. By following these steps and embracing your personal style, you can transform a mundane staircase into a captivating feature. Enjoy the process and the beautiful result!
 Stepped arrangement of three picture frames along a staircase wall, showcasing a simple yet effective gallery wall style
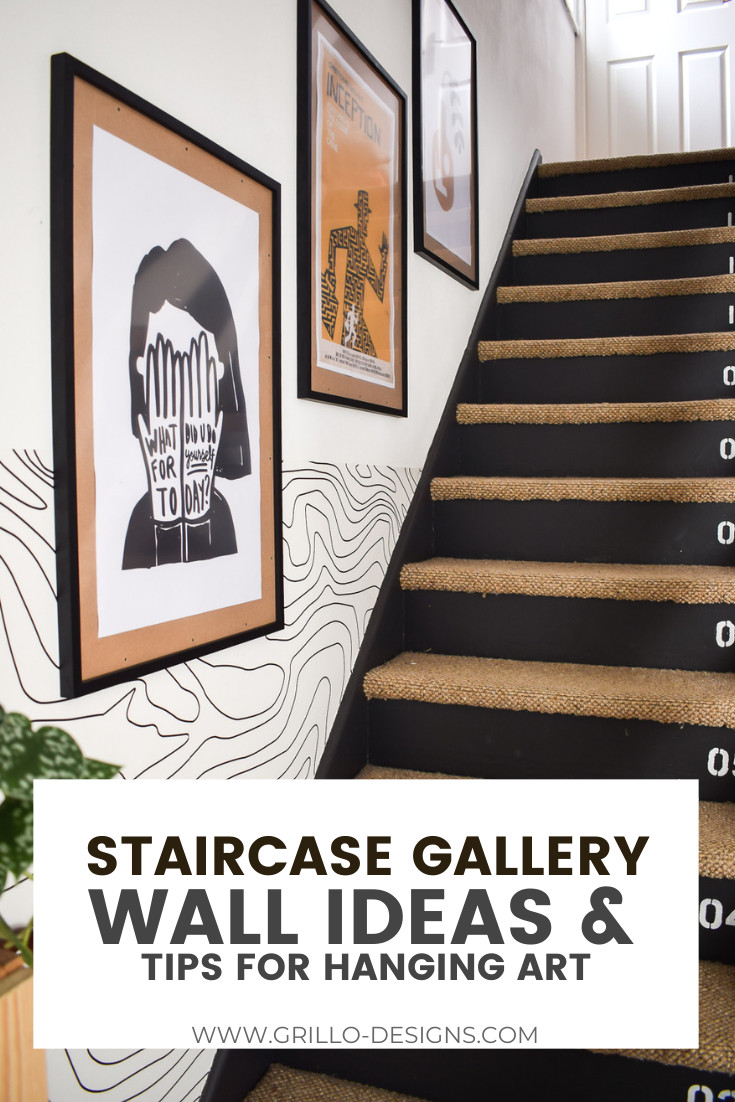
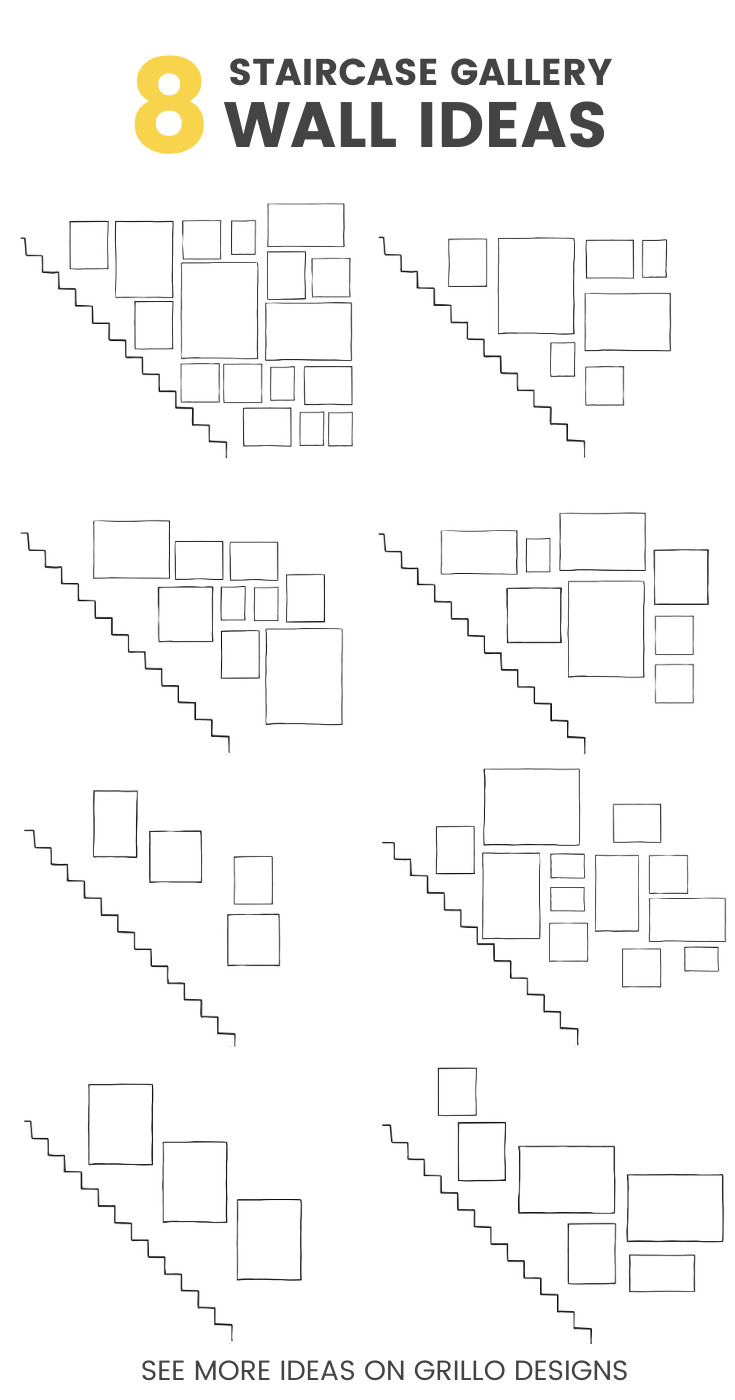 Pinterest graphic showcasing 8 staircase gallery wall ideas for inspiration and home decor planning