Creating a beautiful background blur, often referred to as bokeh, in your photos can elevate them from simple snapshots to professional-looking images. Achieving this effect on your iPhone might seem like a technique reserved for DSLR cameras, but with the right methods, you can easily create stunning photos with gorgeous background blur right on your smartphone. Whether you’re aiming for captivating portraits or want to draw attention to a specific subject, mastering background blur on your iPhone is a game-changer. This guide will explore various techniques to help you achieve that sought-after blurry background effect, enhancing your iPhone photography skills and unlocking new creative possibilities.
1. Utilizing Portrait Mode for Effortless Background Blur
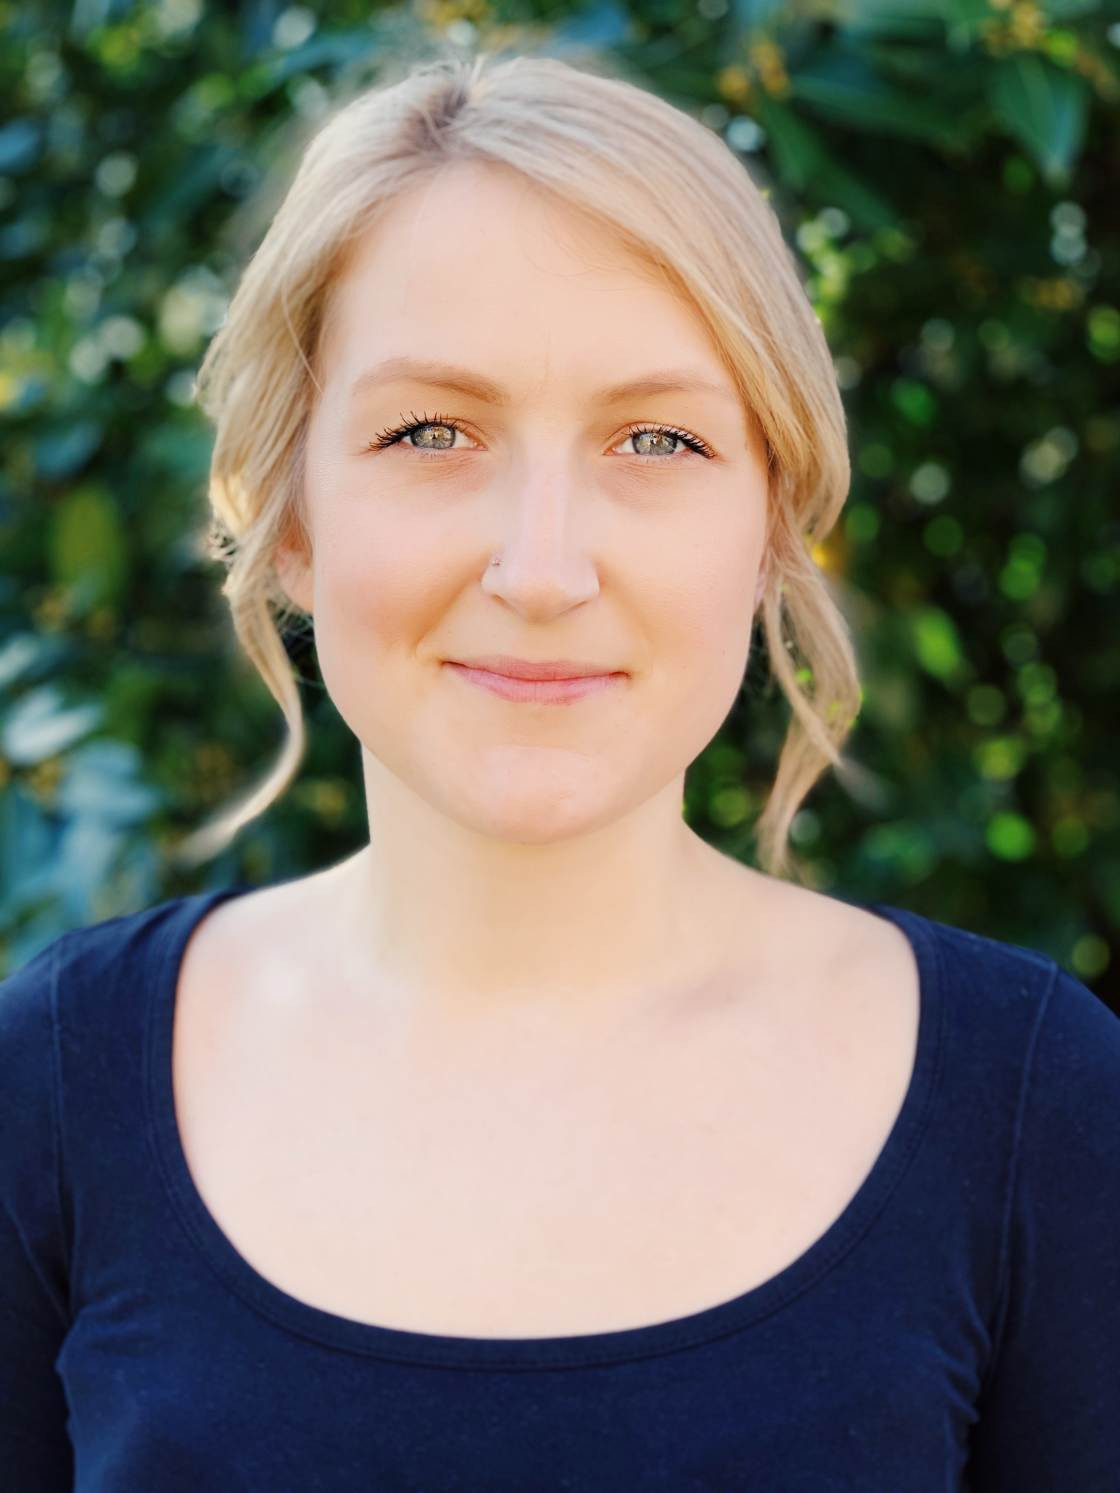
If you own a recent iPhone model, you have a powerful tool at your fingertips specifically designed for creating background blur: Portrait mode. This feature leverages advanced depth-effect software to automatically blur the background while keeping your subject sharp and in focus. Portrait mode simulates the shallow depth of field achieved with professional cameras, making your subject pop and backgrounds appear beautifully soft and dreamy.
 Using Portrait Mode on iPhone to Blur Background
The magic of Portrait mode lies in its ability to distinguish between the subject and the background. It excels in portrait photography, naturally, but it’s equally effective for highlighting any subject against a distracting backdrop. By blurring out the noise behind your main focus, Portrait mode ensures your viewer’s attention is immediately drawn to what matters most in your photo.
Portrait mode is readily available on a wide range of iPhones, including:
- iPhone 15, 15 Plus, 15 Pro, 15 Pro Max
- iPhone 14, 14 Plus, 14 Pro, 14 Pro Max
- iPhone 13, 13 Mini, 13 Pro, 13 Pro Max
- iPhone 12, 12 Mini, 12 Pro, 12 Pro Max
- iPhone 11, 11 Pro, 11 Pro Max
- iPhone XS, XS Max
- iPhone XR
- iPhone X
- iPhone 8 Plus
- iPhone 7 Plus
If your iPhone is on this list, you’re in luck! If not, don’t worry, we’ll cover alternative methods to blur backgrounds without Portrait mode in the sections below.
1.1 Step-by-Step Guide to Using Portrait Mode
Using Portrait mode is incredibly straightforward. Here’s how to get started:
- Open the Camera App: Launch the built-in Camera app on your iPhone.
- Select Portrait Mode: Swipe left or right on the camera mode options at the bottom of your screen until you land on Portrait.
 Selecting Portrait Mode in iPhone Camera App
- Position Your Subject: Ensure your subject is positioned roughly 2 to 8 feet (0.6 to 2.4 meters) away from the camera. Portrait mode relies on detecting depth, and this distance range allows it to work optimally. Also, ensure there is adequate lighting; Portrait mode can be less effective in low-light conditions.
- Compose Your Shot: Frame your subject as desired. You’ll notice a yellow box appearing around the subject’s face (if it’s a person). This indicates the area the camera is focusing on. The background should visibly blur in real-time on your screen.
- Look for “Natural Light” Cue: When the words Natural Light (or Depth Effect on older models like iPhone 7 Plus) appear in yellow on the screen, it signifies that Portrait mode is ready and optimally working.
- Capture the Photo: Press the shutter button to take your picture. Your iPhone will capture an image with a beautifully blurred background, emphasizing your subject.
Portrait Photo with Blurred Background on iPhone
1.2 Adjusting Background Blur Intensity After Capture
A fantastic feature of Portrait mode on newer iPhones is the ability to adjust the intensity of the background blur even after you’ve taken the photo. This provides incredible flexibility and control over the final look of your image. This adjustment feature is available on:
- iPhone 15, 15 Plus, 15 Pro, 15 Pro Max
- iPhone 14, 14 Plus, 14 Pro, 14 Pro Max
- iPhone 13, 13 Mini, 13 Pro, 13 Pro Max
- iPhone 12, 12 Mini, 12 Pro, 12 Pro Max
- iPhone 11, 11 Pro, 11 Pro Max
- iPhone XS, XS Max, and XR
Here’s how to fine-tune the blur:
- Open in Photos App: Locate and open your Portrait photo in the Photos app.
- Tap Edit: Select Edit located at the top right corner of the screen.
Editing Portrait Photo in iPhone Photos App
- Access Depth Control: Tap the f/number icon (resembling an aperture symbol) at the top left of the editing interface.
- Adjust Blur with Depth Slider: A Depth slider will appear beneath your photo. Drag this slider left or right to control the blur strength. Lower f/numbers (e.g., f/2.8) result in a stronger blur, creating a more pronounced bokeh effect. Higher f/numbers (e.g., f/16) reduce the blur, retaining more background detail.
Adjusting Depth Slider in iPhone Photos App
For older iPhones that don’t have the Depth slider, you can still remove the Portrait mode effect entirely if desired. To do this, tap the yellow Portrait option at the top of the screen within the editing interface. This will revert the image to its original state without any background blur. You can re-enable the blur by tapping Portrait again.
Beyond blur intensity, Portrait mode also offers Portrait Lighting effects (excluding iPhone 7 Plus). These effects simulate studio lighting conditions, adding another layer of creative control to your portrait photos. You can access Portrait Lighting by tapping the hexagon icon at the top left of the editing screen. Experiment with options like Studio Light, Contour Light, Stage Light, and High-Key Light Mono to dramatically alter the mood and style of your portraits.
Portrait Lighting Options in iPhone Photos App
2. Leveraging Proximity for Natural Background Blur
Even if your iPhone doesn’t have Portrait mode, or if you prefer a more natural-looking blur, you can achieve impressive background blur by simply adjusting your shooting technique. The key is to get physically closer to your subject. This technique relies on the principles of depth of field.
Getting Closer to Subject for Background Blur on iPhone
Depth of field refers to the area in your photo that appears acceptably sharp. A shallow depth of field means only a small portion of the image is in focus, while the foreground and background are blurred. Conversely, a large depth of field means most of the image, from foreground to background, is sharp.
When you move closer to your subject, you naturally decrease the depth of field. This results in a beautifully blurred background, even without relying on software-based effects. The closer you get, the shallower the depth of field and the more pronounced the background blur becomes.
However, there’s a limit to how close you can get. If you get too close, your iPhone camera might struggle to focus, and your subject itself could become blurry. Always ensure your subject is sharp by checking the focus on your screen. If it’s not in focus, slightly move back until clarity is achieved.
For extreme close-up photography, often called macro photography, you might need an additional macro lens attachment for your iPhone. These lenses, like the Moment Macro Lens, allow your camera to focus at incredibly short distances, enabling you to capture stunningly detailed close-up shots of small subjects like flowers, insects, or textures, all while maintaining a beautifully blurred background.
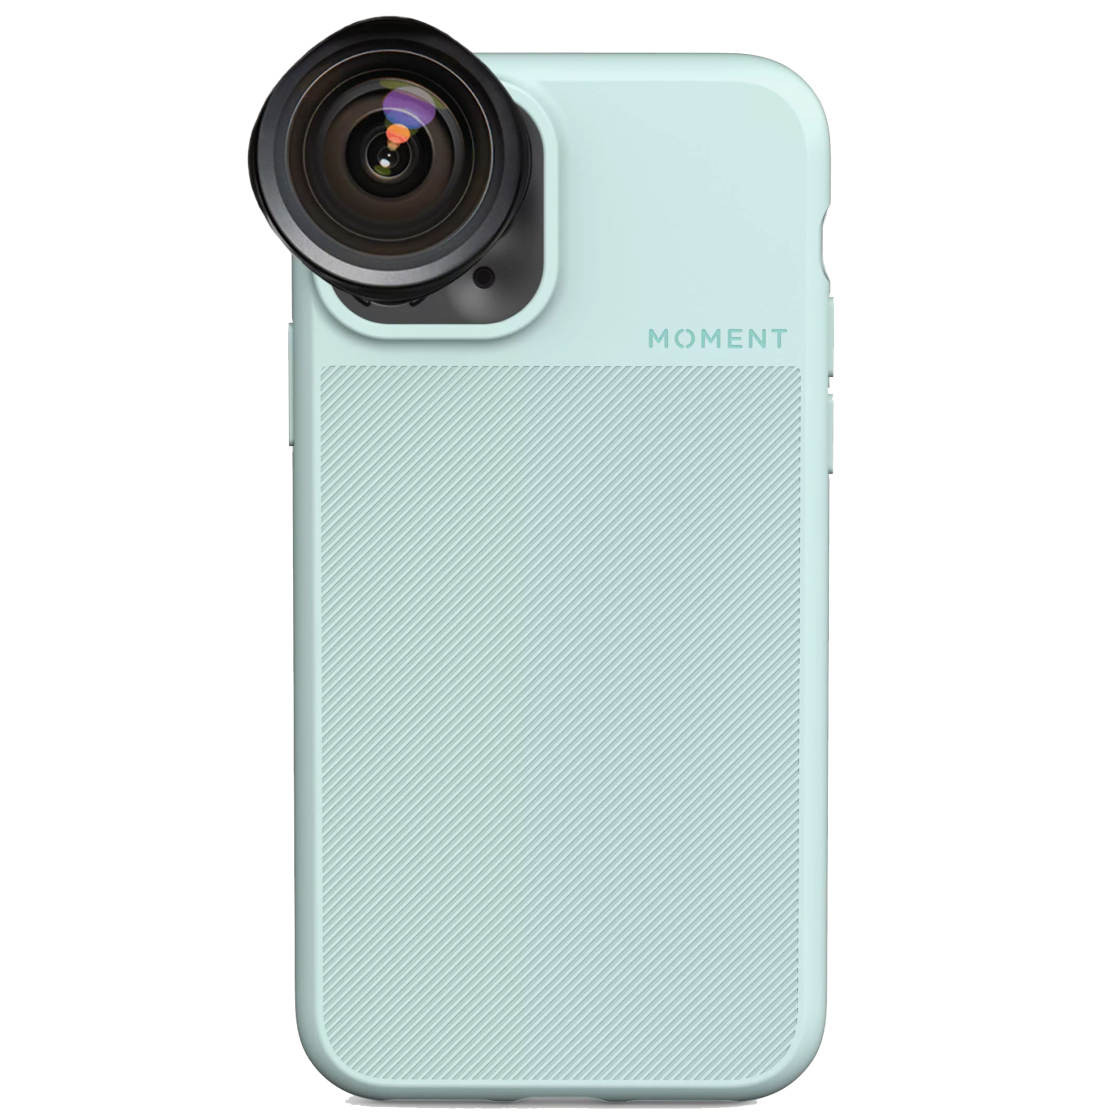 Macro Photography on iPhone with Blurred Background
When shooting close-up, precisely controlling your focus is crucial. To set the focus point on your iPhone, simply tap on the screen where you want the sharpest focus. A yellow box will appear, indicating your chosen focus point. Ensure this box is positioned on your subject. If the background isn’t blurry enough, try moving a little closer and refocusing.
Setting Focus Point on iPhone for Background Blur
Remember, experimentation is key. Practice adjusting your distance to the subject and observe how it impacts the background blur. With a little practice, you’ll be able to intuitively control background blur simply by moving closer or further away.
Adjusting Distance for Background Blur on iPhone
3. Post-Capture Background Blur Using Editing Apps
Sometimes, you might take a photo without intentionally blurring the background, or perhaps you want even more control over the blur effect than what’s achievable in-camera. In these situations, editing apps come to the rescue. Numerous apps are designed to blur backgrounds in photos after they’ve been taken, offering a range of blur styles and customization options.
Blurring Background in Photo Editing App on iPhone
For this tutorial, we’ll focus on the AfterFocus app, a popular choice for its user-friendly interface and effective blur tools. AfterFocus is available in the App Store.
3.1 Step-by-Step Guide to Blurring Background with AfterFocus
- Install and Open AfterFocus: Download and open the AfterFocus app on your iPhone.
- Select Photo: Tap Select Photo at the bottom of the screen and choose the photo you want to edit from your photo library.
- Smart Selection (Focus Area): Tap the Focus icon at the bottom. Use your finger to draw lines inside the area you want to keep in focus – your subject. Roughly outline your subject; precision isn’t essential at this stage.
Selecting Focus Area in AfterFocus App
- Smart Selection (Background Area): Tap the Background icon. Draw lines over the background areas you want to blur. As you release your finger, a red mask will appear, highlighting the area AfterFocus has identified as your foreground subject.
- Review and Refine Selection: Carefully examine the red mask. It should accurately cover only your intended subject. If parts of your subject aren’t masked or if background areas are incorrectly masked, you’ll need to refine the selection.
Reviewing Selection Mask in AfterFocus App
- Manual Selection (if needed): If the automatic selection isn’t perfect, tap the Pencil icon at the top to switch to Manual Selection mode. Zoom in by pinching the screen for detailed work. Use the Brush Size icon to adjust brush size. Select either the Focus or Background icon and carefully brush over areas needing correction. Focus adds to the in-focus selection (red mask), while Background removes from it. Use the Undo arrow if you make a mistake.
Manual Selection in AfterFocus App
- Apply Blur: Once your selection is accurate, tap the arrow at the top right. The app will process the image and apply a default background blur. If you notice any selection errors after applying the blur, use the back arrow to return to the selection stage and make adjustments.
3.2 Customizing the Blur Effect in AfterFocus
AfterFocus offers several tools to customize the blur effect to your liking:
- Blur Type and Strength: Tap the Blur icon at the bottom. Ensure Lens Blur is selected for a natural-looking blur. Use the slider to adjust the Strength of the blur. Higher values increase the blur intensity.
Adjusting Blur Strength in AfterFocus App
- Motion Blur: For subjects implying movement, consider using Motion Blur instead of Lens Blur. This adds a directional blur, enhancing the sense of motion in your image.
Motion Blur Effect in AfterFocus App
- Save Your Edited Photo: When you’re satisfied with the blur effect, tap the down arrow at the top of the screen, and then Yes to save your edited photo.
Blurred Background Example using AfterFocus App
4. Creating a Blurred Vignette for a Dreamy Effect
For a slightly different approach to background blur, consider creating a blurred vignette. Instead of blurring the entire background, this technique blurs the edges of your photo, drawing the viewer’s eye towards the center and creating a dreamy, framed effect.
Blurred Vignette Effect on iPhone Photo
The Snapseed app, a free and powerful photo editor by Google, is excellent for creating blurred vignettes. Snapseed is available in the App Store.
Here’s how to create a blurred vignette in Snapseed:
- Install and Open Snapseed: Download and open the Snapseed app on your iPhone.
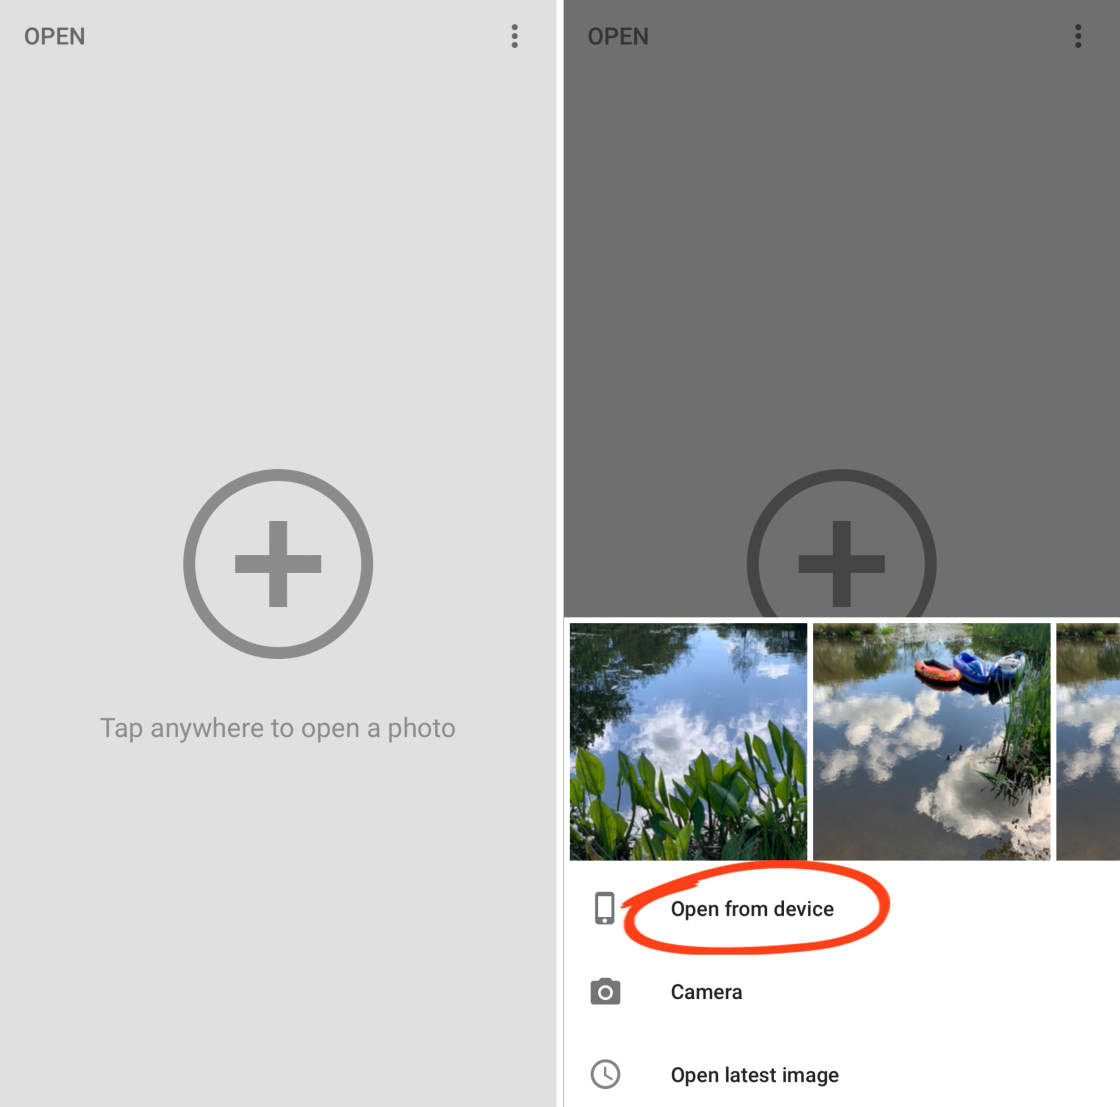
- Open Your Photo: Tap anywhere on the screen and select Open From Device to choose the photo you want to edit.
Opening Photo in Snapseed App
- Select Lens Blur Tool: Tap Tools at the bottom, then scroll down and select Lens Blur.
- Adjust Blur Area: Two white circles will appear on your image. The area inside the inner circle remains in focus, the area outside the outer circle is blurred, and the space between them is the transition zone. Drag the circles to reposition them, and pinch to resize them, controlling the area of focus and blur.
Adjusting Lens Blur in Snapseed App
-
Customize Blur Settings: Swipe vertically on the image to access blur settings: Blur Strength, Transition, and Vignette Strength.
- Blur Strength: Controls the intensity of the blur. Swipe left/right to adjust.
- Transition: Adjusts the gradualness of the blur transition from the focused area.
- Vignette Strength: Darkens the blurred edges, enhancing the vignette effect.
-
Apply and Save: Once satisfied, tap the checkmark at the bottom right to apply the effect. To save, tap Export, then Save A Copy.
Blurred Vignette Example in Snapseed App
Blurred vignettes work particularly well when your subject is centrally positioned and has some space around it for the blur to frame the image effectively. While not suitable for every photo, a blurred vignette can add a touch of artistry and focus to the right image.
By mastering these techniques – utilizing Portrait mode, leveraging proximity, and employing editing apps – you can confidently blur backgrounds in your iPhone photos, adding depth, professionalism, and creative flair to your mobile photography. Experiment with each method to discover which best suits your style and the subject you’re capturing, and watch your iPhone photos transform.
