Need a passport photo but want to skip the photo booth or professional studio? The good news is, you can take your own passport photo right in the comfort of your home. Taking a DIY approach to your passport photo can save you both time and money. However, it’s crucial to understand that while convenient, home passport photos must adhere to very specific official guidelines to be accepted. This article will guide you through everything you need to know to take a passport photo at home that meets all the necessary requirements and gets approved the first time.
Understanding Passport Photo Requirements
Before you grab your camera or smartphone, it’s essential to familiarize yourself with the official passport photo requirements. Government agencies have strict standards to ensure your photo is valid for official identification documents. Deviations from these rules are a common reason for passport application delays or even rejections. Let’s break down the key requirements:
Size and Dimensions
The standard passport photo size is 2×2 inches (51×51 mm). This is a square format, and your face must be correctly positioned and sized within this frame.
Background and Lighting
The background of your passport photo must be plain white or off-white. It needs to be free of any patterns, shadows, or textures. Good, even lighting is critical. Natural light is often best, but if you’re indoors, ensure the lighting is consistent and illuminates your face evenly, avoiding harsh shadows.
Pose and Expression
You must face the camera directly with a neutral facial expression. This means no smiling, frowning, or raised eyebrows. Keep your mouth closed and maintain a relaxed, natural pose. Your eyes should be open and clearly visible.
Allowed and Disallowed Items
Certain accessories and attire are restricted in passport photos to ensure clear facial recognition:
- Eyeglasses: Generally, eyeglasses are not allowed in passport photos, even if you wear them regularly.
- Headwear: Hats, scarves, and other head coverings are prohibited unless worn daily for religious reasons. If headwear is worn for religious purposes, it must not obscure your face.
- Accessories: Avoid large jewelry or accessories that could distract from your face or cause glare.
Following these official requirements meticulously is the foundation for taking an acceptable passport photo at home.
Step-by-Step Guide to Taking Passport Photos at Home
Now that you know the requirements, let’s get into the practical steps of taking your passport photo at home:
-
Choose the Right Location: Find a well-lit area in your home with a plain white or off-white background. A wall, a door, or even a white sheet can work as a backdrop. Position yourself facing the light source to ensure even illumination on your face. Avoid backlighting, which can create shadows.
-
Set Up Your Camera: You can use a digital camera or a smartphone with a good quality camera (at least 5 megapixels is recommended). For stability and to ensure your photo is sharp, use a tripod if possible. If you don’t have a tripod, ask a friend or family member to take the photo for you. Selfies are not permitted for passport photos.
-
Position Yourself Correctly: Stand or sit squarely facing the camera. Ensure your head and shoulders are in the frame, and your face is centered. Maintain good posture and look directly at the lens.
-
Check Your Expression: Remember to keep a neutral expression. Relax your facial muscles, keep your eyes open, and your mouth closed. Practice in a mirror to get comfortable with a neutral expression.
-
Take Multiple Shots: It’s always a good idea to take several photos. This gives you options to choose from and increases the chances of getting a perfect shot that meets all requirements. Slightly vary your pose and expression in a few shots to have options.
-
Review and Select: After taking a series of photos, review them carefully. Check for lighting, background, pose, and expression. Choose the photo that best meets all the official guidelines.
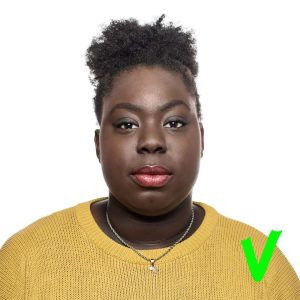 theme_people_passport_photo_correct_gettyimages-936316310_universal_within-usage-period_100265
This image illustrates a correct passport photo with proper lighting, background, and neutral expression.
-
Crop and Resize: Once you have selected your best photo, you may need to crop and resize it to meet the 2×2 inch dimension. There are many free online tools and apps available that can help you resize your photo accurately. Ensure that when you crop, your head size is within the acceptable range (between 1” and 1 3/8”).
-
Verify Your Photo: Many countries offer online passport photo tools that allow you to upload your photo and check if it meets the requirements. The U.S. Department of State provides a Photo Tool that is very helpful for verifying compliance. Utilizing such tools can give you confidence that your photo will be accepted.
Using Your Phone for Passport Photos
Yes, you absolutely can use your smartphone to take your passport photo. Modern smartphones are equipped with high-resolution cameras that are more than capable of capturing passport-quality images. The key is not just the camera quality, but adhering to all the guidelines regarding background, lighting, pose, and attire, as mentioned earlier.
To take a 2×2 passport photo on your iPhone or Android phone:
- Use the guidelines above for location, lighting, and background.
- Have someone else take the photo or use a tripod with a phone mount.
- Utilize your phone’s timer function to avoid camera shake if you’re taking the photo yourself with a tripod.
- After taking the photo, use a passport photo app or online tool to resize and crop it to the required 2×2 inch dimensions. Apps like “Passport Photo Booth” or websites like IDPhotoDIY can be very helpful.
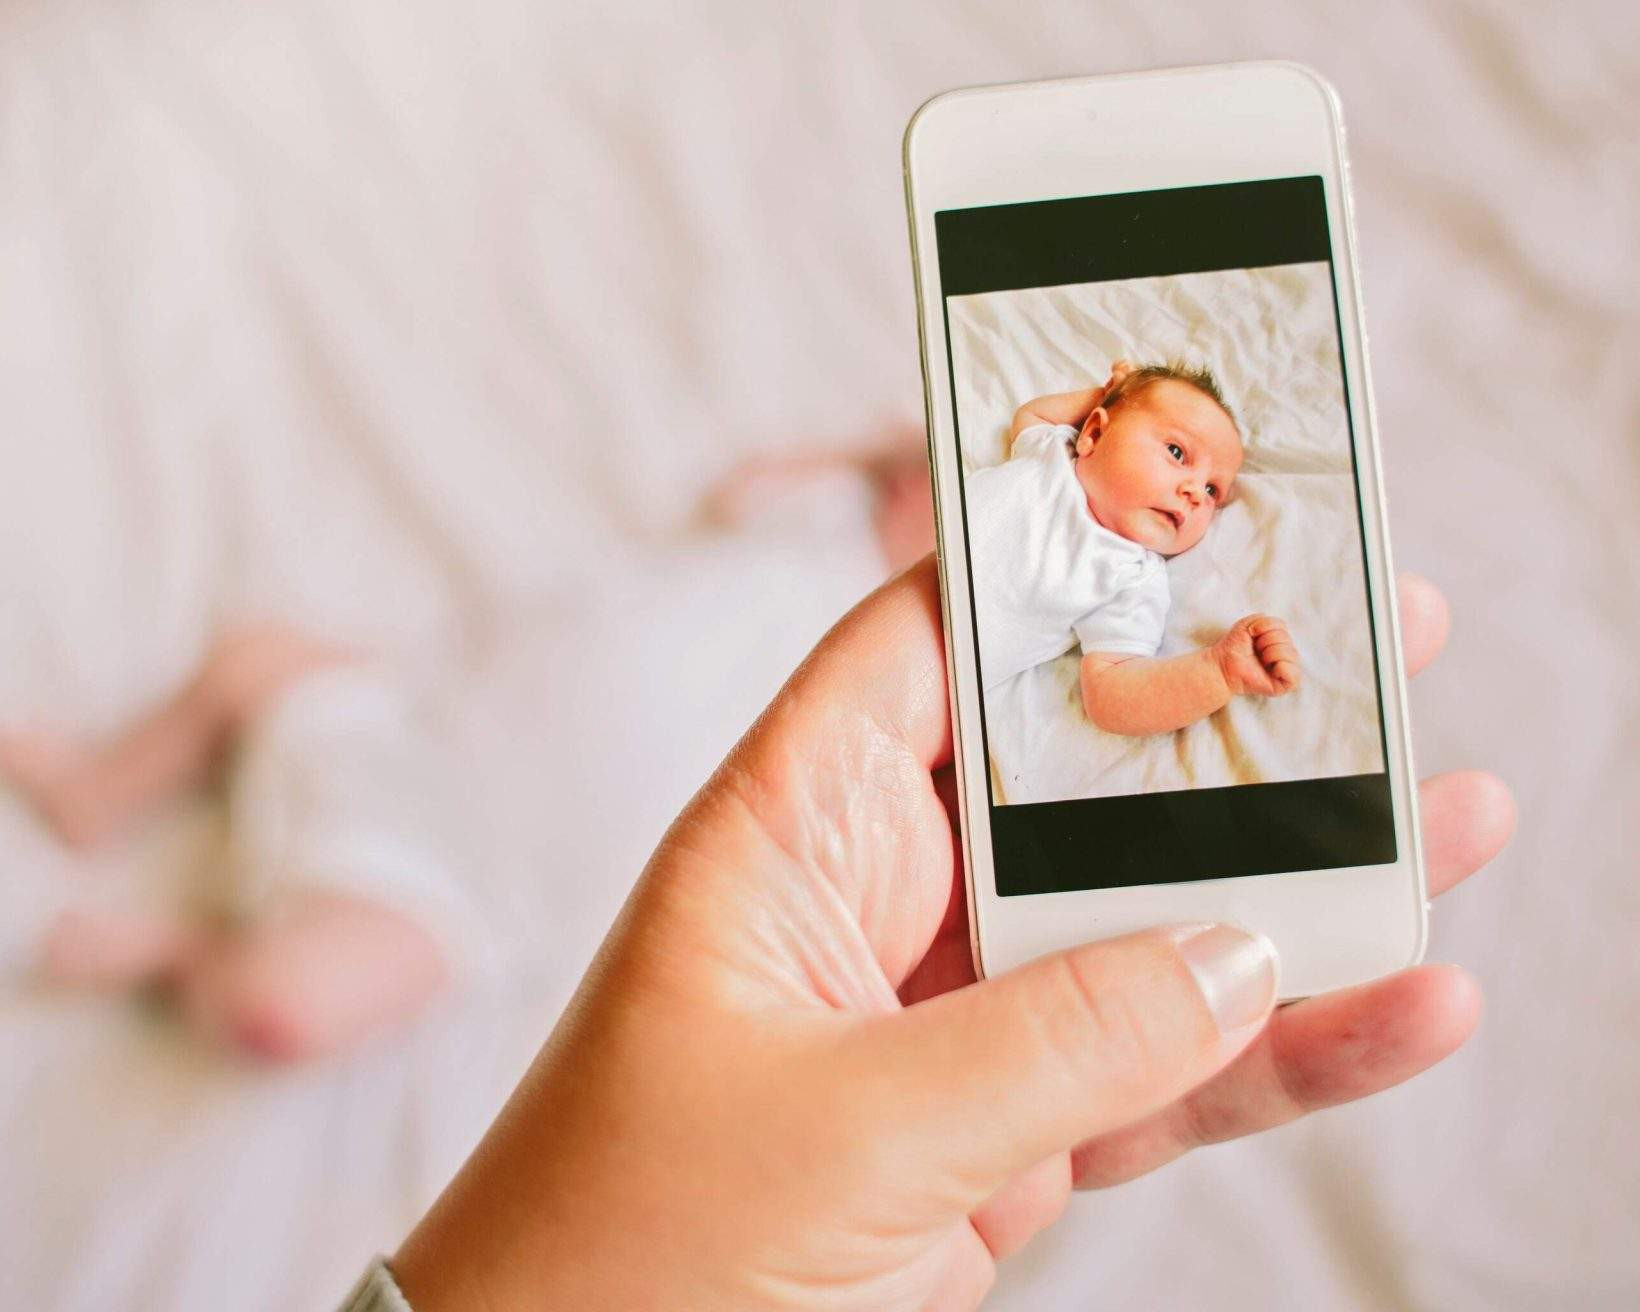 Mother taking a photograph on a smartphone of her newborn baby daughter
This image shows a parent using a smartphone, illustrating the ease of taking passport photos at home with mobile devices.
What to Wear for Your Passport Photo
Choosing the right attire for your passport photo might seem minor, but it contributes to the overall quality and acceptance of your photo. While there are no strict clothing regulations beyond avoiding uniforms and head coverings (unless for religious reasons), here are some recommendations for what to wear and what to avoid:
Recommended Attire
- Solid, Darker Colors: Wearing darker colors like navy, black, or deep jewel tones helps your face stand out against the white background.
- Simple, Everyday Clothing: Opt for clothes you would typically wear on a normal day. Avoid anything too flashy or distracting.
- Modest Jewelry: Small, simple jewelry is acceptable, but avoid large or reflective pieces that could cause glare or obscure your features.
- Neat Hair: Style your hair so it doesn’t cover your face or eyes. Ensure your face is fully visible. Light makeup is acceptable if desired, keeping it natural and non-obtrusive.
Items to Avoid
- Uniforms or Camouflage: These are not permitted as passport photo attire.
- Strapless or Tank Tops: These can give the impression of being unclothed, so it’s best to avoid them. Choose clothing with straps or sleeves.
- High Necklines or Scarves: Avoid clothing that covers your neck, as the photo needs to clearly show your neck and face.
- Glasses (usually): Unless medically necessary and documented, glasses should be removed.
- Headphones and Visible Tech: Remove headphones, earbuds, or any other visible technology.
- Heavy Makeup or Dramatic Hairstyles: Keep makeup and hair natural and avoid anything that drastically alters your everyday appearance.
- Hats or Head Coverings (unless for religious purposes): As mentioned, head coverings are generally not allowed unless worn for religious reasons.
By choosing appropriate attire, you ensure that your passport photo is professional-looking and meets all visual requirements.
Tips for Baby and Toddler Passport Photos
Taking passport photos of babies and toddlers comes with its own set of unique challenges. Here are some helpful tips to make the process smoother:
-
Timing is Key: Choose a time when your child is usually well-rested and in a good mood. Naptime or right after feeding can be ideal.
-
Plain White Background: Lay a plain white or off-white sheet on the floor or a safe, flat surface. You can also use a white blanket draped over a car seat or infant seat to provide support.
-
Natural Light: Position your baby near a window to utilize natural light. Ensure the light is even and avoids harsh shadows on their face.
-
Get Their Attention: Use toys, rattles, or gentle noises to get your baby’s attention and encourage them to look towards the camera. Another person can stand behind you and make noises or hold a toy to direct the baby’s gaze.
-
No One Else in the Photo: Ensure only the baby is in the photo. Do not hold the baby’s head or hands in the picture.
-
Eyes Open (if possible): While the guidelines are more lenient for infants (eyes don’t have to be fully open), try to capture a photo with their eyes open if possible.
-
Take Many Photos: Babies move a lot, so be prepared to take numerous photos to get a few usable shots.
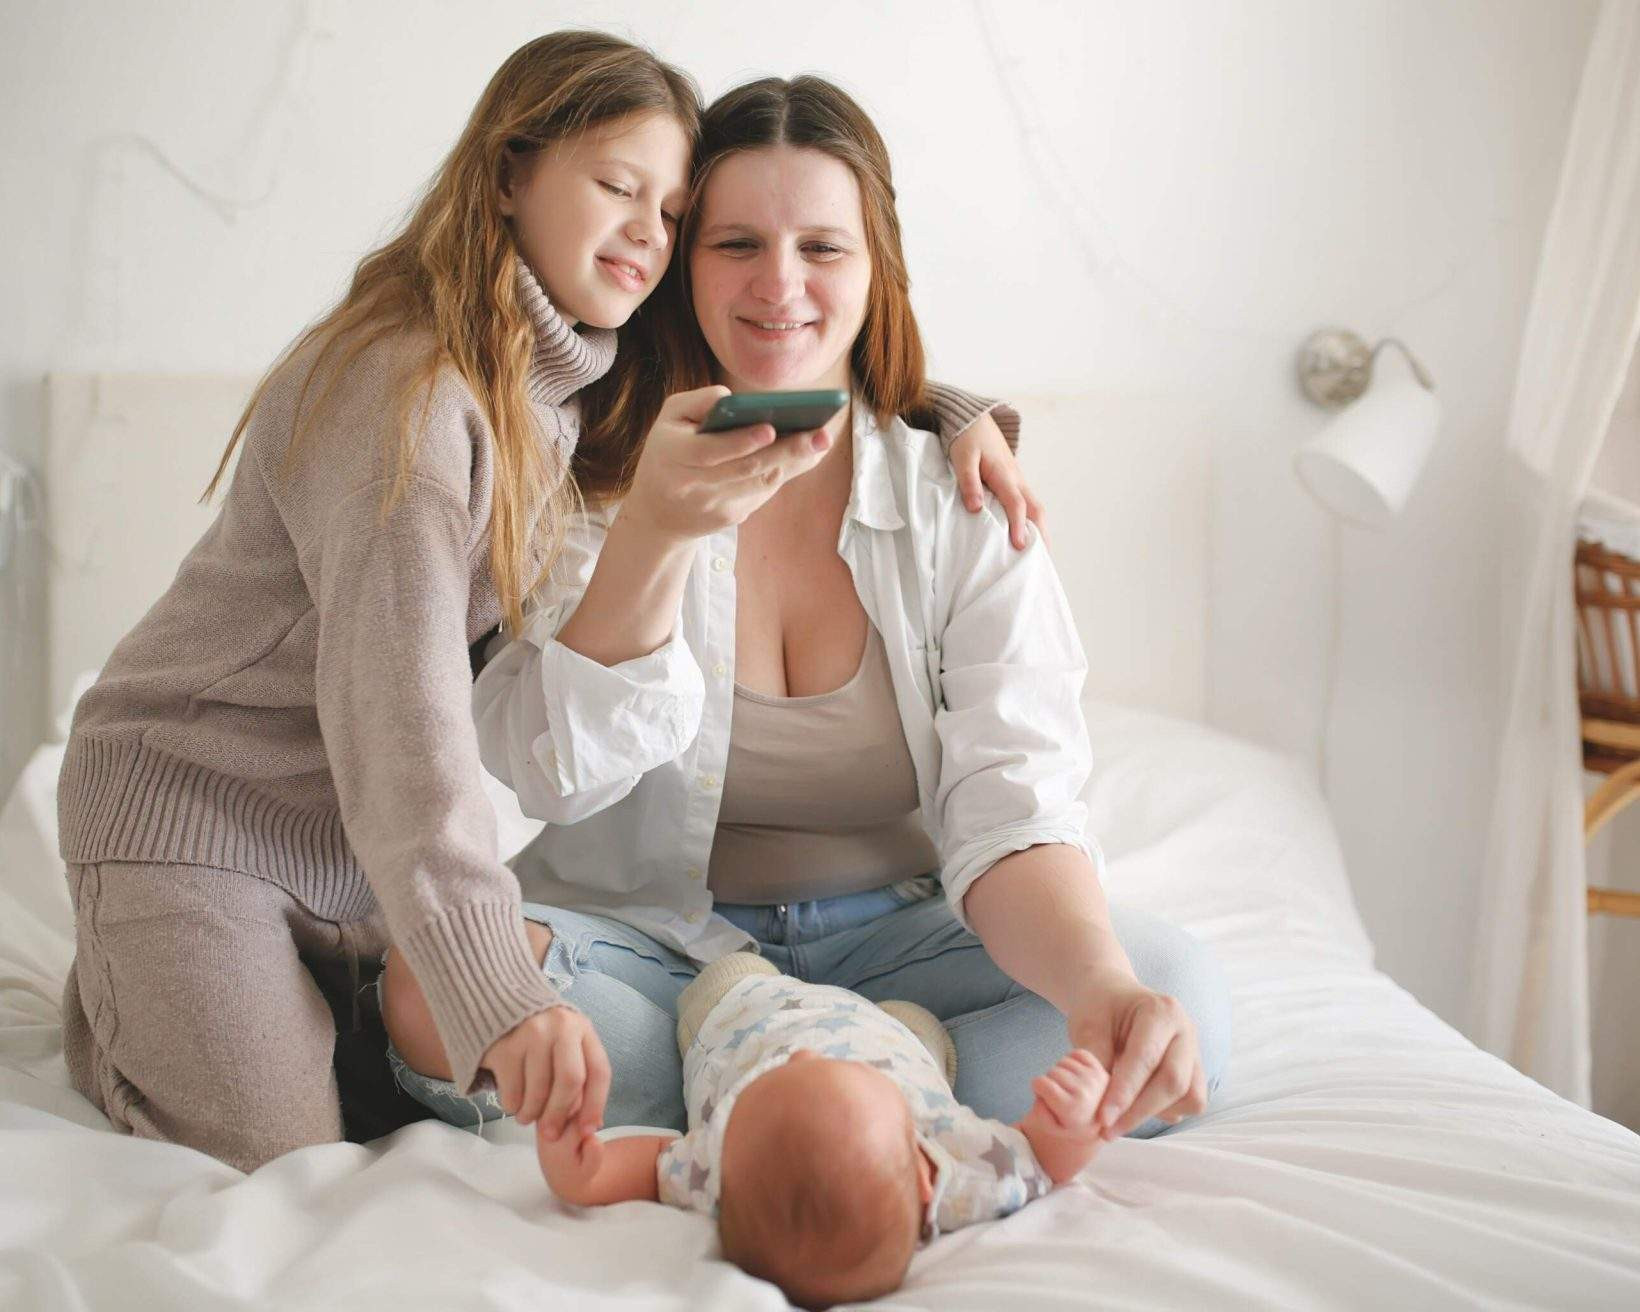 THEME_PEOPLE_FAMILY_MOTHER-DAUGHTER_TAKING-PHOTO_OF-BABY_GettyImages-1677731582-1640×1312
This image illustrates a parent taking a baby’s photo, highlighting the need for patience and a comfortable setting.
- Patience is Crucial: Taking a baby’s passport photo requires patience. Stay calm, take breaks if needed, and try to make it a stress-free process for both you and your child.
Common Mistakes to Avoid
To ensure your DIY passport photo is accepted, be aware of these common mistakes that often lead to rejection:
- Poor Lighting and Shadows: Uneven lighting or shadows on the face or background are frequent issues.
- Incorrect Size and Dimensions: Not adhering to the 2×2 inch size or incorrect head size within the frame.
- Smiling or Non-Neutral Expression: Smiling, grinning, or unnatural expressions are not allowed.
- Using Filters or Editing: Photos must be unedited and without filters.
- Non-White Background: Using a colored, patterned, or textured background.
- Wearing Glasses or Headwear (incorrectly): Forgetting to remove glasses or wearing unpermitted headwear.
- Low-Resolution Photos: Using a camera with insufficient resolution, resulting in blurry or pixelated images.
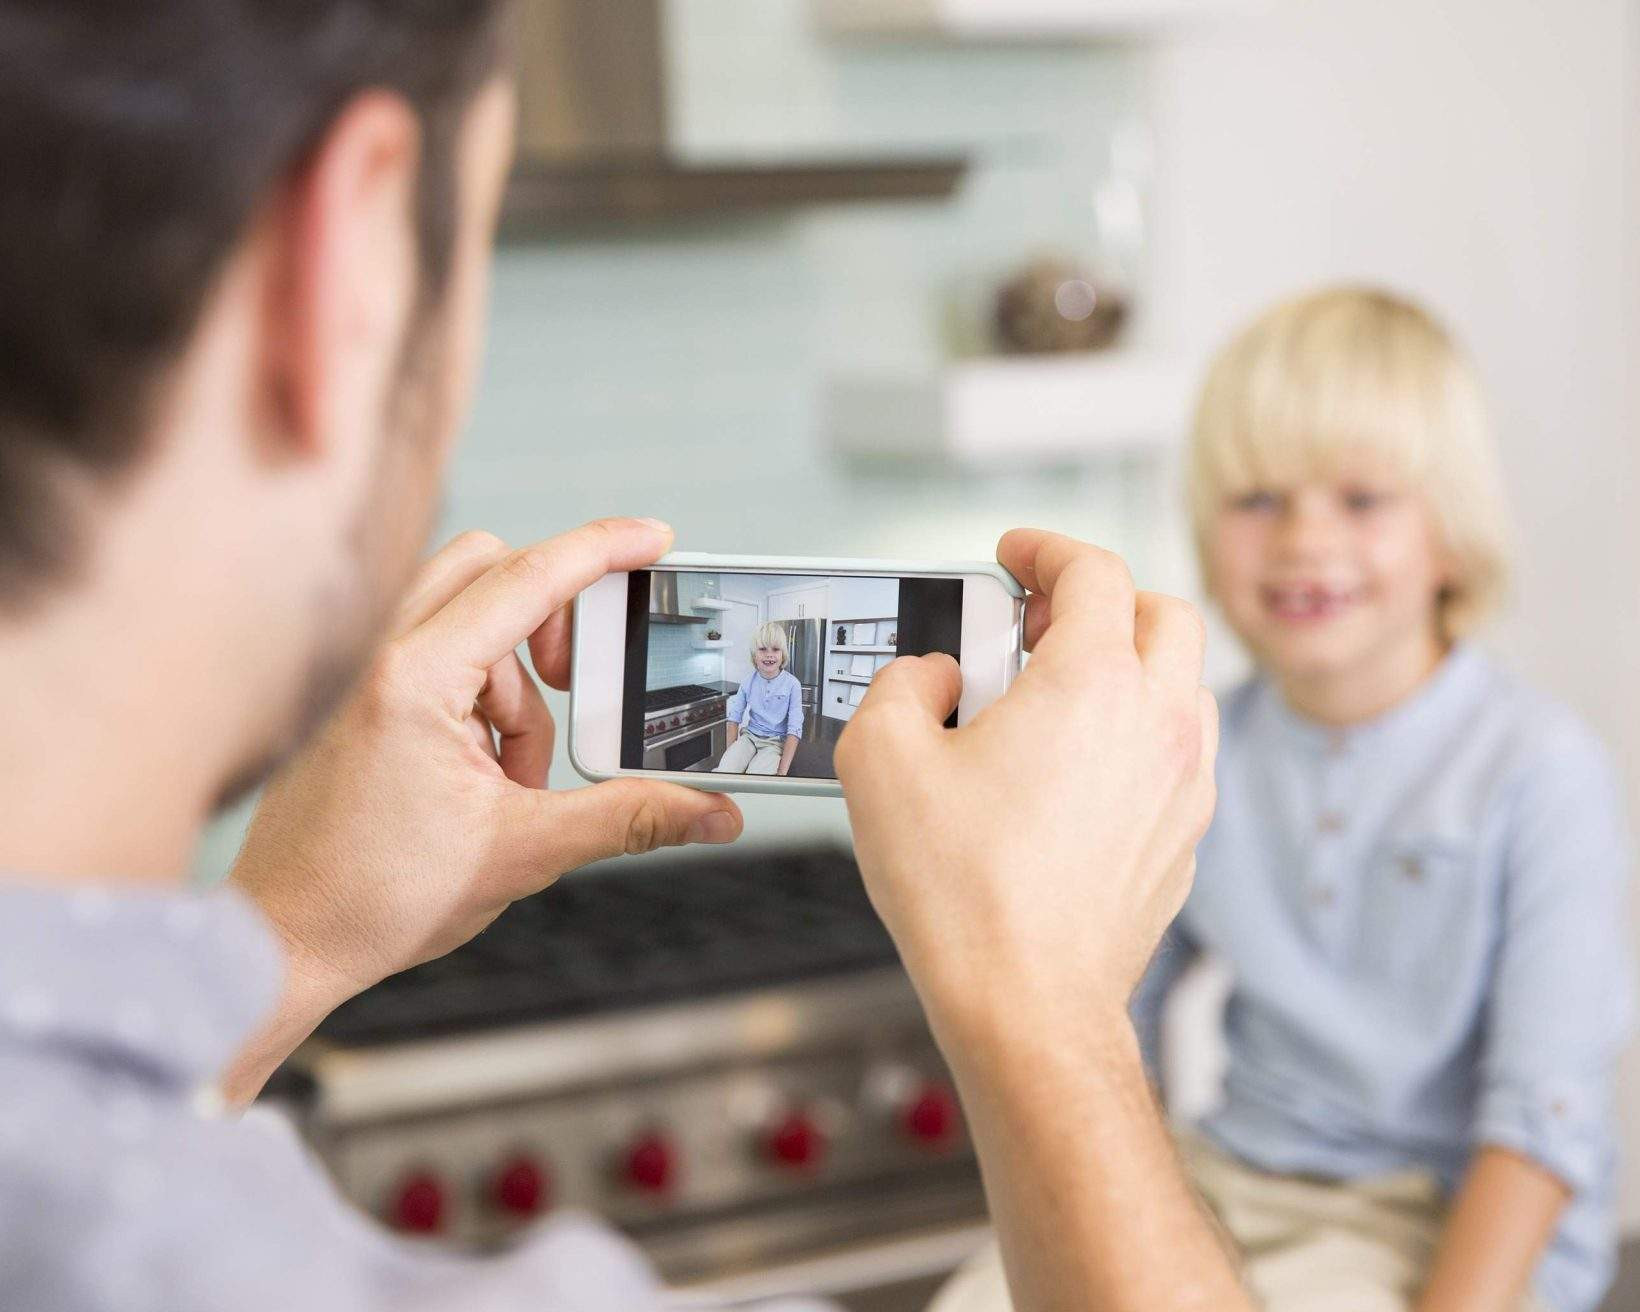 Father taking photo of child at home
This image represents a home setting for passport photos, emphasizing the need to avoid common mistakes during the process.
By being mindful of these common pitfalls and following the guidelines, you can significantly increase the likelihood of your home-taken passport photo being accepted.
Conclusion
Taking your own passport photo at home is not only possible but also a convenient and cost-effective option. By understanding and carefully following the official guidelines, setting up your photo area correctly, and avoiding common mistakes, you can successfully capture a passport photo that meets all requirements. This step-by-step guide aims to empower you to confidently take your passport photo at home, saving you time and ensuring a smoother passport application process. So, yes, you absolutely can take your own passport photo, and with the right preparation and attention to detail, you can do it successfully.
The foregoing article was last updated on the 20th of February 2025. It does not contain legal advice and is for informational purposes only. KAYAK does not guarantee, and accepts no legal liability arising from or connected to, the accuracy, reliability, currency or completeness of any of the information contained in this article and/or any of the content linked to within it. Always check the official government website of your departure and arrival destinations prior to travel for up-to-date information.
Sources:
https://travel.state.gov/content/travel/en/passports/how-apply/photos.html
https://travel.state.gov/content/travel/en/us-visas/visa-information-resources/photos.html