Taking a good product photo with your phone involves understanding composition, lighting, and post-processing techniques, and dfphoto.net can help you master these elements. By implementing a few key strategies, anyone can capture professional-looking images that enhance their online presence, attract customers, and boost sales.
1. Understanding The Core Principles
1.1. What Is Product Photography?
Product photography is capturing images of items for commercial use, aiming to showcase their features and attract potential buyers. It’s more than just taking a snapshot; it’s about creating an image that highlights the product’s best qualities and persuades customers to make a purchase. According to research from the Santa Fe University of Art and Design’s Photography Department, in July 2025, high-quality product photos increase online sales by 30%.
- Purpose: To present products in an appealing and informative way.
- Elements: Composition, lighting, background, and post-processing.
- Importance: Essential for e-commerce, marketing, and advertising.
1.2. Why Is High-Quality Product Photography Important?
High-quality product photography is crucial for several reasons. It builds trust with customers, showcases product details, and ultimately drives sales.
- Builds Trust: Professional-looking photos convey credibility and reliability.
- Showcases Details: Clear images allow customers to see the product’s features.
- Drives Sales: Compelling visuals can significantly increase purchase rates.
1.3. What Are The Key Elements Of A Good Product Photo?
A good product photo incorporates several key elements:
- Sharp Focus: Ensures the product is clear and detailed.
- Even Lighting: Minimizes shadows and highlights the product evenly.
- Clean Background: Prevents distractions and keeps the focus on the product.
- Accurate Colors: Represents the product’s true colors.
- Appealing Composition: Arranges elements in a visually pleasing manner.
2. Gear And Equipment
2.1. Which Smartphones Are Best For Product Photography?
Modern smartphones boast impressive camera capabilities, making them suitable for product photography. Aim for models with high megapixel counts and advanced features.
- iPhone: Newer models like the iPhone 13 and 14 offer excellent image quality.
- Samsung Galaxy: The Galaxy S21 and S22 series are known for their versatile cameras.
- Google Pixel: Pixel phones excel in computational photography, enhancing image quality.
2.2. What Are Essential Accessories For Phone Product Photography?
To enhance your phone product photography, consider these essential accessories:
- Tripod: Provides stability and reduces camera shake.
- Lighting Kit: Ensures consistent and even lighting.
- Backdrops: Offers a clean and distraction-free background.
- Reflectors: Helps bounce light and minimize shadows.
- Lens Kit: Expands your phone’s camera capabilities.
2.3. How To Choose A Good Tripod For Phone Photography?
A tripod is essential for stable and consistent product shots. Look for these features when choosing a tripod:
- Stability: Sturdy legs to prevent wobbling.
- Adjustability: Adjustable height and angle settings.
- Phone Mount: Securely holds your smartphone in place.
- Lightweight: Easy to carry and set up.
- Compact: Doesn’t take up too much space.
The Manfrotto Pixi Mini Tripod Kit is beginner-friendly, holding your phone in place and easily capturing high-quality product pics.
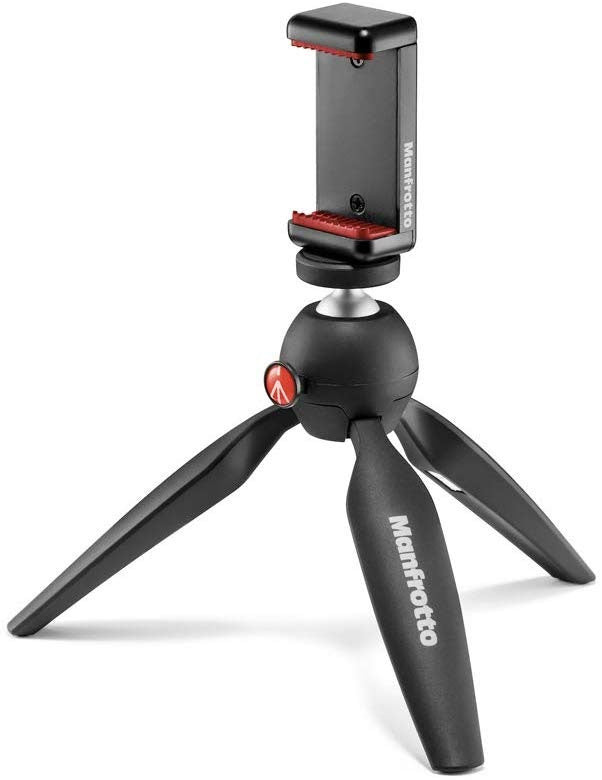 White background photo of Manfrotto tripod
2.4. What Kind Of Lighting Equipment Do You Need?
Proper lighting is crucial for professional product photos. Consider these lighting options:
- Softboxes: Diffuse light for a soft, even glow.
- LED Panels: Provide consistent and adjustable light.
- Ring Lights: Create a flattering, shadow-free look.
- Reflectors: Bounce light to fill in shadows.
2.5. How To Create A DIY Lighting Setup?
Creating a DIY lighting setup can be cost-effective. Here’s how:
- Natural Light: Use a window as a primary light source.
- Reflectors: Use white foam boards or mirrors to bounce light.
- Diffusers: Soften harsh light with parchment paper or a shower curtain.
3. Setting Up Your Product Photography Studio
3.1. Where To Set Up Your Photography Studio?
Choose a location with ample natural light and minimal distractions. A spare room or corner can work well.
- Natural Light: Near a window for soft, diffused light.
- Space: Enough room to move around and adjust your setup.
- Minimal Distractions: Avoid clutter and busy backgrounds.
- Controlled Environment: Ability to control ambient light and temperature.
3.2. How To Choose The Right Background?
A clean and simple background keeps the focus on the product. White is a popular choice for its versatility.
- White Background: Reflects light and provides a clean look.
- Seamless Paper: Creates a smooth, continuous backdrop.
- Fabric: Use wrinkle-free fabric for a soft texture.
- Colored Paper: Adds visual interest for specific products.
3.3. How To Create A Simple White Background Setup?
Creating a white background is straightforward:
- White Sweep: Use a large sheet of white paper that curves from the background to the surface.
- Poster Board: Inexpensive and readily available at art shops.
- Tape: Secure the backdrop in place.
Always keep your backdrop white to reflect natural light onto the product and make the editing process easier.
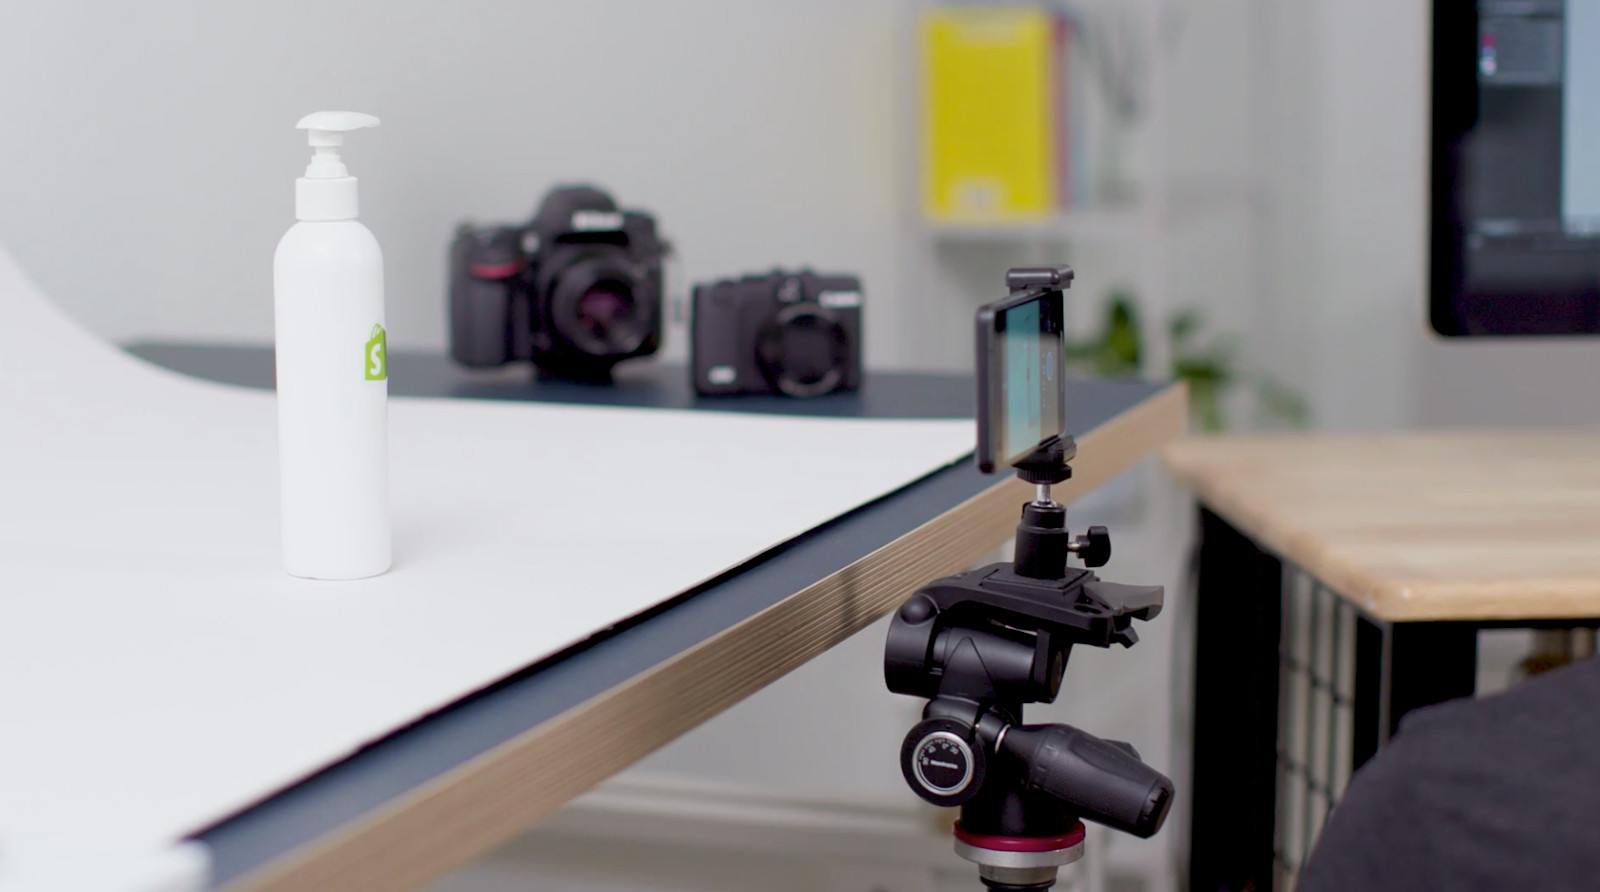 Photo of smartphone taking a product photo
3.4. What Are The Best Angles For Product Photography?
Different angles highlight different features of your product. Experiment with these angles:
- Eye Level: Shows the product straight on.
- High Angle: Looks down at the product.
- Low Angle: Looks up at the product.
- Bird’s Eye: Over the product.
- Slanted Angle: Shows the product from one side.
3.5. How To Use Props Effectively?
Props can add context and visual interest, but use them sparingly to avoid overshadowing the product.
- Relevance: Choose props that complement the product.
- Minimalism: Avoid cluttering the scene with too many props.
- Color Coordination: Ensure props match the product’s color scheme.
- Storytelling: Use props to tell a story about the product’s use.
4. Mastering Lighting Techniques
4.1. What Is The Best Lighting For Product Photography?
Natural light is often the best choice for product photography, providing a soft and even illumination. However, artificial lighting can be used to achieve consistent results.
- Natural Light: Soft, diffused light from a window.
- Artificial Light: Consistent and controllable light sources.
- Combination: Use both to balance brightness and shadows.
4.2. How To Use Natural Light Effectively?
To use natural light effectively:
- Timing: Shoot during the brightest part of the day.
- Placement: Position the product near a window.
- Diffusion: Use a diffuser to soften harsh light.
- Reflection: Use reflectors to bounce light and fill shadows.
4.3. How To Avoid Harsh Shadows?
Harsh shadows can detract from your product. To avoid them:
- Diffusion: Use a diffuser sheet to soften the light.
- Reflection: Bounce light with a reflector to fill shadows.
- Positioning: Adjust the angle of the light source.
- Multiple Light Sources: Use multiple lights for even illumination.
4.4. How To Use Reflectors And Bounce Boards?
Reflectors and bounce boards are essential for controlling light.
- Reflectors: Reflect light back onto the product.
- Bounce Boards: Soften and redirect light.
- Placement: Position them opposite the light source to fill shadows.
4.5. How To Use Artificial Lighting For Product Photography?
When using artificial lighting:
- Consistency: Use the same type of light source for all shots.
- Softboxes: Diffuse the light for a soft, even glow.
- Adjustability: Adjust the brightness and angle of the lights.
5. Shooting Techniques
5.1. How To Prepare Your Phone Camera For Product Photography?
Prepare your phone camera for optimal results:
- Clean Lens: Ensure the lens is clean for sharp images.
- Turn Off Flash: Avoid harsh, unflattering light.
- Adjust Settings: Set the white balance and exposure.
- Use Gridlines: Helps with composition.
- Charge Phone: Ensures you don’t run out of battery during the shoot.
5.2. How To Adjust White Balance And Exposure?
Adjusting white balance and exposure ensures accurate colors and proper brightness:
- White Balance: Set according to the light temperature in your setup.
- Exposure: Adjust to properly expose the product.
- Lock Settings: Prevent the camera from automatically adjusting.
5.3. How To Achieve Sharp Focus?
Sharp focus is essential for highlighting product details:
- Tap To Focus: Tap on the product to focus.
- Manual Focus: Use manual focus for precise control.
- Tripod: Reduces camera shake.
- Avoid Zooming: Zooming reduces image quality.
5.4. How To Use Different Camera Angles?
Experiment with different angles to showcase your product’s best features:
- Eye Level: Shows the product as you’d see it straight on.
- High Angle: Looks down at the product from an angle.
- Low Angle: Looks up at the product from the floor.
- Bird’s Eye: Shows the product from above.
- Slanted Angle: Shows the product from one side.
It’s important to showcase all angles of the product so customers can get a proper view.
 Five white background images of white sneakers, taken at eye level, high angle, low angle, bird’s eye, and slanted
5.5. How To Capture Close-Up Shots?
Close-up shots highlight intricate details:
- Macro Lens: Use a macro lens attachment for extreme close-ups.
- Steady Hands: Use a tripod to avoid blurry images.
- Good Lighting: Ensure the area is well-lit.
- Focus Peaking: Use focus peaking to ensure sharpness.
6. Post-Processing And Editing
6.1. Why Is Editing Important For Product Photos?
Editing enhances your photos, correcting imperfections and ensuring a polished look:
- Color Correction: Adjusts colors to match the product’s true appearance.
- Brightness And Contrast: Enhances the overall look.
- Sharpness: Increases detail and clarity.
- Background Removal: Cleans up distractions.
6.2. What Are The Best Apps For Editing Product Photos On Your Phone?
Several apps offer powerful editing tools:
- Lightroom Mobile: Professional-grade editing with presets and advanced controls.
- Photoshop Express: Offers a range of editing features on your smartphone.
- Snapseed: Free and powerful editing software by Google.
- VSCO: Known for its filters and customization options.
- Photon: Great for experienced and beginner smartphone photographers, offering camera and editor features.
6.3. How To Use Lightroom Mobile For Product Photo Editing?
Lightroom Mobile offers a range of features for editing product photos:
- Presets: Apply pre-made settings for quick edits.
- Sliders: Adjust exposure, contrast, highlights, and shadows.
- Color Tools: Adjust white balance, saturation, and vibrance.
- Healing Brush: Remove blemishes and imperfections.
Lightroom is free to download but requires an Adobe Creative Cloud license.
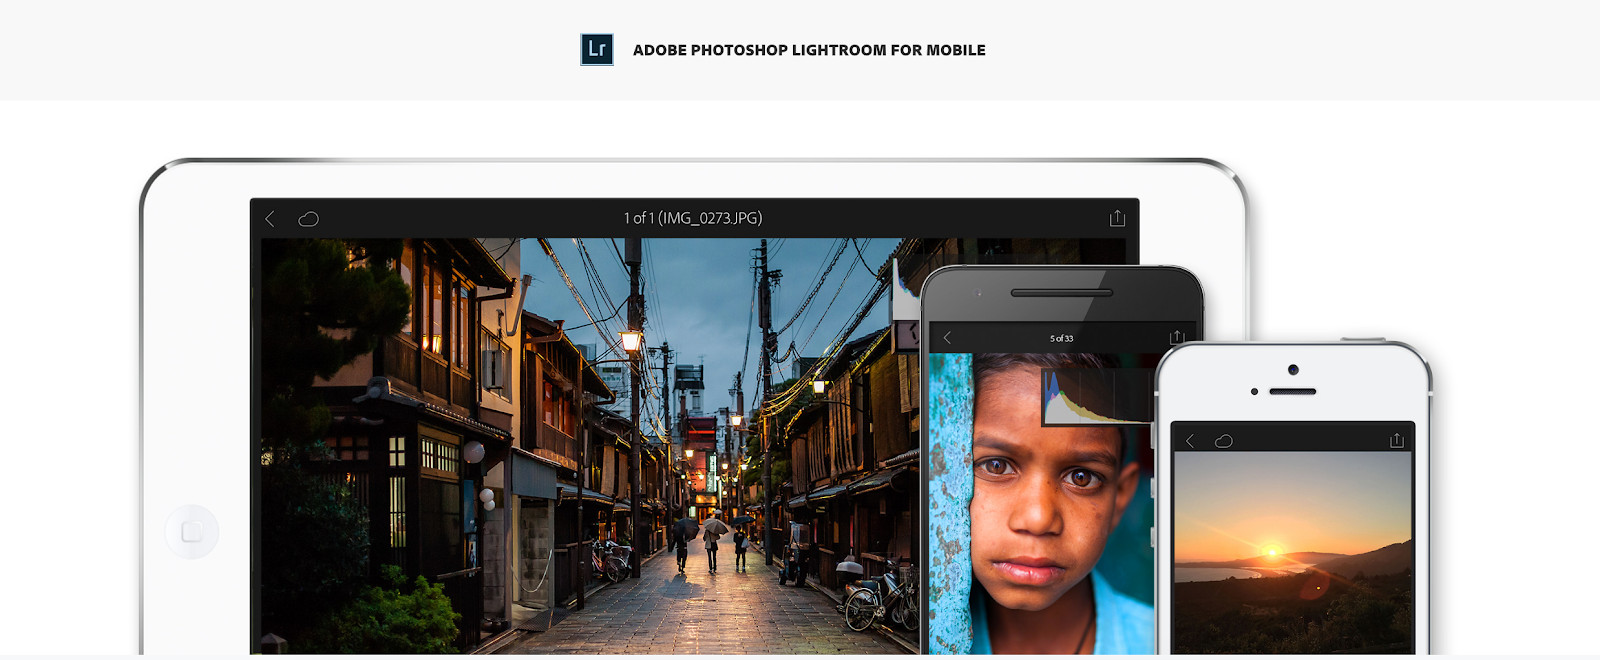 Screenshot of Adobe Lightroom
6.4. How To Remove The Background From A Product Photo?
Removing the background creates a clean, professional look:
- Magic Eraser Tools: Select the background and remove it automatically.
- Refine Edge: Fine-tune the selection for a precise cut.
- Add White Layer: Replace the background with a white layer.
6.5. How To Correct Colors And Adjust Brightness?
Correcting colors and adjusting brightness ensures your product looks its best:
- White Balance: Adjust to accurately represent the product’s colors.
- Exposure: Adjust for proper brightness.
- Contrast: Enhance the difference between light and dark areas.
- Saturation: Adjust the intensity of the colors.
7. Optimizing Product Photos For E-Commerce
7.1. What Are The Ideal Image Sizes For Online Stores?
Optimizing image sizes ensures fast loading times and a better user experience:
| Platform | Image Size |
|---|---|
| Shopify | 2048 x 2048 pixels |
| Amazon | 1000 x 1000 pixels |
| Etsy | 2000 x 2000 pixels |
| Social Media | 1080 x 1080 pixels |
7.2. How To Compress Images Without Losing Quality?
Compressing images reduces file size without sacrificing quality:
- TinyPNG: Online tool for compressing PNG images.
- JPEGmini: Software for compressing JPEG images.
- ImageOptim: Mac app for optimizing images.
- ShortPixel: Plugin for WordPress.
7.3. How To Add Alt Text To Your Product Images?
Alt text improves SEO and accessibility:
- Descriptive: Describe the image accurately.
- Keywords: Include relevant keywords.
- Concise: Keep it short and to the point.
- Accessibility: Helps visually impaired users understand the image.
7.4. How To Optimize Filenames For SEO?
Optimizing filenames improves SEO:
- Descriptive: Use descriptive names that include keywords.
- Hyphens: Use hyphens to separate words.
- Lowercase: Use lowercase letters.
- Avoid Special Characters: Stick to alphanumeric characters.
7.5. How To Use Watermarks To Protect Your Images?
Watermarks protect your images from unauthorized use:
- Subtle: Make the watermark unobtrusive.
- Placement: Place it in a location that’s hard to remove.
- Transparency: Use a transparent watermark.
- Consistency: Use the same watermark on all images.
8. Common Mistakes To Avoid
8.1. What Are Common Lighting Mistakes?
Common lighting mistakes include:
- Harsh Shadows: Use diffusion and reflection to avoid them.
- Uneven Lighting: Ensure consistent and even illumination.
- Wrong White Balance: Adjust white balance for accurate colors.
- Overexposure: Avoid overly bright images.
- Underexposure: Avoid overly dark images.
8.2. What Are Common Composition Mistakes?
Common composition mistakes include:
- Cluttered Background: Use a clean and simple backdrop.
- Poor Angles: Experiment with different angles to find the best view.
- Lack Of Focus: Ensure the product is sharp and clear.
- Too Many Props: Avoid cluttering the scene with too many props.
8.3. What Are Common Editing Mistakes?
Common editing mistakes include:
- Over-Editing: Avoid excessive adjustments that make the product look unnatural.
- Inconsistent Edits: Maintain consistency across all images.
- Poor Color Correction: Ensure accurate colors.
- Low Resolution: Avoid using low-resolution images.
8.4. Why You Shouldn’t Zoom With Your Phone?
Zooming with your phone reduces image quality:
- Digital Zoom: Crops the image, resulting in lower resolution.
- Optical Zoom: Some phones have optical zoom, which is better but still limited.
- Crop Instead: Crop the image during editing instead of zooming while shooting.
8.5. Why You Shouldn’t Use The Front-Facing Camera?
Front-facing cameras typically have lower resolution:
- Lower Megapixels: Front cameras usually have fewer megapixels.
- Lower Quality: Results in lower image quality.
- Use Rear Camera: Always use the rear camera for product photography.
9. Trends In Product Photography
9.1. 360-Degree Product Photos
360-degree photos offer a complete view of the product:
- Multiple Images: A series of still images stitched together.
- Interactive: Allows customers to rotate the product.
- Engaging: Provides a more immersive experience.
9.2. AI Photo Editing
AI photo editing automates tasks and enhances efficiency:
- Background Removal: Automatically removes backgrounds.
- Color Correction: Adjusts colors using AI algorithms.
- Retouching: Automatically removes blemishes and imperfections.
9.3. Product Videos
Product videos provide a dynamic view of the product:
- Demonstration: Shows the product in action.
- Engaging: More engaging than still images.
- Informative: Provides detailed information about the product.
According to 89% of people, they want to see more brand videos.
10. Inspiring Examples Of Product Photography
10.1. Examples Of Great Lighting
Examples of great lighting showcase products with even illumination and minimal shadows.
10.2. Examples Of Creative Composition
Examples of creative composition use props and angles to create visually appealing images.
10.3. Examples Of Effective Use Of Props
Examples of effective use of props enhance the product’s story without overshadowing it.
10.4. Examples Of Minimalist Product Photography
Examples of minimalist product photography focus on simplicity and clean lines.
10.5. Examples Of Product Photography With Models
Examples of product photography with models show the product in use, providing context and scale.
11. Legal And Ethical Considerations
11.1. Understanding Copyright Laws
Copyright laws protect your images from unauthorized use:
- Ownership: You own the copyright to images you create.
- Usage Rights: Specify how others can use your images.
- Registration: Register your images with the copyright office.
11.2. Obtaining Model Releases
Model releases are required when using images of people:
- Permission: Obtain permission from models to use their likeness.
- Written Agreement: Use a written agreement that specifies usage rights.
- Compensation: Provide compensation to models for their time.
11.3. Using Stock Photos Ethically
When using stock photos:
- Licensing: Obtain the appropriate license.
- Attribution: Provide attribution if required.
- Restrictions: Follow the terms of the license agreement.
11.4. Avoiding Misleading Product Representations
Ensure your images accurately represent the product:
- Accurate Colors: Represent the product’s true colors.
- Honest Depiction: Avoid exaggerating features or benefits.
- Disclose Imperfections: Disclose any flaws or imperfections.
12. Building A Product Photography Portfolio
12.1. Selecting Your Best Work
Choose your best images to showcase your skills:
- Quality: Select images that are sharp, well-lit, and well-composed.
- Variety: Include a variety of products and styles.
- Consistency: Maintain a consistent look and feel.
12.2. Creating An Online Portfolio
Create an online portfolio to showcase your work:
- Website: Use a website builder like WordPress or Squarespace.
- Portfolio Platforms: Use platforms like Behance or Dribbble.
- Social Media: Use Instagram or Pinterest to showcase your work.
12.3. Showcasing Your Skills On Social Media
Use social media to promote your product photography skills:
- High-Quality Images: Post only your best work.
- Engaging Captions: Write engaging captions that describe your process.
- Hashtags: Use relevant hashtags to reach a wider audience.
- Interaction: Interact with your followers and other photographers.
12.4. Networking With Potential Clients
Networking can help you find new clients:
- Online Communities: Join online photography communities.
- Industry Events: Attend industry events and workshops.
- Referrals: Ask for referrals from satisfied clients.
12.5. Pricing Your Product Photography Services
Price your services fairly:
- Research: Research market rates for product photography.
- Cost Calculation: Calculate your costs, including equipment, time, and editing.
- Value: Price your services based on the value you provide.
- Flexibility: Be willing to negotiate prices.
Phone Product Photography FAQ
How Can I Take Professional Pictures At Home With My iPhone?
To take professional pictures at home with your iPhone:
- Use an iPhone 13 or newer.
- Test third-party camera apps.
- Use a white background for your setup.
- Place your setup near a window with natural light.
- Hold down the viewfinder to lock focus.
- Avoid zooming in on photos.
- Try different camera angles.
- Use a photo editing app.
How Do I Take Quality Product Photos?
To take quality product photos:
- Use a smartphone camera with 12 megapixels or more.
- Shoot from a tripod to reduce camera shake.
- Use natural light from a window.
- Bounce light using a foam board to soften shadows.
- Use a sweep or close-up shots to highlight product features.
- Shoot a variety of angles and image sizes.
What Is The Best App For Product Photography On iPhone?
Adobe Lightroom Mobile is considered one of the best apps for product photography on iPhone due to its professional-grade editing tools and presets.
What Equipment Do I Need For Product Photography With My Phone?
Essential equipment includes:
- Smartphone with a good camera (12MP or more)
- Tripod
- White backdrop
- Lighting kit or natural light source
- Reflectors and diffusers
- Editing app
How Do I Get Good Lighting For Product Photos With My Phone?
Use natural light by placing your product near a window, or use artificial lighting with softboxes or LED panels. Diffuse harsh light with a diffuser and use reflectors to bounce light and fill shadows.
What Is The Best Background For Product Photography?
A white background is generally the best choice as it reflects light and provides a clean, distraction-free look. You can use a white sweep, poster board, or fabric.
How Do I Edit Product Photos On My Phone?
Use apps like Adobe Lightroom Mobile, Photoshop Express, or Snapseed to adjust brightness, contrast, colors, and sharpness. Remove blemishes and correct imperfections, and ensure the product looks as close as possible to its real-life appearance.
How Do I Take Good Jewelry Photos With My Phone?
To take good jewelry photos:
- Use a macro lens for close-up details.
- Ensure even lighting to highlight the jewelry’s sparkle.
- Use a clean, non-distracting background.
- Pay attention to reflections and avoid unwanted elements in the shot.
How Do I Make My Product Photos Look Professional?
To make your product photos look professional:
- Use good lighting and a clean background.
- Ensure sharp focus and accurate colors.
- Edit your photos to correct imperfections and enhance the overall look.
- Use a tripod to avoid camera shake.
- Showcase different angles and details of the product.
What Are Some Tips For Taking Product Photos With A Phone For E-Commerce?
Some tips include:
- Use a high-quality smartphone camera.
- Set up a simple and clean background.
- Use natural or diffused lighting.
- Take multiple shots from different angles.
- Edit your photos to enhance their appearance.
- Optimize images for web use to ensure fast loading times.
In conclusion, mastering product photography with your phone requires attention to detail, understanding of lighting and composition, and effective post-processing. By following these guidelines and continuously practicing, you can create stunning visuals that drive sales and enhance your brand’s image.
For more in-depth tutorials, tips, and inspiration, visit dfphoto.net. Explore our extensive library of articles, connect with a community of fellow photographers, and discover the tools and techniques to elevate your product photography skills.
Address: 1600 St Michael’s Dr, Santa Fe, NM 87505, United States. Phone: +1 (505) 471-6001. Website: dfphoto.net.
Start creating compelling visuals today and unlock the potential of your products with dfphoto.net.