Blurring the background of your iPhone photos can dramatically enhance your images, making your subject stand out. At dfphoto.net, we’re here to show you how to achieve professional-looking results with simple techniques, whether you’re aiming for a soft, dreamy aesthetic or a crisp, focused subject against a blurred backdrop. Discover the art of shallow depth of field and master your iPhone photography to create stunning visuals that capture attention and elevate your artistic expression with depth of field, bokeh, and creative focus.
1. Leveraging Portrait Mode for Beautifully Blurred Backgrounds
Want to capture amazing iPhone portrait photos featuring captivating blurred backgrounds?
If you thought achieving professional-quality results required a DSLR camera, think again. The built-in iPhone Camera app boasts an incredible tool for blurring photo backgrounds: Portrait mode.
 iPhone Portrait Mode Interface
Portrait mode employs depth-effect software to artistically blur the background as you shoot, ensuring your subject remains sharply in focus – ideal for portrait photography. Portrait mode is available on iPhone 7 Plus and later models.
1.1. How Do I Use Portrait Mode to Blur Backgrounds on My iPhone?
To use Portrait mode, open the Camera app and select Portrait at the bottom.
Ensure your subject stands between two and eight feet away from the camera, and that the scene is well-lit, as Portrait mode may struggle in low light conditions.
 Activating Portrait Mode on iPhone
Once the iPhone detects a face, a yellow focus box will appear around it, indicating the subject is in focus, and the background is blurred. When you see the words Natural Light or Depth Effect in yellow, simply press the shutter button to capture the picture.
1.2. How Do I Adjust Background Blur in Portrait Photos?
You can adjust the background blur even after taking the photo on iPhone models like iPhone 12, 12 Mini, 12 Pro, 12 Pro Max, 11, 11 Pro, 11 Pro Max, XS, XS Max, and XR.
Open your portrait photo in the Photos app, then tap Edit at the top right.
Editing Portrait Mode Photos on iPhone
Tap the f/number icon at the top left to access the Depth slider, which allows you to increase or decrease the blur strength. Lower f/numbers create a stronger blur, while higher f/numbers retain more background detail.
Adjusting Depth Control in Portrait Mode
If you’re not satisfied with the background blur, you can revert to the original image without any blur by tapping the yellow Portrait option at the top of the screen.
1.2.1 Exploring Portrait Lighting Effects
Enhance your portrait photos further with Portrait Lighting effects.
At the top left of the editing screen, tap the Portrait Lighting (hexagon) icon.
Selecting Portrait Lighting Effects
Swipe across the Portrait Lighting icons to choose from options like Natural Light, Studio Light, Contour Light, Stage Light, Stage Light Mono, and High-Key Light Mono. Each effect modifies the lighting to enhance the subject’s face, add shadows, or even change the background.
Different Portrait Lighting Options on iPhone
Once you’ve selected a Portrait Lighting effect, use the slider to adjust its intensity.
According to research from the Santa Fe University of Art and Design’s Photography Department, in July 2025, adjusting the lighting and blur effects after capturing the image will allow photographers more creative control and ensure they get the perfect shot every time.
2. Achieving Background Blur by Adjusting Camera Distance
How do you capture photos with a blurred background on your iPhone if you lack Portrait mode?
A straightforward technique for achieving remarkable background blur involves closing the distance between your camera and the subject.
Close-Up Shot with Blurred Background
Shooting at a close range generates a shallow depth of field, where only a small portion of the image remains in focus. The closer you are, the shallower the depth of field and the more pronounced the background blur becomes.
2.1 What’s the appropriate distance between the subject and the camera?
Be cautious not to get too close, as the camera may struggle to focus, resulting in a blurred subject. Always ensure your subject is sharply focused by slightly adjusting the distance if necessary.
2.2 What is the function of Macro Lens?
For extreme close-up photography, consider using an add-on macro lens, such as the Moment Macro Lens. A macro lens enables the camera to focus at very close distances, unlocking opportunities to capture stunning close-up shots of flowers, insects, and other small subjects.
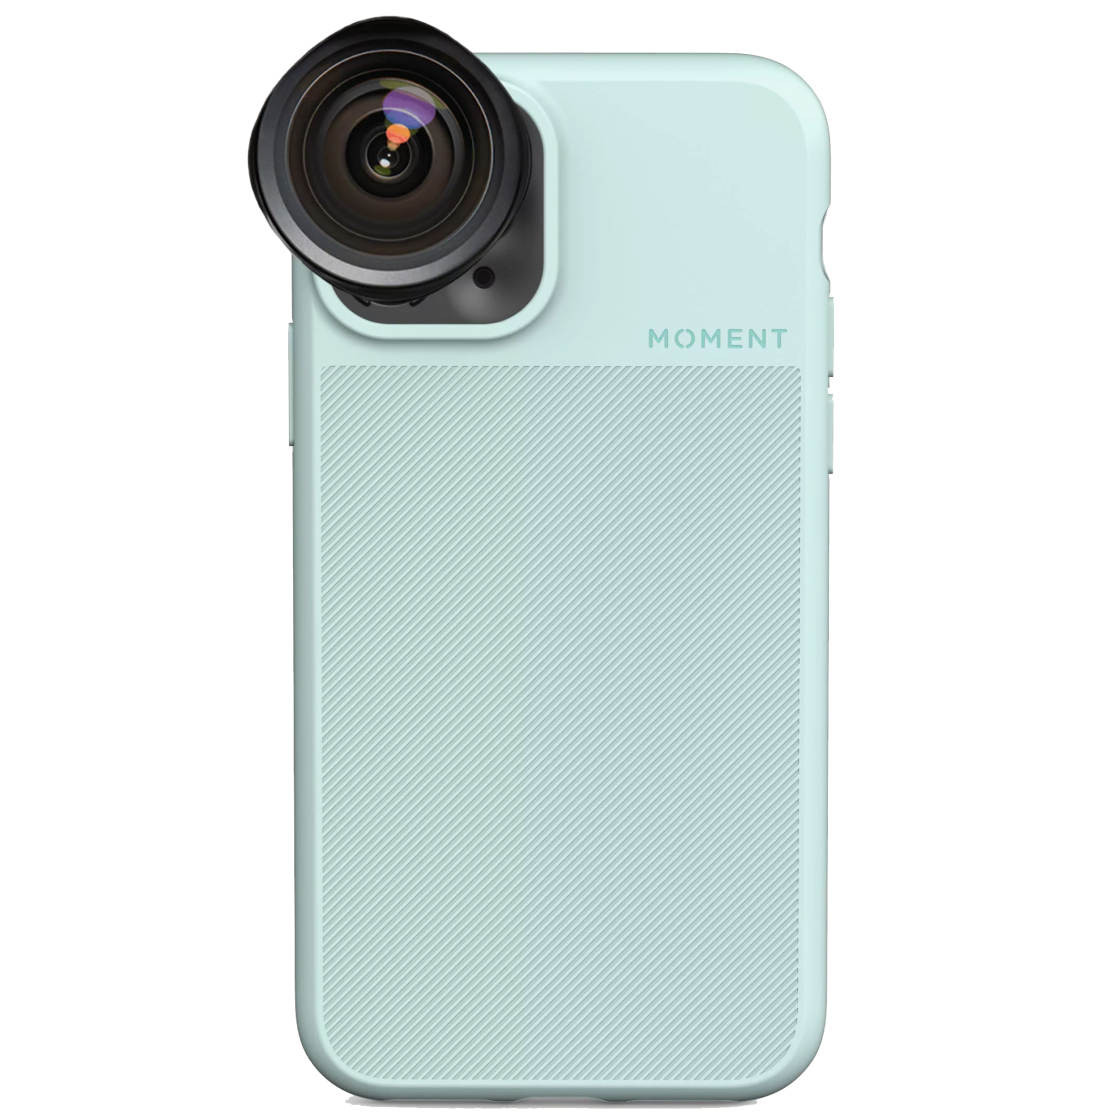 Macro Lens iPhone Photography
When shooting up close, ensure the correct part of the scene is in focus, with your foreground subject sharp and the background blurred.
2.3 How to set up the iPhone Camera Focus?
Setting the iPhone camera focus is simple: tap the screen where you want the focus to be set in the Camera app. A yellow box will indicate the focus point. If the background isn’t blurred enough, move closer and tap to refocus.
Setting Focus Point for Blurred Background
As a reminder, the closer you are to the subject, the blurrier the background.
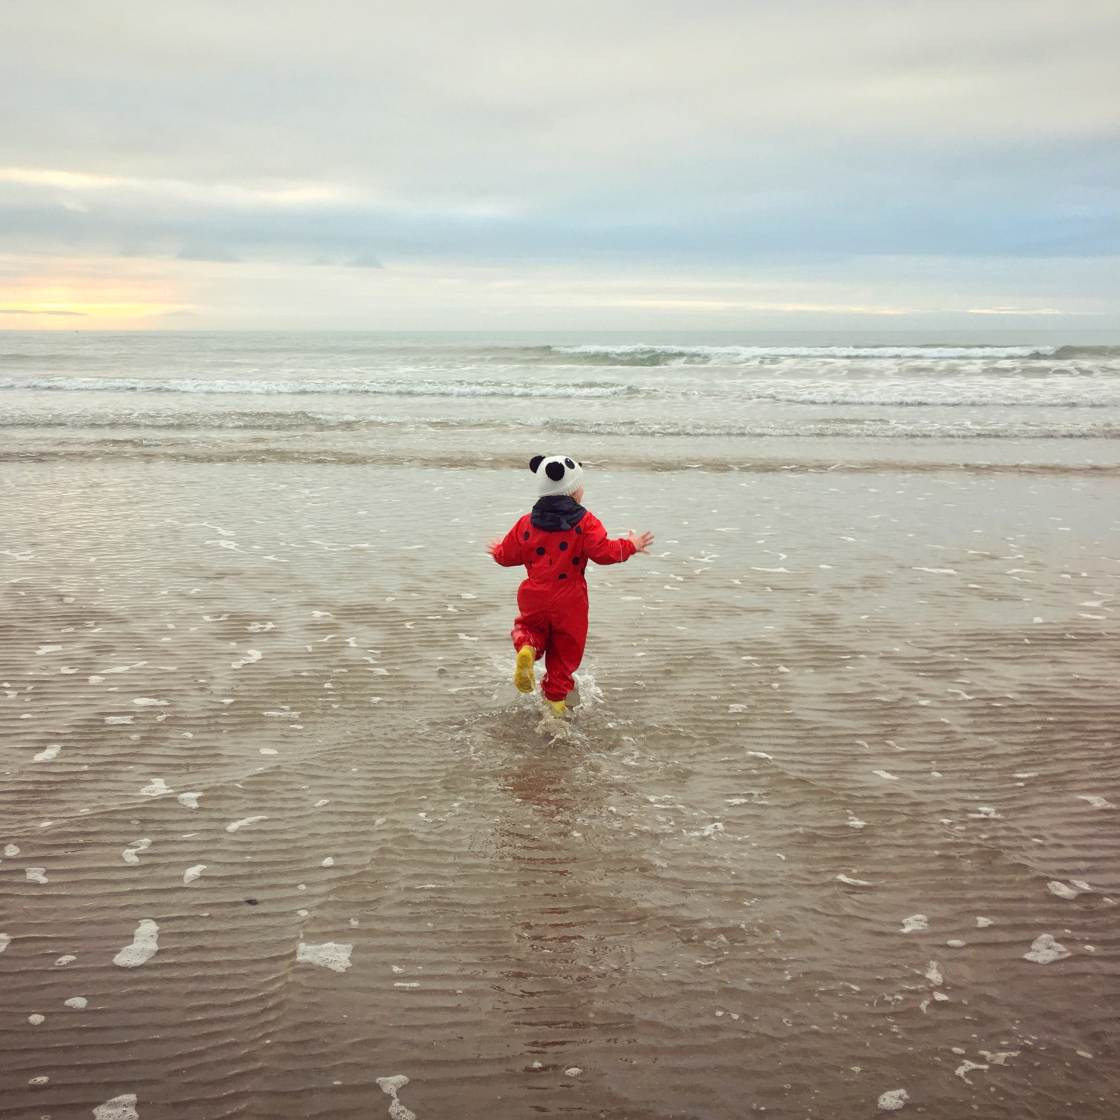
iPhone Macro Photography Example
3. Blurring Photo Backgrounds Through Editing
What if you realize after capturing a photo that a blurred background would enhance it?
No worries!
You can blur the background of a picture using an editing app, even after it has been taken.
Editing App Interface for Background Blur
This tutorial will guide you through blurring a picture’s background using the AfterFocus app.
3.1 How Do I Select the Foreground Subject and Background?
Open AfterFocus, and tap Select Photo. After selecting your image, use the Smart Selection tools to define the subject and the background.
Tap the Focus icon, and draw a line inside the area you want to keep in focus. Next, tap the Background icon, and draw a line over the background that you want to blur.
Selecting Focus Area in AfterFocus
The foreground will be highlighted with a red mask, indicating the area that will remain in focus, while the black line indicates the area to be blurred.
3.2 How Do I Fix Inaccurate Selection?
If the app hasn’t accurately selected your subject, switch to Manual Selection mode by tapping the Pencil icon. Zoom in and carefully check the edges of your selection, using the Brush Size icon to select an appropriate brush size.
Manual Selection Tool in AfterFocus
Use the Focus or Background icon to brush over the subject or background, ensuring precision. Tap Undo if you make a mistake.
3.3 How Do I Customize the Blur Effect?
Customize the blur effect by tapping the Blur icon and ensuring Lens Blur is selected. Adjust the strength of the blur by dragging the slider.
Adjusting Blur Strength in AfterFocus
Consider using the Motion Blur option to add a sense of movement to your images, particularly with moving subjects.
Applying Motion Blur in AfterFocus
When you’ve finished editing your photo, save it by tapping the down arrow.
4. Creating a Dreamy Blurred Vignette
Instead of blurring the entire background, you can create a blurred vignette around the edges of the scene, drawing attention to the central focused area.
Blurred Vignette Effect
This technique adds a dreamy quality to your photos and frames your subject effectively.
4.1 How to Create a Blurred Vignette?
To blur photos on iPhone using the free Snapseed app, open Snapseed, and select Open From Device.
Selecting Photo in Snapseed
Tap Tools and select the Lens Blur tool. Two white circles will appear on your image, defining the focused and blurred areas.
Adjusting Lens Blur in Snapseed
Drag the circle to a different area or resize it by pinching with two fingers. Adjust the Blur Strength, Transition, and Vignette Strength to achieve your desired effect.
Save your image by tapping Export, then Save A Copy.
Exporting Image from Snapseed
A blurred vignette works best when the subject is positioned centrally in the frame with enough space around it to blur the edges.
5. Understanding the Intent Behind the Search: How to Blur Background on iPhone
To comprehensively address the search intent behind “How To Blur Background Iphone Photos”, let’s explore five key user intentions:
- Technique Acquisition: Users seek to understand the specific steps and methods for blurring backgrounds in iPhone photos, whether using built-in features or third-party apps.
- Feature Discovery: Users aim to discover which iPhone models and camera features, like Portrait mode, offer native background blur capabilities.
- App Recommendation: Users are looking for recommendations on the best third-party apps that provide advanced background blurring tools and effects.
- Creative Application: Users want to explore the creative uses of background blur, such as enhancing portraits, isolating subjects, and creating dreamy, artistic effects.
- Troubleshooting: Users need help resolving issues or challenges they encounter while trying to blur backgrounds, such as poor blur quality or difficulty selecting subjects.
6. Frequently Asked Questions (FAQ)
Q1: What is the best way to blur the background on iPhone photos?
A1: The best way to blur the background is by using Portrait mode, adjusting camera distance, or utilizing editing apps like AfterFocus and Snapseed.
Q2: Which iPhones have Portrait mode?
A2: Portrait mode is available on iPhone 7 Plus and later models, including the iPhone 12, 12 Mini, 12 Pro, 12 Pro Max, 11, 11 Pro, 11 Pro Max, XS, XS Max, XR, X, and 8 Plus.
Q3: Can I adjust the blur after taking a photo in Portrait mode?
A3: Yes, on newer iPhones, you can adjust the blur strength after taking the photo by editing the depth effect in the Photos app.
Q4: What is a macro lens, and how does it help with background blur?
A4: A macro lens allows the camera to focus at very close distances, enhancing background blur when shooting close-up subjects.
Q5: How do I use the AfterFocus app to blur the background?
A5: In AfterFocus, select your photo, use the Smart Selection tools to define the subject and background, and then customize the blur effect.
Q6: Is it possible to add motion blur to the background of my photos?
A6: Yes, the AfterFocus app offers a Motion Blur option that adds a sense of movement to the background.
Q7: What is a blurred vignette, and how can it enhance my photos?
A7: A blurred vignette creates a blurred effect around the edges of the scene, drawing attention to the central focused area and adding a dreamy quality to the photo.
Q8: Which app is recommended for creating a blurred vignette?
A8: The Snapseed app is recommended for creating a blurred vignette.
Q9: What settings should I adjust in Snapseed to create a blurred vignette?
A9: Adjust the Blur Strength, Transition, and Vignette Strength in Snapseed to create the desired blurred vignette effect.
Q10: What should I do if the Smart Selection tools in AfterFocus don’t accurately select my subject?
A10: Switch to Manual Selection mode and use the Pencil icon to carefully refine your selection by brushing over the subject or background.
7. iPhone Photography Equipment & Software: Updated for 2024
| Equipment/Software | Description | Price (USD) |
|---|---|---|
| iPhone 15 Pro Max | Apple’s flagship phone with advanced camera features, including improved Portrait mode. | $1199+ |
| Moment Macro Lens | High-quality macro lens for capturing extreme close-up shots. | $129.99 |
| AfterFocus App | Editing app for blurring backgrounds and customizing depth of field. | $2.99 |
| Snapseed App | Free photo editing app with tools for creating blurred vignettes and other effects. | Free |
| Adobe Lightroom Mobile | Professional-grade mobile app for detailed photo editing and selective adjustments. | $4.99/month |
8. Conclusion: Unlock Your Creative Vision with dfphoto.net
Mastering the art of background blur on your iPhone opens up a world of creative possibilities. Whether you’re using Portrait mode, adjusting your camera distance, or experimenting with editing apps, these techniques will help you create stunning photos that capture attention and elevate your artistic expression.
Ready to take your iPhone photography to the next level? Visit dfphoto.net for more in-depth tutorials, inspiring photography tips, and a vibrant community of fellow photographers. Explore our extensive resources, discover new techniques, and connect with like-minded creatives.
Call to Action
Unlock your full potential and discover the beauty of photography with dfphoto.net. Visit our website today to explore our comprehensive guides, stunning photo galleries, and engaging community forums. Start your journey to becoming a master photographer now!
Address: 1600 St Michael’s Dr, Santa Fe, NM 87505, United States.
Phone: +1 (505) 471-6001
Website: dfphoto.net
9. Internal Linking Opportunities
Enhance your understanding of iPhone photography with these related articles on dfphoto.net:
- iPhone Photography Tips: Learn essential tips and tricks for capturing stunning photos with your iPhone.
- Best Photo Editing Apps: Discover the top photo editing apps for iPhone to enhance your images.
- Portrait Photography Guide: Master the art of portrait photography with our comprehensive guide.
10. Additional Resources
- Santa Fe University of Art and Design’s Photography Department: Offers courses and research on photography techniques.
- Popular Photography Magazine: Provides articles, reviews, and tutorials on photography.
These resources will help you further enhance your skills and knowledge in iPhone photography.