Making a photo canvas is a fantastic way to personalize your home decor and showcase your cherished memories, and dfphoto.net can help you learn how. In this guide, we’ll explore turning your favorite photos into stunning canvas prints, whether you’re a seasoned photographer or just starting. From selecting the right materials to mastering the finishing touches, you’ll discover how to create personalized artwork that adds warmth and character to any space. Learn about photo printing, image transfer, and canvas stretching.
1. What Is a Photo Canvas and Why Should I Make One?
A photo canvas is a print of your photograph that is stretched over a frame, creating a gallery-wrapped piece of art. You should make one to personalize your space, preserve memories, and create unique gifts.
1.1. What Are the Benefits of Creating a DIY Photo Canvas?
Creating your own DIY photo canvas offers numerous benefits. According to research from the Santa Fe University of Art and Design’s Photography Department, in July 2025, DIY projects provide a sense of accomplishment and allow for complete customization, which is impossible to achieve with store-bought alternatives.
- Cost-Effective: Making your own canvas is significantly cheaper than ordering one online.
- Personalization: You have full control over the size, design, and finish.
- Creative Satisfaction: The process is rewarding and allows you to express your creativity.
- Unique Decor: Adds a personal touch to your home decor that store-bought art simply can’t replicate.
1.2. What Types of Photos Work Best for a DIY Canvas?
The best photos for a DIY canvas are high-resolution images with good lighting and composition. Landscapes, portraits, and abstract shots all work well, depending on your personal preference.
- High Resolution: Ensures the image remains sharp when enlarged.
- Good Lighting: Enhances the visual appeal and clarity of the final product.
- Personal Significance: Photos that hold special memories or emotional value.
- Artistic Composition: Images with strong lines, colors, and visual elements.
1.3. Where Can I Find Inspiration for My Photo Canvas Project?
Inspiration can come from various sources. You can explore online galleries, photography blogs, and social media platforms like Pinterest and Instagram.
- Online Galleries: Websites like dfphoto.net showcase a wide range of photographic styles and canvas displays.
- Photography Blogs: Offer tips, tutorials, and examples of canvas art.
- Social Media: Platforms like Pinterest and Instagram are treasure troves of creative ideas and DIY projects.
- Art Magazines: Provide insights into current trends and techniques in photography and visual arts.
 making a DIY photo canvas
2. What Materials and Tools Do I Need to Make a Photo Canvas?
To create a photo canvas, you’ll need:
- A blank canvas
- Photo prints
- Mod Podge
- Foam brushes
- Acrylic paint
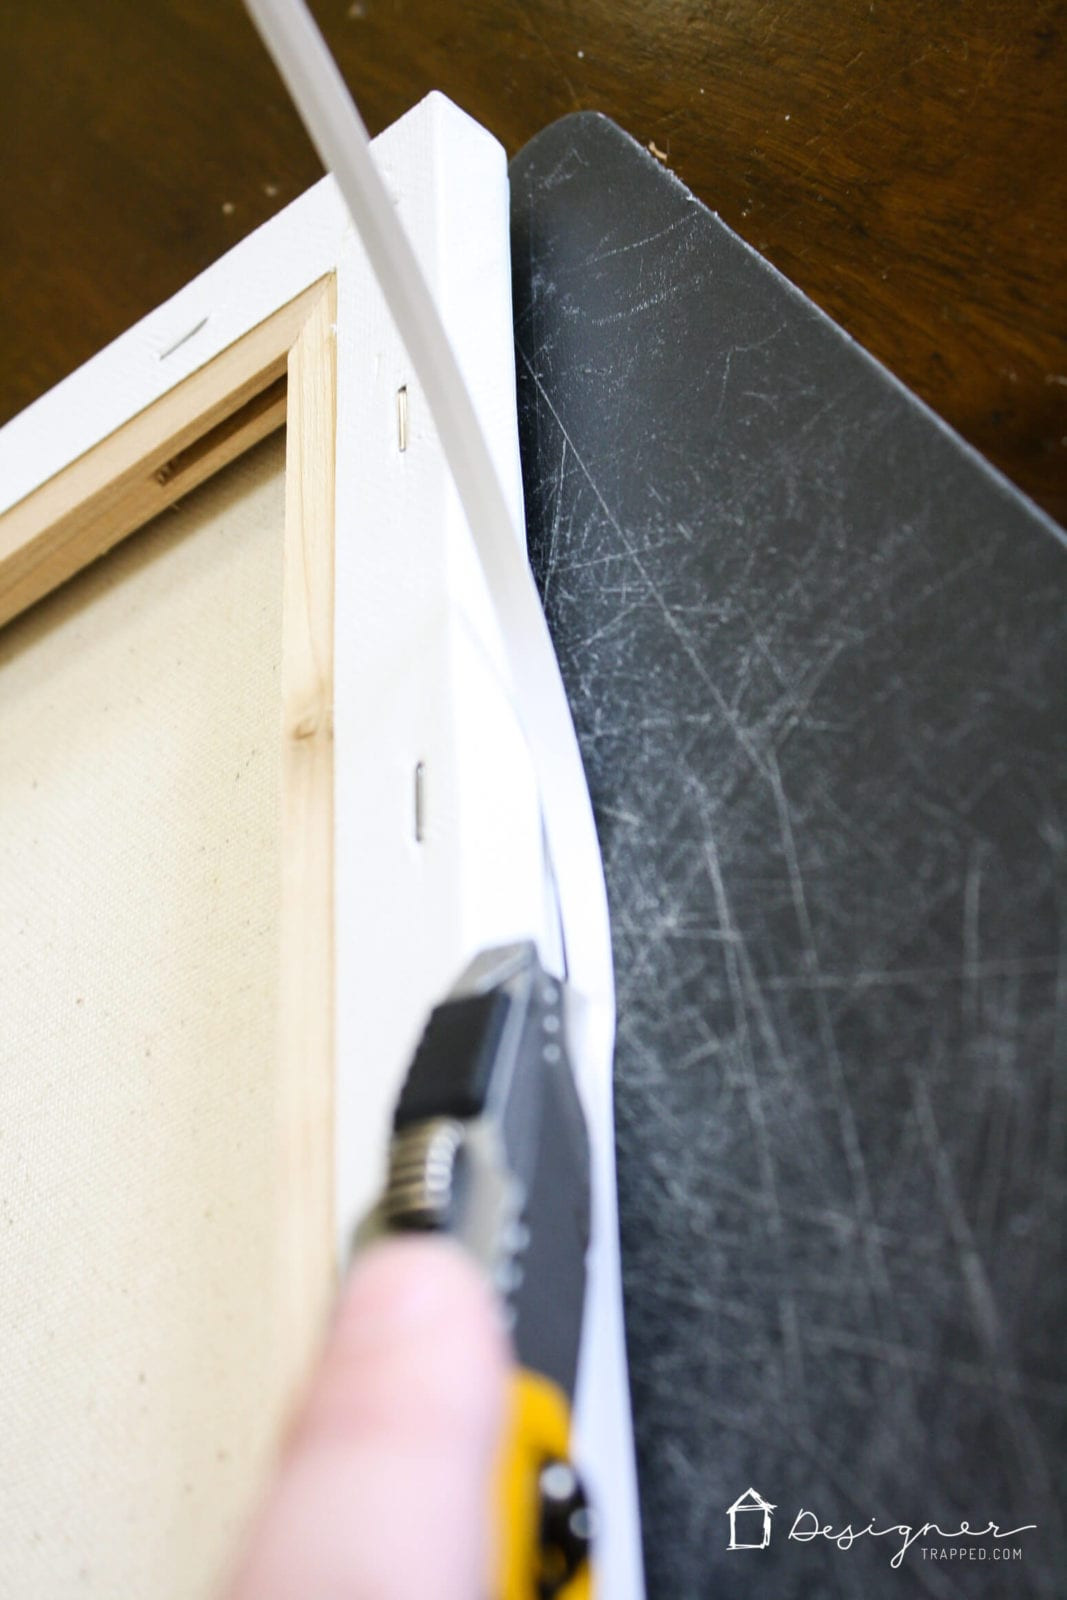
- Craft knife
- Cutting board.
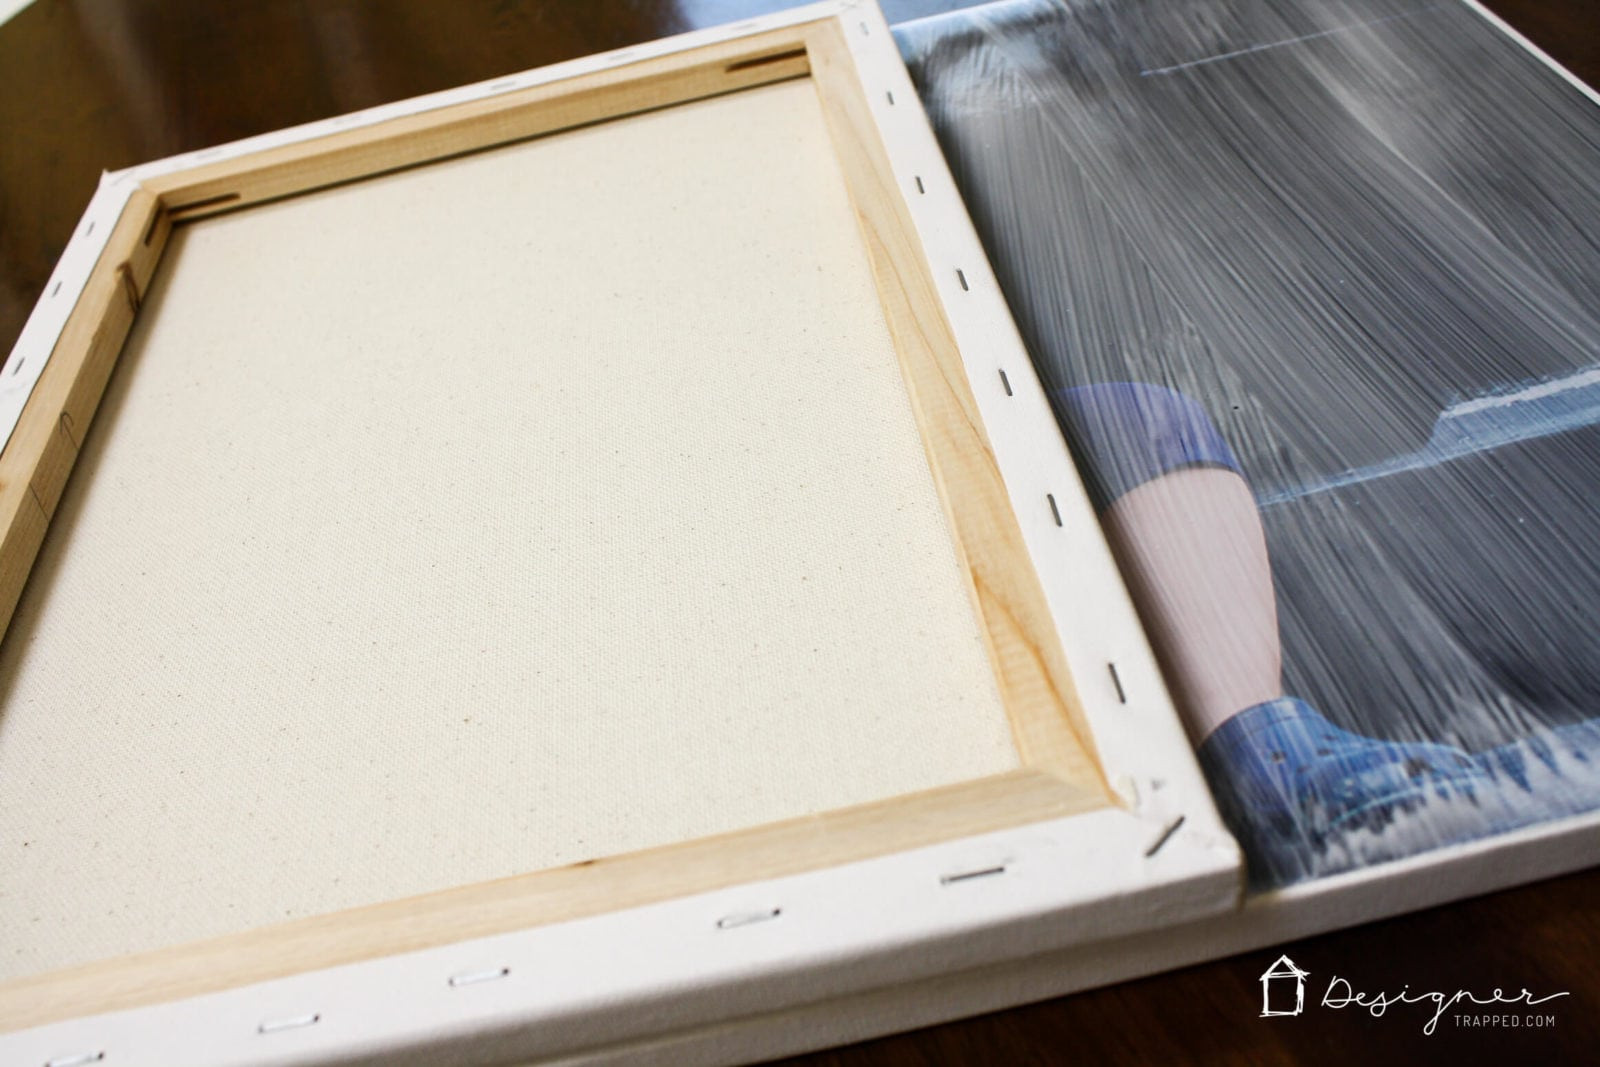
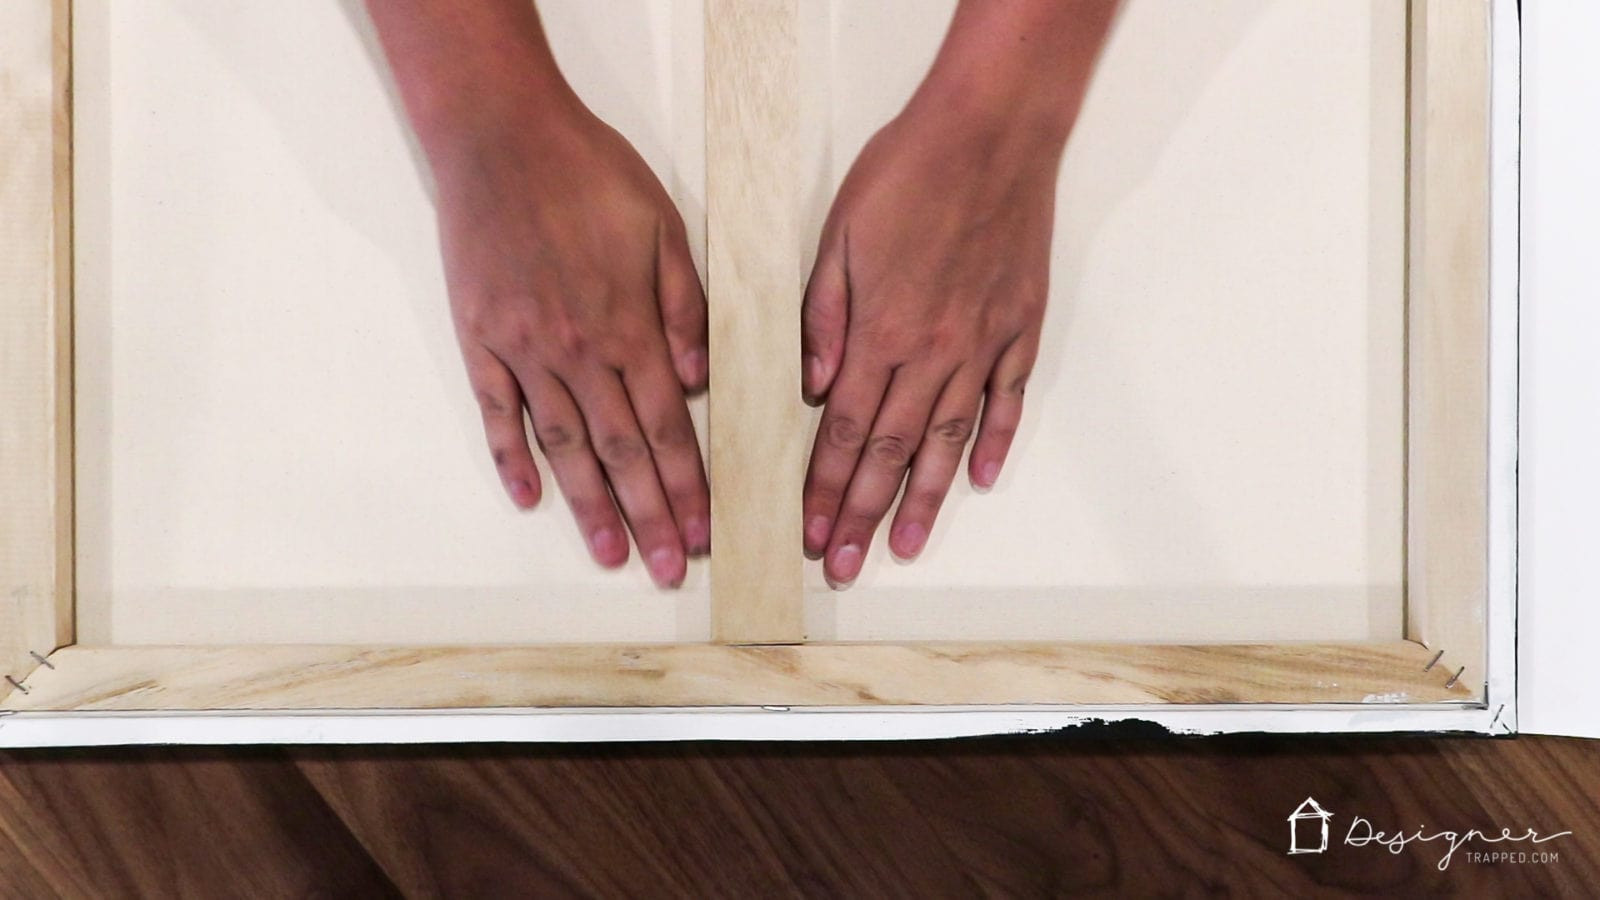
2.1. What Are the Best Types of Canvases to Use?
The best canvases are those made of cotton or linen, stretched tightly over a wooden frame. Consider the thickness and size based on your photo and desired look.
- Cotton Canvas: More affordable and suitable for most projects.
- Linen Canvas: Higher quality, with a finer weave and greater durability.
- Stretched Canvas: Pre-stretched over a wooden frame, ready to use.
- Canvas Boards: A thinner option, good for smaller projects or practice.
2.2. What Kind of Photo Paper Should I Choose?
Use matte or glossy photo paper, depending on your preference. Matte paper provides a non-reflective surface, while glossy paper enhances colors and details. According to Popular Photography magazine, using high-quality photo paper is crucial for achieving vibrant and long-lasting prints.
- Glossy Photo Paper: Enhances colors and provides a vibrant, reflective finish.
- Matte Photo Paper: Reduces glare and provides a softer, more subdued look.
- Luster Photo Paper: A balance between glossy and matte, offering good color and reduced glare.
- Professional Photo Paper: Archival quality for long-lasting prints.
2.3. What Is Mod Podge and Why Is It Necessary?
Mod Podge is a type of glue, sealer, and finish commonly used in decoupage. It adheres the photo to the canvas and protects it from damage.
- Adhesive: Binds the photo securely to the canvas.
- Sealer: Protects the photo from moisture and UV damage.
- Finish: Provides a clear, durable coating that enhances the overall look.
- Versatility: Available in matte, glossy, and satin finishes to suit different preferences.
2.4. Where Can I Purchase These Materials?
You can purchase these materials at local craft stores like Michael’s, online retailers like Amazon, or art supply stores.
- Craft Stores: Offer a wide range of canvases, Mod Podge, and other art supplies.
- Online Retailers: Provide convenience and often have competitive prices.
- Art Supply Stores: Stock high-quality materials for professional results.
- Discount Stores: Can be a good option for budget-friendly materials.
3. Step-by-Step Guide on How to Make a Photo Canvas
Follow these steps to create your own stunning photo canvas:
- Print Your Photo: Have your photo professionally printed on photo paper.
- Prepare the Canvas: Paint the sides with acrylic paint if desired.
- Apply Mod Podge: Coat the front of the canvas with Mod Podge.
- Attach the Photo: Place the photo on the Mod Podge, ensuring it’s straight.
- Dry Overnight: Let it dry overnight with books on top to prevent wrinkles.
- Trim Excess Paper: Cut off any overhanging photo paper.
- Add Texture: Apply another layer of Mod Podge and use a blank canvas or cloth to create texture.
3.1. How Do I Prepare My Photo for Printing?
Ensure your photo is high-resolution and properly cropped. Use photo editing software to adjust brightness, contrast, and colors as needed.
- Resolution: Aim for at least 300 DPI (dots per inch) for sharp prints.
- Cropping: Adjust the image to fit the canvas size, focusing on the main subject.
- Color Correction: Enhance colors and correct any imbalances for a vibrant result.
- Sharpening: Slightly sharpen the image to improve clarity and detail.
3.2. How to Properly Apply Mod Podge?
Use a foam brush to apply a thin, even layer of Mod Podge. Avoid using too much, as it can cause wrinkles or bubbles.
- Thin Layers: Apply multiple thin layers rather than one thick layer.
- Even Coverage: Ensure all areas are covered uniformly.
- Smooth Strokes: Use long, smooth strokes to avoid streaks.
- Quick Application: Work quickly to prevent the Mod Podge from drying before applying the photo.
3.3. What Is the Best Way to Smooth Out Bubbles and Wrinkles?
Use a brayer or your hands to gently press the photo onto the canvas, working from the center outwards to smooth out any air bubbles or wrinkles.
- Brayer: A rubber roller designed for smoothing surfaces.
- Gentle Pressure: Apply even pressure to avoid tearing the photo.
- Center Outwards: Work from the center to the edges to push out air bubbles.
- Clean Cloth: Use a clean, dry cloth to wipe away excess Mod Podge.
3.4. How Can I Create Texture on My Photo Canvas?
There are two main methods for adding texture:
- Canvas Stamping: Press a blank canvas onto the wet Mod Podge to transfer its texture.
- Cloth Technique: Use a t-shirt or dish towel to create a subtle, fabric-like texture.
Texture Method #1: Quickly grab a blank canvas and sandwich it ON TOP of your photo that is coated with wet Mod Podge. Gently press the two surfaces together. Now, peel the blank canvas off and you will be left with that authentic canvas texture. Since I used a spare canvas that was smaller than 16 x 20, I repeated this process until my entire canvas was done.
This is a quick step. You want to “stamp” your canvas texture on AND remove the blank canvas while the Mod Podge is still wet.
Texture Method #2:
Quickly grab an old t-shirt or dish towel. Spread it out on top of the photo and wet Mod Podge, being careful to avoid wrinkles. Gently press it on top of your photo and then lift it off!
- Canvas Stamping: Provides a more pronounced, canvas-like texture.
- Cloth Technique: Offers a softer, more subtle texture.
- Experimentation: Try different materials and techniques to achieve unique effects.
- Timing: Work quickly while the Mod Podge is still wet to ensure good texture transfer.
 If you love the look of photo canvases, but can
4. Creative Ideas for Your Photo Canvas
Explore different ways to customize your photo canvas, from adding artistic effects to creating multi-panel displays.
4.1. Can I Add Artistic Effects to My Photo Before Printing?
Yes, you can use photo editing software to add filters, adjust colors, or create black and white versions of your photos before printing.
- Filters: Apply artistic filters to create a unique mood or style.
- Color Adjustments: Enhance or alter colors to match your decor.
- Black and White Conversion: Create a classic, timeless look.
- Collages: Combine multiple photos into a single, visually appealing layout.
4.2. How About Creating a Multi-Panel Canvas Display?
Divide a single photo into multiple canvases to create a triptych or quadtych, adding a modern and artistic touch to your display.
- Triptych: A three-panel canvas display.
- Quadtych: A four-panel canvas display.
- Seamless Image: Ensure the image flows smoothly across the panels.
- Consistent Spacing: Maintain equal spacing between the panels for a cohesive look.
4.3. Is It Possible to Add Text or Quotes to My Canvas?
Yes, you can add text or quotes using image editing software or by hand-painting them onto the canvas after the photo has been applied.
- Image Editing Software: Add text digitally before printing.
- Hand-Painting: Use acrylic paints and stencils for a personalized touch.
- Vinyl Decals: Apply pre-cut vinyl decals for clean, professional-looking text.
- Meaningful Quotes: Choose quotes that complement the photo and add emotional depth.
4.4. How Can I Incorporate Mixed Media Into My Photo Canvas?
Incorporate elements like paint, fabric, or embellishments to add texture and dimension to your canvas.
- Acrylic Paints: Add brushstrokes, splatters, or abstract designs.
- Fabric Scraps: Glue fabric onto the canvas for added texture.
- Embellishments: Attach beads, buttons, or other decorative elements.
- Layering: Create depth by layering different media.
5. Tips for Hanging and Displaying Your Photo Canvas
Learn the best practices for hanging your photo canvas to ensure it looks its best and remains secure.
5.1. What Is the Best Way to Hang My Canvas?
Use picture hanging hooks or wire to hang your canvas securely. Ensure the hooks are appropriate for the weight of the canvas and the type of wall.
- Picture Hanging Hooks: Easy to install and suitable for most walls.
- Wire Hangers: Provide a more traditional look and allow for slight adjustments.
- Leveling: Use a level to ensure the canvas hangs straight.
- Spacing: Maintain consistent spacing if hanging multiple canvases.
5.2. How Can I Arrange Multiple Canvases for a Gallery Wall?
Create a gallery wall by arranging multiple canvases in a visually appealing layout. Consider the size, shape, and color of each canvas to create a balanced display.
- Planning: Lay out the canvases on the floor to experiment with different arrangements.
- Focal Point: Start with a larger canvas as the focal point and build around it.
- Symmetry: Create a symmetrical arrangement for a formal look.
- Asymmetry: Opt for an asymmetrical arrangement for a more casual, eclectic feel.
5.3. Should I Use Special Lighting to Highlight My Canvas?
Yes, using special lighting can enhance the look of your canvas. Consider using spotlights or track lighting to highlight the colors and textures.
- Spotlights: Direct light onto specific areas of the canvas.
- Track Lighting: Provides adjustable lighting for multiple canvases.
- Natural Light: Position the canvas to take advantage of natural light without direct sunlight.
- Warm vs. Cool Light: Choose lighting that complements the colors in the photo.
5.4. How Do I Protect My Photo Canvas From Damage?
Protect your canvas from moisture, direct sunlight, and physical damage. Use a protective spray or varnish to seal the surface.
- Protective Sprays: Shield the canvas from UV damage and moisture.
- Varnish: Provides a durable, protective coating.
- Avoid Direct Sunlight: Prevents fading and discoloration.
- Dust Regularly: Use a soft cloth to gently remove dust and debris.
 If you love the look of photo canvases, but can
6. Common Mistakes to Avoid When Making a Photo Canvas
Avoid these common mistakes to ensure your photo canvas turns out perfectly.
6.1. Using Low-Resolution Photos
Always use high-resolution photos to ensure the final print is sharp and detailed. Low-resolution images will appear blurry and pixelated.
- Check Resolution: Ensure the photo has a resolution of at least 300 DPI.
- Original Files: Use the original photo file rather than a compressed version.
- Test Prints: Print a small test print to check the quality before printing the full-size image.
6.2. Applying Too Much Mod Podge
Applying too much Mod Podge can cause wrinkles, bubbles, and a cloudy finish. Use thin, even layers and smooth out any excess.
- Thin Layers: Apply multiple thin layers rather than one thick layer.
- Even Coverage: Ensure all areas are covered uniformly.
- Smooth Strokes: Use long, smooth strokes to avoid streaks.
- Quick Application: Work quickly to prevent the Mod Podge from drying before applying the photo.
6.3. Not Allowing Enough Drying Time
Allow the Mod Podge to dry completely before trimming or adding texture. Rushing the drying process can lead to smudging or peeling.
- Overnight Drying: Allow the canvas to dry overnight for best results.
- Weighting: Place books or other heavy objects on top to prevent warping.
- Dry Environment: Dry the canvas in a well-ventilated area to speed up the process.
6.4. Skipping the Texture Step
Adding texture is crucial for creating an authentic canvas look. Skipping this step will result in a flat, uninspired finish.
- Canvas Stamping: Press a blank canvas onto the wet Mod Podge to transfer its texture.
- Cloth Technique: Use a t-shirt or dish towel to create a subtle, fabric-like texture.
- Experimentation: Try different materials and techniques to achieve unique effects.
- Timing: Work quickly while the Mod Podge is still wet to ensure good texture transfer.
7. Advanced Techniques for Photo Canvas Creation
Explore more advanced techniques to take your photo canvas projects to the next level.
7.1. How to Create a Floating Canvas Effect?
Create a floating canvas effect by attaching the canvas to a hidden frame, giving the illusion that it is floating off the wall.
- Hidden Frame: Build a wooden frame slightly smaller than the canvas.
- Attachment: Attach the canvas to the frame using glue or staples.
- Mounting: Mount the frame to the wall, leaving a gap between the canvas and the wall.
- Illusion: The gap creates the illusion that the canvas is floating.
7.2. Can I Transfer an Image Directly Onto Canvas Without Printing?
Yes, you can transfer an image directly onto canvas using image transfer mediums or by printing directly onto printable canvas fabric.
- Image Transfer Mediums: Apply the medium to the photo and canvas, then transfer the image using pressure.
- Printable Canvas Fabric: Print the image onto canvas fabric and stretch it over a frame.
- Direct Printing: Use a printer that supports printing directly onto canvas.
- Preparation: Prepare the canvas with a primer or gesso for best results.
7.3. How to Add a Resin Coating for a High-Gloss Finish?
Add a resin coating to your photo canvas for a high-gloss, durable finish that enhances colors and protects the image.
- Resin Coating: Pour a layer of epoxy resin over the canvas.
- Leveling: Use a heat gun to remove bubbles and ensure an even coating.
- Drying Time: Allow the resin to cure completely before handling.
- Protection: The resin coating provides a durable, waterproof finish.
7.4. Can I Use Fabric Photos on a Canvas?
You can create a unique look by adhering fabric photos to a canvas. This works well with vintage or textured fabrics.
- Fabric Photos: Print photos onto fabric using inkjet printers and fabric sheets.
- Adhesive: Use fabric glue or Mod Podge to adhere the fabric to the canvas.
- Texture: The fabric adds a unique texture to the canvas.
- Vintage Look: Works well with vintage or antique photos.
8. Photo Canvas Ideas for Different Occasions
Explore photo canvas ideas tailored for various occasions and themes.
8.1. Photo Canvases for Weddings
Create stunning photo canvases featuring wedding photos to commemorate the special day.
- Wedding Portraits: Showcase the bride and groom.
- Ceremony Highlights: Capture key moments from the ceremony.
- Reception Fun: Display candid shots from the reception.
- Guest Photos: Create a collage of photos featuring wedding guests.
8.2. Photo Canvases for Family Memories
Preserve cherished family memories by creating photo canvases featuring family portraits, vacations, and special events.
- Family Portraits: Display classic family portraits.
- Vacation Memories: Capture highlights from family vacations.
- Milestone Moments: Celebrate birthdays, graduations, and other milestones.
- Generational Photos: Create a canvas featuring photos from different generations.
8.3. Photo Canvases for Pet Lovers
Celebrate your furry friends by creating photo canvases featuring your favorite pet photos.
- Pet Portraits: Showcase your pets in adorable poses.
- Action Shots: Capture your pets playing and having fun.
- Pet Collages: Create a collage of photos featuring your pets.
- Memorial Canvases: Honor pets that have passed away with a memorial canvas.
8.4. Photo Canvases for Travel Enthusiasts
Display your travel adventures by creating photo canvases featuring landscapes, landmarks, and cultural experiences.
- Landscape Photos: Capture the beauty of natural landscapes.
- Landmark Photos: Showcase iconic landmarks and monuments.
- Cultural Experiences: Display photos of local customs and traditions.
- Travel Collages: Create a collage of photos from different destinations.
 If you love the look of photo canvases, but can
9. How to Sell Your Photo Canvases
If you enjoy making photo canvases, consider selling them online or at local craft fairs.
9.1. Setting Up an Online Store
Create an online store using platforms like Etsy, Shopify, or Squarespace to sell your photo canvases.
- Etsy: A popular platform for handmade and vintage items.
- Shopify: A comprehensive e-commerce platform with customizable features.
- Squarespace: An easy-to-use website builder with e-commerce capabilities.
- Product Listings: Create detailed product listings with high-quality photos and descriptions.
9.2. Pricing Your Photo Canvases
Determine a fair price for your photo canvases by considering the cost of materials, labor, and market value.
- Cost of Materials: Calculate the cost of all materials used.
- Labor: Factor in the time spent creating the canvas.
- Market Value: Research the prices of similar products on the market.
- Profit Margin: Add a profit margin to cover expenses and generate income.
9.3. Marketing Your Photo Canvases
Use social media, email marketing, and local advertising to promote your photo canvases and attract customers.
- Social Media: Share photos of your canvases on platforms like Instagram, Facebook, and Pinterest.
- Email Marketing: Build an email list and send out newsletters with promotions and updates.
- Local Advertising: Participate in local craft fairs and markets to reach potential customers.
- Partnerships: Collaborate with local businesses and photographers to promote your products.
9.4. Packaging and Shipping Your Photo Canvases
Package your photo canvases carefully to prevent damage during shipping. Use protective materials like bubble wrap, packing peanuts, and sturdy boxes.
- Bubble Wrap: Protect the canvas from scratches and impacts.
- Packing Peanuts: Fill empty spaces in the box to prevent movement.
- Sturdy Boxes: Use high-quality boxes that are appropriately sized for the canvas.
- Shipping Insurance: Purchase shipping insurance to protect against loss or damage.
10. Frequently Asked Questions (FAQ) About Making Photo Canvases
Here are some frequently asked questions about making photo canvases:
10.1. What Is the Cost to Make a Photo Canvas?
The cost to make a photo canvas varies depending on the size, materials, and printing costs. A 16×20 inch canvas can cost around $10 to make at home, much less than ordering a custom print online.
10.2. Can I Use a Photo Printed at Home?
While it’s best to use professionally printed photos for the best results, you can use a photo printed at home if you seal it properly with Mod Podge to prevent smudging.
10.3. What Kind of Glue Can I Use Other Than Mod Podge?
You can use other decoupage glues or archival-quality adhesives as alternatives to Mod Podge.
10.4. How Do I Clean My Photo Canvas?
Gently dust your photo canvas with a soft cloth. Avoid using water or cleaning solutions, as they can damage the surface.
10.5. Can I Make a Photo Canvas With Multiple Photos?
Yes, you can create a collage using photo editing software and then print the collage to create a photo canvas with multiple images.
10.6. What Size Canvas Should I Use for My Photo?
Choose a canvas size that complements your photo and the space where it will be displayed. Consider the dimensions and resolution of your photo when selecting a canvas size.
10.7. How Do I Prevent My Photo From Fading?
Protect your photo canvas from direct sunlight and use UV-protective sprays or varnishes to prevent fading.
10.8. Can I Add a Frame to My Photo Canvas?
Yes, you can add a frame to your photo canvas for a more finished look. Choose a frame that complements the style and colors of the photo.
10.9. How Do I Remove Wrinkles From My Photo Canvas?
If wrinkles occur, try gently ironing the back of the canvas with a low heat setting or using a brayer to smooth them out.
10.10. Where Can I Find More DIY Photo Projects?
Explore dfphoto.net for more DIY photo projects, tips, and inspiration to enhance your photography skills and creativity.
Creating your own photo canvas is a rewarding and creative way to display your favorite memories. With the right materials, tools, and techniques, you can transform your photos into stunning pieces of art. For more inspiration, tutorials, and resources, visit dfphoto.net and join our community of photography enthusiasts.
Address: 1600 St Michael’s Dr, Santa Fe, NM 87505, United States. Phone: +1 (505) 471-6001. Website: dfphoto.net. Check out our colorful gallery wall and this unique family photo gallery wall at dfphoto.net.