Digitizing photos is the best way to protect memories and easily share them. At dfphoto.net, we offer multiple ways to transform your precious prints into digital treasures, ensuring they last for generations. Preserving your old prints is now easier than ever with photo scanning, image restoration, and digital conversion techniques.
1. Why Should You Digitize Your Old Photos?
Digitizing your old photos offers many compelling reasons to undertake this rewarding project. It’s not just about preserving memories; it’s about making them accessible and shareable in today’s digital world.
-
Preserve Priceless Memories: Digital formats don’t degrade over time like physical prints, safeguarding your cherished moments for future generations. According to research from the Santa Fe University of Art and Design’s Photography Department, in July 2025, digital storage, when properly maintained, provides a significantly longer lifespan for images compared to traditional prints, which are susceptible to fading, discoloration, and physical damage.
-
Share with Ease: Once digitized, your old family photographs can be easily shared with relatives and friends, near or far.
-
Rekindle Your Love of Film Photography: Digitizing your old photos can be a great way to reconnect with the origins of photography and appreciate the artistry of film.
-
Touch Up and Restore: Digital copies allow you to use photo editing software to correct red-eye, remove creases, and restore damaged photos.
-
Reduce Clutter: By converting your physical photos into digital images, you can declutter your home while still preserving your memories.
-
Film preservation: Film preservation is an important issue for photographers today.
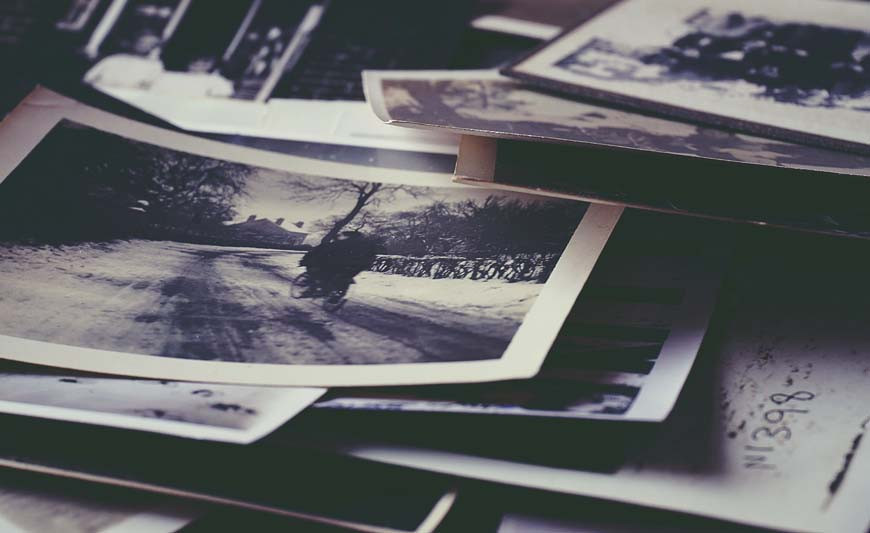 Stacked Old Photos
2. Before You Digitize, Organize!
Organizing your photos before you start digitizing is important for a smooth and efficient process. This will not only make the scanning process easier but also help you stay on top of your entire photo collection, both film photography prints and digital photos.
-
Take Stock: Assess the volume of photos you’ll be working with, whether they’re in albums or loose boxes.
-
Gather Supplies: Purchase photo albums, storage boxes, and archival storage gear for vintage photos.
-
Sorting Strategies: Decide on a sorting system, such as chronological order, people and events, or size.
- Chronological Order: Arrange photos by year and season, using dates on boxes or prints as a guide.
- People and Events: Group portraits of family members and photos from specific events like weddings or vacations.
- Size: Sort photos by size to streamline the scanning process.
-
Understand Family history: If you happen to have a shutterbug in the family like I did, you can sort all of those pictures together so you can see how one of your relatives saw the world through the lens of the camera.
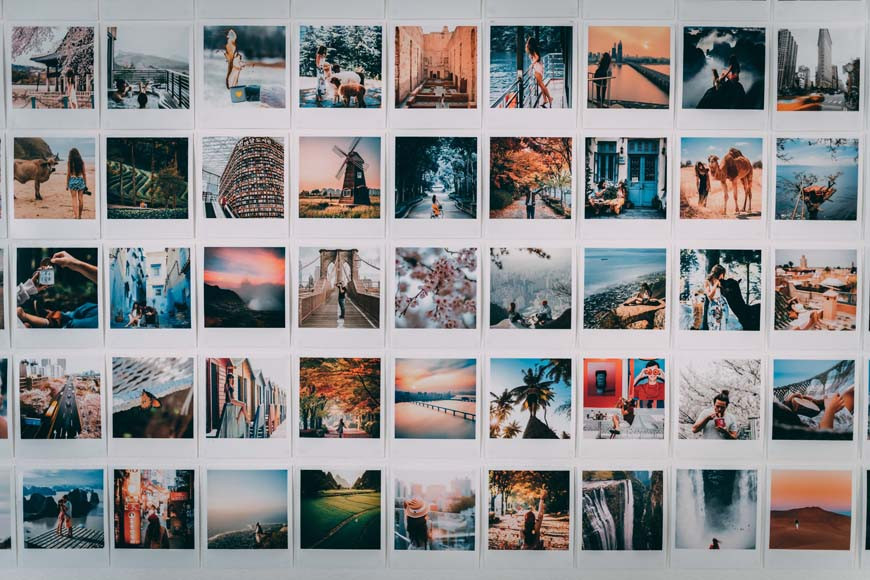 Polaroid Collage
3. What Are the Best Ways on How to Digitize Photos?
You have several options for digitizing your old photos, each with its own advantages and disadvantages.
3.1. Use a Scanner to Digitize Photos at Home
Using a flatbed scanner is a budget-friendly way to digitize your photos at home.
- Choose the Right Scanner: Opt for a high-quality photo scanner for the best results. Consider a photo-negative scanner for 35mm negatives.
- Adjust Settings:
- DPI (Dots Per Inch): Set to 200 DPI for social media sharing and 300 DPI or higher for printing.
- Color and Grayscale: Scan black-and-white photos in grayscale and sepia-tone photos in color.
- Clean the Platen: Regularly clean the scanner’s glass surface to remove dust and debris.
- Batch Scanning: Scan multiple photos at once to save time, then crop them individually in editing software.
- Edit Your Photos: Use photo editing software to correct imperfections, such as creases or damage.
3.2. Use a Digital Camera to Digitize Your Photos
Taking high-quality pictures using a camera is gaining popularity as a method for digitizing photos.
- Choose Your Camera: Use the best digital camera you have, whether it’s a high-end mirrorless camera or even your smartphone.
- Set Up Your Tripod: Use a tripod with an inverted center column or boom arm to position the camera directly above the photos.
- Color Calibration: Shoot in RAW format and color correct during editing, or adjust white balance settings.
- Lighting: Ensure even, soft lighting across all photos. Use a CPL filter to reduce glare.
- Use a Self-Timer: Prevent camera shake by using the self-timer or a remote shutter release.
- Flatten Curled Photos: Use a flat acrylic sheet or glass from a picture frame to flatten curled photos.
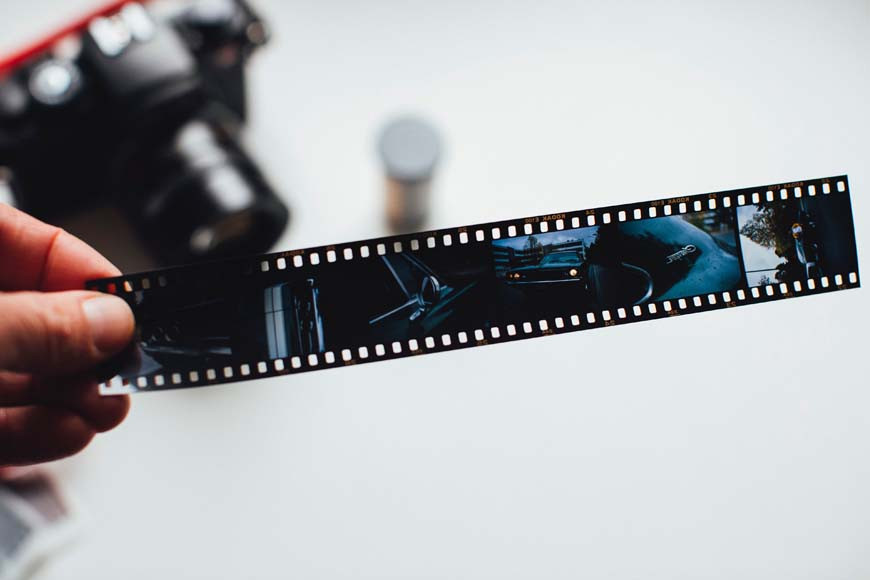 Camera and Film
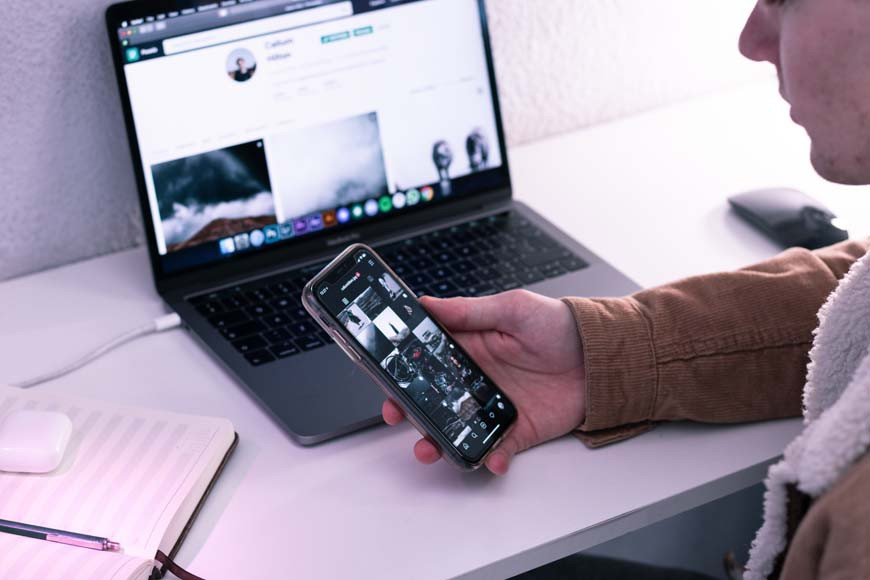
3.3. Use an App to Digitize Photos With Your Phone
Using your smartphone and dedicated apps is a convenient way to digitize your photographs, saving on costs and time.
- Follow the Camera Tips: Apply the same tips as using a professional camera, ensuring good lighting and stability.
- Smartphone Advantages: Smartphones are easy to use and can often work without a tripod if lighting is sufficient.
- Resolution Limitations: Be aware of your phone’s camera resolution limits and save smartphone scans for social media sharing.
- Explore Apps:
- Built-in camera app
- Photoshop Express
- Notes (iPhone)
- Google PhotoScan (Android & iOS)
- Microsoft Office Lens
- Photo Scanner
3.4. Use a Professional Photo-Digitizing Service
Professional services offer a hassle-free way to digitize your photos, especially if you don’t have the equipment or expertise.
- Shipping:
- Pay for shipping to and from the service.
- Ensure shipments and pay for tracking.
- Pack your photos safely.
- Processing Time: Be aware that professional services may take longer than doing it yourself due to backlog and processing times.
- Professional Quality: Benefit from trained professionals and high-end scanning equipment, including drum scanners.
- Photo Retouching: Take advantage of retouching services to remove water damage, stains, and yellowing.
- Service Recommendations:
- ScanMyPhotos
- ScanCafe
- Digital Memories
- ScanDigital
- EverPresent
- DigMyPics
- Local Document and Office Supply Stores
- Film Photography Project (for 8mm and 16mm movie scans)
These services provide professional-quality scans if you don’t own a film scanner, ensuring your memories are preserved with the best possible quality.
4. What Resolution and File Format Should I Use When I Digitize Photos?
Choosing the right resolution and file format is crucial for preserving the quality of your digitized photos.
4.1. Resolution
- 70 to 96 DPI: Suitable for online sharing and keeping file sizes down.
- 200 DPI: Provides crisp digital photos with good detail, suitable for smaller prints.
- 300 DPI: The industry standard for printing pictures, allowing for larger prints with larger file sizes.
4.2. File Formats
- JPG (JPEG): Best for online sharing due to its small file size, but it’s a lossy format that loses some detail.
- PNG: A good standard for digital image files, offering high resolution and more information than JPEGs.
- TIFF: The preferred file type for scanning due to its lossless quality, favored by photographers, graphic artists, and printers.
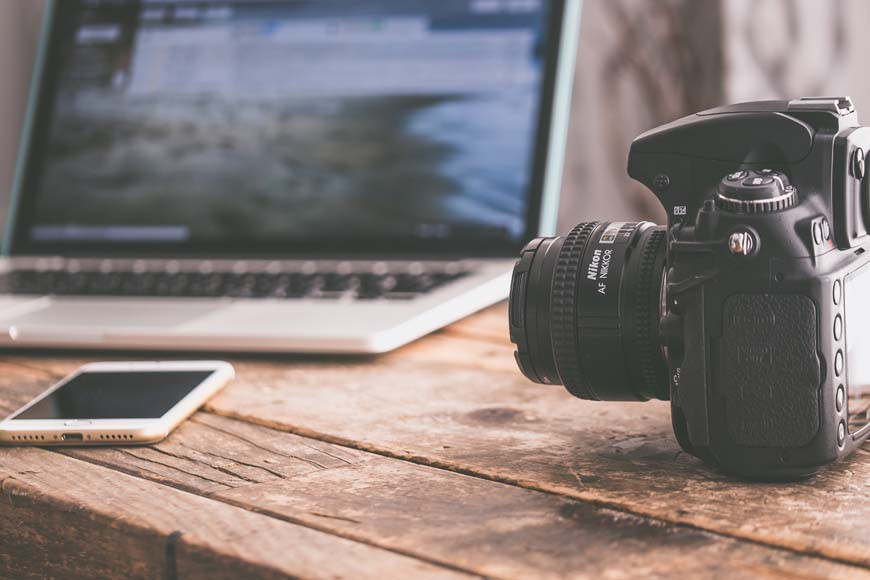 Camera by Latpop and Phone
5. My Photos Are Digitized – Now What?
Once your photos are digitized, the next step is to ensure they are properly stored and backed up.
- Storage Options:
- Cloud Storage: Upload a curated selection of your scanned photos to cloud services like iCloud.
- Multiple Devices: Store the full archive of digital images on multiple devices, including your computer, laptop, and external hard drive.
- CDs: Keep the CDs provided by digitizing companies as an extra layer of protection.
- Sharing Photos:
- Share the entire archive of digitized photos with friends and family using cloud storage options.
- Display photos on a digital frame, loading hundreds or thousands of pictures for guests to see.
- Printing Photos: Print your scans to create larger prints than the originals, offering new options for displaying physical photographs.
 Looking at Picson Smartphone
6. Three Ways to Store Your Photos Once They’re Digitized
Properly storing your physical photos after they’ve been digitized ensures they remain in good condition for future generations.
6.1. Archival Photo Albums and Boxes
The best option for storing photos, as they are designed to protect against chemicals that can damage photos over time.
- Pros:
- Best quality photo storage option
- Purpose-built for storing photos
- Variety of sizes, colors, and options
- Easy to label
- Cons:
- Can cost more than using existing supplies
6.2. Plastic Zip Top Bags
A cost-effective option, but consider the potential drawbacks.
- Pros:
- Affordable
- Effective for short-term protection
- Cons:
- Contain Butylated HydroxyToluene, which can damage photos over time
- Not as good as archival-quality plastic storage options
6.3. Regular Cardboard Boxes
A lo-fi option with significant risks, requiring extra precautions.
- Pros:
- Most affordable option
- Suitable while ordering archival storage equipment
- Cons:
- Photos are susceptible to the elements and humidity
- Must be stored off the ground
- Should not be kept in attics, basements, garages, or non-climate-controlled areas
 Elder Sorting Photos
7. FAQ: How Do I Digitize Photos?
Here are some frequently asked questions about digitizing photos to help you through the process.
7.1. What is the best way to digitize old photos?
The best way to digitize your old photos is by scanning them using a dedicated photo scanner, which gets the job done the fastest and gives you the highest quality digital copies.
7.2. How much does it cost to digitize a photo?
The cost to digitize an old photo ranges from a few cents to a few dollars per image, with bulk digitization offering better details. Paying a company to digitize around 500 photos can cost between $20 to a few hundred dollars, depending on image quality and size.
7.3. How to make copies of old photos?
To make copies of old photos, gently clean the originals, scan them at a high resolution (at least 300 DPI for prints, 600 DPI for detailed work), and save the digital files in a lossless format like TIFF for editing or archiving, or JPEG for sharing.
7.4. How do I digitize a huge amount of photos?
The easiest way to digitize a huge amount of old photos is by paying a digitization service to handle the job. Alternatively, use a top-loading feed photo scanner or break the task up and scan a few photos a day.
7.5. How do I digitize photos with an iPhone?
Use your iPhone camera to snap a quick pic of the old picture or use the Notes app to scan documents for a higher-quality scan.
7.6. Are there services that can digitize your photos for you?
Yes, countless online services can digitize your photos, often providing the best results due to their access to more expensive and powerful photo scanners.
7.7. How to digitize large photos?
Contact a scanning service with a larger commercial scanner or scan individual sections of the large photograph and stitch the images together using photo editing software like Photoshop.
7.8. How do you digitize photos to use for embroidery projects?
Scan the photograph using a flatbed scanner or smartphone, then use an app like Adobe Illustrator to convert the scan into a PES file or use Cross Stitch Creator to convert digital images into instructions for hand embroidery.
7.9. What is the best app to restore old photos?
Photomyne is a great app, but Adobe Photoshop’s Generative Fill AI tool provides much more intricate fine-tuning on a desktop computer.
8. Final Words on How Do I Digitize Photos?
Digitizing your old family photographs might seem like a big task, but it’s really simple when you break it down. You can even get started today by scanning some of the most important pictures using your smartphone. Visit dfphoto.net for more tips, inspiration, and resources to help you on your photographic journey.
If you’re in the Santa Fe, NM area, dfphoto.net invites you to visit our location at 1600 St Michael’s Dr, Santa Fe, NM 87505, United States, or call us at +1 (505) 471-6001 for personalized assistance.