Taking photos of books can be an art, especially when you want to share your literary passions with the world or simply document your reading journey; dfphoto.net offers a comprehensive guide to mastering this niche, covering everything from basic techniques to advanced styling tips; discover the secrets to crafting visually stunning book photos that will captivate your audience and elevate your bookstagram game. Capture the essence of literature through stunning visuals with our tips on book photography, creative compositions, and finding the perfect lighting, and explore creative photography.
1. Why is Book Photography Important?
Book photography is important because it visually communicates the essence of a book, enticing readers and fostering a deeper connection with literature. It’s a way to share your love for reading with others and create visually appealing content.
- Attracts Readers: Compelling book photos grab attention, encouraging potential readers to explore the book further.
- Enhances Bookstagram: High-quality images are essential for a visually appealing and engaging Bookstagram feed.
- Promotes Reading Culture: Sharing beautiful book photos can inspire others to read and appreciate literature.
- Documents Reading Journey: Book photography provides a creative way to document your personal reading experiences and memories.
- Expresses Creativity: It allows you to experiment with different styles, compositions, and props to express your unique perspective.
2. What are the Essential Equipment and Tools for Book Photography?
Essential equipment for book photography includes a camera (smartphone or DSLR), a tripod, lighting (natural or artificial), and props to enhance the visual appeal.
- Camera: A smartphone with a good camera is sufficient for beginners, while DSLRs offer more control and higher image quality.
- Tripod: A tripod ensures stability, especially in low-light conditions, preventing blurry images.
- Lighting: Natural light is ideal, but artificial lights like softboxes or ring lights can provide consistent illumination.
- Props: Props such as flowers, coffee mugs, blankets, and reading glasses can add personality and context to your photos.
- Reflectors: Reflectors bounce light to fill in shadows and create a more balanced exposure.
- Editing Software: Software like Adobe Lightroom or VSCO helps enhance colors, sharpness, and overall image quality.
3. What are the Best Lighting Techniques for Photographing Books?
The best lighting techniques for photographing books involve using natural light whenever possible, positioning the book near a window, and avoiding direct sunlight to prevent harsh shadows and glare.
- Natural Light: Shoot near a window during the day for soft, diffused light.
- Indirect Sunlight: Avoid direct sunlight, which can create harsh shadows and wash out colors.
- Softboxes: Use softboxes to mimic natural light when shooting indoors.
- Reflectors: Use reflectors to bounce light and fill in shadows on the darker side of the book.
- White Balance: Adjust the white balance to ensure accurate colors in your photos.
- Golden Hour: Shoot during the golden hour (early morning or late afternoon) for warm, flattering light.
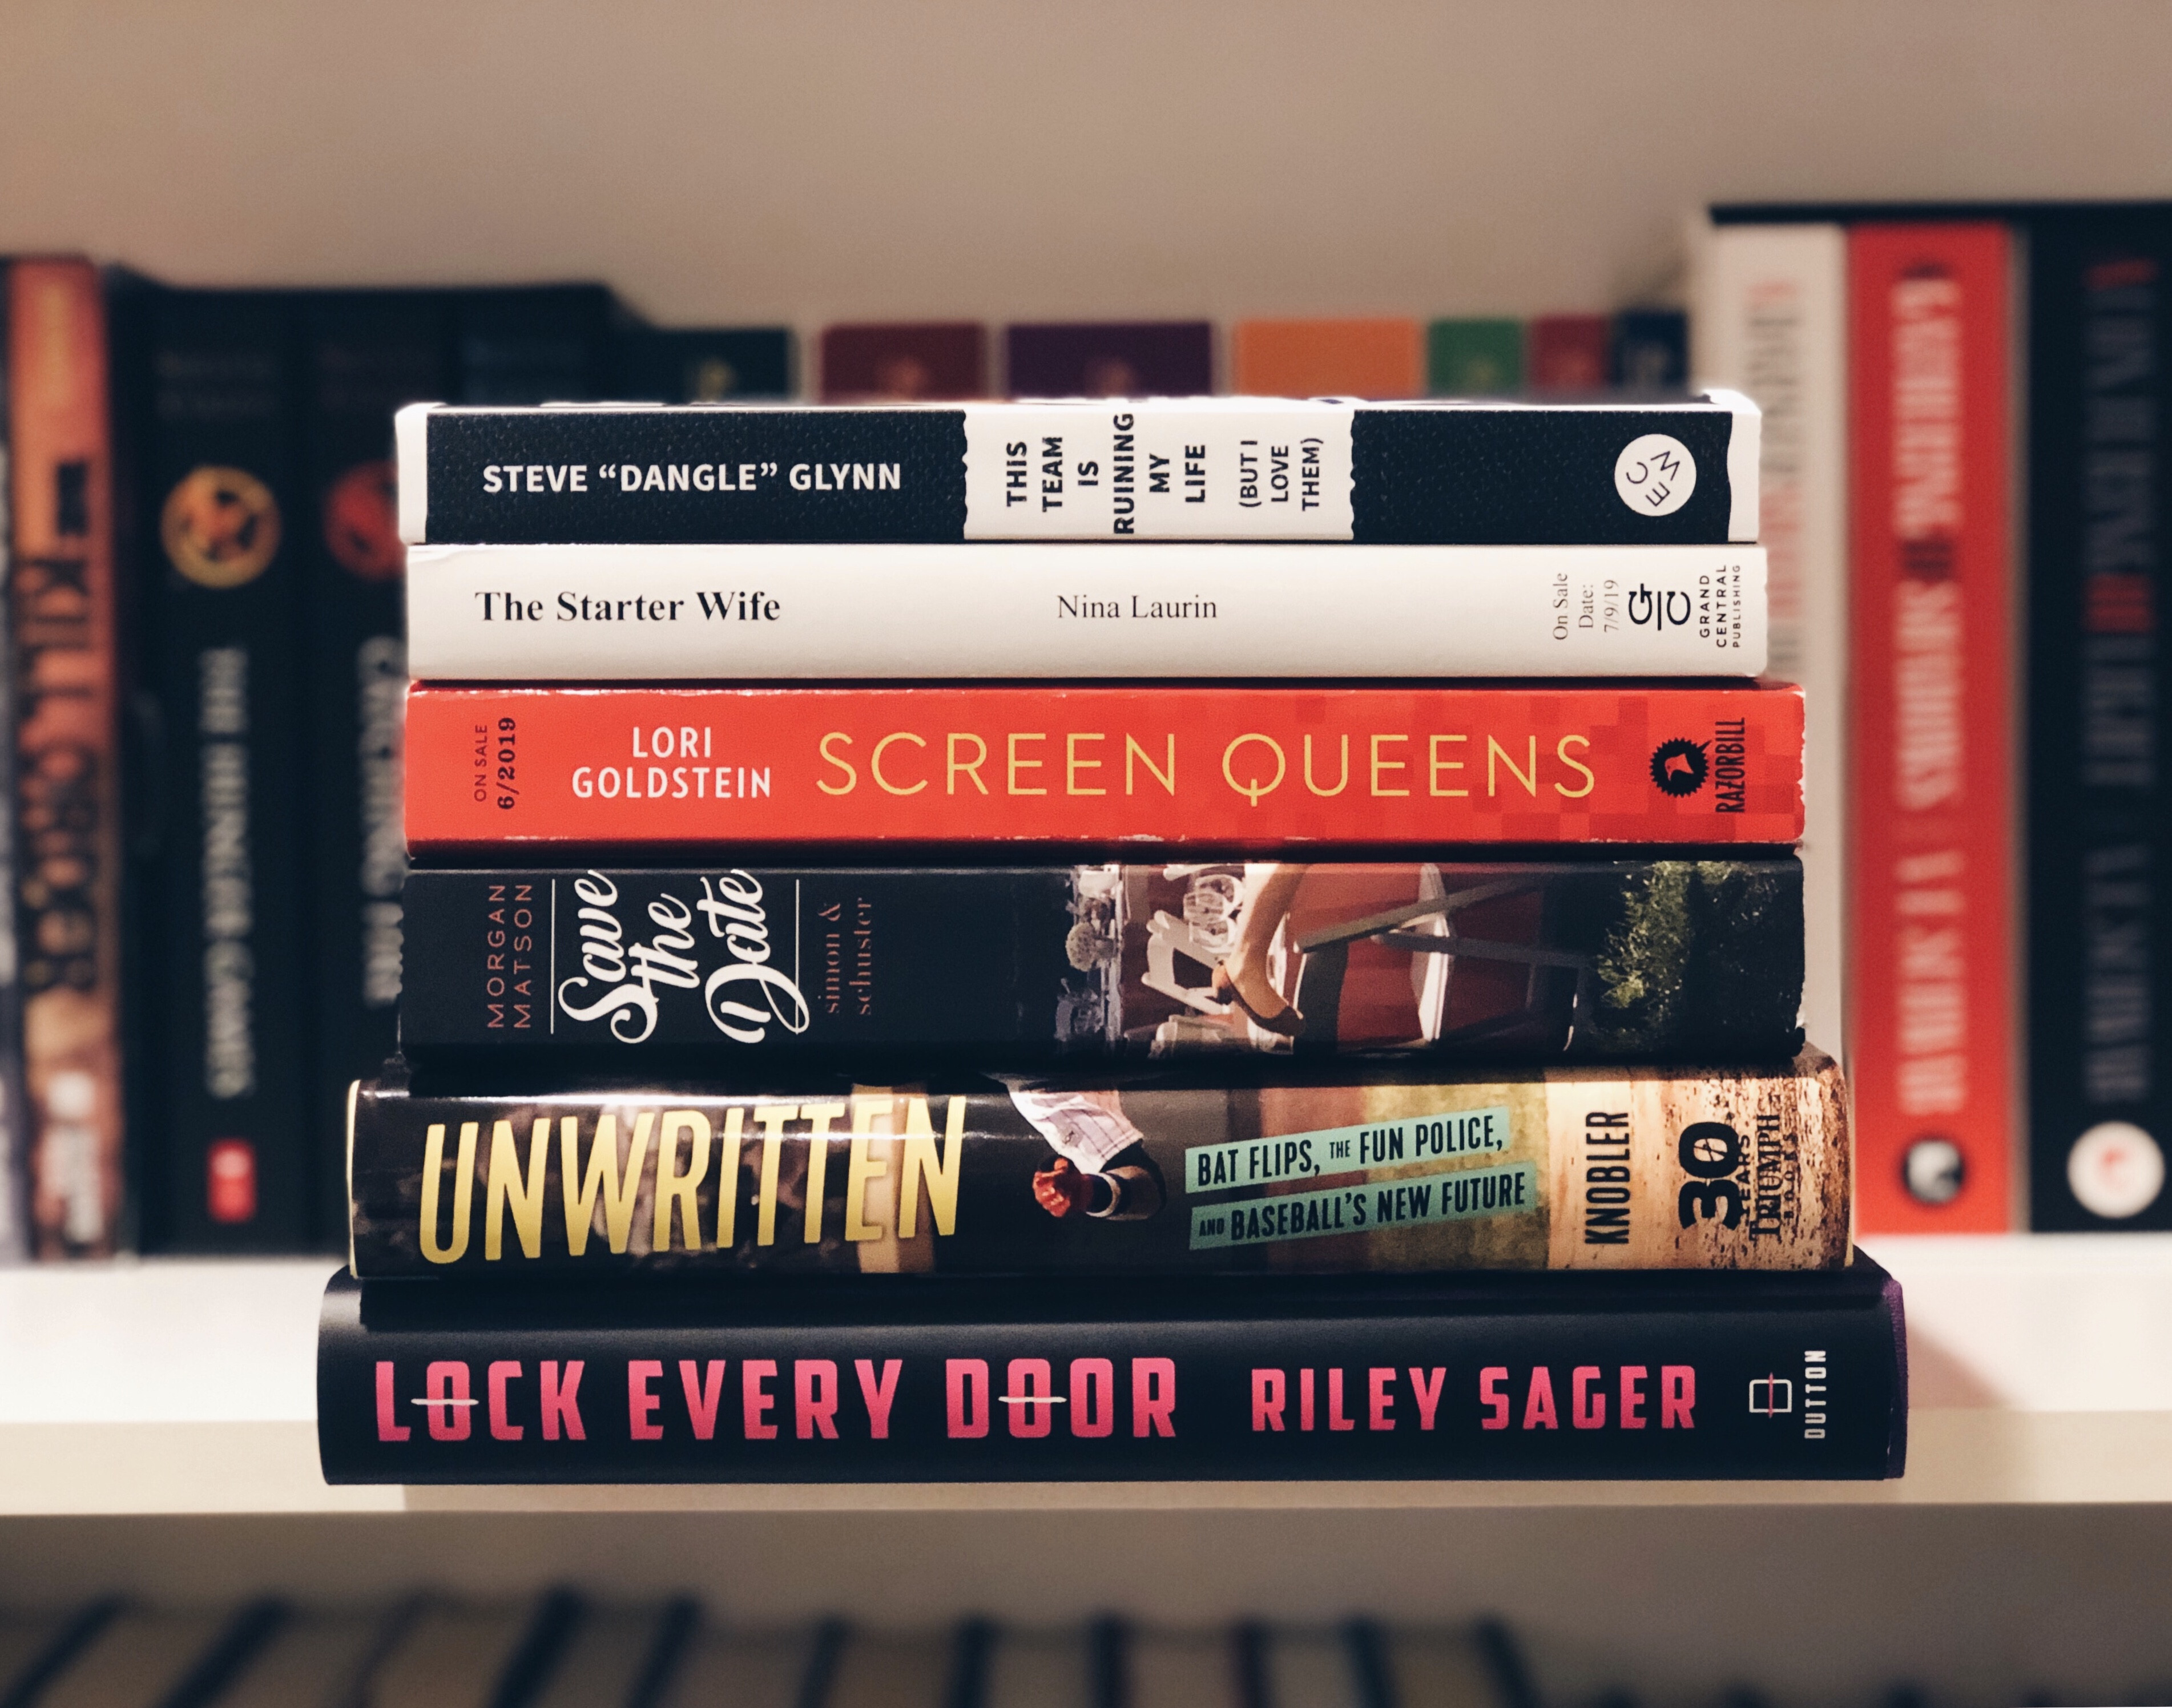
4. How Can You Create Visually Appealing Book Stacks?
Creating visually appealing book stacks involves color coordination, varying sizes and orientations, and adding decorative elements for a balanced and aesthetically pleasing composition.
- Color Coordination: Arrange books by color to create a visually harmonious stack.
- Vary Sizes: Mix books of different sizes to add visual interest and prevent monotony.
- Alternate Orientations: Stack books both vertically and horizontally for a dynamic look.
- Add Decorative Elements: Incorporate props like plants, candles, or bookmarks to enhance the stack’s appeal.
- Consider Texture: Mix textures (hardcover, paperback, fabric) for added depth.
- Balance: Ensure the stack is stable and visually balanced to prevent it from looking cluttered.
5. What are Some Creative Composition Ideas for Book Photography?
Creative composition ideas for book photography include flat lays, close-ups of textures, incorporating hands, and using negative space to draw attention to the book.
- Flat Lays: Arrange books and props on a flat surface and shoot from directly above for a clean, organized look.
- Close-Ups: Focus on the details of the book, such as the cover texture, page edges, or typography.
- Hands: Incorporate hands holding or turning pages to add a human element to the photo.
- Negative Space: Use empty space around the book to create a minimalist and impactful composition.
- Rule of Thirds: Apply the rule of thirds by placing the book off-center to create a more dynamic and engaging image.
- Symmetry: Create symmetrical compositions for a sense of balance and harmony.
6. How Do You Use Props to Enhance Your Book Photos?
Props enhance book photos by adding context, personality, and visual interest. Choose props that complement the book’s theme and create a cohesive aesthetic.
- Thematic Props: Use props related to the book’s genre or plot, such as a magnifying glass for a mystery novel or a teacup for a romance.
- Personal Items: Incorporate personal items like reading glasses, journals, or favorite pens to add a personal touch.
- Natural Elements: Use flowers, leaves, or branches to create a natural and organic feel.
- Comfort Items: Add cozy items like blankets, pillows, or candles to evoke a sense of comfort and relaxation.
- Color Coordination: Choose props that match or complement the book’s colors to create a cohesive look.
- Minimalism: Avoid overcrowding the photo with too many props; less is often more.
 Bookshelf with books arranged by color
7. What are the Best Camera Settings for Book Photography?
The best camera settings for book photography depend on the lighting conditions and the desired effect, but generally include a low ISO, a moderate aperture, and a shutter speed that avoids blur.
- ISO: Keep the ISO as low as possible (e.g., ISO 100) to minimize noise, especially in well-lit conditions.
- Aperture: Use a moderate aperture (e.g., f/4 to f/8) to ensure the book is sharp while still providing some background blur.
- Shutter Speed: Choose a shutter speed fast enough to prevent blur, especially if shooting handheld (e.g., 1/60th of a second or faster).
- White Balance: Set the white balance to match the lighting conditions (e.g., daylight, cloudy, or custom) for accurate colors.
- Focus: Use autofocus or manual focus to ensure the book is sharp and in focus.
- Metering: Use evaluative or matrix metering to ensure a balanced exposure across the entire image.
8. How Can You Edit Your Book Photos for a Professional Look?
Editing book photos for a professional look involves adjusting exposure, contrast, colors, and sharpness using software like Adobe Lightroom or VSCO.
- Exposure: Adjust the exposure to ensure the image is neither too dark nor too bright.
- Contrast: Increase contrast slightly to make the colors pop and add depth to the image.
- White Balance: Fine-tune the white balance to ensure accurate colors and remove any unwanted color casts.
- Highlights and Shadows: Adjust the highlights and shadows to balance the dynamic range and reveal details in both bright and dark areas.
- Color Grading: Use color grading tools to create a consistent and visually appealing color palette.
- Sharpening: Add a subtle amount of sharpening to enhance the details and make the book appear crisp and clear.
9. What are the Common Mistakes to Avoid in Book Photography?
Common mistakes to avoid in book photography include poor lighting, cluttered backgrounds, blurry images, and inconsistent editing styles.
- Poor Lighting: Avoid harsh, direct light or overly dark and underexposed images.
- Cluttered Backgrounds: Keep the background clean and uncluttered to avoid distractions.
- Blurry Images: Use a tripod or increase the shutter speed to prevent motion blur.
- Inconsistent Editing: Maintain a consistent editing style across all your photos for a cohesive look.
- Over-Editing: Avoid over-editing, which can make the images look artificial and unnatural.
- Ignoring Composition: Pay attention to composition principles like the rule of thirds and leading lines to create visually appealing images.
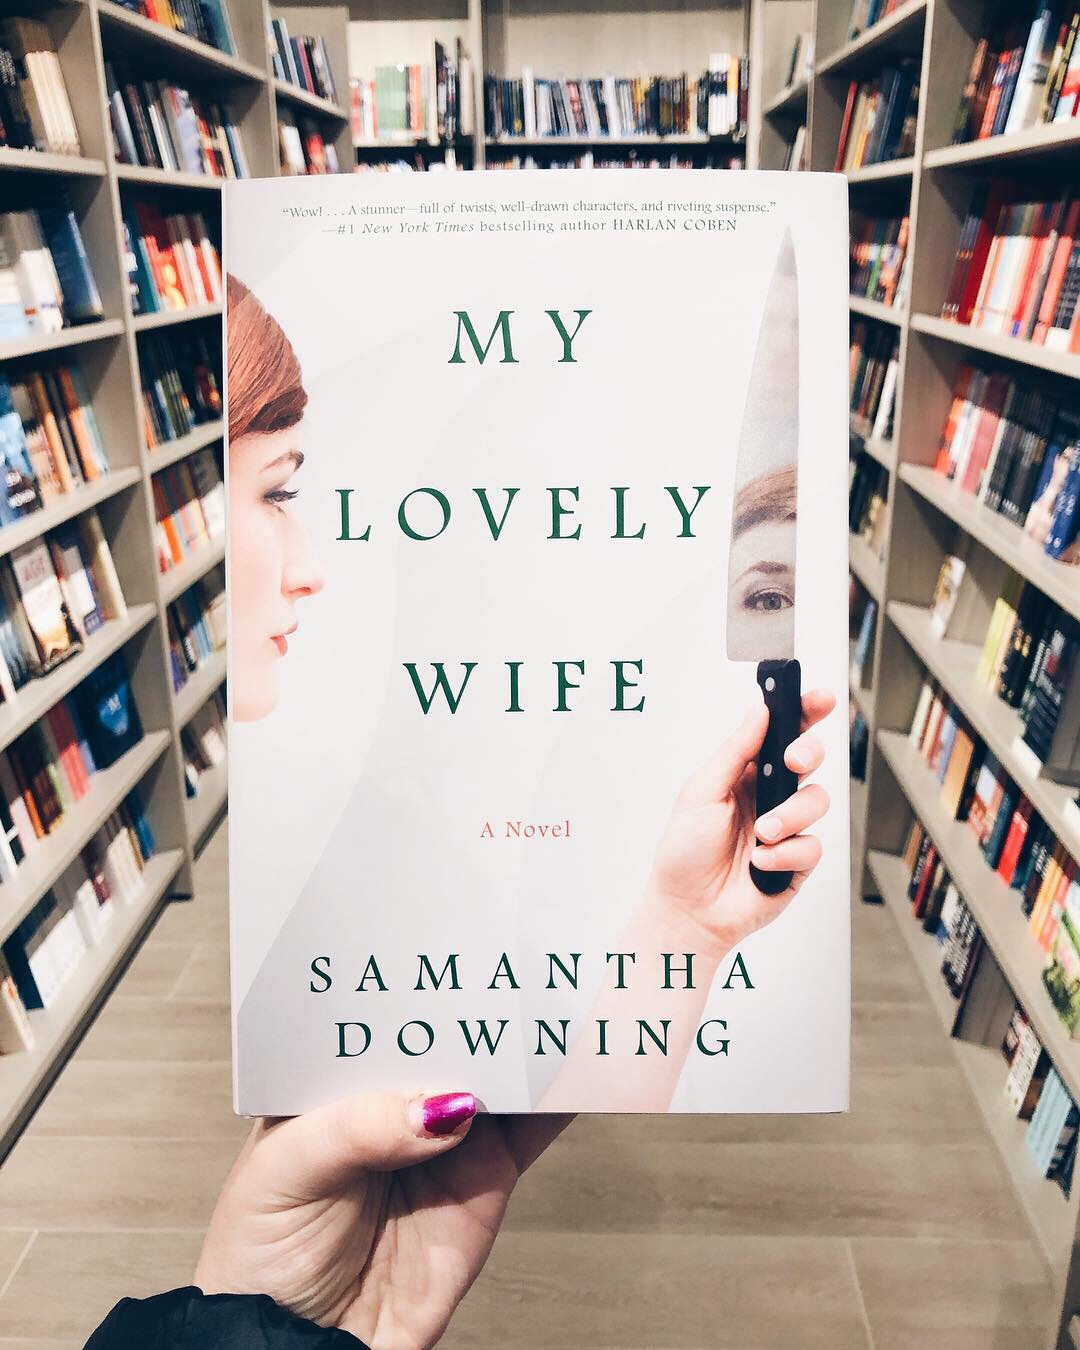
10. How to Capture Individual Books
Capturing individual books involves highlighting their unique features and essence. Here are some techniques to make each shot stand out:
Highlighting Details
Focusing on specific details can transform a simple book photo into an engaging visual story. Details like the texture of the cover, the font used in the title, or the intricate designs can capture the essence of the book.
- Texture and Material:
- Focus: Use macro settings to highlight the tactile quality of the book cover, whether it’s the roughness of linen or the smoothness of leather.
- Lighting: Side lighting can accentuate the texture, creating shadows that emphasize the depth and feel of the material.
- Typography and Design:
- Focus: Zoom in on the title, author’s name, or any unique design elements on the cover.
- Composition: Ensure the typography is clear and well-lit. Use a clean background to make the text stand out.
- Page Edges:
- Technique: Capture the edges of the pages, especially if they are gilded, deckle-edged, or have unique markings.
- Props: Add props that complement the book’s theme, such as vintage spectacles or a feather quill.
Creative Angles
Experimenting with different angles can give your book photos a unique perspective. Instead of always shooting straight on, try these creative approaches:
- Eye-Level Shot:
- Technique: Position the camera at the same level as the book to create an intimate and personal perspective.
- Composition: Frame the book against a blurred background to keep the focus on the subject.
- Overhead Shot (Flat Lay):
- Technique: Capture the book from directly above, laying it flat on a surface.
- Arrangement: Arrange props around the book to tell a story or highlight the book’s theme.
- Angled Shot:
- Technique: Tilt the camera slightly to create a dynamic and interesting composition.
- Depth of Field: Use a shallow depth of field to blur the background and draw attention to specific parts of the book.
Using Natural Light
Natural light is your best friend when it comes to book photography. It brings out the colors and textures, making your photos look vibrant and authentic.
- Golden Hour:
- Timing: Shoot during the hour after sunrise or before sunset for warm, soft light.
- Effect: This light enhances the colors and creates a cozy, inviting atmosphere.
- Diffused Daylight:
- Technique: Place the book near a window with sheer curtains to diffuse the light.
- Benefits: Avoids harsh shadows and provides an even, gentle illumination.
- Backlighting:
- Setup: Position the book in front of a light source to create a silhouette or highlight the edges.
- Mood: Adds a dramatic and artistic effect to your photos.
Adding Props for Context
Props can add depth and context to your book photos, helping to tell a story and engage your audience.
- Thematic Props:
- Examples: Use items that relate to the book’s genre or plot, such as a compass for an adventure novel or a teacup for a classic.
- Purpose: Enhances the storytelling aspect of the photo.
- Personal Touches:
- Examples: Include your favorite reading glasses, a cozy blanket, or a cup of coffee.
- Effect: Adds a personal and relatable element to your images.
- Minimalist Approach:
- Principle: Sometimes less is more. Use only a few carefully chosen props to avoid clutter.
- Focus: Keeps the attention on the book while adding subtle enhancements.
 Dual book covers
11. How to Master Dual Cover Photography
Dual cover photography is an excellent way to showcase multiple books in a single shot. It requires careful arrangement and a good understanding of composition to create visually appealing images.
Arranging the Books
The arrangement of the books is crucial in dual cover photography. Here are some effective methods:
- Overlapping Covers:
- Technique: Slightly overlap the covers of the two books, ensuring both are still visible.
- Benefit: Creates a sense of connection between the books.
- Side-by-Side:
- Technique: Place the books side-by-side, either touching or with a small gap between them.
- Benefit: Allows each book to stand out while maintaining a balanced composition.
- Foreground and Background:
- Technique: Position one book slightly in front of the other, creating depth and dimension.
- Benefit: Adds visual interest and draws the viewer’s eye through the photo.
Balancing the Composition
Achieving a balanced composition is essential for making your dual cover photos look professional and appealing.
- Symmetry:
- Technique: Arrange the books symmetrically, with similar elements on either side of the frame.
- Benefit: Creates a sense of harmony and order.
- Rule of Thirds:
- Technique: Place the focal points (e.g., the book covers) along the lines or at the intersections of a grid that divides the frame into thirds.
- Benefit: Adds visual interest and dynamism to the composition.
- Negative Space:
- Technique: Use empty space around the books to create a clean and uncluttered look.
- Benefit: Draws attention to the books and prevents the photo from feeling too busy.
Choosing Complementary Books
Selecting books that complement each other can enhance the visual appeal of your dual cover photos.
- Color Coordination:
- Technique: Choose books with covers that have similar colors or that create a pleasing contrast.
- Benefit: Creates a cohesive and visually harmonious image.
- Thematic Connection:
- Technique: Select books that share a common theme, genre, or author.
- Benefit: Adds depth and meaning to the photo, telling a story about the books.
- Size and Shape:
- Technique: Mix books of different sizes and shapes to add visual interest.
- Benefit: Prevents the photo from looking monotonous and adds dynamism.
Adjusting Focus and Depth of Field
Proper focus and depth of field are crucial for making your dual cover photos look sharp and professional.
- Sharp Focus:
- Technique: Ensure both book covers are in sharp focus.
- Benefit: Allows viewers to clearly see the details and titles of the books.
- Shallow Depth of Field:
- Technique: Use a wide aperture (e.g., f/2.8 or f/4) to create a shallow depth of field, blurring the background.
- Benefit: Draws attention to the books and creates a dreamy, artistic effect.
- Manual Focus:
- Technique: Use manual focus to precisely control which parts of the image are in focus.
- Benefit: Useful when shooting in challenging lighting conditions or when autofocus struggles.
12. Vertical Book Stack Photography: A Comprehensive Guide
Vertical book stacks are a classic way to showcase multiple books in a visually appealing manner. Here’s how to master this style:
Building a Stable Stack
Creating a stable and visually appealing stack is the first step to successful vertical book stack photography.
- Base Book:
- Selection: Start with the largest and sturdiest book as the base.
- Stability: Ensure it sits flat and provides a solid foundation for the rest of the stack.
- Size Progression:
- Arrangement: Arrange the books in descending order of size, with the largest at the bottom and the smallest at the top.
- Balance: Helps maintain stability and creates a visually pleasing pyramid effect.
- Even Distribution:
- Consideration: Ensure the weight is evenly distributed to prevent the stack from toppling over.
- Adjustment: Adjust the placement of each book to achieve optimal balance.
Color Coordination
Color coordination can significantly enhance the visual appeal of your vertical book stacks.
- Harmonious Colors:
- Technique: Choose books with covers that have similar colors or that create a harmonious color palette.
- Effect: Creates a cohesive and visually pleasing image.
- Contrasting Colors:
- Technique: Use books with contrasting colors to create a bold and eye-catching stack.
- Effect: Adds visual interest and makes the stack stand out.
- Ombré Effect:
- Technique: Arrange the books in a gradient of colors, creating an ombré effect.
- Effect: Adds a sense of depth and sophistication.
Adding Texture and Variety
Incorporating texture and variety can add depth and visual interest to your vertical book stacks.
- Mix Materials:
- Technique: Combine books with different cover materials, such as hardcover, paperback, and fabric-bound books.
- Effect: Adds tactile interest and prevents the stack from looking monotonous.
- Vary Spine Designs:
- Technique: Choose books with different spine designs, fonts, and colors.
- Effect: Creates a visually dynamic and engaging stack.
- Incorporate Props:
- Technique: Add props such as flowers, candles, or bookmarks to enhance the stack’s visual appeal.
- Effect: Adds context and tells a story about the books.
Lighting and Background
Proper lighting and a suitable background are essential for making your vertical book stacks look their best.
- Natural Light:
- Source: Use natural light whenever possible, positioning the stack near a window.
- Benefit: Provides soft, even illumination and enhances the colors.
- Soft Lighting:
- Technique: Avoid harsh, direct sunlight, which can create strong shadows.
- Alternative: Use sheer curtains or a diffuser to soften the light.
- Clean Background:
- Choice: Opt for a clean, uncluttered background to avoid distractions.
- Options: Use a white wall, a wooden surface, or a neutral-colored backdrop.
 Vertical book stack
13. Mastering Horizontal Book Stacks
Horizontal book stacks offer a unique and stylish alternative to vertical stacks. Here’s how to create stunning horizontal arrangements:
Selecting the Right Books
Choosing the right books is crucial for creating visually appealing horizontal stacks.
- Limited Number:
- Guideline: Use only three or four books to prevent the stack from looking messy.
- Benefit: Creates a clean and focused composition.
- Color Harmony:
- Selection: Choose books with covers that have similar colors or that create a pleasing contrast.
- Effect: Enhances the visual cohesion of the stack.
- Consistent Height:
- Recommendation: Select books with similar heights to create a balanced and uniform stack.
- Benefit: Prevents the stack from looking uneven or unstable.
Arranging the Stack
The arrangement of the books in a horizontal stack is key to its visual appeal.
- Laying Flat:
- Technique: Lay the books flat on a surface, with the spines facing up.
- Effect: Creates a neat and organized look.
- Slight Overlap:
- Adjustment: Slightly overlap the books to create a sense of depth and connection.
- Benefit: Adds visual interest and prevents the stack from looking too static.
- Off-Center Placement:
- Technique: Position the stack slightly off-center to showcase other elements in the background.
- Benefit: Adds visual interest and creates a more dynamic composition.
Incorporating Props
Props can add personality and context to your horizontal book stacks.
- Thematic Props:
- Examples: Use items that relate to the book’s genre or plot, such as a vintage pen for a classic novel or a pair of glasses for a scholarly work.
- Purpose: Enhances the storytelling aspect of the photo.
- Minimalist Approach:
- Guideline: Use only a few carefully chosen props to avoid clutter.
- Benefit: Keeps the attention on the books while adding subtle enhancements.
- Cozy Elements:
- Examples: Add cozy items such as a blanket, a cup of tea, or a small plant to create a warm and inviting atmosphere.
- Effect: Enhances the visual appeal and makes the photo more relatable.
Lighting and Composition
Proper lighting and composition are essential for making your horizontal book stacks look their best.
- Natural Light:
- Source: Use natural light whenever possible, positioning the stack near a window.
- Benefit: Provides soft, even illumination and enhances the colors.
- Portrait Mode:
- Technique: Use portrait mode to create a shallow depth of field, blurring the background.
- Effect: Draws attention to the books and creates a dreamy, artistic effect.
- Clean Background:
- Choice: Opt for a clean, uncluttered background to avoid distractions.
- Options: Use a white wall, a wooden surface, or a neutral-colored backdrop.
 Horizontal book stack on a wooden surface
14. Capturing Bookstore Shelf Inception
Bookstore shelf inception photos can create captivating and immersive visuals. Here’s how to master this unique style:
Finding the Right Location
The key to successful bookstore shelf inception photos is finding a suitable location with interesting shelves.
- Intersecting Shelves:
- Ideal: Look for shelves that intersect or create a visually interesting pattern.
- Benefit: Adds depth and complexity to the photo.
- Well-Stocked Shelves:
- Choice: Choose shelves that are well-stocked with books, creating a sense of abundance and variety.
- Benefit: Enhances the visual appeal and makes the photo more engaging.
- Quiet Areas:
- Preference: Opt for quieter areas of the bookstore to avoid distractions and ensure you have enough space to work.
- Benefit: Allows you to focus on capturing the perfect shot without interruptions.
Centering the Shot
Centering the shot is crucial for creating a balanced and visually appealing bookstore shelf inception photo.
- Symmetry:
- Technique: Align the camera so that the shelves are symmetrical and centered in the frame.
- Benefit: Creates a sense of harmony and order.
- Straight Lines:
- Adjustment: Ensure the shelves are straight and parallel to the edges of the frame.
- Benefit: Prevents the photo from looking skewed or distorted.
- Using a Grid:
- Technique: Use the grid lines on your camera or smartphone to help align the shot.
- Benefit: Ensures the photo is level and balanced.
Adding a Focal Point
Adding a focal point can help draw the viewer’s eye and create a more engaging photo.
- Holding a Book:
- Technique: Hold a newly purchased book in the middle of the shelves, creating a focal point.
- Benefit: Showcases the book and adds a personal touch to the photo.
- Using Props:
- Examples: Add props such as a pair of glasses, a bookmark, or a small plant to draw attention to a specific area of the shelves.
- Purpose: Enhances the visual appeal and adds context to the photo.
- Selective Focus:
- Technique: Use selective focus to blur the background and draw attention to the focal point.
- Benefit: Creates depth and makes the focal point stand out.
Dealing with Challenges
Capturing bookstore shelf inception photos can be challenging due to crowds and lighting conditions.
- Avoiding Crowds:
- Timing: Visit the bookstore during off-peak hours to avoid crowds.
- Patience: Be patient and wait for a break in the crowd to capture the perfect shot.
- Lighting Conditions:
- Natural Light: Use natural light whenever possible, positioning yourself near a window.
- Artificial Light: Adjust the exposure settings on your camera or smartphone to compensate for low light conditions.
- Respecting Others:
- Consideration: Be mindful of other shoppers and avoid blocking aisles or disrupting their browsing experience.
- Communication: Ask for permission before taking photos if necessary.
15. How to Get Inspiration for Your Book Photography?
Gaining inspiration for book photography involves exploring various sources, from online platforms to real-world settings, to spark creativity and develop unique ideas.
Exploring Online Platforms
Online platforms offer a wealth of inspiration for book photography.
- Instagram:
- Usage: Follow bookstagrammers and photographers to discover new styles and trends.
- Exploration: Use hashtags like #bookstagram, #bookphotography, and #booklover to find inspiring content.
- Pinterest:
- Usage: Create boards to save and organize your favorite book photography ideas.
- Exploration: Search for terms like “book photography,” “book flatlay,” and “creative book photos” to find inspiration.
- Flickr:
- Usage: Explore different groups and communities dedicated to book photography.
- Exploration: Discover diverse styles and techniques from photographers around the world.
Analyzing Successful Book Photos
Analyzing successful book photos can help you understand what makes them appealing and effective.
- Composition:
- Analysis: Study the composition of successful photos, paying attention to elements like the rule of thirds, leading lines, and symmetry.
- Application: Try to incorporate these principles into your own photos.
- Lighting:
- Analysis: Observe how light is used in successful photos, noting the direction, intensity, and quality of the light.
- Experimentation: Experiment with different lighting techniques to achieve similar effects.
- Props:
- Analysis: Identify the props used in successful photos and consider how they contribute to the overall aesthetic.
- Selection: Choose props that complement the book’s theme and enhance the visual appeal.
Visiting Bookstores and Libraries
Visiting bookstores and libraries can provide real-world inspiration for book photography.
- Shelf Arrangements:
- Observation: Pay attention to how books are arranged on the shelves, noting the color coordination, stacking styles, and display techniques.
- Adaptation: Adapt these ideas to create your own unique book photos.
- Lighting:
- Assessment: Assess the lighting conditions in different areas of the bookstore or library, noting how natural and artificial light interact.
- Utilizing Opportunities: Utilize these lighting opportunities to capture interesting and dynamic photos.
- Atmosphere:
- Immersion: Immerse yourself in the atmosphere of the bookstore or library, allowing the environment to inspire your creativity.
- Capturing the Essence: Capture the essence of the space in your photos.
Experimenting with Different Styles
Experimenting with different styles can help you discover your own unique approach to book photography.
- Flat Lays:
- Arrangement: Arrange books and props on a flat surface and shoot from directly above.
- Focus: Focus on creating a clean, organized, and visually appealing composition.
- Close-Ups:
- Focus: Focus on the details of the book, such as the cover texture, page edges, or typography.
- Purpose: Highlight the unique characteristics of the book.
- Environmental Portraits:
- Integration: Integrate the book into its environment, capturing it in a natural and authentic setting.
- Aim: Create a sense of place and context.
16. How To Use Social Media To Showcase Your Book Photos
Using social media to showcase your book photos involves optimizing your posts for engagement, using relevant hashtags, and interacting with your audience.
Optimizing Your Posts for Engagement
Optimizing your posts for engagement is crucial for attracting attention and growing your audience.
- High-Quality Images:
- Requirement: Use high-resolution images that are well-lit, sharp, and visually appealing.
- Impact: First impressions matter, and high-quality images are more likely to grab attention.
- Compelling Captions:
- Content: Write captions that are engaging, informative, and relevant to the photo.
- Inclusion: Include a call to action, such as asking a question or encouraging followers to share their thoughts.
- Consistent Posting:
- Schedule: Maintain a consistent posting schedule to keep your audience engaged.
- Frequency: Aim to post regularly, whether it’s once a day, every other day, or a few times a week.
Using Relevant Hashtags
Using relevant hashtags can help your photos reach a wider audience and attract new followers.
- Popular Hashtags:
- Examples: Use popular hashtags like #bookstagram, #bookphotography, #booklover, and #reading.
- Reach: Increase the visibility of your posts by tapping into the existing community.
- Niche Hashtags:
- Examples: Use niche hashtags related to your specific genre, style, or theme, such as #fantasybooks, #vintagebooks, or #bookflatlay.
- Target: Target a more specific audience who are interested in your content.
- Branded Hashtags:
- Creation: Create your own branded hashtag to encourage followers to share their photos using your style or theme.
- Community: Build a community around your hashtag.
Interacting with Your Audience
Interacting with your audience is essential for building relationships and fostering a sense of community.
- Responding to Comments:
- Engagement: Respond to comments promptly and thoughtfully.
- Relationship Building: Show your followers that you value their input and appreciate their support.
- Asking Questions:
- Initiation: Ask questions in your captions to encourage followers to share their thoughts and opinions.
- Sparking Conversation: Spark conversation and create a sense of community.
- Participating in Challenges:
- Engagement: Participate in book photography challenges and contests to showcase your skills and connect with other photographers.
- Discovery: Discover new ideas and inspiration.
Collaborating with Other Bookstagrammers
Collaborating with other bookstagrammers can help you reach a new audience and expand your network.
- Guest Posting:
- Arrangement: Arrange to guest post on each other’s accounts, sharing your photos and captions with a new audience.
- Exposure: Gain exposure to a wider audience.
- Joint Projects:
- Examples: Collaborate on joint projects, such as creating a themed book photography series or hosting a giveaway.
- Relationship Building: Strengthen relationships with other bookstagrammers.
- Shout-Outs:
- Recognition: Give shout-outs to other bookstagrammers whose work you admire.
- Support: Support their content and encourage your followers to check them out.
17. How to Protect Your Book Photography
Protecting your book photography involves understanding copyright laws, watermarking your images, and monitoring for unauthorized use.
Understanding Copyright Laws
Understanding copyright laws is crucial for protecting your work and ensuring that others respect your rights.
- Copyright Ownership:
- Principle: As the creator of your book photos, you automatically own the copyright to those images.
- Rights: This means you have the exclusive right to reproduce, distribute, and display your work.
- Registration:
- Process: Consider registering your copyright with the U.S. Copyright Office to strengthen your legal protection.
- Benefits: Registration can make it easier to enforce your rights in case of infringement.
- Fair Use:
- Awareness: Be aware of the fair use doctrine, which allows limited use of copyrighted material for purposes such as criticism, commentary, news reporting, teaching, scholarship, and research.
- Application: Understand how fair use applies to your work and the work of others.
Watermarking Your Images
Watermarking your images is a simple and effective way to deter unauthorized use.
- Visible Watermarks:
- Placement: Add a visible watermark to your photos, typically in a corner or along an edge.
- Content: Include your name, logo, or website URL in the watermark.
- Subtle Watermarks:
- Opacity: Use a subtle watermark with low opacity so that it doesn’t detract from the image.
- Benefit: Provides a visual reminder of your ownership without being too intrusive.
- Metadata:
- Embedding: Embed copyright information and contact details in the metadata of your images.
- Protection: This information will stay with the image even if it’s downloaded or shared.
Monitoring for Unauthorized Use
Monitoring for unauthorized use is essential for detecting and addressing copyright infringement.
- Reverse Image Search:
- Technique: Use reverse image search tools like Google Images or TinEye to search for your photos online.
- Monitoring: Regularly monitor these tools to see if your images are being used without your permission.
- Social Media Monitoring:
- Tracking: Use social media monitoring tools to track mentions of your name, brand, or hashtags.
- Identification: Identify instances where your photos are being used without attribution.
- Copyright Infringement Reporting:
- Action: If you find your photos being used without your permission, take action by sending a DMCA takedown notice to the website or platform hosting the images.
- Legal Steps: Consider consulting with an attorney to explore your legal options.
Using Licensing Agreements
Using licensing agreements allows you to control how your photos are used and generate income from your work.
- Types of Licenses:
- Creative Commons: Offer your photos under a Creative Commons license, which allows others to use your work for non-commercial purposes with attribution.
- Commercial Licenses: Sell commercial licenses to businesses or individuals who want to use your photos for advertising, marketing, or other commercial purposes.
- Licensing Platforms:
- Options: Use licensing platforms like Getty Images or Shutterstock to sell your photos to a wider audience.
- Visibility: Gain exposure and generate revenue.