Creating a white background for your photos can dramatically improve their look, whether you’re aiming for a clean product shot or a minimalist portrait. Fortunately, if you’re a Mac user, you can achieve this effect easily using built-in tools, without needing to download any extra software. This guide will show you how to turn any photo background white using just your Mac’s Photos app and Preview.
First, let’s start by using the “Copy Subject” feature in the Photos app, a neat tool available on macOS 13 Ventura and later. This feature intelligently isolates the main subject of your photo.
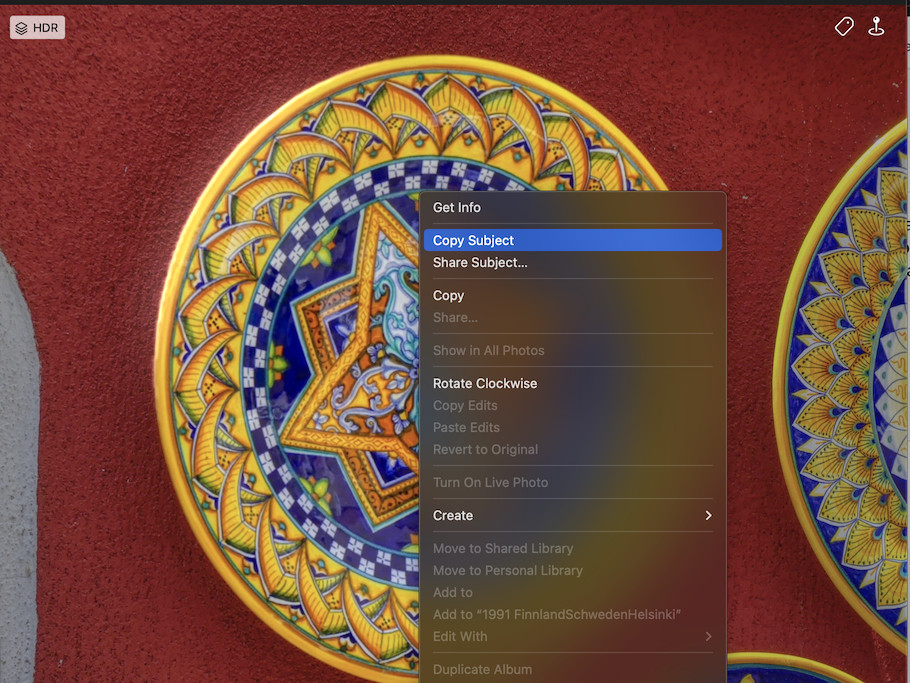
To begin, open your image in the Photos app. Control-click (or right-click) directly on the photo. In the context menu that appears, you’ll see the option “Copy Subject”. Select this. This action copies the subject of your photo, effectively cutting it out and placing it on your clipboard, ready to be pasted elsewhere.
 Original photo of a plate of food with a busy background before editing.
Next, we’ll use Preview, your Mac’s default image viewer, to create a new image from what you just copied. Launch the Preview application. When Preview opens and prompts you to select a file, don’t choose anything. Instead, navigate to the menu bar at the top of your screen. Click on “File,” and from the dropdown menu, select “New from Clipboard.”
This action creates a new image in Preview using the subject you copied from Photos. You’ll notice that the background is now transparent, indicated by a checkered pattern. This transparency is key to making the background white.
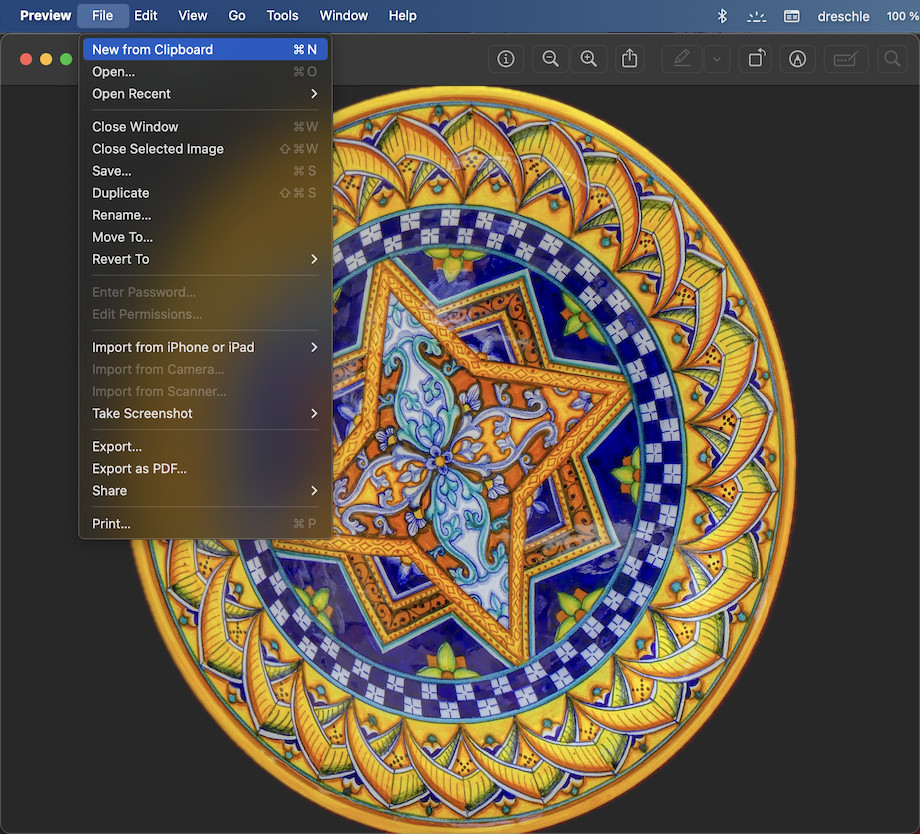 Image of the plate with a transparent background opened in Preview after using the "Copy Subject" feature on Mac.
Finally, to make the background white, you need to export this image from Preview in a specific format. Go to “File” in the menu bar again, and this time, select “Export.” In the export dialog box, ensure that you are exporting as a format that supports a white background, such as JPEG. When you export as a JPEG without enabling the Alpha Channel (which preserves transparency), Preview will automatically fill the transparent background with white.
After exporting, re-import the image back into Photos, or use it wherever you need a photo with a white background. You’ll see that the once busy background is now a clean, crisp white, focusing all attention on your subject.
 Final image with a clean white background after exporting from Preview, demonstrating how to make a photo background white on Mac using built-in tools.
This method leverages the smart features of macOS to offer a quick and easy way to get a white background for your photos, perfect for anyone needing clean, professional-looking images without the complexity of advanced photo editing software. It’s particularly effective when the subject has clear edges that the Photos app can easily detect and isolate.