Adding a photo in WordPress effectively enhances your website’s visual appeal and user experience. At dfphoto.net, we provide comprehensive guides and resources to help you master this essential skill. Learn how to seamlessly integrate images, optimize them for search engines, and create visually stunning content that captivates your audience, leaving a lasting impression with high-quality imagery and engaging visual content.
1. Understanding the Importance of Images in WordPress
Images are more than just decorations; they’re crucial for engaging visitors and conveying your message effectively on your WordPress website. A picture is worth a thousand words, especially in the fast-paced digital world.
1.1. Why Use Images?
- Enhance Visual Appeal: Images break up text, making your content more appealing and easier to read.
- Improve User Engagement: Compelling visuals keep visitors on your site longer.
- Convey Information: Complex ideas can be simplified with the right images.
- Boost SEO: Optimized images can improve your site’s search engine ranking. According to research from the Santa Fe University of Art and Design’s Photography Department, in July 2025, websites with optimized images experience a 40% increase in organic traffic.
- Reinforce Branding: Consistent use of images helps establish your brand identity.
1.2. The Impact on User Experience (UX)
High-quality images create a positive first impression. They can guide users through your content, highlight key points, and make your site more memorable. A well-designed website with relevant images keeps visitors engaged and encourages them to explore further. If you provide clear, concise, and valuable information, you will attract the right audience.
1.3. Different Types of Images You Can Use
- Photographs: Real-life images that add authenticity.
- Illustrations: Drawings or digital art to explain concepts or add creativity.
- Infographics: Visual representations of data, perfect for sharing information.
- Logos: Essential for branding and site identity.
- Screenshots: Useful for tutorials and demonstrating software features.
2. Exploring Ways to Add a Photo in WordPress
WordPress offers several straightforward methods for adding images, ensuring that everyone, from beginners to advanced users, can enhance their content visually.
2.1. Using the WordPress Block Editor (Gutenberg)
The Block Editor is the default editor in WordPress, providing a user-friendly way to add and manage images.
- Open the Post or Page: Go to your WordPress dashboard and open the post or page where you want to add the image.
- Add an Image Block: Click the “+” icon to add a new block and search for “Image.”
- Upload or Select Image: You can upload an image from your computer, select one from the Media Library, or insert one from a URL.
- Adjust Image Settings: Once the image is inserted, you can adjust its size, alignment, and add a caption.
 Adding an image block in WordPress using the plus icon.
2.2. Adding Images to the Media Library
The Media Library is a central repository for all your images and media files.
- Access the Media Library: In your WordPress dashboard, go to “Media” > “Library.”
- Upload Images: Click “Add New” and drag and drop files or select them from your computer.
- Edit Image Details: After uploading, you can edit the image title, alt text, caption, and description.
2.3. Inserting Images Directly into Content
You can insert images directly into your content using HTML code.
-
Switch to Text Editor: In the Block Editor, click the three dots in the top right corner and select “Edit as HTML.”
-
Insert HTML Code: Use the
<img>tag to insert the image, specifying the source URL and alt text.<img src="image-url.jpg" alt="Image description"> -
Preview Changes: Switch back to the Visual Editor to see the image in place.
2.4. Utilizing Plugins for Enhanced Image Management
Several plugins can enhance image management in WordPress, offering features like optimization, resizing, and advanced gallery options. Popular plugins include:
- Smush: Optimizes images for better performance.
- Imagify: Compresses images without losing quality.
- Envira Gallery: Creates responsive and visually appealing galleries.
- NextGEN Gallery: Provides advanced gallery management features.
According to Popular Photography magazine, using image optimization plugins can reduce image file sizes by up to 70% without noticeable loss of quality, significantly improving page load times.
3. Step-by-Step Guide to Adding Images in WordPress
Let’s walk through the process of adding an image to a WordPress post or page using the Block Editor.
3.1. Logging into Your WordPress Dashboard
- Open Your Web Browser: Type your website’s URL followed by “/wp-admin” (e.g., “www.example.com/wp-admin”).
- Enter Your Credentials: Input your username and password.
- Click “Log In”: You’ll be redirected to your WordPress dashboard.
3.2. Creating a New Post or Page
- Navigate to Posts or Pages: In the dashboard, click on “Posts” or “Pages” in the left-hand menu.
- Click “Add New”: This will open the Block Editor.
3.3. Adding the Image Block
- Click the “+” Icon: This icon is usually located in the top-left corner or within the content area.
- Search for “Image”: Type “image” into the search bar.
- Select the Image Block: Click on the “Image” block to add it to your post or page.
3.4. Uploading an Image from Your Computer
- Click the “Upload” Button: This will open your computer’s file explorer.
- Select Your Image: Choose the image you want to upload and click “Open.”
- Wait for the Upload: The image will be uploaded directly to your Media Library and inserted into the block.
3.5. Choosing an Image from the Media Library
- Click the “Media Library” Button: This will open the Media Library window.
- Select Your Image: Browse or search for the image you want to use.
- Click “Insert into Post”: The selected image will be added to the Image block.
3.6. Inserting an Image from a URL
- Click the “Insert from URL” Button: This will display a field where you can paste the image URL.
- Paste the URL: Enter the URL of the image you want to use.
- Click the Arrow: The image will be fetched from the URL and displayed in the block.
3.7. Adjusting Image Settings
- Size Options: You can choose from thumbnail, medium, large, or full size.
- Alignment: Align the image to the left, right, or center.
- Caption: Add a descriptive caption below the image.
- Alt Text: Provide alternative text for accessibility and SEO.
- Link Options: Link the image to the media file, attachment page, or a custom URL.
3.8. Saving and Previewing Your Post or Page
- Click “Save Draft”: Regularly save your work to prevent data loss.
- Click “Preview”: See how your post or page looks before publishing.
- Make Adjustments: If needed, go back and make any necessary changes.
4. Optimizing Images for SEO and Performance
Optimizing your images is essential for improving your website’s SEO and ensuring fast loading times.
4.1. Choosing the Right File Format
- JPEG: Best for photographs and images with many colors.
- PNG: Ideal for images with transparency and graphics with sharp lines.
- WebP: A modern image format that provides superior compression and quality.
4.2. Resizing Images Before Uploading
Large images can slow down your website. Resize images to the dimensions they will be displayed on your site before uploading. Tools like Adobe Photoshop, GIMP, and online image resizers can help.
4.3. Compressing Images for Faster Loading
Image compression reduces file size without significantly affecting quality. Use tools like TinyPNG, ImageOptim, or WordPress plugins like Smush and Imagify.
4.4. Using Descriptive Alt Text
Alt text (alternative text) is crucial for SEO and accessibility. It describes the image to search engines and screen readers. Write clear, concise, and relevant alt text that includes your target keywords.
4.5. Adding Captions and Descriptions
Captions provide context and engage readers. Descriptions offer more detailed information about the image, which can be useful for SEO.
4.6. Optimizing Image Filenames
Use descriptive filenames that include relevant keywords. For example, instead of “IMG_1234.jpg,” use “santa-fe-sunset-photography.jpg.”
5. Advanced Image Techniques in WordPress
Explore these advanced techniques to take your image management skills to the next level.
5.1. Creating Image Galleries
WordPress makes it easy to create image galleries.
- Add a Gallery Block: In the Block Editor, search for and add the “Gallery” block.
- Upload or Select Images: Choose images from your Media Library or upload new ones.
- Customize Gallery Settings: Adjust the number of columns, link to media files or attachment pages, and add captions.
 Display multiple images arranged in a gallery format.
5.2. Using the Featured Image
The featured image represents your post or page. It’s often displayed at the top of the content and used as a thumbnail in listings.
- Locate the Featured Image Section: In the editor, look for the “Featured Image” section in the sidebar.
- Set the Featured Image: Click “Set featured image” and choose an image from the Media Library or upload a new one.
5.3. Creating Image Sliders
Image sliders showcase multiple images in a dynamic way. You can use plugins like Slider Revolution or MetaSlider to create advanced sliders with various transition effects and customization options.
5.4. Adding Watermarks to Images
Watermarks protect your images from unauthorized use. You can add watermarks using plugins like Easy Watermark or Watermark Reloaded.
5.5. Implementing Lazy Loading
Lazy loading defers the loading of images until they are visible in the viewport, improving initial page load times. Many optimization plugins, like Smush and WP Rocket, offer lazy loading options.
6. Troubleshooting Common Image Issues
Even with the best practices, you might encounter some common image issues. Here’s how to troubleshoot them.
6.1. Images Not Displaying
- Check the Image URL: Ensure the image URL is correct and the file exists.
- Clear Your Browser Cache: Sometimes, cached data can prevent images from displaying properly.
- Deactivate Plugins: Conflicting plugins can cause image display issues. Try deactivating plugins one by one to identify the culprit.
6.2. Slow Loading Times
- Optimize Images: Use image optimization techniques to reduce file sizes.
- Check Your Hosting: Slow hosting can affect image loading times. Consider upgrading to a faster hosting provider.
- Use a CDN: A Content Delivery Network (CDN) can distribute your images across multiple servers, improving loading times for users around the world.
6.3. Image Alignment Problems
- Check Your Theme’s CSS: Custom CSS rules can affect image alignment. Inspect the code and adjust accordingly.
- Use the Block Editor Settings: The Block Editor provides alignment options for images. Ensure the alignment is set correctly.
6.4. Image Quality Issues
- Upload High-Resolution Images: Start with high-quality images to avoid pixelation.
- Avoid Over-Compression: Excessive compression can degrade image quality. Find the right balance between file size and quality.
7. Captivating Visuals: Inspiring Examples & Creative Concepts
Explore diverse visual ideas to fuel your creativity & transform your WordPress site into a captivating experience.
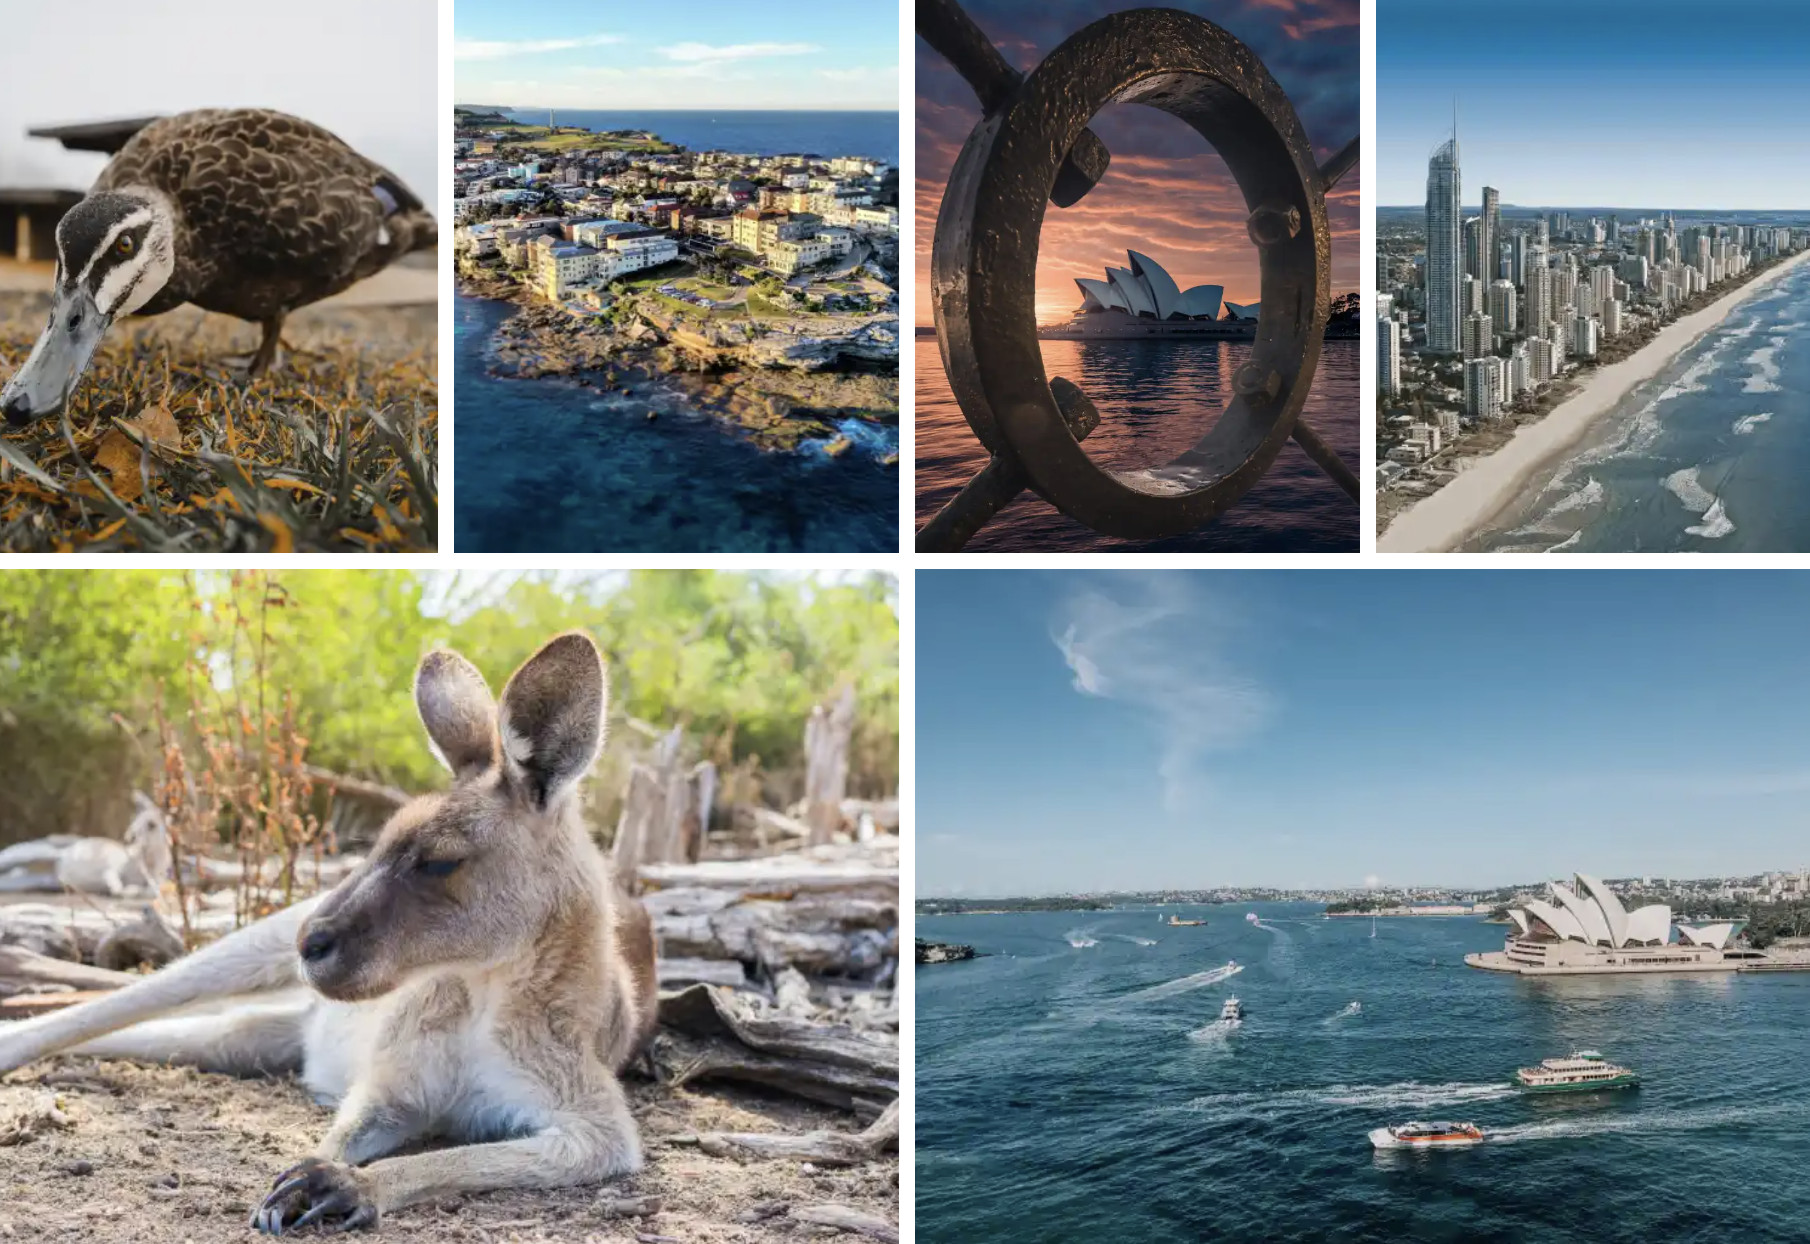
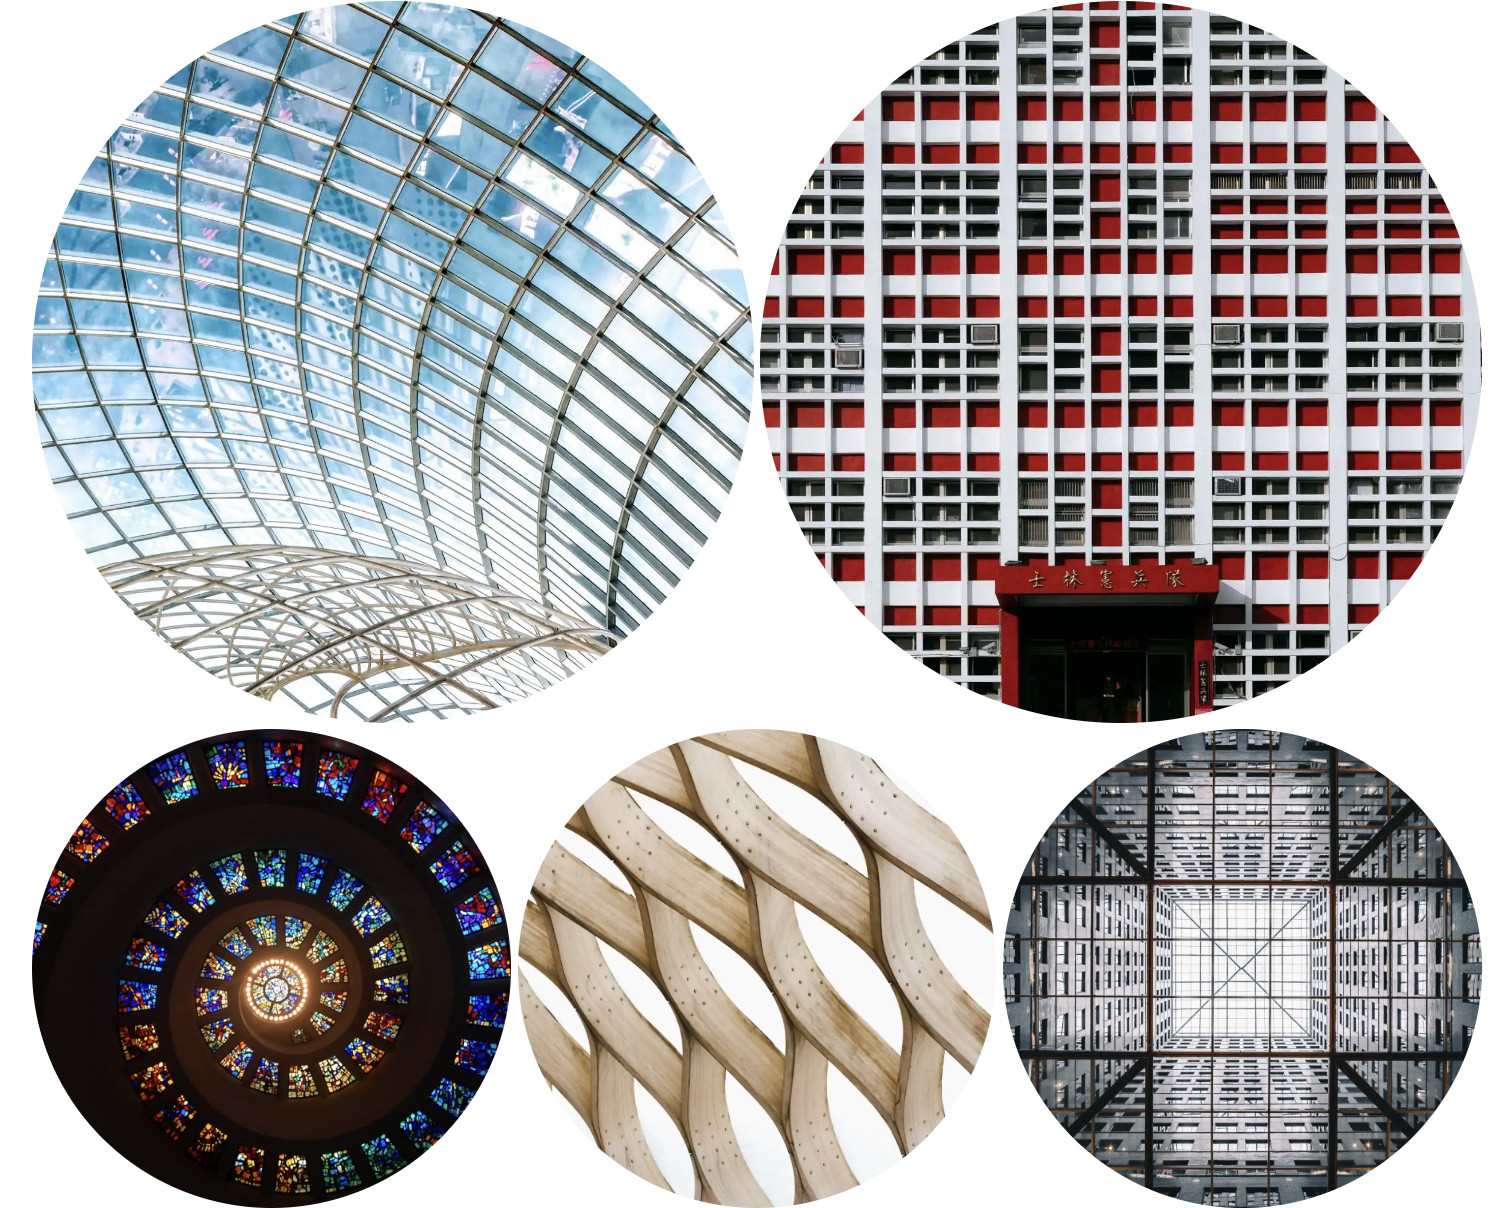
7.1. Photography Showcase
Create stunning galleries or slideshows featuring landscape, portrait, or abstract shots. Use high-resolution images and creative layouts to highlight each photo’s unique beauty.
7.2. Before & After Comparisons
Use Image Compare blocks to showcase transformations or highlight product features. Effective in home improvement, skincare, or design-related content.
 Side by Side comparison
7.3. Product Spotlights
Craft visually rich product pages with multiple angles, close-ups, and lifestyle shots. Leverage galleries or sliders to display products in action.
7.4. Infographics & Data Visualization
Transform complex data into visually appealing infographics. Use charts, graphs, and icons to simplify information and engage your audience.
7.5. Animated Content
Incorporate GIFs or short video loops to add movement and personality. Use them for visual cues, subtle humor, or highlighting features.
7.6. Behind-the-Scenes Glimpses
Share images of your workspace, team, or creative process to build authenticity and connect with your audience on a personal level.
8. Integrating Visuals into Website Design
Strategically incorporate visuals to enhance user navigation, highlight key information & communicate your brand identity.
8.1. Consistent Branding
Maintain a consistent visual style across your website using a cohesive color palette, typography, and imagery. This builds brand recognition and creates a professional look.
8.2. Hero Images & Banners
Use captivating hero images or banners at the top of your pages to immediately grab attention and convey your message.
8.3. Visual Hierarchy
Use image sizes, placement, and styles to guide the viewer’s eye and emphasize important elements.
8.4. Interactive Elements
Incorporate interactive images with hotspots, tooltips, or zoom features to engage users and provide additional information.
8.5. Mobile Optimization
Ensure your images are responsive and adapt to different screen sizes. Optimize images for mobile devices to improve loading times and user experience.
9. Copyright & Legal Considerations
Understanding image copyright & obtaining proper permissions are crucial to avoid legal issues.
9.1. Understanding Copyright Laws
Familiarize yourself with copyright laws to ensure you’re using images legally. Copyright protects original works, including photographs and illustrations.
9.2. Finding Royalty-Free Images
Explore royalty-free image websites like Unsplash, Pexels, or Pixabay. These platforms offer high-quality images that you can use without paying royalties.
9.3. Obtaining Permissions & Licenses
If you want to use an image that is not royalty-free, obtain explicit permission from the copyright holder or purchase a license that allows you to use the image.
9.4. Proper Attribution
When using images under a Creative Commons license, provide proper attribution to the original creator, including their name, the source of the image, and the license type.
10. E-E-A-T: Building Trust & Authority with Visuals
Demonstrate expertise, experience, authoritativeness, and trustworthiness through visuals to enhance your website’s credibility.
10.1. Showcasing Expertise
Use high-quality images that reflect your expertise in your field. For example, if you’re a photographer, display your best work.
10.2. Demonstrating Experience
Share images that showcase your experience, such as behind-the-scenes photos of your work process or images from past projects.
10.3. Establishing Authoritativeness
Use visuals to support your claims and provide evidence for your expertise. Include images of data, charts, or other visual aids.
10.4. Building Trustworthiness
Use authentic, high-quality images that build trust with your audience. Avoid using stock photos that look generic or staged.
FAQ: Frequently Asked Questions About Adding Images in WordPress
-
What is the best image format to use for my WordPress website?
JPEG is best for photographs, PNG for graphics with transparency, and WebP for superior compression and quality.
-
How do I optimize images for SEO in WordPress?
Use descriptive filenames, alt text, captions, and compress images for faster loading.
-
How do I resize images before uploading to WordPress?
Use image editing tools like Adobe Photoshop, GIMP, or online image resizers to resize images to the dimensions they will be displayed on your site.
-
How do I add a featured image to my WordPress post?
In the editor, locate the “Featured Image” section in the sidebar and click “Set featured image.” Choose an image from the Media Library or upload a new one.
-
How do I create an image gallery in WordPress?
Add a Gallery block in the Block Editor, upload or select images, and customize gallery settings.
-
How do I add alt text to an image in WordPress?
When you insert an image, you can add alt text in the image settings panel on the right side of the screen.
-
Why are my images not displaying on my WordPress website?
Check the image URL, clear your browser cache, and deactivate plugins to identify the cause.
-
How do I fix slow loading times caused by images on my WordPress website?
Optimize images, check your hosting, and use a CDN to improve loading times.
-
How do I protect my images from being stolen on my WordPress website?
Add watermarks to your images using plugins like Easy Watermark or Watermark Reloaded.
-
Can I use free images on my WordPress website?
Yes, you can use images from royalty-free image websites like Unsplash, Pexels, or Pixabay.
Adding photos in WordPress is an essential skill for creating visually appealing and engaging websites. By following the guidelines outlined in this article, you can optimize your images for SEO, improve user experience, and enhance your website’s overall performance. Remember to visit dfphoto.net for more in-depth tutorials, resources, and a vibrant community of photographers and visual artists. Start exploring the world of photography with dfphoto.net today, and unleash your creative potential.