Decreasing the size of a photo is essential for efficient digital image management, and at dfphoto.net, we understand the importance of this skill for both amateur and professional photographers. Whether you’re looking to free up storage space, share images more easily, or optimize your website’s performance, mastering image compression techniques is crucial. This guide will provide you with various methods and tools to reduce photo size without sacrificing visual quality, enabling you to enhance your workflow and creativity. Let’s dive into the world of image optimization.
1. Understanding Image Compression and Its Crucial Benefits
Image compression is the art and science of reducing the file size of an image. This reduction can be achieved through various techniques, each with its own set of advantages and disadvantages. Understanding these methods is crucial for anyone working with digital images.
1.1 Why Compress Images?
There are several compelling reasons to compress images, and here are the most important ones:
- Freeing Up Valuable Disk Space: High-resolution images consume a significant amount of storage space on your devices, so reducing their size can free up space for other important files and applications.
- Easier File Sharing: Large image files can be difficult to share via email or online platforms. Compressing these files makes them more manageable for sharing with friends, family, or clients.
- Website Optimization: Image size significantly impacts website loading speed. Smaller image files result in faster loading times, improving user experience and search engine rankings.
1.2 Types of Image Compression
There are two primary types of image compression: lossless and lossy.
- Lossless Compression: This method reduces file size without discarding any image data. The original image can be perfectly reconstructed from the compressed file. Common lossless formats include PNG and TIFF.
- Lossy Compression: This method reduces file size by discarding some image data. While this results in smaller files, it can also lead to a loss of image quality. JPEG is the most common lossy format.
1.3 The Importance of Balancing Size and Quality
The key to successful image compression is finding the right balance between file size and image quality. While reducing file size is important, it’s equally crucial to ensure that the compressed image retains sufficient detail and clarity for its intended use.
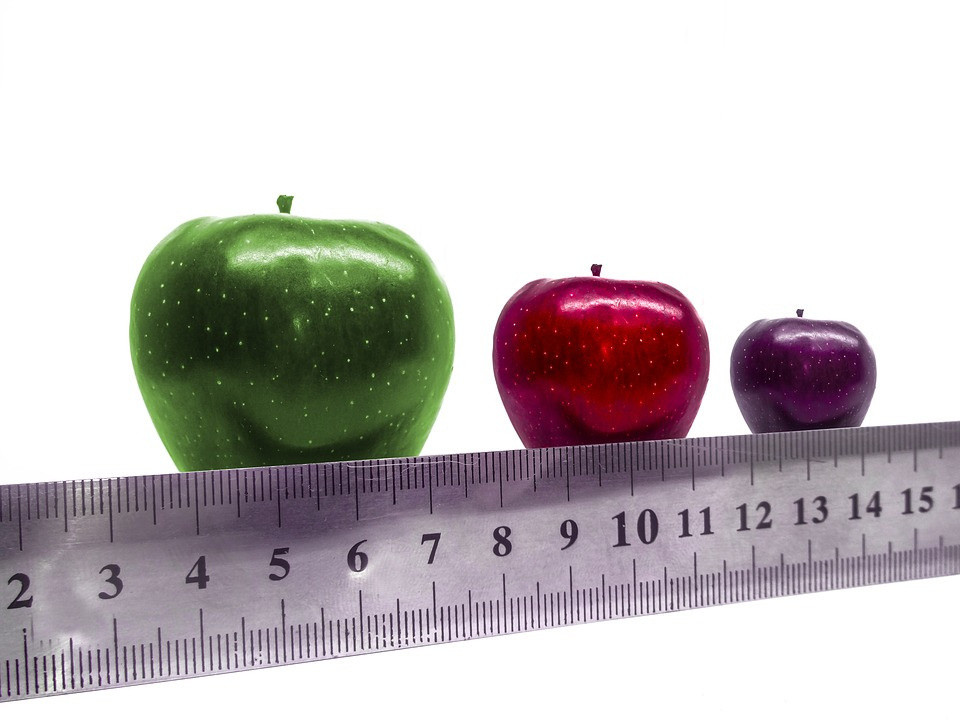 Image Compression Benefits
2. Step-by-Step Guide: Techniques on How to Reduce Image File Size
Reducing the file size of a photo can be achieved through several methods. This guide provides useful tips on how to reduce the file size of a photo so you can store and share your images easily and efficiently. Let’s explore them together.
2.1 Changing Image Dimensions
Adjusting the dimensions of an image is one of the most effective ways to reduce its file size.
- How It Works: The dimensions of a photo refer to its width and height, which together determine the overall size and shape of the picture. Reducing these dimensions directly reduces the number of pixels in the image, resulting in a smaller file size.
- Software Options: Most image editing software, such as Adobe Photoshop, GIMP, and Luminar Neo, offer options to resize images. Simply open your image in the software and select the “Resize Image” option from the menu bar.
- Best Practices: When resizing an image, it’s important to maintain the aspect ratio (the ratio of width to height) to avoid distortion. Additionally, consider the intended use of the image. For web use, a width of 1920 pixels is often sufficient, while for printing, a higher resolution may be required.
2.2 Altering Image Resolution
Image resolution, measured in DPI (dots per inch), affects the level of detail in an image.
- How It Works: Higher resolution images contain more dots per inch, resulting in greater detail and clarity. However, they also have larger file sizes. Reducing the resolution decreases the number of dots per inch, reducing file size.
- Optimal Resolution for Web: For images displayed on computer screens, a resolution of 72 DPI is generally sufficient. Increasing the resolution beyond this point will not significantly improve the image’s appearance but will increase its file size.
- Tools for Adjusting Resolution: Image editing software allows you to adjust the resolution of an image. Simply open your image in the software and look for the “Resolution” or “DPI” setting.
2.3 Choosing the Right File Extension
The file extension you choose can significantly impact the size of your image.
- JPEG: JPEG is the most common format for photographs due to its efficient compression. It uses lossy compression, which means some image data is discarded to reduce file size.
- PNG: PNG is a lossless format that preserves all image data. It’s ideal for images with sharp lines, text, or graphics. However, PNG files are generally larger than JPEG files.
- GIF: GIF is a lossless format commonly used for animated images. It supports a limited color palette, which can result in smaller file sizes for simple images.
2.4 Software Solutions for Image Compression
Various software solutions can help you reduce image file size, and here are a few great options:
- Adobe Photoshop: Photoshop offers a wide range of tools for image compression, including options to resize images, adjust resolution, and optimize file formats.
- Adobe Lightroom: Lightroom is a popular choice for photographers, offering powerful image editing and compression capabilities.
- GIMP: GIMP is a free and open-source image editing software that provides many of the same features as Photoshop, including image compression tools.
- TinyPNG: TinyPNG is an online tool that uses intelligent lossy compression techniques to reduce the file size of PNG images.
- JPEG-Optimizer: JPEG-Optimizer is another online tool that specializes in compressing JPEG images.
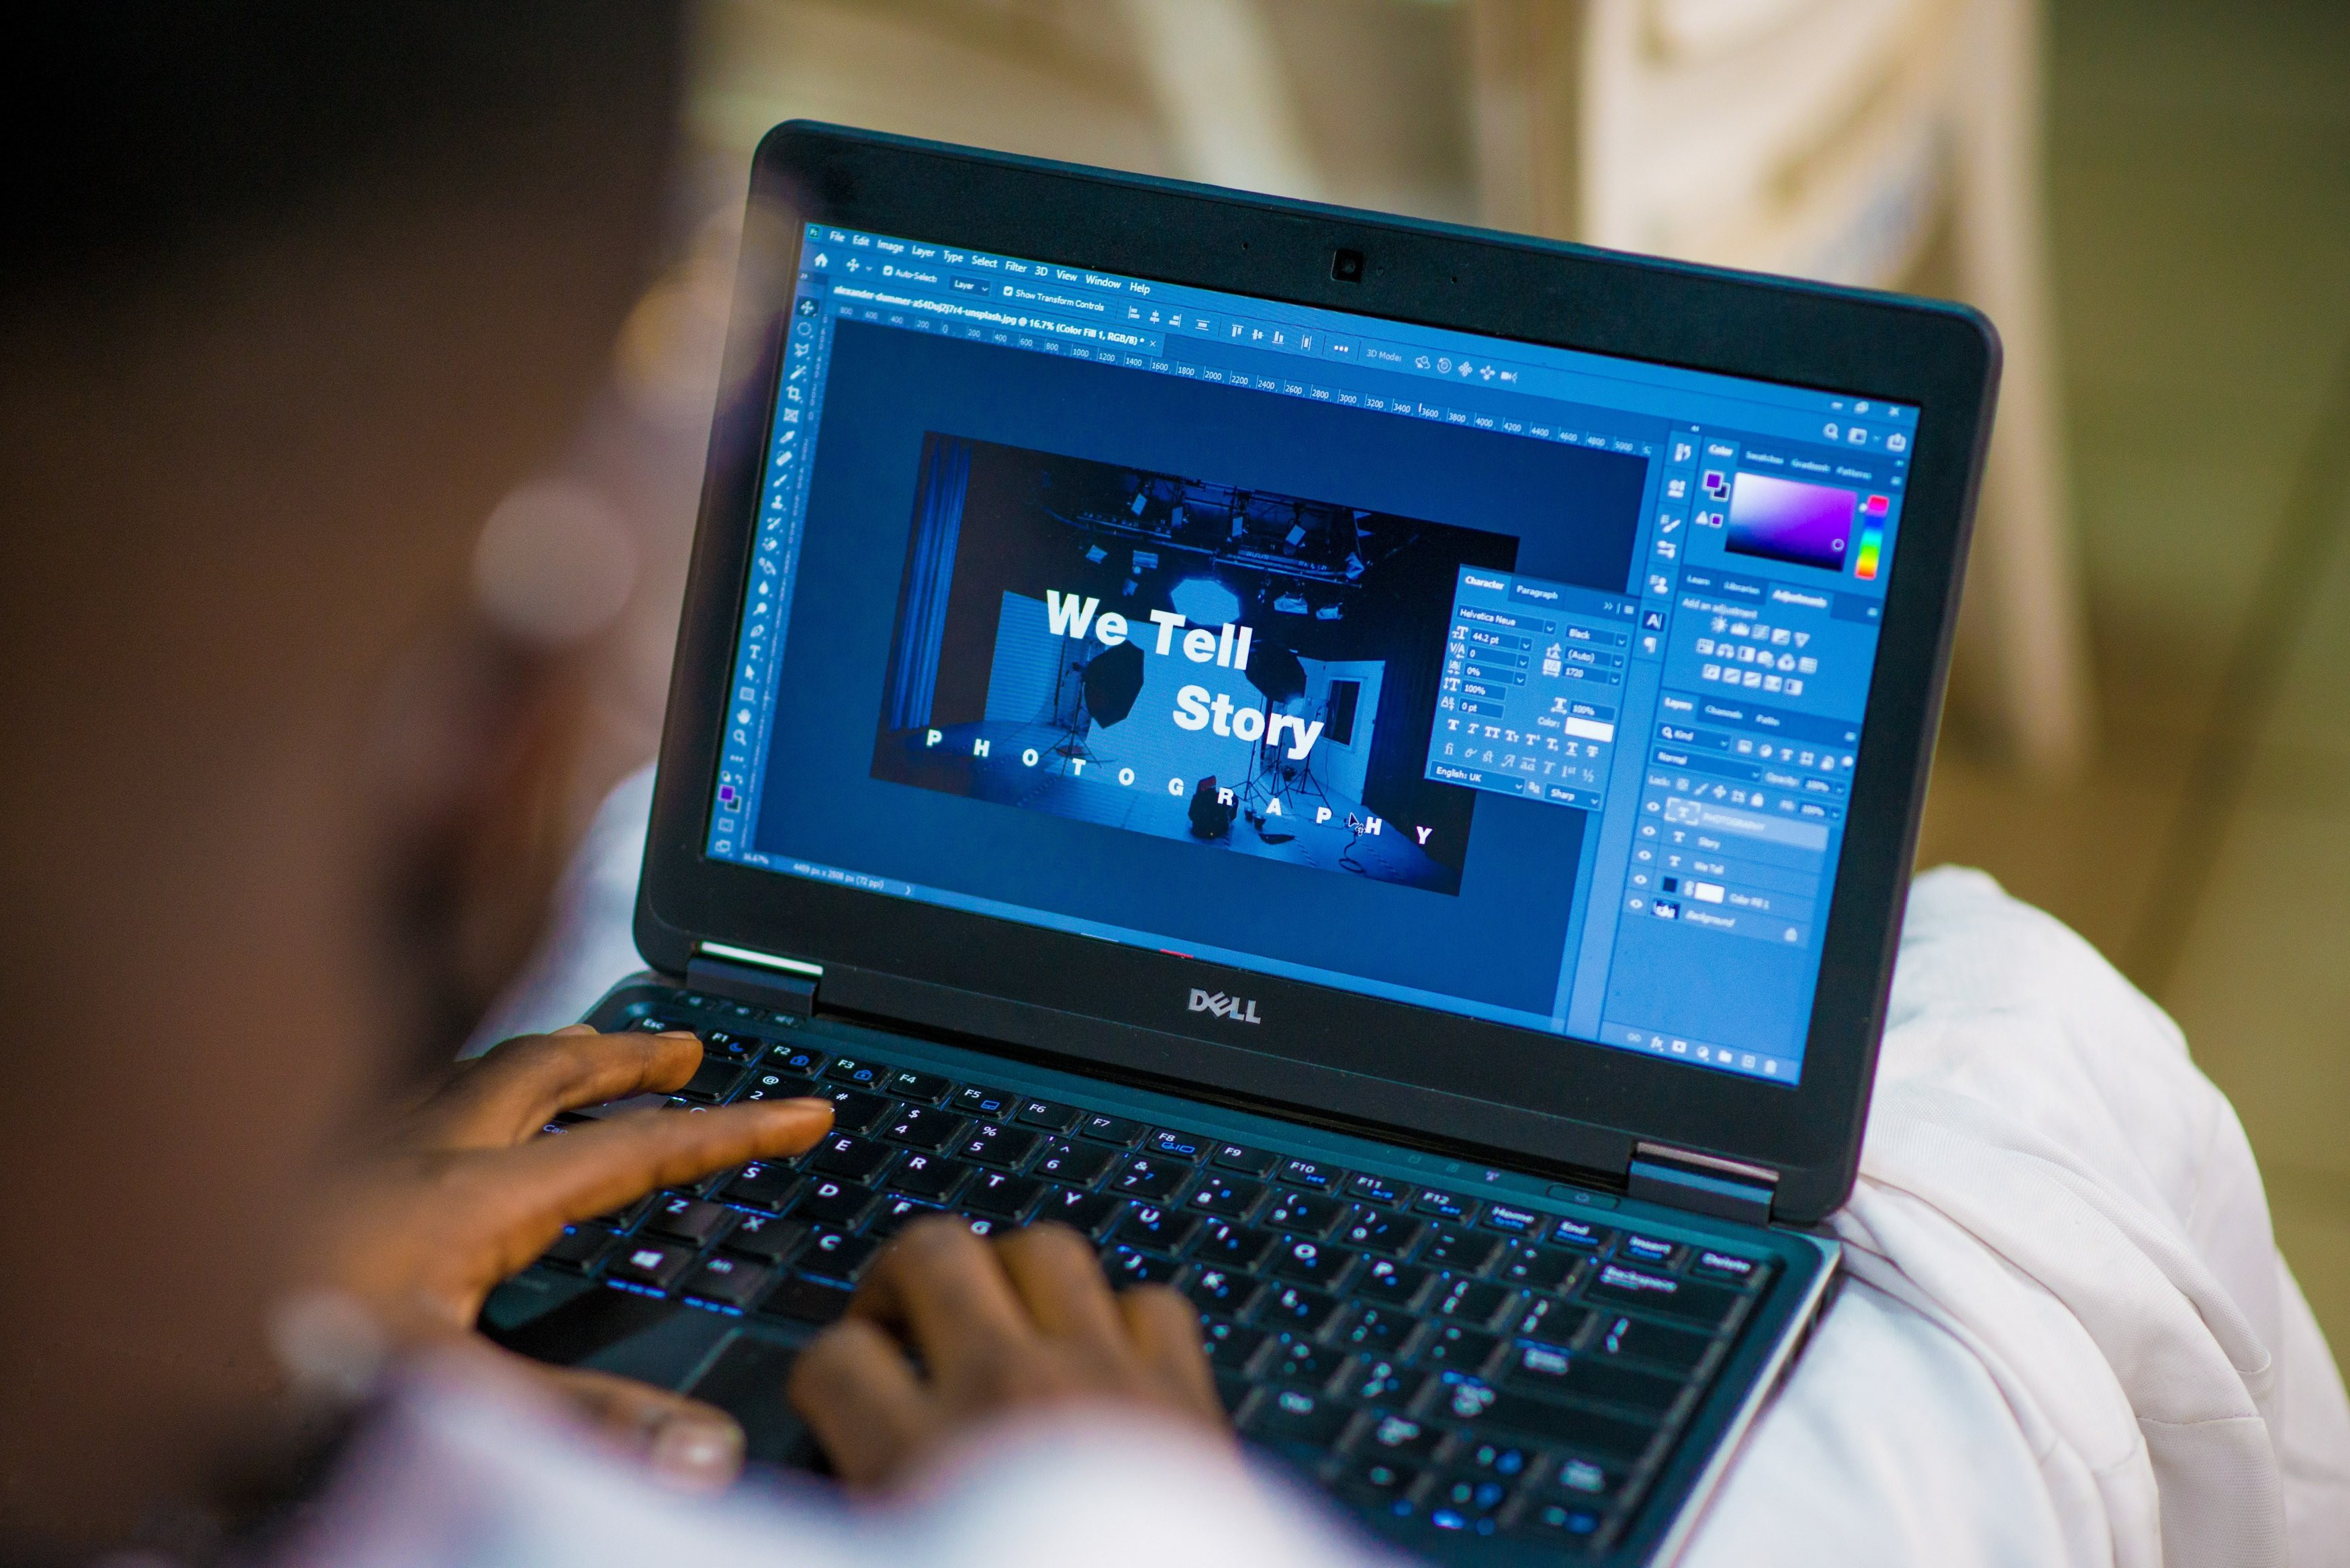 Step-by-Step Guide
3. How To Lower MB on a Photo: Essential Tips
Lowering the MB (megabytes) of a photo is crucial for various reasons, from optimizing website loading times to efficiently sharing images. Here are essential tips to help you reduce photo file sizes effectively:
3.1 Upload in Lower Quality
When uploading or saving images, many platforms and software offer quality settings. Selecting a lower quality option can significantly reduce the file size. This is particularly useful for web uploads where extremely high resolution isn’t necessary.
- How to Implement: Look for a “Quality” slider or dropdown menu when saving or exporting your image. Experiment with different settings to find a balance between acceptable quality and reduced file size.
3.2 Crop Unnecessary Parts
Cropping involves removing unwanted areas from the edges of a photo. This not only reframes the image but also reduces its dimensions and overall file size.
- When to Use: Crop out distracting elements or empty space around the main subject of your photo to focus attention and decrease the amount of data needed to store the image.
3.3 Adjust Image Resolution
Resolution, measured in DPI (dots per inch) or PPI (pixels per inch), determines the level of detail in an image. Lowering the resolution is an effective way to decrease file size, especially for images intended for web use.
- Recommended Resolutions:
- Web Images: 72 DPI or PPI is generally sufficient.
- Print Images: 300 DPI or PPI is recommended for high-quality prints.
- How to Adjust: Use image editing software to resample or resize the image to a lower resolution.
3.4 Convert the File Format
Different image formats use different compression algorithms, which affect file size and quality. Choosing the right format can make a significant difference.
- JPEG: Ideal for photographs due to its efficient compression, but it can result in some quality loss.
- PNG: Best for images with sharp lines, text, or graphics, as it supports lossless compression, preserving image quality.
- GIF: Suitable for simple animations and images with limited colors.
3.5 Use Compression Tools
Numerous online tools and software programs specialize in compressing images without significant quality loss. These tools use advanced algorithms to optimize file sizes.
- Online Tools: TinyPNG, JPEG-Optimizer, and Compressor.io are popular choices.
- Software Features: Adobe Photoshop, GIMP, and Luminar Neo include built-in compression features.
3.6 Remove Image Metadata
Metadata includes information such as camera settings, GPS data, and copyright details embedded in the image file. Removing unnecessary metadata can reduce file size without affecting image quality.
- How to Remove: Use image editing software or online tools to strip out metadata from your images.
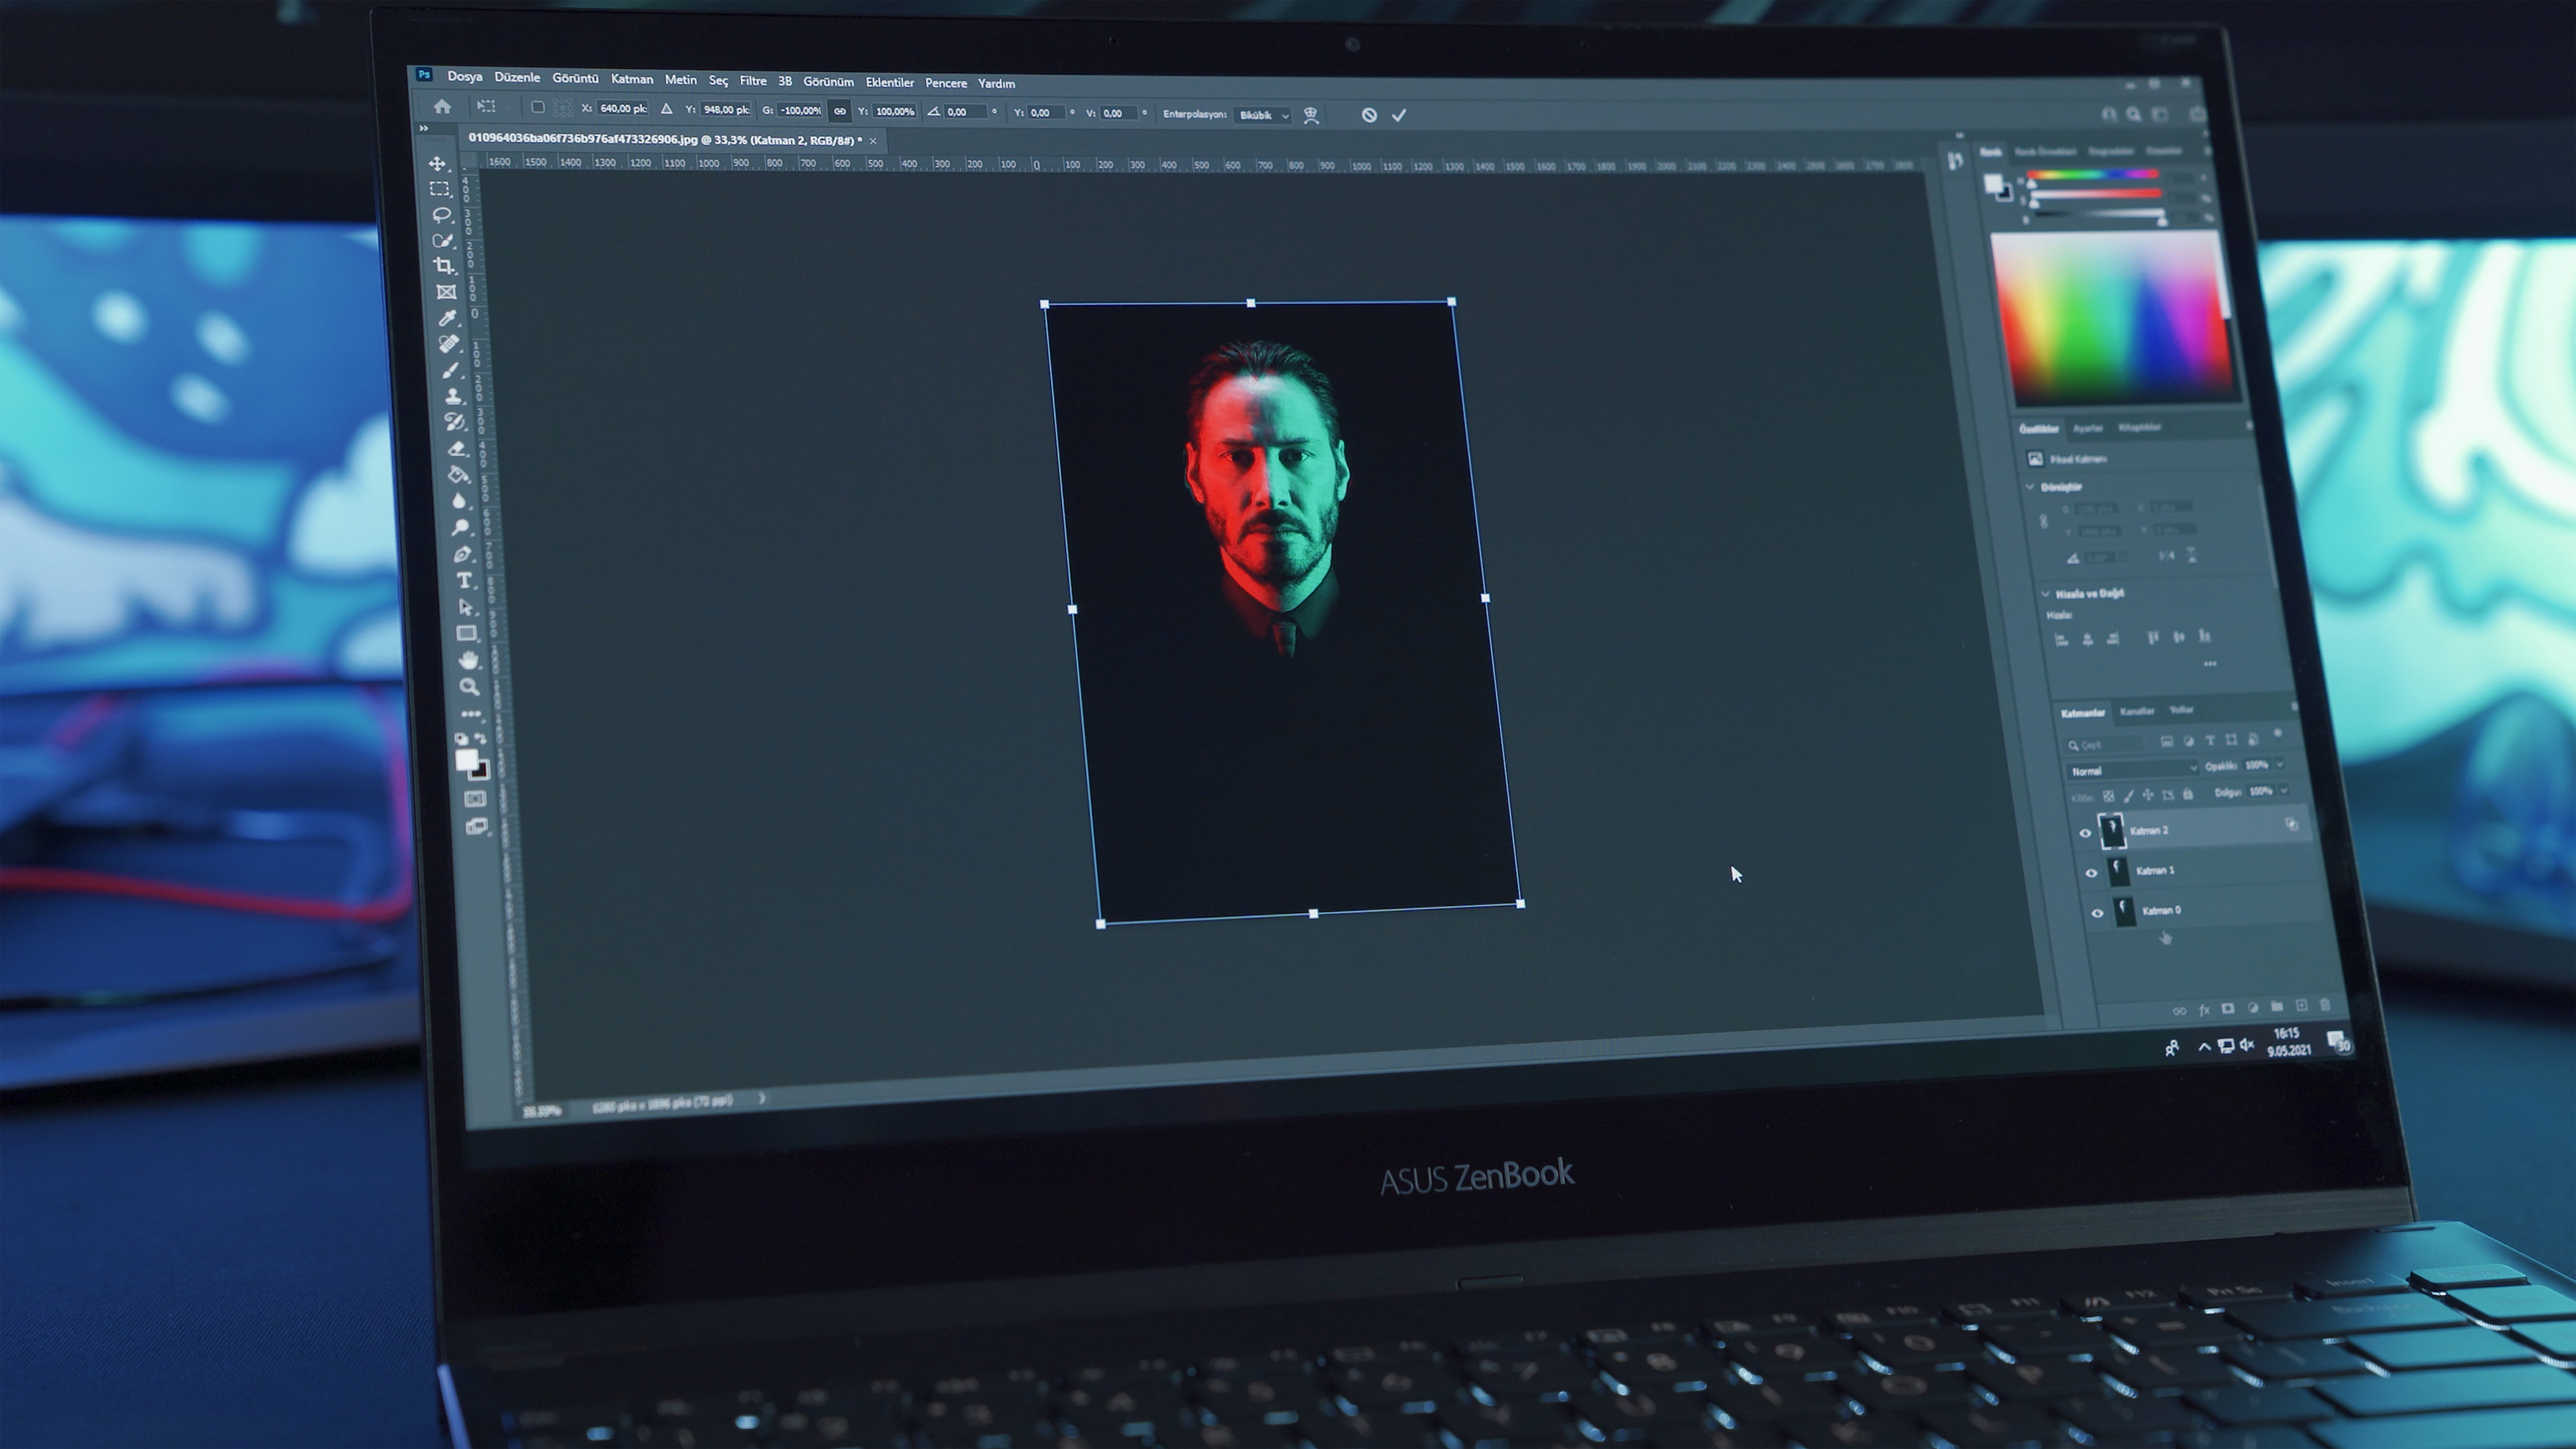 Lower MB on a Photo
4. Why Luminar Neo Stands Out in Reducing Image Size
Luminar Neo, one of the best photo editors available, simplifies image resizing with an emphasis on preserving quality. It allows you to upload a file and perform the task efficiently.
4.1 How to Resize Images in Luminar Neo
- Open the Export Menu: Access the Export Menu by selecting it from the Menu Bar or using the shortcut keys “Shift+Command+E”.
- Choose Resize Option: In the Export window, you’ll be asked to sharpen or resize the image. Select “Resize.”
- Select Desired Size: Choose from preset options such as “Original,” “Short Edge,” or set your desired size manually.
- Save the File: Click on “Save,” and the file will be saved in a smaller size.
4.2 AI-Powered Image Resizing
Luminar Neo’s standout feature is its AI-driven approach to maintaining high photo quality during resizing. The software intelligently balances file size reduction with image integrity, ensuring minimal loss of detail.
4.3 Integrating with Photo Editing Presets
After resizing, enhance your images further using Luminar Neo’s photo editing presets for a professional touch.
5. Advantages of Using Luminar Neo for Image Compression
Luminar Neo offers several advantages for image compression, making it a standout choice for photographers and graphic designers alike.
5.1 AI-Powered Tools
Luminar Neo’s AI Sharpener and AI Upscaler ensure that photos remain clear and detailed even after compression. This is particularly useful when you are concerned about losing detail during the compression process.
5.2 Newbie-Friendly Interface
The software features an intuitive interface that is easy to navigate, making it accessible for users of all skill levels. Whether you are a beginner or a seasoned professional, you’ll find Luminar Neo straightforward to use.
5.3 Batch Editing Capabilities
Luminar Neo allows you to process multiple photos simultaneously, saving you valuable time and effort. This batch editing feature is especially useful when you need to compress a large number of images for a project or website.
5.4 Extensive File Format Support
Luminar Neo supports a wide range of file formats, including JPEG, PNG, and TIFF. This versatility allows you to choose the appropriate format for different purposes, whether it’s for online use or high-resolution printing.
5.5 Quality Management
When exporting images, Luminar Neo provides options to adjust the quality settings. This enables you to strike the perfect balance between file size and image fidelity, which is crucial for both digital and print mediums.
6. Conclusion: Mastering the Art of Making Photos Smaller in File Size
By now, you have explored several quick and easy ways to resize your files for online photo storage, email, or uploads, regardless of your device or operating system. Each method offers unique advantages, depending on your specific workflow and the platforms you use. Choose the methods that work best for you, and share your images with ease and efficiency!
At dfphoto.net, we’re dedicated to helping you master the art of photography, including the essential skill of image compression.
 Mastering the Art of Making Photos Smaller in File Size
7. FAQ: Frequently Asked Questions about Image Compression
7.1 How to make a picture file smaller?
To reduce the file size of an image, increase the compression level. In most image editing software, you can do this through the “Save As” or “Export As” options when saving formats like PNG, JPG, or GIF. Higher compression results in a smaller file, which loads faster on web pages. Adjust the compression settings to find the right balance between image quality and file size.
Here are several ways to make a picture file smaller:
- Choose an Image Editor: Open your image in an editor like Photoshop, GIMP, or an online tool like TinyPNG.
- Resize the Image: Reduce the image dimensions (width and height). This typically reduces file size without compromising too much on quality.
- Compress the Image: Adjust the quality settings during saving. Lower the quality to reduce the file size. Tools like JPEG compress well with minimal quality loss.
- Save in a Different Format: Consider saving the image in a different format. For example, JPEG is typically smaller than PNG for photos.
- Use Online Compressors: If you don’t want to manually adjust settings, upload your image to an online compressor that will automatically reduce the file size.
7.2 How to reduce the size of a photo on iPhone?
You can resize the image using the built-in Photos app to reduce its file size by cropping and decreasing its resolution. Moreover, you can adjust your camera settings to take pictures in a space-saving format like HEIC rather than JPEG.
7.3 How to reduce image file size on Mac?
On a Mac, you can utilize the Preview app to reduce image file size. Open the picture in Preview, go to Tools, select Adjust Size, and then reduce the size or the resolution. Numerous third-party apps also can give you better compression options.
7.4 How to reduce image file size in Photoshop?
Open your image in Photoshop, then select File > Export > Save for Web (Legacy). Such an option helps to change the picture dimensions and quality. To minimize file size, choose a lower-quality JPEG format and use the Image Size options to adjust dimensions (if needed).
7.5 How to reduce image file size on Android?
You can reduce image file size on Android by using built-in photo editing tools to crop and resize the image. Various apps in the Google Play Store, like Photo Compress & Resize, allow you to reduce file size better.
7.6 How to reduce image file size for a website?
You can use photo editing software such as Luminar Neo, Adobe Photoshop, GIMP, or Lightroom to reduce the picture file size by adjusting the compression, resizing the image, or cropping unnecessary parts of the photo.
7.7 What are the best image formats for web use?
JPEG is ideal for photographs due to its efficient compression, while PNG is best for images with sharp lines, text, or graphics. WebP is also a modern format that provides excellent compression and quality.
7.8 How does image resolution affect file size?
Higher resolution images contain more pixels, resulting in larger file sizes. Lowering the resolution reduces the number of pixels and decreases file size.
7.9 Can I reduce image file size without losing quality?
Lossless compression formats like PNG allow you to reduce file size without losing quality. However, lossy compression formats like JPEG may result in some quality loss.
7.10 What is metadata, and how does it affect file size?
Metadata is information embedded in the image file, such as camera settings, GPS data, and copyright details. Removing unnecessary metadata can reduce file size without affecting image quality.
We invite you to explore dfphoto.net for more comprehensive guides, stunning photo collections, and a vibrant community of photography enthusiasts. Enhance your skills, find inspiration, and connect with fellow photographers in the USA.
If you’re in Santa Fe, New Mexico, feel free to visit us at our address: 1600 St Michael’s Dr, Santa Fe, NM 87505, United States. You can also reach us by phone at +1 (505) 471-6001, or visit our website at dfphoto.net.