Saving iPhone photos to a flash drive is a great way to back them up and free up storage on your device. At dfphoto.net, we offer practical solutions for photographers and visual artists looking to manage their digital assets effectively. Discover how to easily transfer your precious memories using portable storage devices and effective photo management techniques to protect your visual memories.
1. What are the Benefits of Transferring iPhone Photos to a Flash Drive?
Transferring iPhone photos to a flash drive offers several benefits. It provides a secure backup, frees up iPhone storage space, and allows for easy sharing and access on other devices.
Backing up your iPhone photos to a flash drive is crucial for safeguarding your memories. Flash drives provide a tangible, physical backup that is independent of cloud services, protecting your photos from potential data loss due to technical issues or account breaches. According to a 2024 report by the Santa Fe University of Art and Design’s Photography Department, physical backups like flash drives remain a reliable method for long-term photo preservation. Freeing up space on your iPhone is another significant advantage. High-resolution photos and videos consume a lot of storage, which can slow down your device. Transferring these files to a flash drive can improve your iPhone’s performance and allow you to capture more memories without worrying about storage limitations.
Flash drives also make it easy to share your photos with others who may not have access to cloud storage or prefer a physical medium. You can simply hand over the flash drive, making it convenient for family gatherings, presentations, or collaborative projects. Moreover, flash drives enable you to access your photos on various devices, including computers, smart TVs, and other smartphones, ensuring your memories are always within reach.
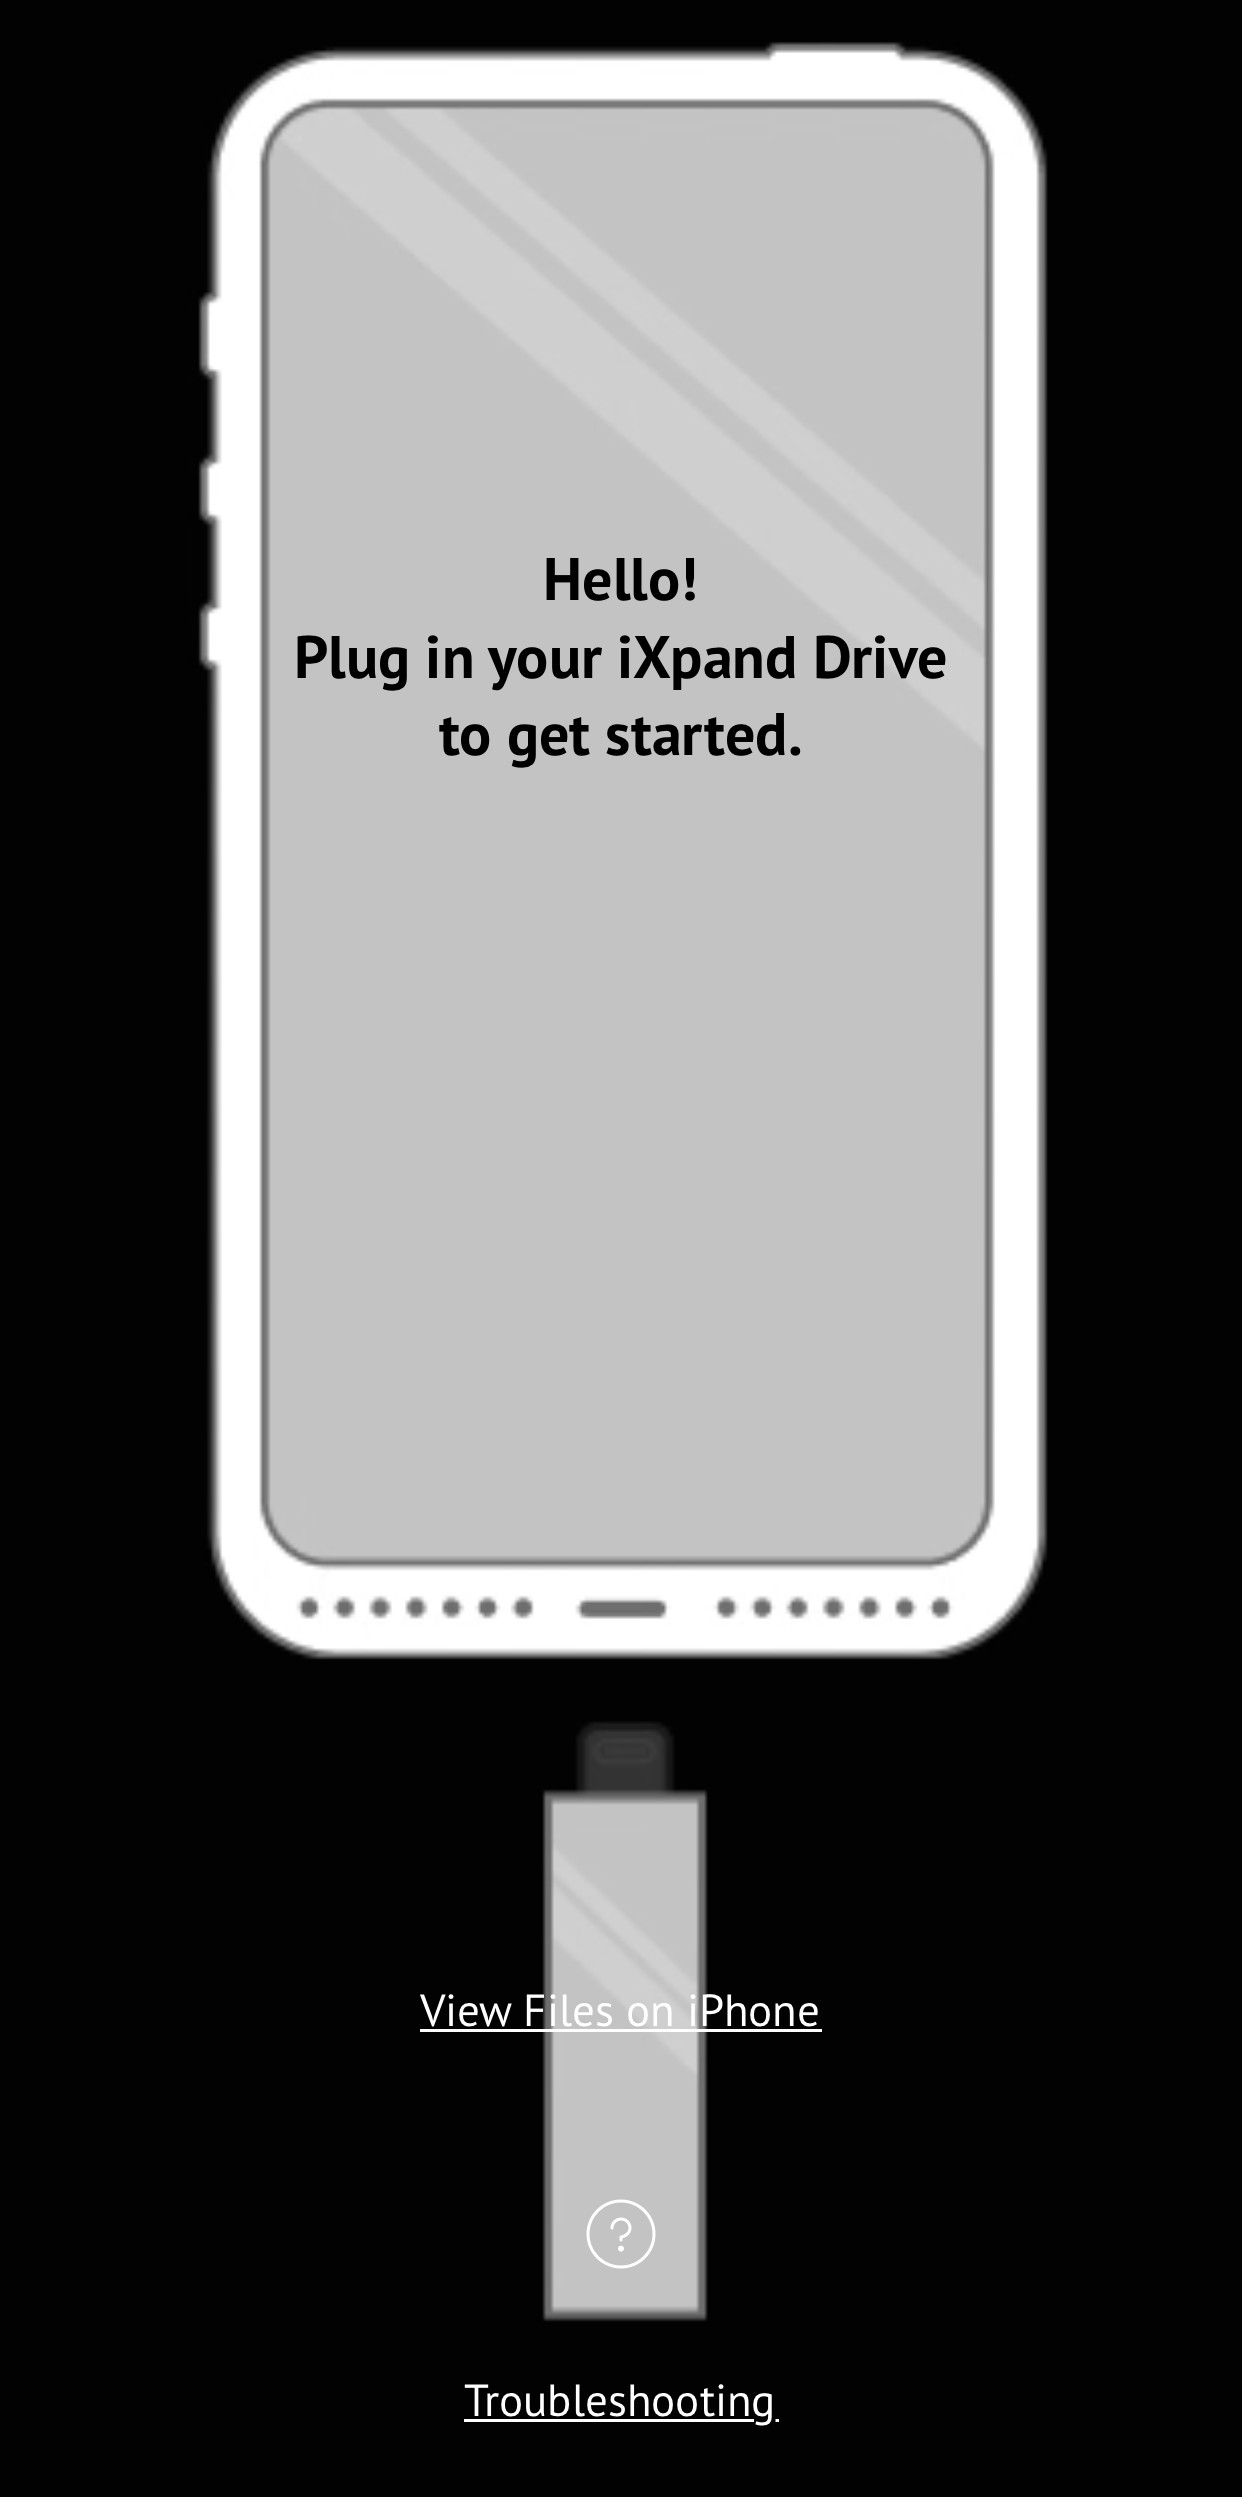 SanDisk iXpand flash drive connected to an iPhone for easy photo transfer
2. What are the Different Methods to Save iPhone Photos to a Flash Drive?
Several methods exist to save iPhone photos to a flash drive, including using the SanDisk iXpand Drive, the Files app, or a computer. Each method offers its own advantages, depending on your specific needs and preferences.
The SanDisk iXpand Drive is a popular option for directly transferring photos from your iPhone to a flash drive without needing a computer. This device plugs directly into your iPhone’s Lightning port and allows you to quickly move photos using the iXpand Drive app. This method is particularly useful for photographers on the go who need to free up space on their iPhones quickly. According to a review in Popular Photography magazine, the iXpand Drive is praised for its ease of use and fast transfer speeds.
The Files app, introduced in iOS 11, provides another convenient way to transfer photos to a flash drive. By connecting a flash drive to your iPhone using a Lightning-to-USB adapter, you can access the drive through the Files app and manually copy your photos over. This method offers more control over which photos you transfer and where they are stored on the flash drive.
Using a computer is a more traditional method but still highly effective. Connect your iPhone to your computer using a USB cable, and then copy the photos from your iPhone to a folder on your computer. Next, connect the flash drive to your computer and transfer the photos from the computer to the flash drive. This method is ideal for transferring large batches of photos and organizing them into folders.
3. How Do You Use the SanDisk iXpand Drive to Transfer Photos?
To use the SanDisk iXpand Drive, download the iXpand Drive app, connect the drive to your iPhone, and follow the app’s instructions to transfer photos. The process is straightforward and user-friendly.
First, download the SanDisk iXpand Drive app from the App Store. This app is essential for managing the transfer of photos between your iPhone and the iXpand Drive. Once the app is installed, connect the iXpand Drive to your iPhone’s Lightning port. The app will automatically detect the drive and prompt you to set up the transfer.
Follow the app’s instructions to select the photos you want to transfer. You can choose to transfer all photos or select specific albums or individual photos. The app also offers an automatic backup feature that automatically transfers new photos to the drive whenever it’s connected.
Once you’ve selected the photos, the app will begin the transfer process. The transfer speed is generally fast, but it can vary depending on the number and size of the photos. After the transfer is complete, you can verify that all photos have been successfully copied to the flash drive by browsing the drive’s contents within the app.
The SanDisk iXpand Drive is particularly appealing to photographers who need a quick and easy way to back up their photos while on the go. Its compact design and user-friendly app make it a valuable tool for managing iPhone storage.
4. How Can You Use the Files App to Transfer Photos to a Flash Drive?
Using the Files app to transfer photos involves connecting a flash drive via a Lightning-to-USB adapter, navigating to the Photos app within Files, and copying the desired photos to the flash drive. This method requires a bit more manual effort but offers greater control.
To begin, you’ll need a Lightning-to-USB adapter to connect your flash drive to your iPhone. Once you have the adapter, plug the flash drive into the adapter and then plug the adapter into your iPhone’s Lightning port. Your iPhone should recognize the flash drive as an external storage device.
Next, open the Files app on your iPhone. In the Files app, you should see the name of your flash drive listed under the “Locations” section. Tap on the flash drive to open it and view its contents.
To access your photos, navigate to the Photos app within the Files app. Select the photos you want to transfer by tapping the “Select” button and then tapping on each photo. Once you’ve selected all the desired photos, tap the “Move” or “Copy” button and choose the flash drive as the destination.
The Files app will then copy the selected photos to the flash drive. The transfer time will depend on the number and size of the photos. Once the transfer is complete, you can verify that all photos have been successfully copied by browsing the flash drive’s contents within the Files app.
This method is particularly useful for photographers who want to organize their photos into specific folders on the flash drive or who prefer a more hands-on approach to managing their files.
5. What Steps are Involved in Transferring Photos via Computer?
Transferring photos via computer requires connecting your iPhone to the computer, unlocking the phone and trusting the computer, and then copying the photos to the computer before transferring them to the flash drive. This method is suitable for large transfers and organization.
First, connect your iPhone to your computer using a USB cable. Make sure your computer recognizes the iPhone as a connected device. You may need to install drivers or software if this is the first time you’ve connected your iPhone to the computer.
Next, unlock your iPhone and look for a prompt asking if you trust the computer. Tap “Trust” to allow the computer to access your iPhone’s files. This step is crucial for the computer to recognize the iPhone as a storage device.
Once the iPhone is trusted, open the file explorer on your computer (Windows Explorer on Windows, Finder on macOS). You should see your iPhone listed as a connected device. Open the iPhone and navigate to the folder containing your photos. This folder is typically named “DCIM” (Digital Camera Images).
Select the photos you want to transfer and copy them to a folder on your computer. You can create a new folder specifically for this purpose to keep your photos organized. The transfer time will depend on the number and size of the photos.
After the photos have been copied to your computer, connect the flash drive to your computer. Open the flash drive in the file explorer and copy the photos from the computer folder to the flash drive. Again, the transfer time will depend on the number and size of the photos.
Once the transfer is complete, you can verify that all photos have been successfully copied to the flash drive by browsing the drive’s contents in the file explorer. This method is ideal for photographers who need to transfer a large number of photos and want to take advantage of the computer’s file management capabilities.
:max_bytes(150000):strip_icc()/how-to-transfer-photos-from-iphone-to-pc-45874897-6f4c4c41dd404d998b7181d9499e4943.jpg)
6. What are the Best Practices for Organizing Photos on a Flash Drive?
Organizing photos on a flash drive involves creating a folder structure, using descriptive names, and backing up the flash drive itself. Proper organization ensures easy retrieval and long-term preservation.
Start by creating a main folder on the flash drive for your photos. Within this folder, create subfolders based on categories such as dates, events, or subjects. For example, you might have subfolders named “2023,” “Vacation,” or “Portraits.”
Use descriptive names for your folders and files. Instead of generic names like “IMG_0001,” use names that clearly identify the contents, such as “2023-07-15_BeachTrip” or “FamilyPortrait_John.” This will make it much easier to find specific photos in the future.
Consider adding metadata to your photos, such as tags, captions, and keywords. This information can be embedded in the photo files and used to search and organize your photos using photo management software. According to a guide on photo organization from dfphoto.net, metadata is essential for effective long-term photo management.
Finally, it’s a good idea to back up the flash drive itself. Flash drives can fail or be lost, so having a backup ensures that your photos are protected. You can back up the flash drive to another flash drive, an external hard drive, or a cloud storage service.
7. What are the Common Issues Encountered During Photo Transfer and How to Troubleshoot?
Common issues include connectivity problems, insufficient storage, and file corruption. Troubleshooting involves checking connections, freeing up space, and using reliable transfer methods.
Connectivity problems are a common issue when transferring photos. Make sure the flash drive is properly connected to your iPhone or computer. If you’re using an adapter, ensure that it is also securely connected. Try using a different USB port or adapter to rule out any hardware issues.
Insufficient storage space on the flash drive can also cause problems. Check the available storage space on the flash drive and make sure it is enough to accommodate all the photos you want to transfer. If necessary, delete unnecessary files from the flash drive or use a larger flash drive.
File corruption can occur during the transfer process, resulting in photos that are unreadable or damaged. To prevent file corruption, use a reliable transfer method and avoid interrupting the transfer process. If you suspect that a file has been corrupted, try transferring it again or using a different transfer method.
If you continue to experience problems, consult the documentation for your flash drive or photo management software. Online forums and support communities can also provide valuable troubleshooting tips.
8. How Do You Choose the Right Flash Drive for iPhone Photo Storage?
Choosing the right flash drive involves considering storage capacity, transfer speed, compatibility, and durability. The ideal flash drive balances these factors to meet your specific needs.
Storage capacity is the most important factor to consider. Determine how much storage space you need based on the number and size of your photos. If you have a large photo library, you’ll need a flash drive with a higher storage capacity. Flash drives are available in a wide range of storage capacities, from 32GB to 1TB or more.
Transfer speed is also important, especially if you’re transferring large files. Look for flash drives that support USB 3.0 or USB 3.1, which offer significantly faster transfer speeds than USB 2.0. Faster transfer speeds can save you a lot of time, especially when transferring large batches of photos.
Compatibility is another key consideration. Make sure the flash drive is compatible with your iPhone and computer. If you’re using the SanDisk iXpand Drive, make sure it is compatible with your iPhone’s Lightning port. If you’re using a computer, make sure the flash drive is compatible with your computer’s USB ports.
Durability is important if you plan to carry the flash drive with you. Look for flash drives that are rugged and water-resistant. Some flash drives are designed to withstand extreme temperatures and impacts, making them ideal for photographers who work in challenging environments.
9. What are the Alternatives to Using a Flash Drive for iPhone Photo Storage?
Alternatives to using a flash drive include cloud storage services, external hard drives, and NAS devices. Each option offers different benefits in terms of accessibility, security, and cost.
Cloud storage services like iCloud, Google Photos, and Dropbox are popular alternatives to using a flash drive. These services allow you to store your photos online and access them from any device with an internet connection. Cloud storage offers the convenience of automatic backups and easy sharing, but it requires a subscription and relies on a stable internet connection.
External hard drives are another option for storing your iPhone photos. External hard drives offer a large amount of storage space and are relatively inexpensive. They are ideal for backing up your entire photo library and other important files. However, external hard drives are not as portable as flash drives and require a computer for access.
Network-Attached Storage (NAS) devices are a more advanced option for storing your photos. NAS devices are essentially mini-computers with multiple hard drives that are connected to your home network. They offer a centralized storage solution that can be accessed by multiple devices in your home. NAS devices are ideal for photographers who need to share their photos with family members or collaborators.
10. How Do You Ensure the Security of Your Photos on a Flash Drive?
Ensuring the security of your photos involves encrypting the flash drive, using strong passwords, and keeping the drive in a safe place. These measures protect your photos from unauthorized access and loss.
Encrypting the flash drive is the most effective way to protect your photos from unauthorized access. Encryption scrambles the data on the flash drive, making it unreadable without the correct password or encryption key. Many flash drives come with built-in encryption software, or you can use third-party encryption tools.
Using strong passwords is also essential for securing your photos. Choose a password that is at least 12 characters long and includes a combination of uppercase and lowercase letters, numbers, and symbols. Avoid using easily guessable passwords, such as your name, birthday, or pet’s name.
Keep the flash drive in a safe place to prevent loss or theft. Avoid leaving the flash drive unattended in public places. Consider storing the flash drive in a fireproof safe or a secure location in your home.
Finally, be careful about who you share the flash drive with. Only share the flash drive with trusted individuals and make sure they understand the importance of keeping the photos secure. By taking these precautions, you can ensure that your photos are protected from unauthorized access and loss.
FAQ: How to Save iPhone Photos to a Flash Drive
1. Can I directly transfer photos from my iPhone to a flash drive without a computer?
Yes, you can directly transfer photos from your iPhone to a flash drive using devices like the SanDisk iXpand Drive, which connects directly to your iPhone’s Lightning port.
2. What kind of flash drive do I need to transfer photos from my iPhone?
You need a flash drive that is compatible with your iPhone’s Lightning port, such as the SanDisk iXpand Drive, or a standard USB flash drive along with a Lightning-to-USB adapter.
3. How do I use the Files app on my iPhone to transfer photos to a flash drive?
Connect the flash drive to your iPhone using a Lightning-to-USB adapter, open the Files app, locate your Photos, and copy them to the flash drive.
4. Is it safe to store my photos on a flash drive?
Yes, it is generally safe, but you should encrypt the flash drive and keep it in a secure location to protect your photos from unauthorized access.
5. What if my iPhone doesn’t recognize the flash drive?
Ensure that the flash drive is properly connected, and the adapter is working correctly. Restart your iPhone and try again. If the issue persists, the flash drive may not be compatible.
6. Can I transfer photos from iCloud to a flash drive?
Yes, download the photos from iCloud to your iPhone first, then transfer them to the flash drive using one of the methods mentioned above.
7. What should I do if the photo transfer is slow?
Use a flash drive that supports USB 3.0 for faster transfer speeds. Close any unnecessary apps on your iPhone during the transfer process.
8. How do I organize my photos on the flash drive?
Create folders with descriptive names (e.g., “Vacation 2023,” “Family Photos”) and categorize your photos accordingly.
9. What are the best apps for managing photos on a flash drive?
The SanDisk iXpand Drive app is great for iXpand drives. For general management, you can use file explorer apps on your computer.
10. How often should I back up my iPhone photos to a flash drive?
Ideally, back up your photos regularly, such as once a week or after any significant photo-taking event, to prevent data loss.
Safeguarding your precious memories from your iPhone to a flash drive is essential for any photographer or visual artist. Whether you prefer using the SanDisk iXpand Drive, the Files app, or a computer, the process is straightforward and offers numerous benefits. Remember to organize your photos, choose the right flash drive, and ensure the security of your files.
Ready to take your photo management skills to the next level? Visit dfphoto.net for more tips, tutorials, and inspiration. Explore our comprehensive guides, discover stunning photography, and connect with a vibrant community of photographers and visual artists. Start your journey today and unlock the full potential of your visual storytelling.