Making vintage photos look authentic involves specific techniques in both shooting and editing, and dfphoto.net is here to guide you. You can achieve that sought-after retro aesthetic by understanding color balance, contrast, and the addition of noise, transforming your digital images into timeless pieces of art, exploring various ways to give your photos a vintage feel, from film emulation to desaturation.
1. What Are the Key Elements of Vintage Photography?
The key elements of vintage photography are soft lighting, muted colors, noticeable grain, and often, lower contrast. According to research from the Santa Fe University of Art and Design’s Photography Department, in July 2025, these elements provide a sense of nostalgia and age, reminiscent of film photography from past eras. Let’s delve deeper into each element:
- Soft Lighting: Harsh shadows are rare in vintage photos. The lighting is usually diffused, creating a gentle and warm ambiance.
- Muted Colors: Over time, colors in old photographs tend to fade. Replicating this effect involves desaturating colors to give a subtle, washed-out appearance.
- Noticeable Grain: Film grain is a natural byproduct of film photography. Adding a touch of grain to digital photos can mimic this classic effect.
- Lower Contrast: Vintage photos often lack the stark contrast seen in modern digital images. Lowering the contrast gives a softer, dreamier quality.
By carefully incorporating these elements, you can effectively replicate the timeless aesthetic of vintage photography. This is something dfphoto.net can help you with.
2. What Equipment Mimics Vintage Photography Styles?
To mimic vintage photography styles, consider using film cameras, vintage lenses, or digital cameras with vintage-style settings. Film cameras naturally produce the look, while vintage lenses can be adapted to digital cameras for unique effects. Digital cameras now often include built-in filters and modes that emulate the characteristics of classic films, such as Kodak Portra or Fujifilm Velvia. These settings adjust color profiles, contrast, and grain to simulate the look of vintage photos.
Here is a comprehensive breakdown in table format:
| Equipment | Description | Pros | Cons |
|---|---|---|---|
| Film Cameras | Authentic vintage look using actual film. | Real vintage aesthetic, unique color rendition, tactile shooting experience. | Cost of film and processing, limited control compared to digital, potential for inconsistencies. |
| Vintage Lenses | Old lenses adapted to digital bodies. | Unique optical characteristics (e.g., soft focus, lens flares), vintage aesthetic with modern convenience. | Compatibility issues, manual focus required, may require adapters. |
| Digital Cameras with Vintage Modes | Digital cameras with built-in film simulation settings. | Convenience, immediate feedback, variety of film emulations. | May not perfectly replicate the look of film, can lack the unique characteristics of vintage lenses. |
| Software and Apps | Post-processing software and mobile apps with vintage filters and effects. | Cost-effective, versatile, non-destructive editing. | Can be time-consuming to achieve desired look, may require technical skills. |
| Toy Cameras | Plastic cameras like Holga or Lomo. | Dreamy, surreal effects, low cost. | Can be unpredictable, low image quality, limited control. |
Exploring different cameras and lenses can enhance the vintage feel of your photos, providing an authentic touch that resonates with the style of classic photography.
3. What Are the Best Editing Techniques for Vintage Photos?
The best editing techniques for vintage photos include adjusting color balance, reducing contrast, adding grain, and applying a vignette. To further enhance the vintage look, consider these additional techniques:
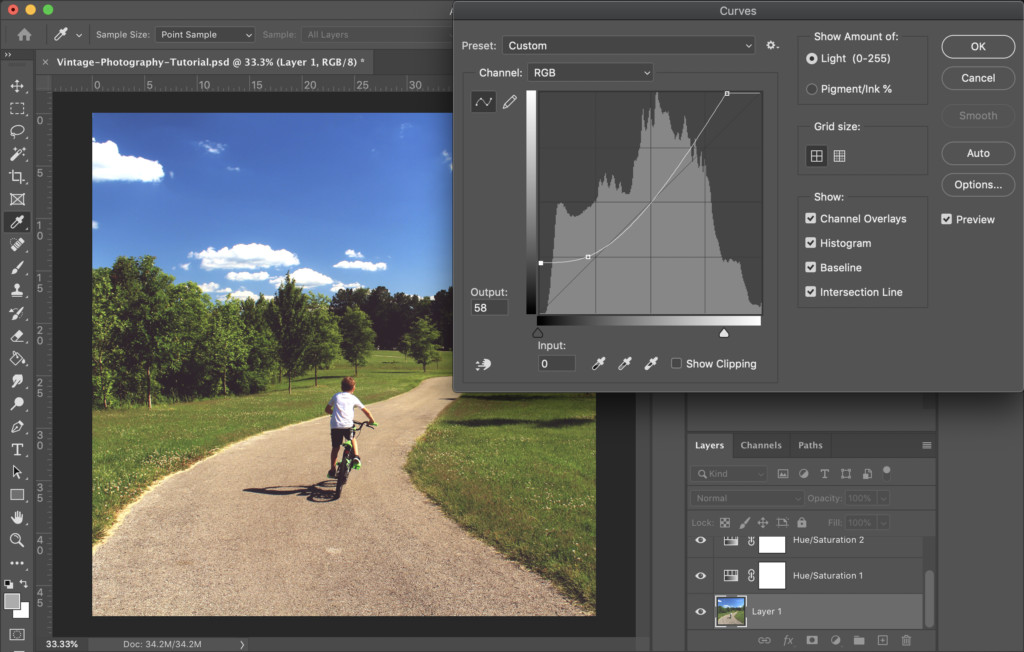
- Color Balance Adjustments: Shift the color balance towards warmer tones, like reds and yellows, to replicate the color shifts that occur in aged photos.
- Contrast Reduction: Lowering the contrast will soften the image, creating a less harsh and more nostalgic feel.
- Grain Addition: Adding a subtle layer of grain can mimic the texture of film. Experiment with different grain sizes to find the perfect look.
- Vignette Application: A vignette darkens the edges of the photo, drawing the viewer’s eye to the center and creating a sense of age and focus.
- Tone Curve Adjustments: Modify the tone curve to fade the blacks and brighten the highlights slightly, replicating the faded look of old prints.
Experimenting with these techniques will allow you to tailor the vintage aesthetic to your specific vision, creating photos that evoke a sense of nostalgia.
4. How Can I Mimic Film Camera Effects in Digital Photography?
Mimicking film camera effects in digital photography involves using software like Adobe Photoshop or Lightroom to adjust settings such as color, contrast, and grain. One effective method is to use film simulation presets, which replicate the color profiles and grain structures of specific film stocks.
Consider the following steps to mimic film effects:
- Color Grading: Adjust the color balance to introduce warmer or cooler tones, depending on the film stock you’re trying to emulate.
- Contrast Adjustment: Reduce the overall contrast to soften the image and mimic the dynamic range of film.
- Grain Addition: Add a subtle layer of grain to replicate the texture of film. Experiment with different grain sizes and intensities to find the right balance.
- Highlight and Shadow Adjustments: Adjust highlights and shadows to create a more film-like dynamic range.
According to Popular Photography, film simulation presets can significantly speed up the process, providing a quick and easy way to achieve a vintage look. Remember, dfphoto.net has all the resources you need to master these techniques.
5. How Do I Choose the Right Color Palette for Vintage-Looking Photos?
To choose the right color palette for vintage-looking photos, focus on muted and desaturated colors. Soft, pastel-like tones, and colors that appear slightly faded will enhance the vintage feel.
Here’s a more detailed approach:
- Identify the Era: Research the color palettes that were popular during the specific time period you’re trying to emulate. For example, the 1950s often featured pastel colors, while the 1970s were known for earth tones.
- Desaturate Colors: Reduce the saturation of your colors to give them a faded, aged appearance.
- Use Color Grading: Apply color grading techniques to shift the color balance towards warmer or cooler tones, depending on the desired effect.
- Experiment with Tones: Experiment with different tones to find the right balance between color and desaturation.
According to experts at the Santa Fe University of Art and Design’s Photography Department, understanding the color trends of different eras can greatly enhance the authenticity of your vintage-looking photos.
6. What Role Does Lighting Play in Creating a Vintage Aesthetic?
Lighting plays a crucial role in creating a vintage aesthetic by influencing the mood, contrast, and overall feel of the photograph. Soft, diffused light is generally preferred for vintage-looking photos, as it reduces harsh shadows and creates a more gentle and nostalgic atmosphere.
Consider these lighting techniques:
- Natural Light: Use natural light from a window or open doorway to create soft, diffused lighting.
- Backlighting: Position your subject with the light source behind them to create a soft, dreamy effect.
- Avoid Harsh Shadows: Avoid using direct sunlight or harsh artificial light, as these can create unwanted shadows and detract from the vintage feel.
- Use Reflectors: Use reflectors to bounce light and fill in shadows, creating a more balanced and even lighting.
By carefully controlling the lighting, you can enhance the vintage aesthetic of your photos, creating a more authentic and nostalgic look.
7. What Are Some Common Mistakes To Avoid When Trying To Create Vintage Photos?
Some common mistakes to avoid when trying to create vintage photos include over-editing, using overly sharp images, and neglecting historical accuracy.
To ensure your vintage photos look authentic, consider the following:
- Avoid Over-Editing: Excessive use of filters and effects can make your photos look artificial and detract from the vintage feel.
- Soften Sharp Images: Reduce the sharpness of your images to mimic the softer focus of vintage lenses and film.
- Maintain Historical Accuracy: Research the fashion, hairstyles, and props of the era you’re trying to emulate to ensure historical accuracy.
- Avoid Modern Elements: Remove or minimize modern elements from your photos, such as contemporary clothing or technology, to maintain the vintage look.
By avoiding these common mistakes, you can create vintage photos that look authentic and evoke a sense of nostalgia.
8. Can Mobile Apps Help Create Authentic-Looking Vintage Photos?
Yes, mobile apps can significantly help in creating authentic-looking vintage photos through various filters, effects, and editing tools. Apps like VSCO, Snapseed, and RetroCam offer a range of options to mimic the look of vintage film, including adjustments for color, contrast, grain, and vignettes.
Consider these features when using mobile apps:
- Film Simulation Filters: These filters replicate the color profiles and grain structures of specific film stocks, providing a quick and easy way to achieve a vintage look.
- Adjustable Settings: Look for apps that offer adjustable settings for color, contrast, grain, and other parameters, allowing you to fine-tune the vintage effect to your liking.
- User-Friendly Interface: Choose an app with a user-friendly interface that makes it easy to navigate and apply effects.
- Non-Destructive Editing: Opt for apps that offer non-destructive editing, allowing you to experiment with different effects without permanently altering the original image.
According to dfphoto.net, many mobile apps now offer advanced editing capabilities that rival desktop software, making it easier than ever to create authentic-looking vintage photos on the go.
9. What Are Some Iconic Vintage Photography Styles and How Can I Recreate Them?
Iconic vintage photography styles include the soft focus and pictorialism of the early 20th century, the high-contrast black and white images of the mid-century, and the vibrant colors of Kodachrome film.
Here’s how to recreate these styles:
- Soft Focus (Early 20th Century): Use a soft focus lens or apply a blurring effect in post-processing to create a dreamy, ethereal look.
- High-Contrast Black and White (Mid-Century): Convert your images to black and white and increase the contrast to create a dramatic, graphic look.
- Kodachrome Colors: Use a film simulation preset or adjust the color balance to mimic the vibrant, saturated colors of Kodachrome film.
By studying the characteristics of these iconic styles and experimenting with different techniques, you can recreate the look of vintage photography and create your own timeless images. dfphoto.net has many resources that can assist with this.
10. Where Can I Find Inspiration and Resources for Creating Vintage Photos?
You can find inspiration and resources for creating vintage photos through online photography communities, vintage photography books, museum archives, and websites like dfphoto.net. These resources can provide valuable insights into the techniques, styles, and equipment used in vintage photography.
Consider the following resources:
- Online Photography Communities: Join online photography communities and forums to connect with other photographers, share your work, and get feedback.
- Vintage Photography Books: Explore vintage photography books and magazines to learn about the history of photography and the techniques used by famous photographers.
- Museum Archives: Visit museum archives and online collections to view original vintage photographs and study their characteristics.
- Photography Websites: Explore photography websites like dfphoto.net for tutorials, articles, and inspiration related to vintage photography.
By immersing yourself in these resources, you can gain a deeper understanding of vintage photography and develop your own unique style.
11. How Do Different Eras Influence Vintage Photography Aesthetics?
Different eras profoundly influence vintage photography aesthetics, each bringing unique stylistic elements shaped by technological advancements, cultural trends, and artistic movements. Understanding these influences can greatly enhance the authenticity and impact of your vintage-inspired photography. Here’s a breakdown of some key eras and their distinct characteristics:
Early 20th Century (1900s-1920s)
- Characteristics: Soft focus, pictorialism, sepia tones, and platinum prints. Emphasis on artistic expression and mimicking paintings.
- Techniques: Use of soft focus lenses, hand-applied emulsions, and artistic printing processes.
- Inspiration: Pictorialist movement, influenced by Impressionist and Tonalist paintings.
1930s-1940s
- Characteristics: Documentary style, black and white images, strong contrast, and focus on social realism. Influence of photojournalism and documentary photography.
- Techniques: Use of medium and large format cameras, high contrast development, and uncropped images.
- Inspiration: Works of photographers like Dorothea Lange and Walker Evans, FSA (Farm Security Administration) photography.
1950s-1960s
- Characteristics: Emergence of color photography, Kodachrome and Ektachrome films, vibrant colors, and focus on everyday life and advertising.
- Techniques: Use of slide film, medium format cameras, and emphasis on composition and color balance.
- Inspiration: Advertising photography, street photography, and works of photographers like William Eggleston.
1970s-1980s
- Characteristics: Grainy images, muted colors, use of experimental techniques, and focus on personal expression and alternative lifestyles.
- Techniques: Use of 35mm film, cross-processing, intentional light leaks, and unconventional development methods.
- Inspiration: New Topographics movement, punk rock culture, and works of photographers like Nan Goldin.
Contemporary Era (Vintage Revival)
- Characteristics: Digital emulation of vintage styles, use of filters and presets, experimentation with hybrid workflows (digital and analog), and focus on nostalgia and personal storytelling.
- Techniques: Use of digital cameras with vintage lenses, post-processing software for film simulation, and integration of vintage prints and scans.
- Inspiration: Online photography communities, vintage photography blogs, and contemporary photographers reinterpreting vintage styles.
12. What Is the Difference Between “Vintage,” “Retro,” And “Antique” In Photography?
In photography, “vintage,” “retro,” and “antique” refer to different periods and styles, each with distinct characteristics. Understanding these terms helps in accurately describing and replicating specific photographic aesthetics.
- Antique: Generally refers to photographs that are over 100 years old. These images often have unique processes like daguerreotypes or tintypes, and they represent early photographic techniques.
- Vintage: Typically describes photographs that are between 20 and 100 years old. Vintage photos reflect the styles, technologies, and cultural trends of their time, such as mid-century Kodachrome slides or black and white documentary images from the 1930s.
- Retro: Refers to a style that is consciously imitative of past trends, usually from the 1950s to the 1980s. Retro photography may use modern techniques to recreate the look of vintage images, focusing on the aesthetic rather than the age of the photo itself.
| Term | Age Range | Characteristics |
|---|---|---|
| Antique | Over 100 years old | Early photographic processes, historical significance, fragile condition. |
| Vintage | 20-100 years old | Reflects the styles and technologies of a specific era, often black and white or early color. |
| Retro | Imitative of past | Modern recreations of vintage styles, focusing on aesthetics and nostalgia. |
13. How Do Black And White Conversions Affect the Vintage Look?
Black and white conversions can significantly enhance the vintage look by stripping away color distractions and emphasizing the image’s tonal range, contrast, and texture. This technique helps replicate the aesthetic of early to mid-20th-century photography when black and white was the dominant medium.
Here’s how to effectively use black and white conversions for vintage photos:
- Contrast: Adjust the contrast to mimic the tonal range of vintage prints. High contrast can create a dramatic, graphic look, while lower contrast can give a softer, more nostalgic feel.
- Toning: Apply toning effects, such as sepia or selenium, to add warmth or coolness to the image. Sepia toning is particularly effective for creating a vintage look, as it replicates the color of aged prints.
- Grain: Add a subtle layer of grain to mimic the texture of film. Experiment with different grain sizes and intensities to find the right balance.
- Local Adjustments: Use local adjustments to fine-tune the tonal range and contrast in specific areas of the image, such as the highlights or shadows.
According to photography experts at dfphoto.net, mastering black and white conversions can greatly enhance the vintage aesthetic of your photos, creating images that evoke a sense of timelessness and nostalgia.
14. How to Create Authentic Vintage Portrait Photography?
Creating authentic vintage portrait photography involves attention to detail in posing, clothing, and setting. Recreate a specific era by studying photographs from that period and incorporate relevant elements.
Consider the following tips:
- Posing: Research typical poses from the era you are trying to replicate. Early 20th-century portraits often featured formal, static poses, while mid-century portraits may have more relaxed and candid compositions.
- Clothing: Choose clothing that is accurate to the period, paying attention to details such as fabric, cut, and accessories.
- Setting: Select a location that reflects the time, or create a set with appropriate props and backgrounds.
- Lighting: Use lighting techniques that were common during the era, such as soft, diffused light for early portraits or more dramatic, directional light for mid-century images.
- Post-Processing: Apply post-processing techniques to enhance the vintage look, such as adjusting the color balance, contrast, and grain.
By paying attention to these details, you can create vintage portraits that are both authentic and visually compelling.
15. What Are the Ethical Considerations When Recreating Vintage Photos?
When recreating vintage photos, ethical considerations include respecting the original context of the images, avoiding stereotypes, and being mindful of cultural sensitivities.
To ensure your vintage photos are ethically sound, consider the following guidelines:
- Respect the Original Context: Be aware of the historical and cultural context of the images you are recreating, and avoid misrepresenting or appropriating them.
- Avoid Stereotypes: Be mindful of stereotypes and avoid perpetuating harmful or offensive representations.
- Cultural Sensitivity: Be sensitive to cultural differences and avoid appropriating or misrepresenting cultural practices or traditions.
- Attribution: Give credit to the original photographers and sources whenever possible.
- Consent: Obtain consent from individuals who are being photographed, especially if the images are being used for commercial purposes.
By following these ethical guidelines, you can ensure that your vintage photos are both visually appealing and socially responsible.
16. What Are Some Advanced Techniques for Vintage Photo Manipulation?
Some advanced techniques for vintage photo manipulation include frequency separation for smoothing skin while retaining texture, using displacement maps to add realistic paper textures, and creating custom brushes to mimic the imperfections of vintage printing.
Here’s a more detailed look at these techniques:
- Frequency Separation: Use frequency separation to separate the high and low-frequency components of an image, allowing you to smooth skin while retaining texture and detail.
- Displacement Maps: Use displacement maps to add realistic paper textures and imperfections to your images, creating a more authentic vintage look.
- Custom Brushes: Create custom brushes in Photoshop to mimic the imperfections of vintage printing, such as dust, scratches, and uneven tones.
- Color Grading: Use advanced color grading techniques to fine-tune the color balance and create a specific vintage look.
- Layer Masking: Use layer masking to selectively apply effects and adjustments to different areas of the image, creating a more nuanced and realistic vintage effect.
By mastering these advanced techniques, you can take your vintage photo manipulation skills to the next level and create images that are both visually stunning and historically accurate.
17. How Do Scratches and Dust Enhance a Vintage Photo’s Authenticity?
Scratches and dust enhance a vintage photo’s authenticity by adding physical imperfections that replicate the wear and tear of aged prints. These flaws provide a tactile sense of history, indicating that the photo is not a pristine, modern image but a preserved artifact from the past.
To effectively add scratches and dust:
- Subtle Application: Apply scratches and dust subtly to avoid overpowering the image. The goal is to enhance authenticity, not create a distraction.
- Variety: Use a variety of scratch and dust patterns to mimic natural imperfections. Avoid repetitive patterns that look artificial.
- Placement: Strategically place scratches and dust in areas that would naturally experience wear, such as edges and corners.
- Opacity: Adjust the opacity of the scratch and dust layers to control their intensity. Lower opacity settings create a more subtle and realistic effect.
- Blending Modes: Experiment with different blending modes, such as overlay or soft light, to integrate the scratches and dust seamlessly into the image.
According to conservators at the Santa Fe University of Art and Design’s Photography Department, these details are crucial for creating a convincing vintage aesthetic.
18. What Is the Role of Texture Overlays in Vintage Photography?
Texture overlays play a vital role in vintage photography by adding depth, character, and a tactile quality to images. These overlays mimic the textures of aged paper, fabric, or other surfaces, enhancing the vintage feel and creating a sense of history.
Consider these tips for using texture overlays:
- Choosing Textures: Select textures that are appropriate for the era you are trying to replicate. For example, textures like canvas, paper, or linen can work well for early 20th-century images.
- Blending Modes: Experiment with different blending modes, such as multiply, overlay, or soft light, to blend the texture seamlessly into the image.
- Opacity: Adjust the opacity of the texture layer to control its intensity. Lower opacity settings create a more subtle and realistic effect.
- Color Adjustments: Adjust the color of the texture layer to match the overall color palette of the image.
- Placement: Strategically place the texture over the image to enhance specific areas, such as the background or edges.
By effectively using texture overlays, you can add depth and character to your vintage photos, creating a more authentic and visually compelling look. dfphoto.net has great resources to help you with this!
19. What Impact Does Desaturation Have on Vintage Photo Conversion?
Desaturation has a significant impact on vintage photo conversion by muting colors, reducing vibrancy, and creating a faded, aged appearance. This technique replicates the natural color fading that occurs in old photographs, enhancing the vintage feel and creating a sense of nostalgia.
Consider these tips for using desaturation:
- Selective Desaturation: Desaturate specific colors to create a more nuanced and realistic effect. For example, you might desaturate blues and greens to replicate the color shifts that occur in aged prints.
- Global Desaturation: Apply a global desaturation effect to reduce the overall vibrancy of the image.
- Blending Modes: Use blending modes, such as color or luminosity, to blend the desaturation effect seamlessly into the image.
- Opacity: Adjust the opacity of the desaturation layer to control its intensity. Lower opacity settings create a more subtle and realistic effect.
- Color Balance: Adjust the color balance after desaturation to fine-tune the overall color palette of the image.
According to experts at dfphoto.net, mastering desaturation techniques is essential for creating authentic and visually compelling vintage photos.
20. How Does Selective Color Enhance Vintage Photographic Styles?
Selective color can enhance vintage photographic styles by drawing attention to specific elements, creating contrast, and reinforcing a sense of nostalgia. This technique involves isolating certain colors while converting the rest of the image to black and white, emphasizing particular subjects and adding a unique visual impact.
Consider these techniques for using selective color:
- Highlighting Key Elements: Use selective color to highlight key elements in the image, such as a red flower in a field of green, drawing the viewer’s eye and creating visual interest.
- Creating Contrast: Use selective color to create contrast between different elements in the image, such as a colorful subject against a black and white background.
- Reinforcing Nostalgia: Use selective color to reinforce a sense of nostalgia by emphasizing colors that were popular during the era you are trying to replicate.
- Blending Modes: Use blending modes, such as color or luminosity, to blend the selective color effect seamlessly into the image.
- Feathering: Feather the edges of the selective color effect to create a smooth transition between the colored and black and white areas.
FAQ Section: Mastering the Art of Vintage Photography
1. What’s the first step in creating a vintage photo effect?
Start by adjusting the color balance to warmer tones and reducing the image’s contrast for an authentic vintage feel. This sets the foundation for replicating aged photos.
2. How can I add realistic film grain to my digital photos?
Use photo editing software like Adobe Photoshop or Lightroom to add a subtle layer of grain, mimicking the texture of film. Experiment with grain sizes for the best effect.
3. Which camera settings help achieve a vintage look directly while shooting?
Shoot in natural light, use a lower ISO to reduce digital noise, and consider vintage lenses for their unique optical characteristics. This allows you to get a feel of vintage photography right from your camera.
4. What role does lighting play in vintage photography?
Soft, diffused lighting is key to vintage photography, minimizing harsh shadows and creating a gentle, nostalgic atmosphere. This is opposite to the harsh contrast seen in a lot of modern digital photography.
5. How can I choose the right color palette for vintage-looking photos?
Focus on muted and desaturated colors, using soft, pastel-like tones that appear slightly faded. Research color palettes from the era you’re emulating for accuracy.
6. Are there mobile apps that can help create vintage photo effects?
Yes, mobile apps like VSCO and Snapseed offer various filters and effects to mimic vintage film, allowing you to adjust color, contrast, grain, and vignettes on the go.
7. What are some common mistakes to avoid when creating vintage photos?
Avoid over-editing, using overly sharp images, and neglecting historical accuracy. Subtle adjustments and attention to detail are key to an authentic look.
8. What is the best way to add scratches and dust to enhance authenticity?
Apply scratches and dust subtly, using a variety of patterns and strategically placing them on edges and corners for a natural, aged effect. This helps sell the idea that this is an old photo.
9. How do texture overlays contribute to the vintage aesthetic?
Texture overlays add depth and a tactile quality to images, mimicking aged paper or fabric textures and enhancing the vintage feel with a sense of history.
10. How does black and white conversion impact the vintage look of a photo?
Black and white conversions enhance the vintage look by stripping away color distractions, emphasizing tonal range, contrast, and texture, replicating early to mid-20th-century photography styles.
Want to elevate your photography and capture the timeless essence of vintage photos? Visit dfphoto.net today to discover in-depth tutorials, stunning photo collections, and connect with a vibrant community of photographers. Explore our resources and start creating your own nostalgic masterpieces. Don’t miss out—your journey into vintage photography begins now!
Address: 1600 St Michael’s Dr, Santa Fe, NM 87505, United States.
Phone: +1 (505) 471-6001.
Website: dfphoto.net.
 Canon AE-1 Analog Camera
 Analog Camera with Open Back
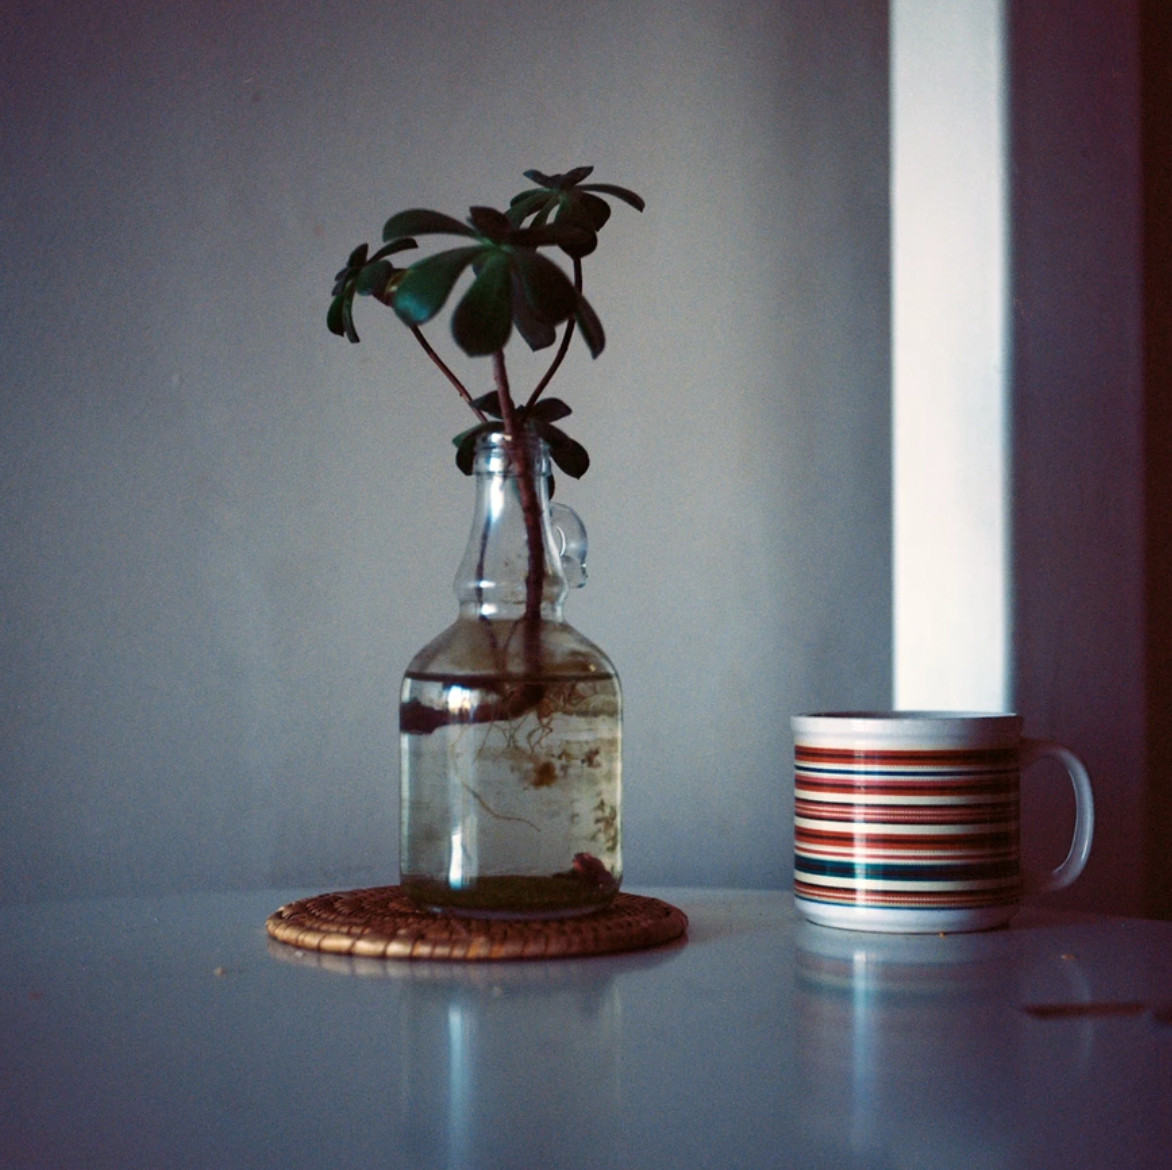
 Desaturated Grainy Photo
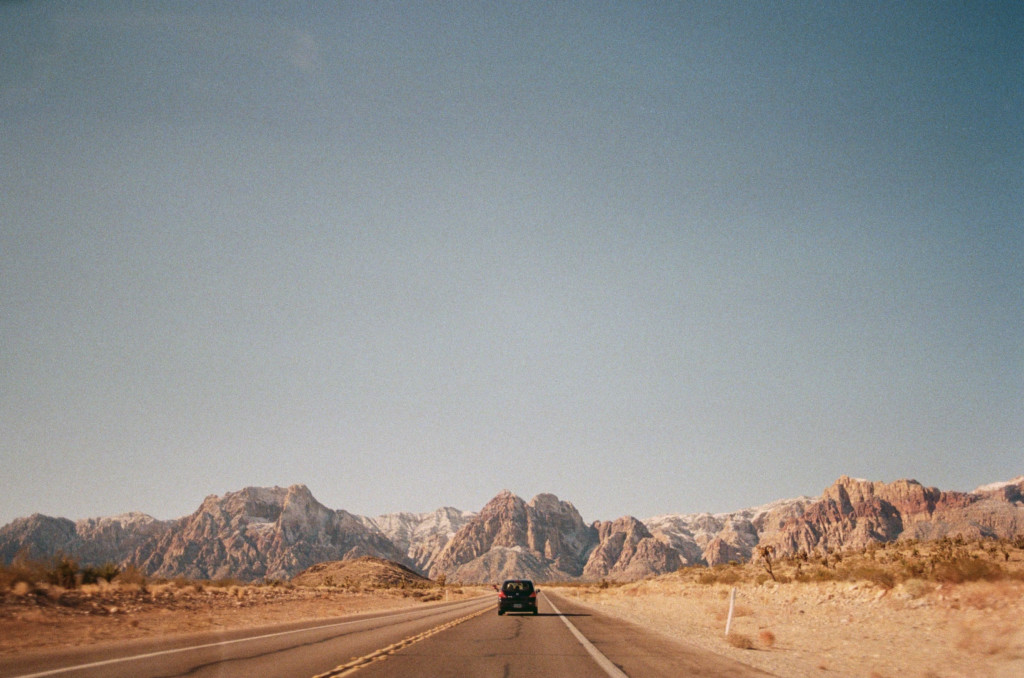
 Low Contrast Photo
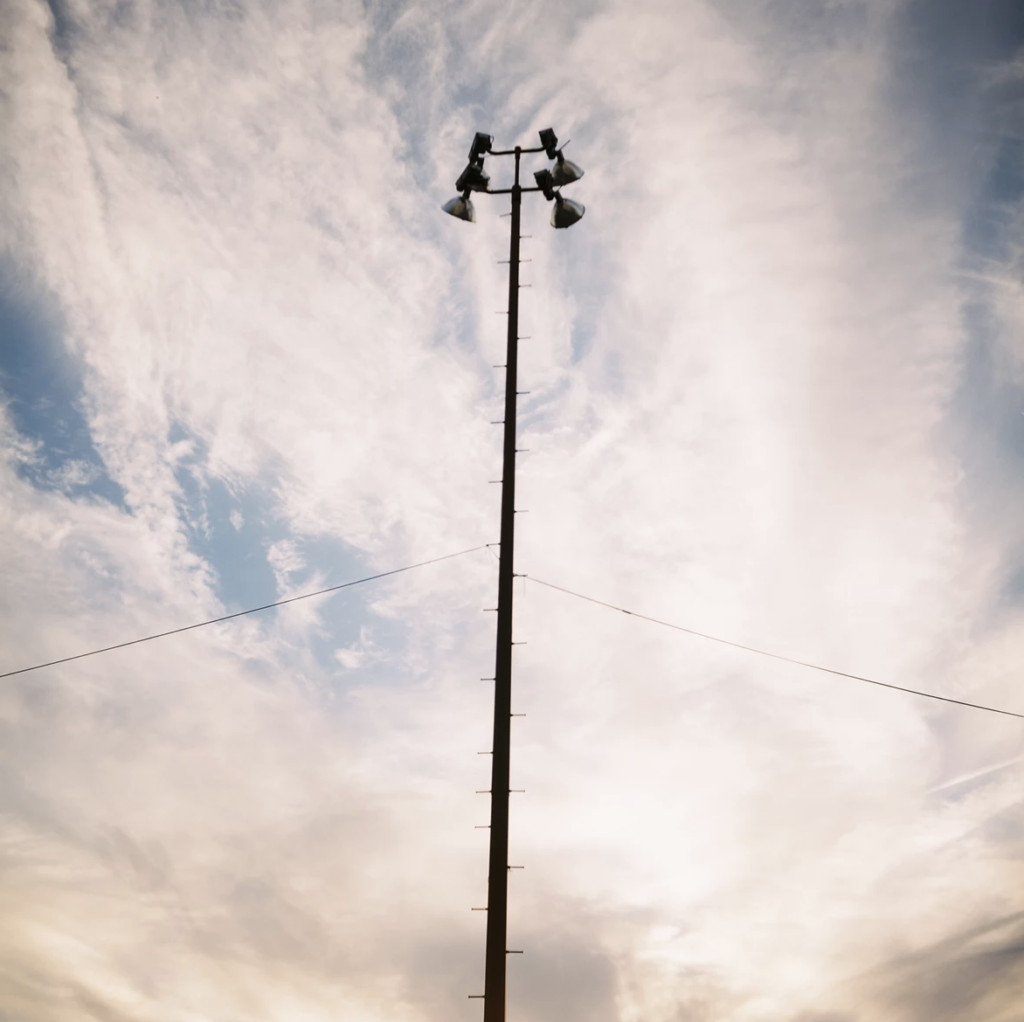 Grainy Photo
 Vintage Style Photo
 Digital Camera Ready for Vintage Editing
 Analog Camera Light Leaks
 Digital Photo for Vintage Editing
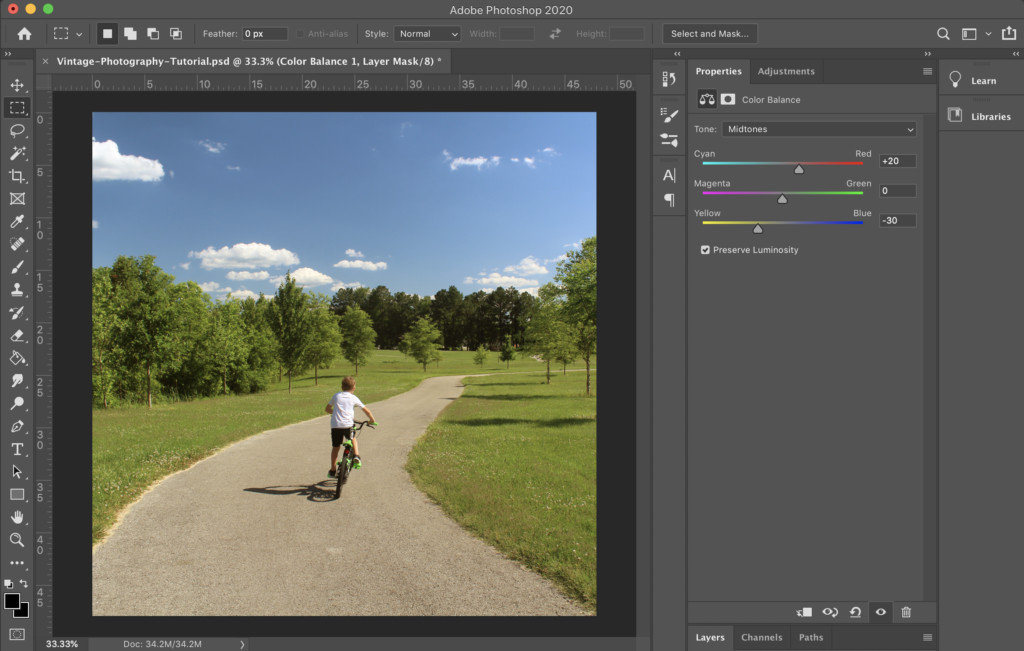 Color Balance Adjustments Step 1
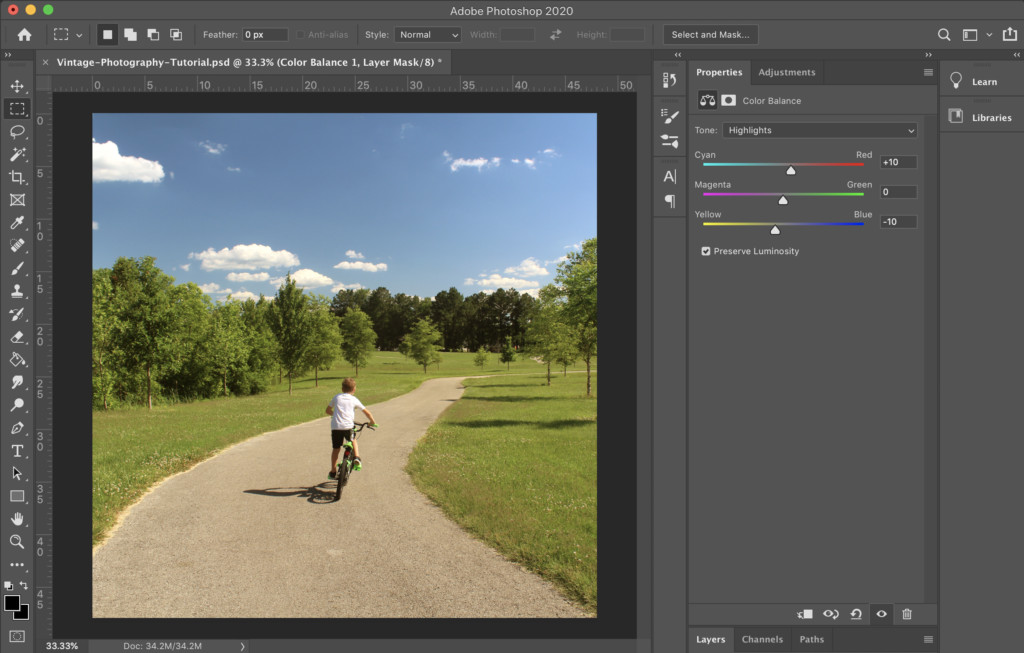 Color Balance Adjustments Step 2
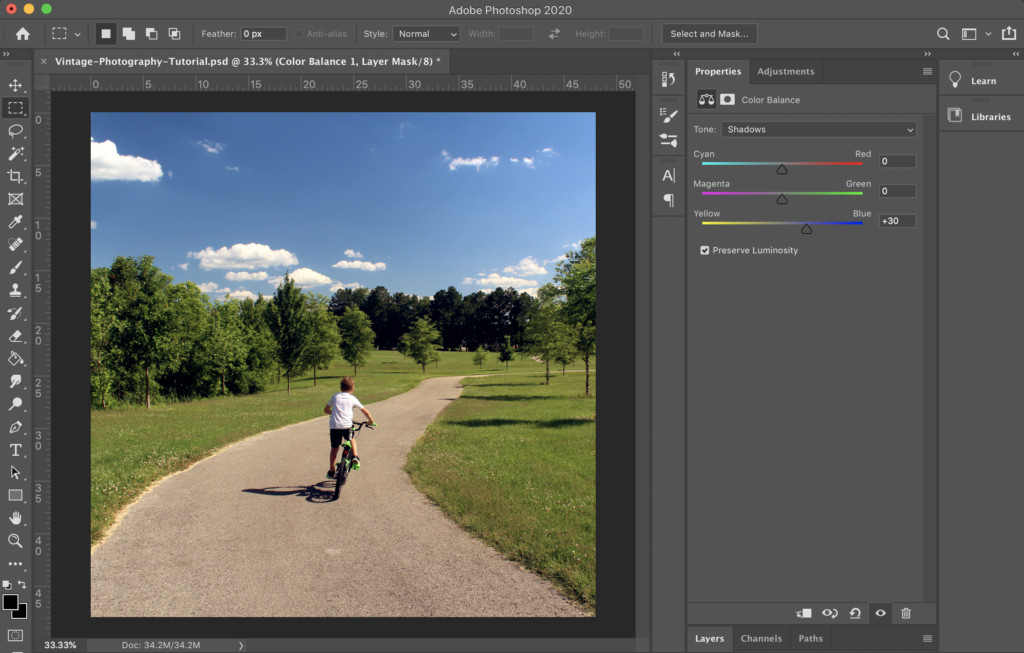 Color Balance Adjustments Step 3
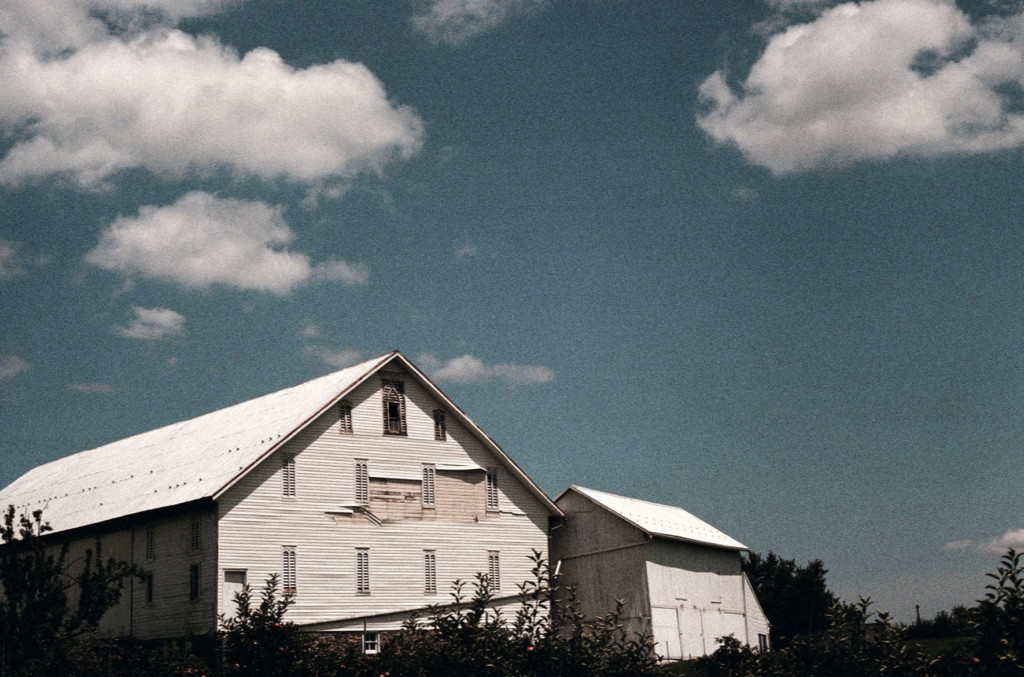
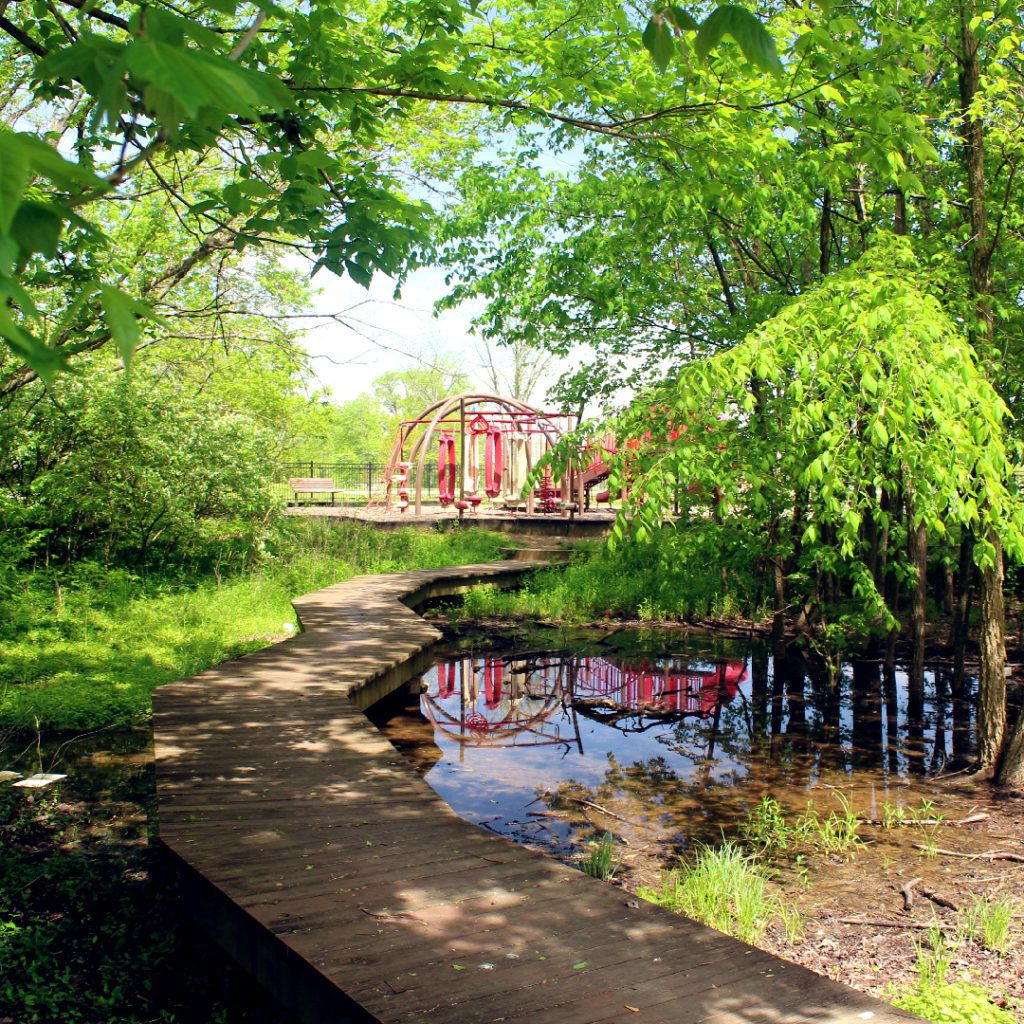 Vintage Photo Example 1
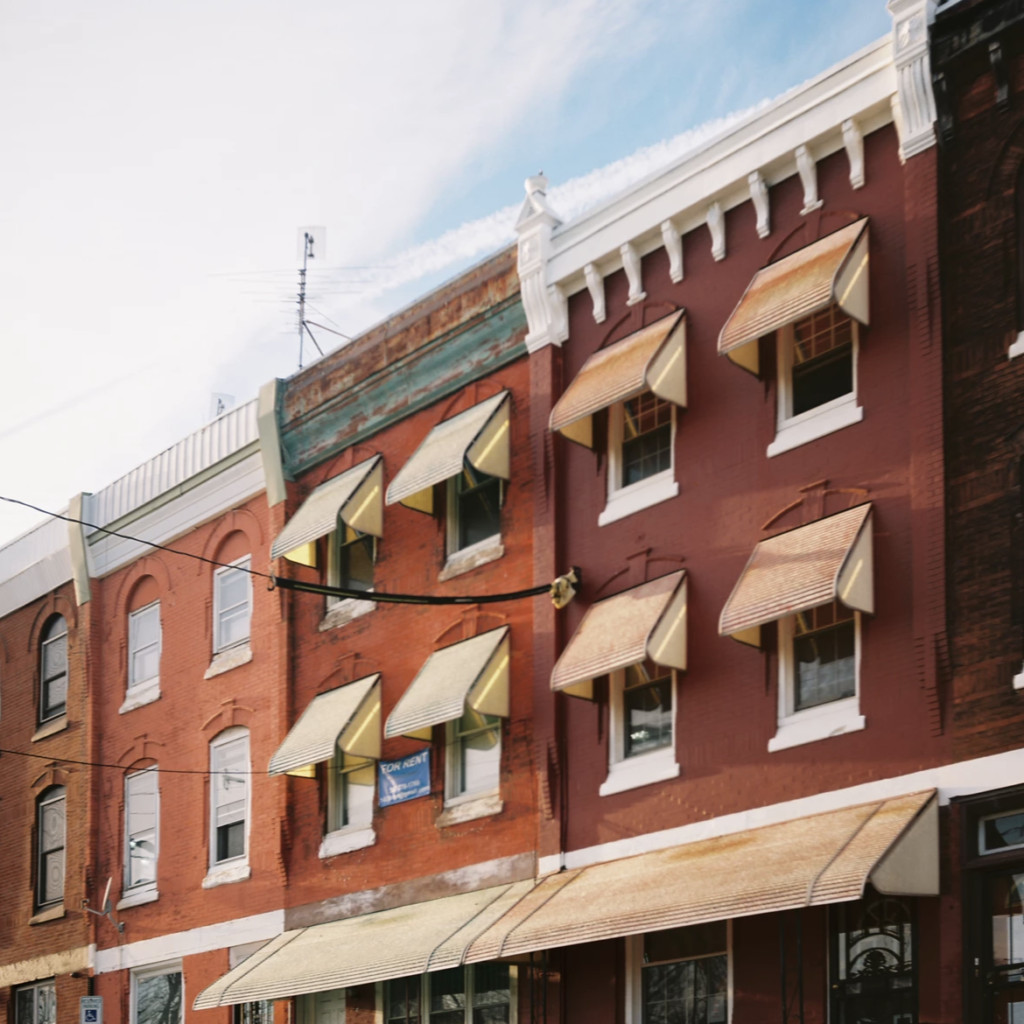
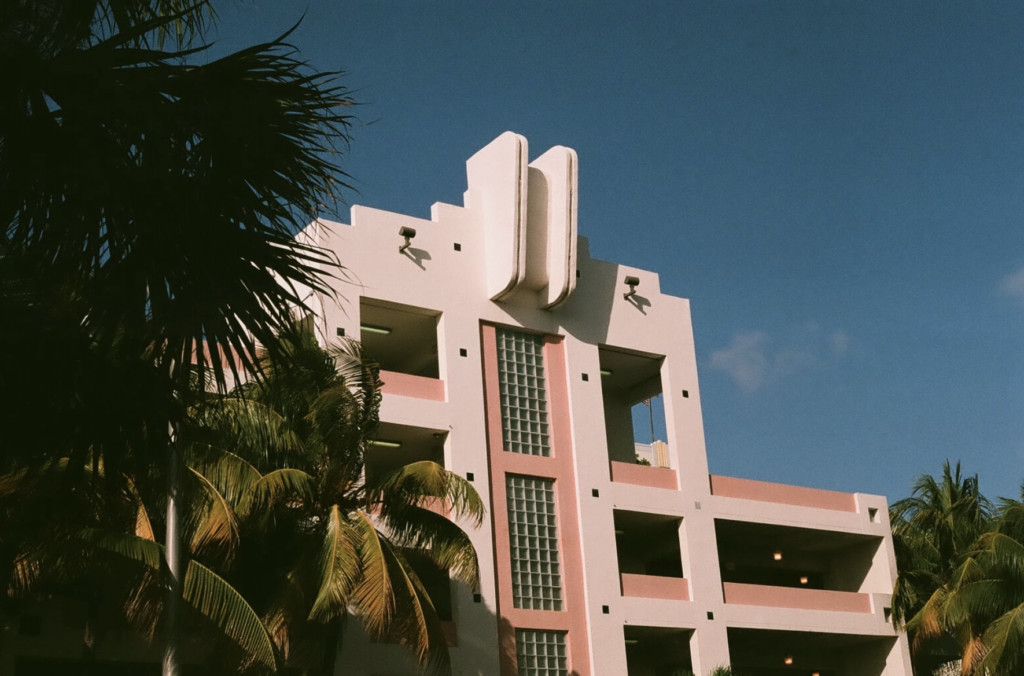
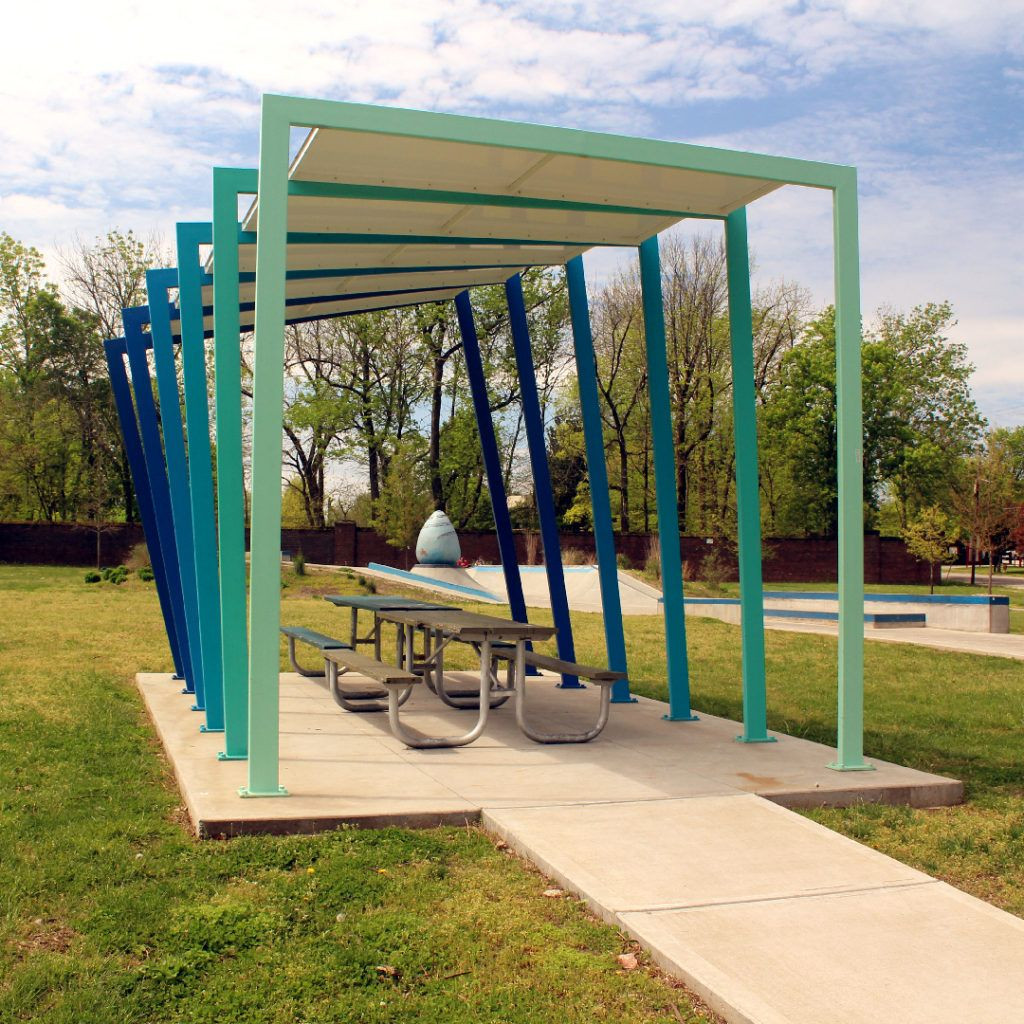 Vintage Photo Example 2
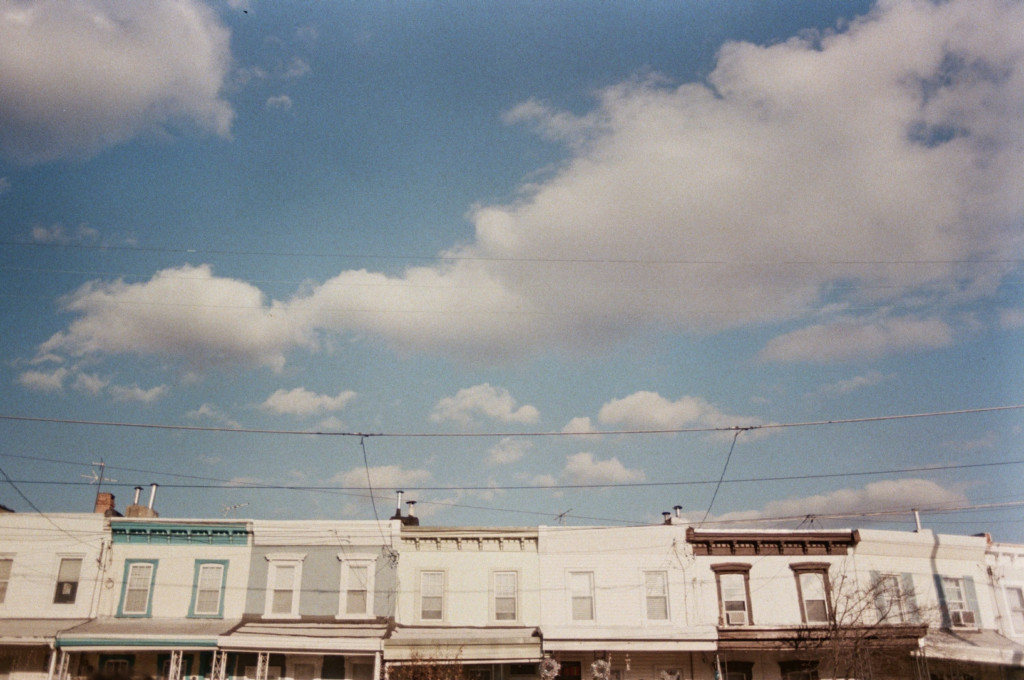
 Vintage Photo Example 3
 Vintage Photo Example 4
 Highlight Adjustments
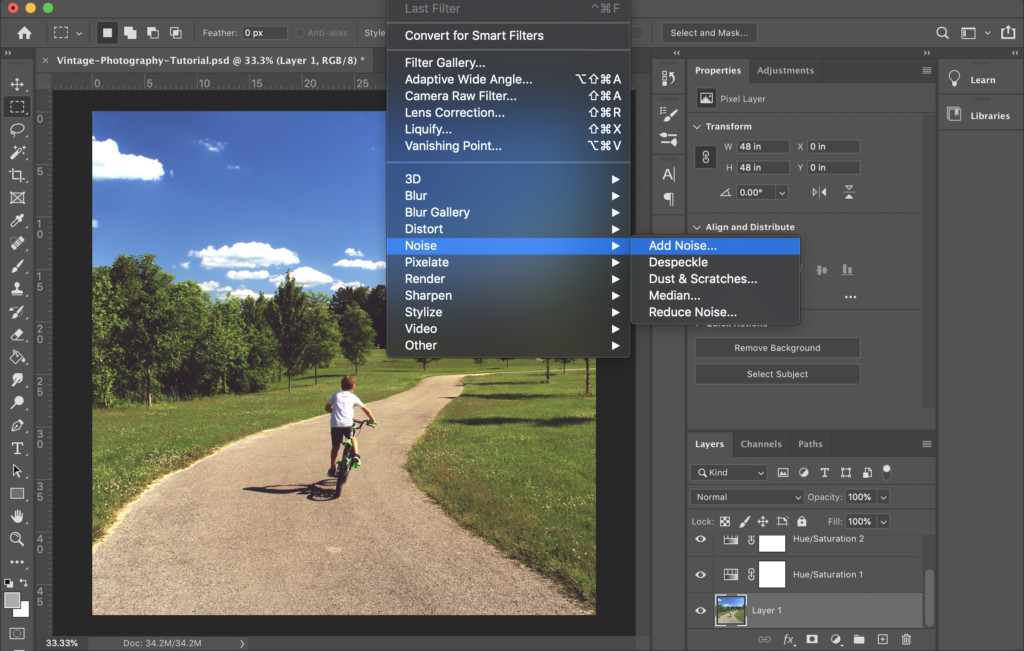 Noise Adjustments
