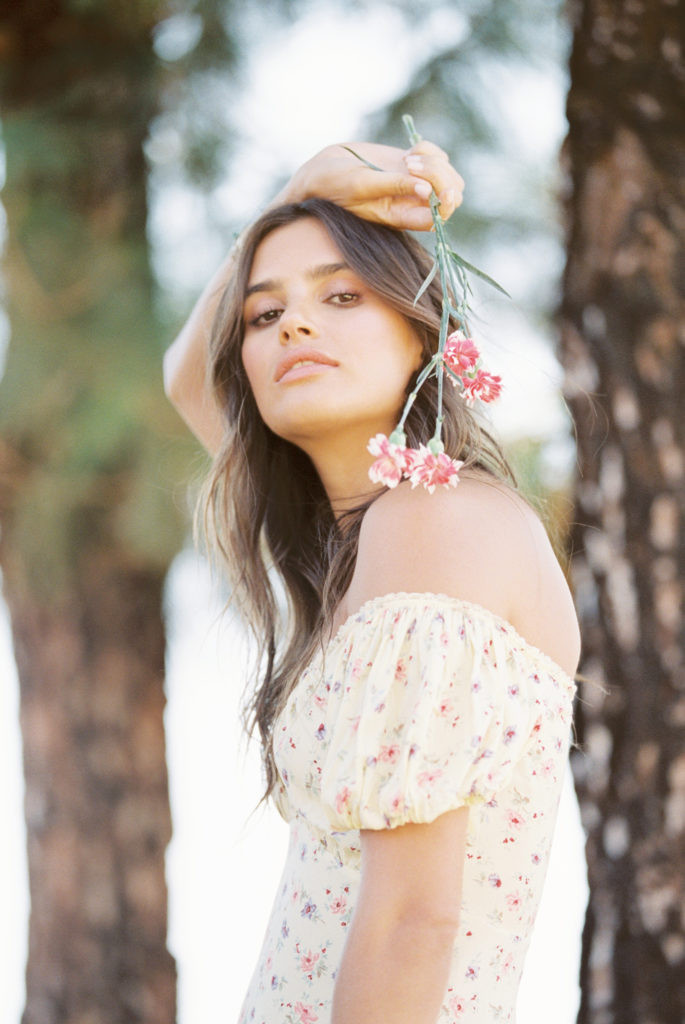
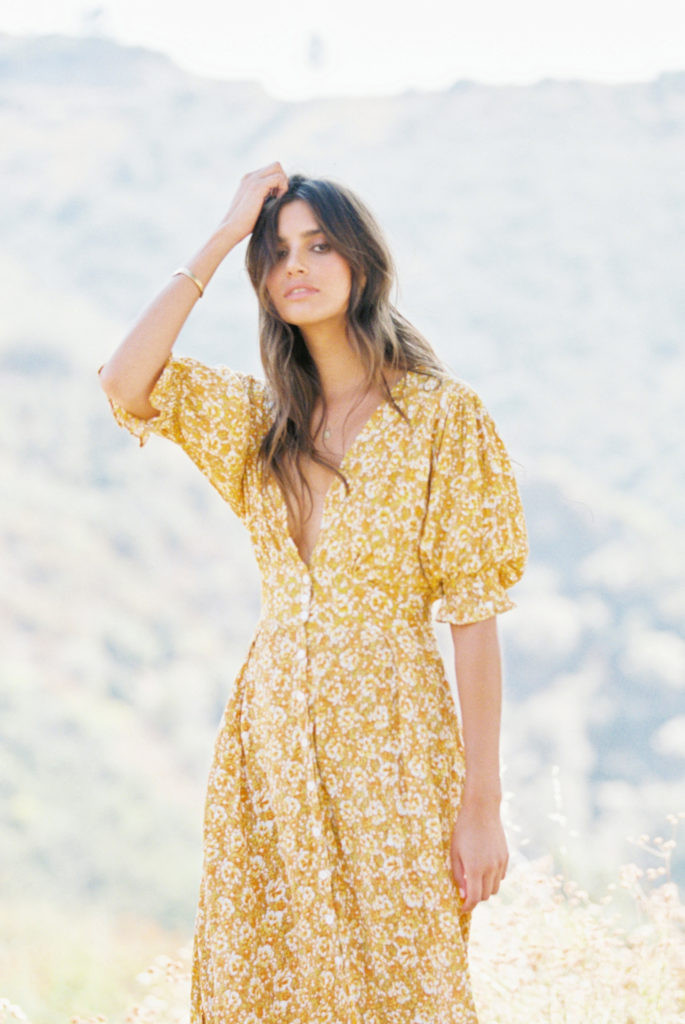
Making your photo blurry, often achieved through shallow depth of field, is a technique that can transform an ordinary shot into a work of art. At dfphoto.net, we’re dedicated to helping you master this and other photography techniques. By understanding aperture, distance, and lens choices, you can create stunning images with beautifully blurred backgrounds, also known as bokeh.
Are you ready to discover how to create stunning blurred backgrounds in your photos? Let’s explore the secrets of achieving that perfect depth of field.
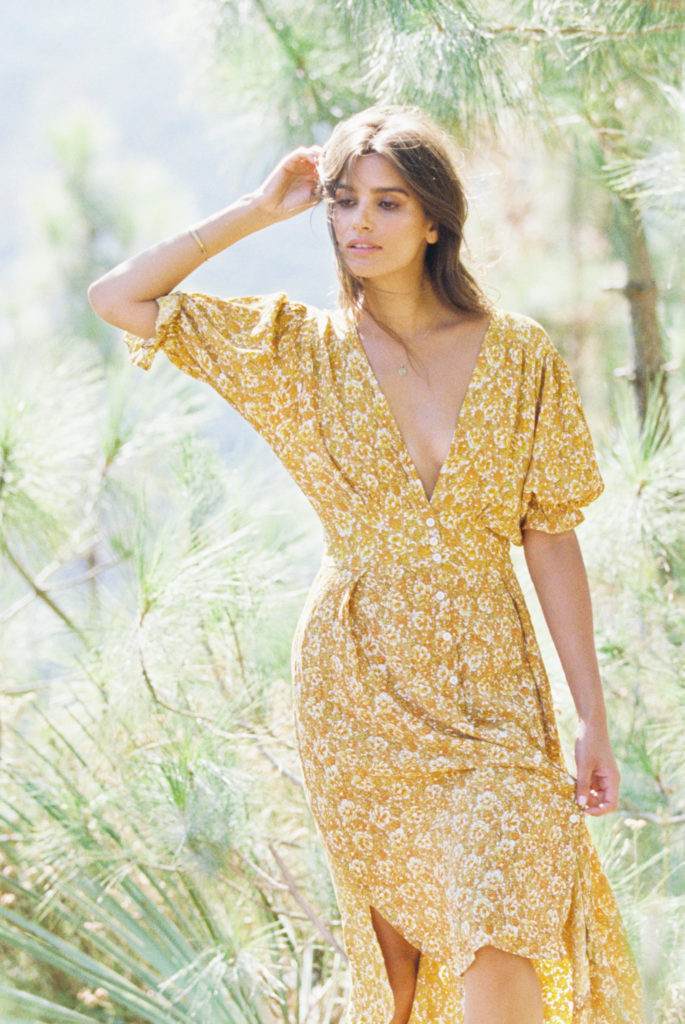
1. Understanding Depth of Field: The Key to Blurry Backgrounds
What is depth of field and why is it important for creating blurry backgrounds?
Depth of field (DOF) refers to the area in an image that appears sharp, while the rest is blurred. A shallow depth of field isolates your subject by blurring the background, drawing the viewer’s attention. According to research from the Santa Fe University of Art and Design’s Photography Department, in July 2025, manipulating DOF provides artistic control and enhances visual storytelling. This technique is essential for portraits, macro photography, and any situation where you want to emphasize your subject.
1.1. Shallow vs. Deep Depth of Field
What is the difference between shallow and deep depth of field?
A shallow depth of field means only a small portion of the image is in focus, creating a blurry background, perfect for isolating subjects. A deep depth of field means more of the image is in focus, ideal for landscapes where you want everything sharp. Understanding the difference allows you to choose the right DOF for the desired effect.
1.2. Bokeh Explained
What is bokeh and how does it relate to blurry backgrounds?
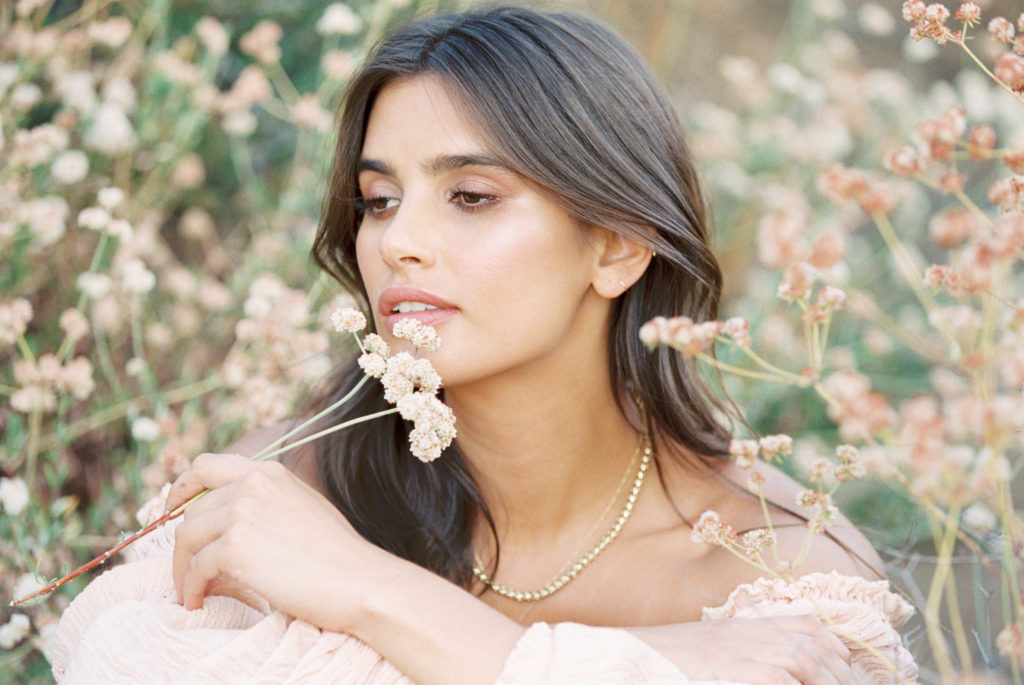
Bokeh is the aesthetic quality of the blur produced in the out-of-focus parts of an image. It’s often described as creamy, smooth, or dreamy. Achieving good bokeh enhances the visual appeal of your blurred backgrounds. Lens quality and aperture shape significantly impact bokeh.
2. Mastering Aperture: Your Primary Tool for Blurry Backgrounds
How does aperture control the depth of field and create blurry backgrounds?
Aperture, measured in f-stops (e.g., f/1.4, f/2.8, f/5.6), is the opening in your lens that lets light into the camera. A wider aperture (smaller f-stop number) creates a shallower depth of field, resulting in a blurrier background. Conversely, a smaller aperture (larger f-stop number) increases the depth of field, making more of the image sharp. Adjusting your aperture is the most direct way to control background blur.
2.1. Wide Aperture Settings (f/1.2 – f/2.8)
When should you use wide aperture settings for blurry backgrounds?
Wide aperture settings (f/1.2 – f/2.8) are ideal for portraits, isolating subjects, and creating a strong bokeh effect. These settings allow for more light, enabling faster shutter speeds in low-light conditions. The trade-off is a very shallow depth of field, requiring precise focusing.
2.2. Mid-Range Aperture Settings (f/4 – f/8)
When should you use mid-range aperture settings?
Mid-range aperture settings (f/4 – f/8) offer a balance between sharpness and background blur. These settings are suitable for group portraits, street photography, and situations where you want some background context without sacrificing subject isolation. They provide a reasonable depth of field while maintaining good image quality.
2.3. Narrow Aperture Settings (f/11 – f/22)
When should you use narrow aperture settings?
Narrow aperture settings (f/11 – f/22) are best for landscapes, architecture, and scenes where you want maximum sharpness from front to back. These settings increase the depth of field, ensuring that everything in the frame is in focus. However, they require more light, potentially necessitating slower shutter speeds or higher ISO.
2.4. How Aperture Affects Light and Shutter Speed
How does changing the aperture affect the amount of light entering the camera and the necessary shutter speed?
Opening up the aperture (lower f-stop) lets more light into the camera, allowing for faster shutter speeds. Closing down the aperture (higher f-stop) reduces the light, requiring slower shutter speeds. Balancing aperture and shutter speed is crucial for proper exposure.
3. The Role of Distance: Positioning for Maximum Blur
How does distance between the camera, subject, and background affect the blur in a photo?
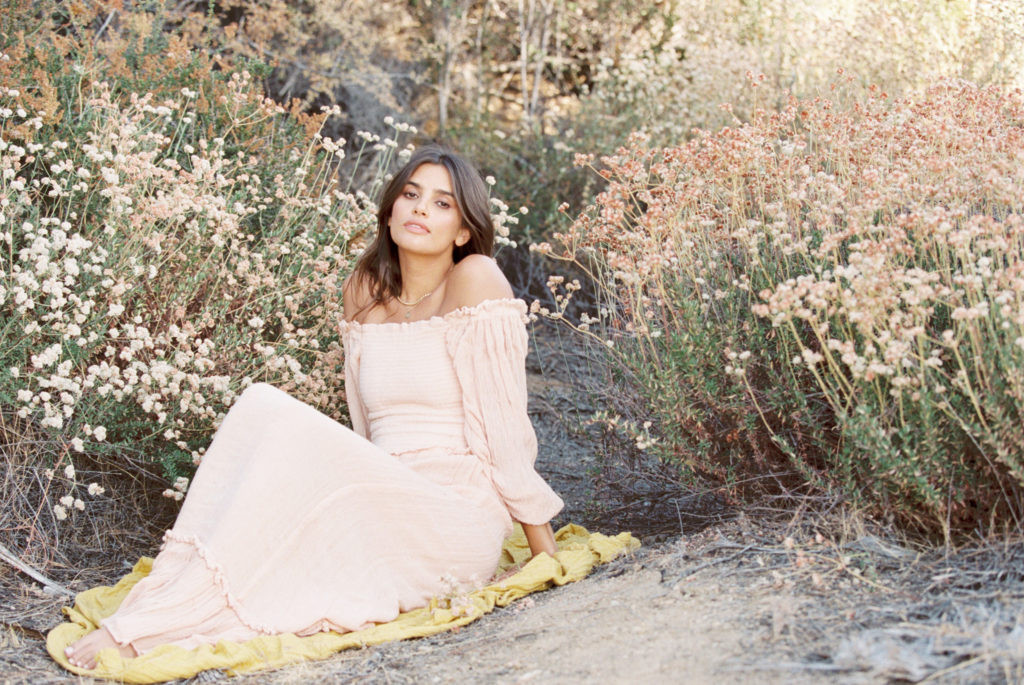
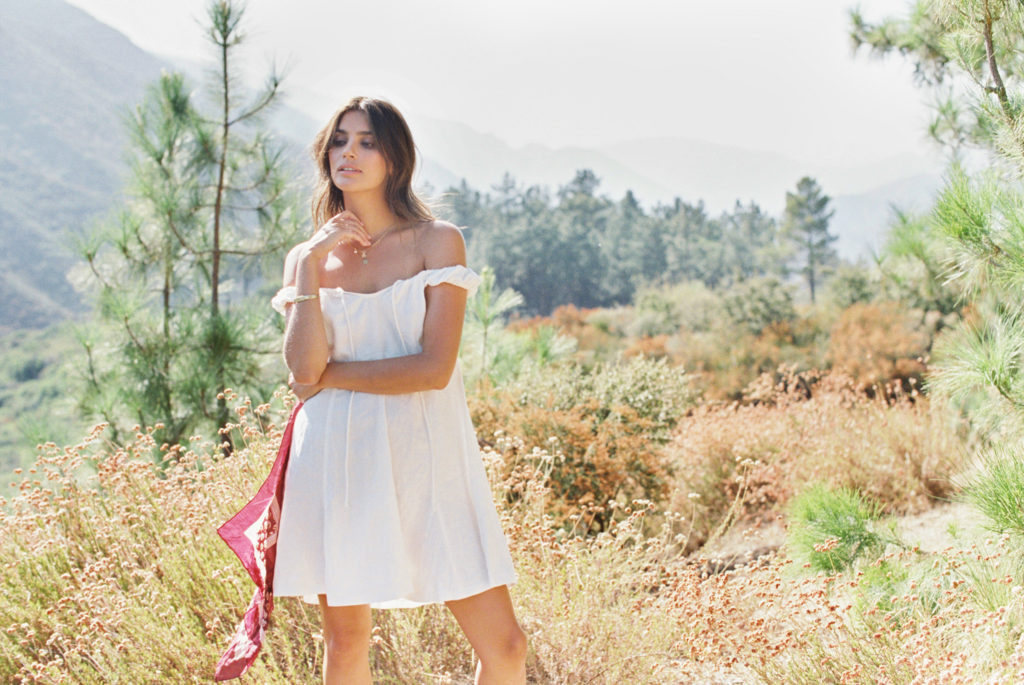
Distance plays a significant role in achieving blurry backgrounds. The closer you are to your subject and the farther your subject is from the background, the more pronounced the blur will be. This principle is based on the physics of optics and depth of field.
3.1. Getting Close to Your Subject
Why does getting closer to your subject increase background blur?
Moving closer to your subject decreases the depth of field, making the background blurrier. This technique is particularly effective when using a wide aperture. The closer you are, the more shallow the DOF, creating a stronger separation between the subject and background.
Here’s an example where the camera settings remain constant, but the distance to the subject changes:
 close up to subject
 medium shot of subject
 wide shot of subject
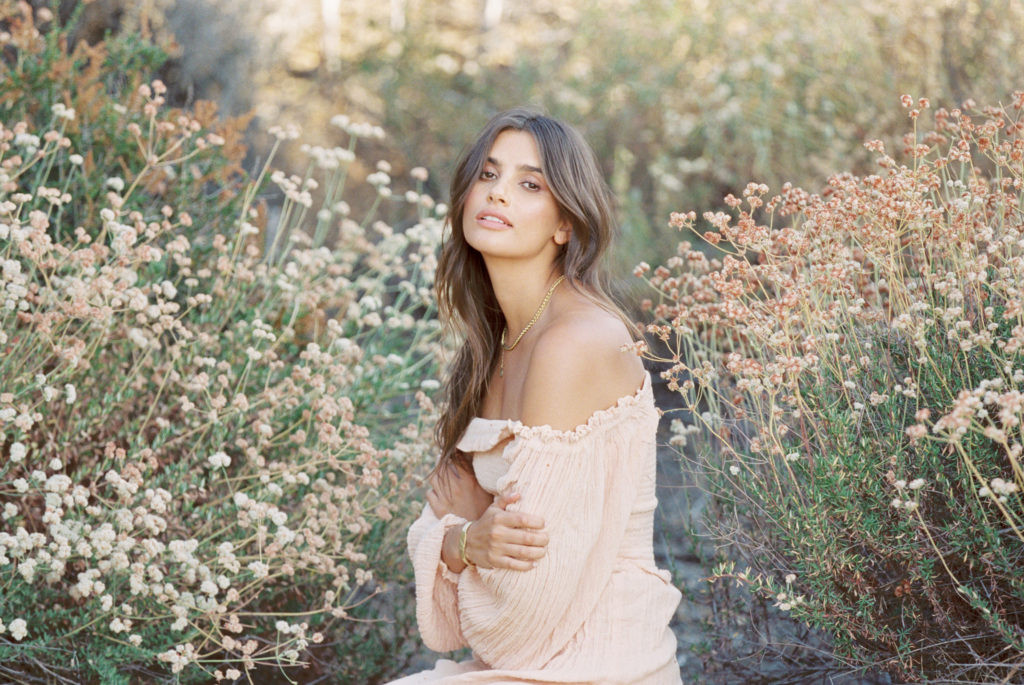
3.2. Increasing Distance Between Subject and Background
How does moving your subject further from the background enhance the blur effect?
Increasing the distance between your subject and the background maximizes the blur. When the background is farther away, it falls more dramatically out of focus, creating a smooth, creamy bokeh. This is especially useful in portrait photography.
 Subject close to background
 Subject far from background
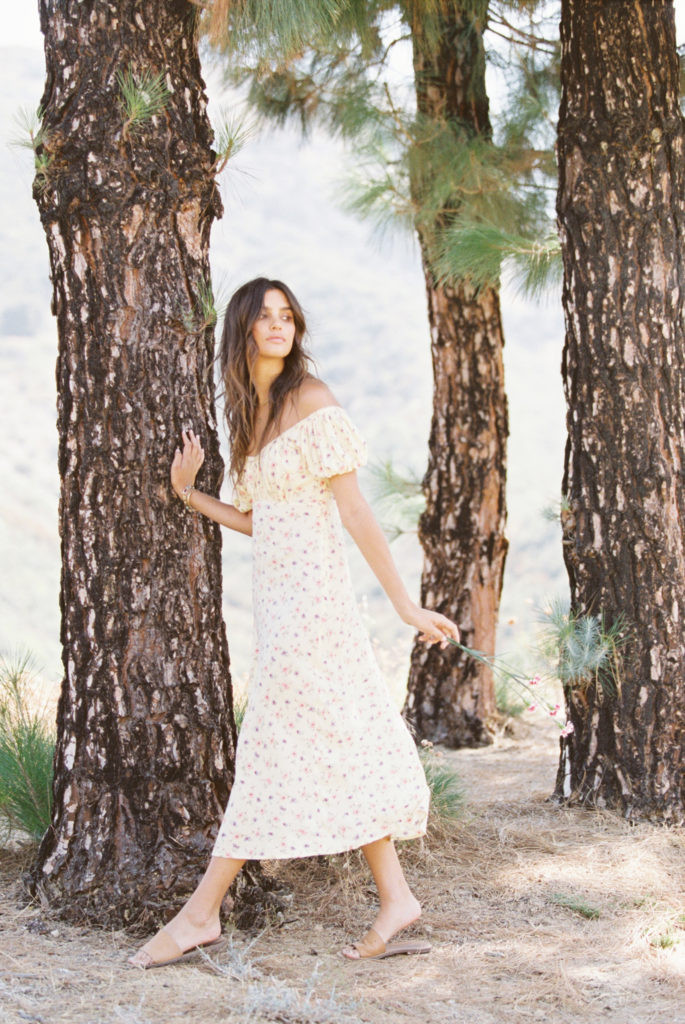
4. Lens Choice: Selecting the Right Lens for Blurry Backgrounds
Which types of lenses are best for creating blurry backgrounds?
Prime lenses (fixed focal length) and telephoto zoom lenses are generally the best choices for creating blurry backgrounds. Prime lenses often have wider maximum apertures (e.g., f/1.4, f/1.8), while telephoto lenses compress the background, enhancing the blur effect.
4.1. Prime Lenses vs. Zoom Lenses for Bokeh
What are the advantages and disadvantages of using prime lenses versus zoom lenses for achieving bokeh?
Prime lenses typically offer wider apertures and sharper image quality, making them ideal for achieving beautiful bokeh. Zoom lenses provide flexibility in framing but may not have as wide an aperture.
4.2. Focal Length and Its Impact on Background Blur
How does the focal length of a lens affect the amount of background blur you can achieve?
Longer focal lengths (e.g., 85mm, 135mm, 200mm) compress the background and create a shallower depth of field, resulting in more background blur. Shorter focal lengths (e.g., 24mm, 35mm) have a wider depth of field and less background blur.
In this example, changing the focal length drastically alters the background blur:
 Zoom lens at 24mm focal length
 Zoom lens at 200mm focal length
4.3. Best Lenses for Achieving Creamy Backgrounds
Which specific lenses are highly recommended for creating creamy, blurry backgrounds?
Some of the best lenses for achieving creamy backgrounds include:
- 50mm f/1.8: Affordable and versatile
- 85mm f/1.4: Ideal for portraits with beautiful bokeh
- 70-200mm f/2.8: Excellent for compressing the background and creating smooth blur
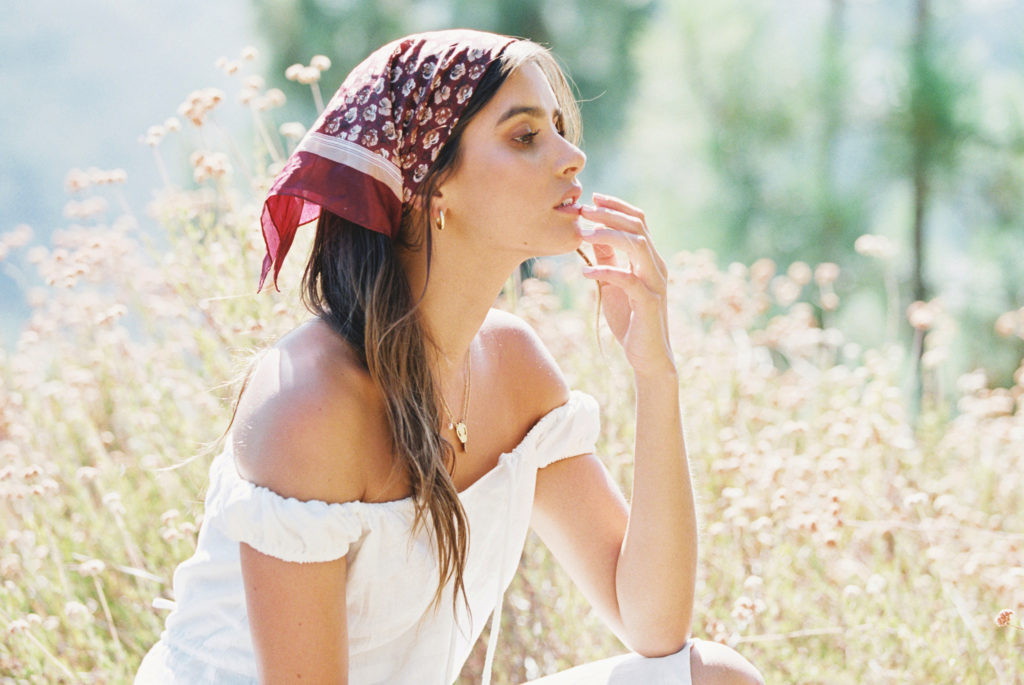
5. Finding the Right Background: Enhancing Depth of Field
How can the choice of background enhance the depth of field and overall image quality?
The background itself plays a crucial role in the appearance of depth of field. A dynamic, colorful background with various textures enhances the bokeh and makes the image more interesting. Avoid flat, featureless backgrounds, as they can make the DOF appear flat.
5.1. Avoiding Distracting Backgrounds
What types of backgrounds should you avoid to maintain focus on your subject?
Avoid cluttered, overly bright, or distracting backgrounds. These can draw attention away from your subject and make the image feel unbalanced. Look for backgrounds that complement your subject without overpowering it.
5.2. Using Colors and Textures to Enhance Bokeh
How do colors and textures in the background contribute to the quality of bokeh?
Colors and textures in the background add visual interest and depth to the bokeh. Highlights, patterns, and varying tones create a more pleasing and dynamic blur. Experiment with different backgrounds to see how they affect the overall image.
 Busy background
 Plain background
6. Manual Mode Mastery: Taking Control of Your Camera Settings
Why is shooting in manual mode essential for achieving precise control over background blur?
Shooting in manual mode gives you complete control over aperture, shutter speed, and ISO, allowing you to fine-tune your settings for the desired depth of field. This is crucial for consistently achieving blurry backgrounds.
6.1. Balancing Aperture, Shutter Speed, and ISO
How do you balance aperture, shutter speed, and ISO to achieve the correct exposure while maintaining a blurry background?
Balancing these three settings is key to proper exposure. Start by setting your aperture for the desired depth of field, then adjust shutter speed and ISO to achieve a well-exposed image. Use the camera’s light meter as a guide.
6.2. Using Aperture Priority Mode (Av or A)
When is aperture priority mode a useful alternative to manual mode for controlling background blur?
Aperture priority mode (Av or A) allows you to set the aperture while the camera automatically adjusts the shutter speed. This is useful when you want to control depth of field but don’t have time to adjust all settings manually. It’s a good compromise for dynamic shooting situations.
6.3. Understanding the Exposure Triangle
What is the exposure triangle and how does it help you achieve the perfect balance of settings?
The exposure triangle consists of aperture, shutter speed, and ISO. Understanding how these three elements interact is crucial for achieving the correct exposure. Changing one setting affects the others, so learning to balance them is essential for mastering photography.
7. Focusing Techniques: Ensuring Sharp Subjects with Blurry Backgrounds
How do you ensure your subject is sharp while maintaining a blurry background?
Accurate focusing is essential for achieving sharp subjects with blurry backgrounds. Use single-point autofocus, focus peaking, or manual focus to ensure your subject is tack sharp.
7.1. Single-Point Autofocus
Why is single-point autofocus often the best choice for portraits and shallow depth of field photography?
Single-point autofocus allows you to select a specific focus point, ensuring that your subject is sharp. This is particularly useful for portraits and shallow depth of field photography, where precise focusing is critical.
7.2. Focus Peaking and Manual Focus
How can focus peaking and manual focus help you achieve precise focus, especially with vintage lenses?
Focus peaking highlights the areas of the image that are in focus, making it easier to achieve precise focus manually. This is particularly useful with vintage lenses or in situations where autofocus is unreliable.
7.3. Back-Button Focus
What is back-button focus and how can it improve your focusing accuracy?
Back-button focus separates the focusing function from the shutter button. This allows you to focus once and then recompose the shot without the camera refocusing. It’s a useful technique for maintaining focus on a moving subject.
8. Post-Processing Techniques: Enhancing Blurry Backgrounds in Editing
How can post-processing techniques enhance blurry backgrounds and create a more polished final image?
Post-processing can enhance blurry backgrounds by adding additional blur, adjusting colors, and improving overall image quality. Software like Adobe Photoshop and Lightroom offer tools for refining bokeh and creating a more polished final image.
8.1. Adding Gaussian Blur in Photoshop
How can you use Gaussian blur in Photoshop to enhance the blur in your backgrounds?
Gaussian blur is a filter in Photoshop that blurs the selected area of the image. It can be used to enhance the blur in your backgrounds, creating a smoother and more pleasing bokeh.
8.2. Using Radial Blur for a Dreamy Effect
When is radial blur a good choice for creating a dreamy, artistic effect in your photos?
Radial blur creates a circular blur effect, drawing attention to the center of the image. This can be used to create a dreamy, artistic effect, particularly in portraits and still life photography.
8.3. Color Grading and Contrast Adjustments
How can color grading and contrast adjustments in post-processing enhance the overall look of your blurry backgrounds?
Color grading and contrast adjustments can enhance the overall look of your blurry backgrounds by adding depth, warmth, or coolness. These adjustments can help create a more cohesive and visually appealing image.
9. Overcoming Challenges: Troubleshooting Common Issues
What are some common challenges photographers face when trying to achieve blurry backgrounds and how can they be overcome?
Common challenges include difficulty achieving a shallow depth of field, dealing with distracting backgrounds, and maintaining sharpness on the subject. Understanding how to troubleshoot these issues is essential for consistently creating beautiful blurry backgrounds.
9.1. Dealing with Distracting Backgrounds
What can you do if you can’t find a clean background for your shot?
If you can’t find a clean background, try changing your shooting angle, moving closer to your subject, or using a wider aperture. You can also use post-processing techniques to blur the background further.
9.2. Maintaining Sharpness on the Subject
How do you ensure your subject remains sharp when shooting with a shallow depth of field?
Use single-point autofocus, focus peaking, or manual focus to ensure your subject is tack sharp. Pay close attention to your focus point and make sure it is on the most important part of your subject, such as the eyes in a portrait.
9.3. Shooting in Bright Sunlight
What adjustments should you make when shooting in bright sunlight to achieve a blurry background?
In bright sunlight, you may need to use a neutral density (ND) filter to reduce the amount of light entering the camera. This allows you to shoot with a wider aperture without overexposing the image.
10. Inspiration and Practice: Developing Your Unique Style
How can you find inspiration and develop your unique style when creating blurry background photos?
Experiment with different techniques, study the work of other photographers, and practice regularly to develop your unique style. Don’t be afraid to break the rules and try new things.
10.1. Studying the Work of Master Photographers
Who are some master photographers known for their use of blurry backgrounds and bokeh?
Some master photographers known for their use of blurry backgrounds include:
- Annie Leibovitz: Known for her portrait photography with shallow depth of field
- Richard Avedon: Famous for his minimalist portraits with blurred backgrounds
- David Bailey: Celebrated for his fashion photography with creative use of bokeh
10.2. Experimenting with Different Techniques
What are some creative ways to experiment with blurry backgrounds and bokeh?
Try using different lenses, shooting from different angles, and experimenting with various post-processing techniques. You can also create your own bokeh filters by cutting shapes out of cardboard and attaching them to your lens.
10.3. Building Your Portfolio
How can you showcase your blurry background photos in a professional portfolio?
Select your best images and present them in a clean, organized portfolio. Include a variety of subjects and styles to demonstrate your versatility. Consider creating an online portfolio to reach a wider audience.
Mastering the art of creating blurry backgrounds opens up a world of creative possibilities. By understanding aperture, distance, lens choice, and post-processing techniques, you can transform ordinary photos into stunning works of art. At dfphoto.net, we encourage you to explore these techniques, experiment with your own style, and share your unique vision with the world.
Address: 1600 St Michael’s Dr, Santa Fe, NM 87505, United States.
Phone: +1 (505) 471-6001.
Website: dfphoto.net.
Looking for more inspiration and guidance? Visit dfphoto.net to discover more tutorials, stunning photo galleries, and a vibrant community of photographers eager to share their knowledge and passion. Join us today and elevate your photography skills to new heights!
FAQ: How to Make Your Photo Blurry
1. What is the easiest way to make a photo blurry?
The easiest way to make a photo blurry is to use a wide aperture (low f-stop number) on your camera. This creates a shallow depth of field, blurring the background while keeping your subject in focus.
2. Does a higher or lower f-stop create more blur?
A lower f-stop (e.g., f/1.8) creates more blur, as it results in a shallower depth of field. A higher f-stop (e.g., f/16) creates less blur, as it increases the depth of field, making more of the image sharp.
3. What lens setting blurs the background?
The lens setting that blurs the background is a wide aperture, typically f/1.2 to f/2.8. This setting creates a shallow depth of field, causing the background to blur while keeping the subject in focus.
4. How do you blur the background in photography?
To blur the background in photography, use a wide aperture, get closer to your subject, increase the distance between your subject and the background, and use a longer focal length lens.
5. Can you blur a photo after taking it?
Yes, you can blur a photo after taking it using post-processing software like Adobe Photoshop or Lightroom. These programs offer tools such as Gaussian blur and radial blur to create a blurred effect.
6. What aperture should I use for blurry backgrounds?
For very blurry backgrounds, use an aperture between f/1.2 and f/2.8. For a moderate amount of blur, try f/4 to f/5.6.
7. Why is my background not blurry even with a wide aperture?
If your background is not blurry even with a wide aperture, make sure you are close enough to your subject and that your subject is far enough from the background. Also, ensure you are using a lens with a long enough focal length.
8. What is the best focal length for blurry backgrounds?
The best focal length for blurry backgrounds is typically between 50mm and 200mm. Longer focal lengths compress the background and create a shallower depth of field, enhancing the blur effect.
9. How does distance affect background blur?
The closer you are to your subject and the farther your subject is from the background, the more pronounced the blur will be. Distance plays a crucial role in achieving blurry backgrounds.
10. Is it better to use a prime lens or a zoom lens for blurry backgrounds?
Prime lenses are often better for blurry backgrounds due to their wider maximum apertures (e.g., f/1.4, f/1.8). However, zoom lenses with long focal lengths can also produce excellent background blur.