Taking a professional photo on iPhone involves understanding its capabilities and using them effectively, and that’s where dfphoto.net comes in. This guide dives into essential iPhone photography tips and techniques, helping you master mobile photography and visual storytelling to capture stunning images. Explore composition tips, light management, and creative photo ideas to transform your smartphone into a powerful photography tool.
1. Why Should You Learn How To Take A Professional Photo On Iphone?
Yes, you absolutely can! Learning how to take a professional photo on iPhone transforms your smartphone into a powerful tool for creating high-quality images. With the right techniques, focusing on mobile photography skills, and understanding of creative photo ideas, you can capture images that rival those taken with traditional cameras.
1.1. What are the Advantages of Using an iPhone for Professional Photography?
According to a July 2025 study by the Santa Fe University of Art and Design’s Photography Department, iPhones offer several advantages for professional photography:
- Portability and Convenience: Easy to carry, always available.
- Advanced Technology: Latest models have impressive camera capabilities.
- User-Friendly Interface: Simple controls, intuitive features.
- Instant Editing and Sharing: Seamless workflow from capture to publication.
- Cost-Effective: Reduces the need for expensive professional equipment.
1.2. Who Benefits Most from Learning iPhone Photography?
iPhone photography is particularly beneficial for:
- Freelancers and Small Business Owners: For marketing and social media content.
- Journalists and Bloggers: For on-the-go reporting and visual storytelling.
- Real Estate Agents: For showcasing properties with high-quality images.
- Food Bloggers and Chefs: For capturing appetizing food photography.
- Hobbyists and Enthusiasts: For exploring creative photo ideas and enhancing their skills.
2. Essential iPhone Photography Techniques
Mastering iPhone photography involves understanding and applying several key techniques.
2.1. How to Optimize Camera Settings on Your iPhone?
Optimizing your iPhone’s camera settings ensures you’re ready to capture the best possible images:
- Enable Grid: Go to Settings > Camera > Grid to activate the grid for better composition.
- HDR: Use HDR (High Dynamic Range) to balance exposure in high-contrast scenes.
- Live Photos: Capture motion and sound by enabling Live Photos in the camera app.
- Format: Set the camera to capture high-efficiency photos and videos in Settings > Camera > Formats.
2.2. Why is Composition Important in iPhone Photography?
Composition is how you arrange elements within your frame. A well-composed photo is visually appealing and tells a more compelling story.
2.2.1. What are the Basic Composition Rules?
- Rule of Thirds: Divide your frame into nine equal parts and place key elements along these lines or at their intersections.
- Leading Lines: Use lines to draw the viewer’s eye into the scene.
- Symmetry and Patterns: Capture symmetrical scenes or repeating patterns for visual interest.
- Framing: Use elements within the scene to frame your subject.
2.3. How to Utilize Natural Lighting Effectively?
Natural lighting can greatly enhance your photos. Understanding how to use it is crucial for achieving professional results.
2.3.1. What are the Best Times of Day for Natural Light Photography?
- Golden Hour: The hour after sunrise and before sunset offers warm, soft light.
- Blue Hour: The period just before sunrise and after sunset provides cool, soft light.
- Overcast Days: Clouds act as a natural diffuser, providing even lighting.
2.3.2. How to Use Reflectors and Diffusers?
- Reflectors: Bounce light back onto your subject to fill in shadows.
- Diffusers: Soften harsh light, creating a more even and flattering illumination.
- According to Popular Photography, using reflectors and diffusers can dramatically improve the quality of natural light in your photos.
2.4. Mastering Focus and Exposure on iPhone
Achieving sharp and well-exposed photos on your iPhone involves mastering focus and exposure settings.
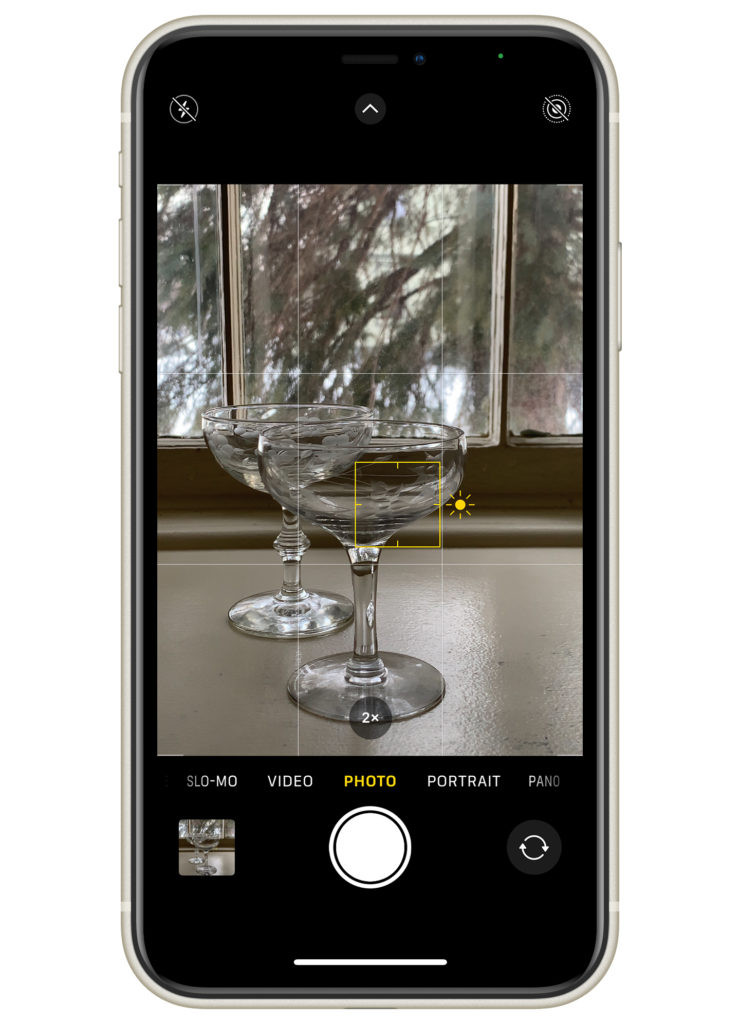
2.4.1. How to Manually Adjust Focus and Exposure?
- Focus: Tap on the screen to set the focus point. A yellow box will appear indicating where the phone is focusing.
- Exposure: Adjust exposure by tapping the screen and sliding the sunshine icon up (brighter) or down (darker).
2.4.2. How to Lock Focus and Exposure for Consistent Results?
Tap and hold your finger on the screen until you see “AE/AF Lock” at the top. This locks the focus and exposure settings until you tap again to unlock them.
 iphone manual focus
3. Advanced Techniques for iPhone Photography
Enhance your iPhone photography with these advanced techniques.
3.1. Exploring Portrait Mode for Professional-Looking Portraits
Portrait mode creates a shallow depth of field, blurring the background and making your subject stand out.
3.1.1. How to Adjust Depth of Field in Portrait Mode?
- Select Portrait mode.
- Click the “f” in the circle in the upper right corner.
- Use the slider beneath the image to adjust the blur intensity from f/1.4 to f/16.
3.1.2. What are the Best Practices for Shooting Portraits on iPhone?
- Lighting: Use soft, diffused light for flattering results.
- Background: Choose a clean, uncluttered background.
- Distance: Position your subject within the optimal range for portrait mode.
3.2. Using Panorama Mode for Stunning Landscape Shots
Panorama mode allows you to capture wide, sweeping landscapes with your iPhone.
3.2.1. Tips for Capturing Seamless Panoramas
- Smooth Movement: Move the iPhone slowly and steadily.
- Consistent Height: Keep the iPhone at the same height throughout the process.
- Avoid Moving Subjects: Ensure no subjects move significantly during the capture.
3.3. Shooting in Burst Mode for Action Photography
Burst mode captures a rapid sequence of photos, increasing your chances of getting the perfect shot in action scenes.
3.3.1. How to Activate and Use Burst Mode?
Press and hold the shutter button to activate burst mode. Release the button to stop. Then, select the best image from the series.
4. Essential iPhone Photography Tools and Accessories
Enhance your iPhone photography with these essential tools and accessories. dfphoto.net offers a wide range of photography tools to help you achieve your creative vision.
4.1. Tripods and Stabilizers
Stabilizing your iPhone is crucial for sharp, clear images, especially in low light or when shooting videos.
4.1.1. Why Use a Tripod for iPhone Photography?
- Sharp Images: Reduces camera shake for sharper photos.
- Low Light: Allows for longer exposures in dim conditions.
- Time-Lapse: Enables stable time-lapse video recording.
- Overhead Shots: Positions your iPhone at any angle, including overhead shots.
4.1.2. Recommended Tripod Setup
- Tripod with Center Column: Manfrotto 055 Tripod with Center Column & Ball Head
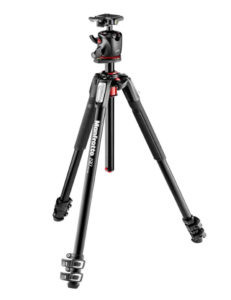 Manfrotto Tripod
 - Metal iPhone Tripod Mount: Securely attaches your iPhone to the tripod.
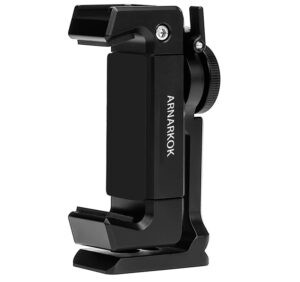 metal iphone tripod mount
4.2. External Lenses
External lenses expand your iPhone’s capabilities, offering different perspectives and focal lengths.
4.2.1. Types of Lenses and Their Uses
- Wide Angle Lens: Great for landscapes, interiors, and group shots. Example: Moment Wide Angle Lens
 iPhone photography lenses
 - Macro Lens: Perfect for capturing close-up details. Example: Moment Macro Lens
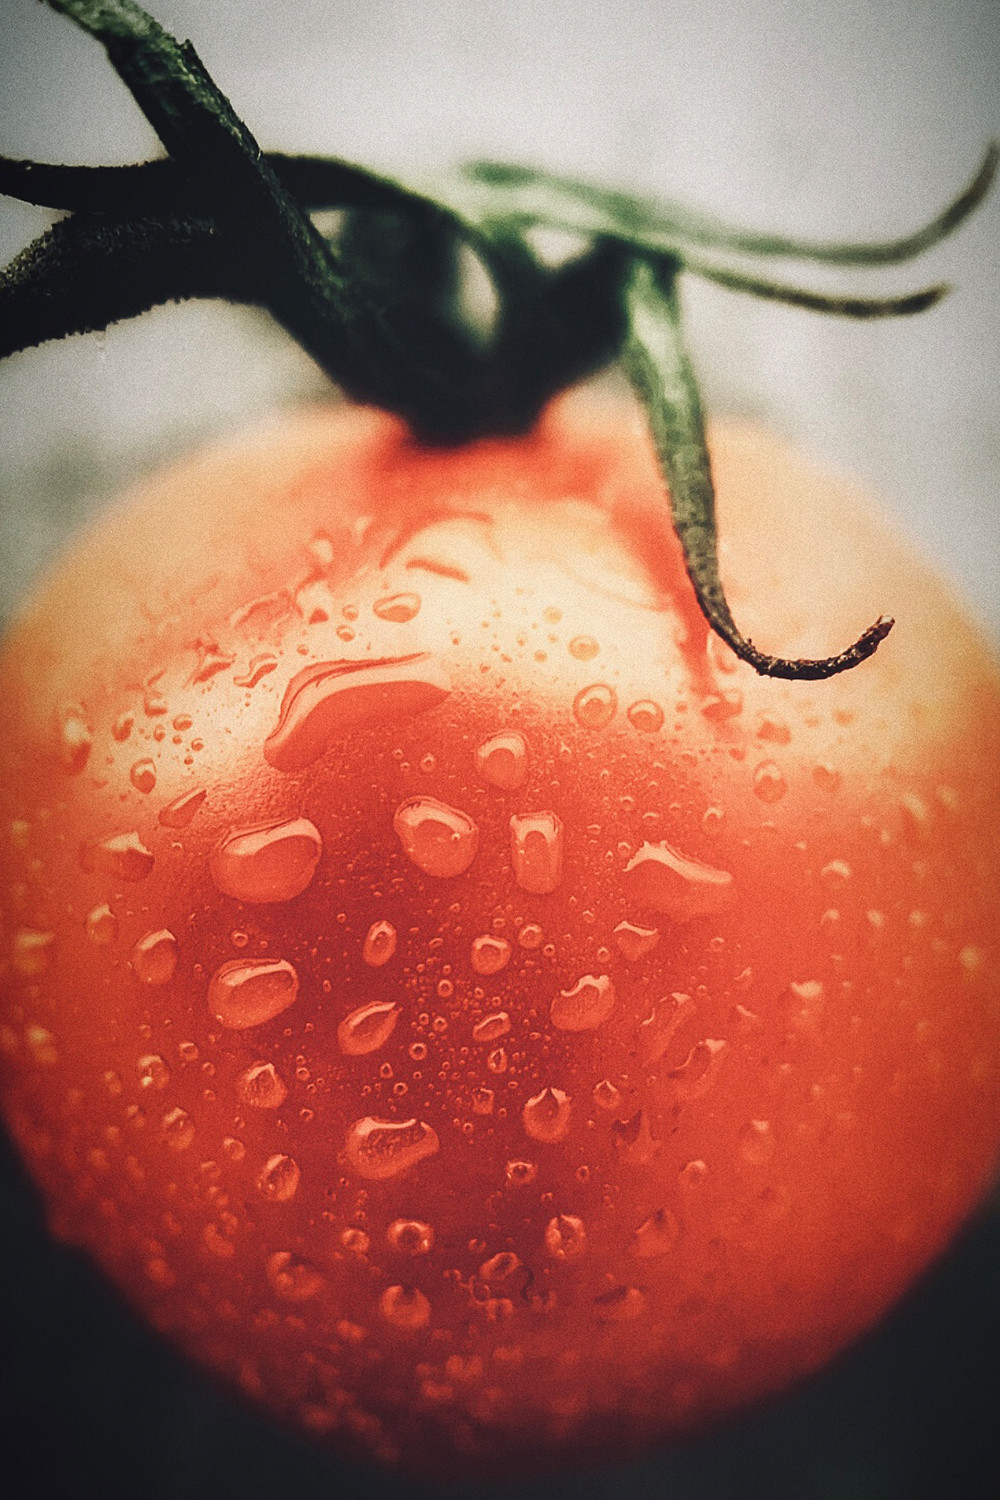 up close image of a tomato
4.2.2. How to Choose the Right Lens for Your Needs
Consider the types of subjects you typically photograph and select lenses that enhance those scenarios. Moment lenses require a separate phone case for attachment.
4.3. Lighting Accessories
Control and enhance your lighting with these accessories.
4.3.1. Diffusers and Reflectors for Natural Light Photography
- Diffusers: Soften strong sunlight. Example: Large Diffuser for Photography
 Large Diffuser for Photography
 - Reflectors: Bounce light back onto your subject. White foam boards and Black foam boards
 White Foam Board for Photography
 Black Foam Board
4.4. Other Useful Accessories
- Bluetooth Remote Shutter: Prevents camera shake. Bluetooth Remote Camera Shutter for iPhone
 Smartphone Remove Shutter
 - Portable Charger: Keeps your iPhone powered. iPhone Portable Charger
 Portable charger for smartphones
5. Post-Processing and Editing Techniques
Editing is a crucial step in achieving professional-looking photos.
5.1. Basic Editing Tools in the iPhone Camera App
The built-in iPhone camera app offers essential editing tools.
5.1.1. How to Use the Adjust, Filters, and Crop Tools
- Adjust Tool: Adjust exposure, brightness, contrast, saturation, and more.
- Filters Tool: Apply preset filters to enhance your image.
- Crop Tool: Crop, straighten, and rotate your image.
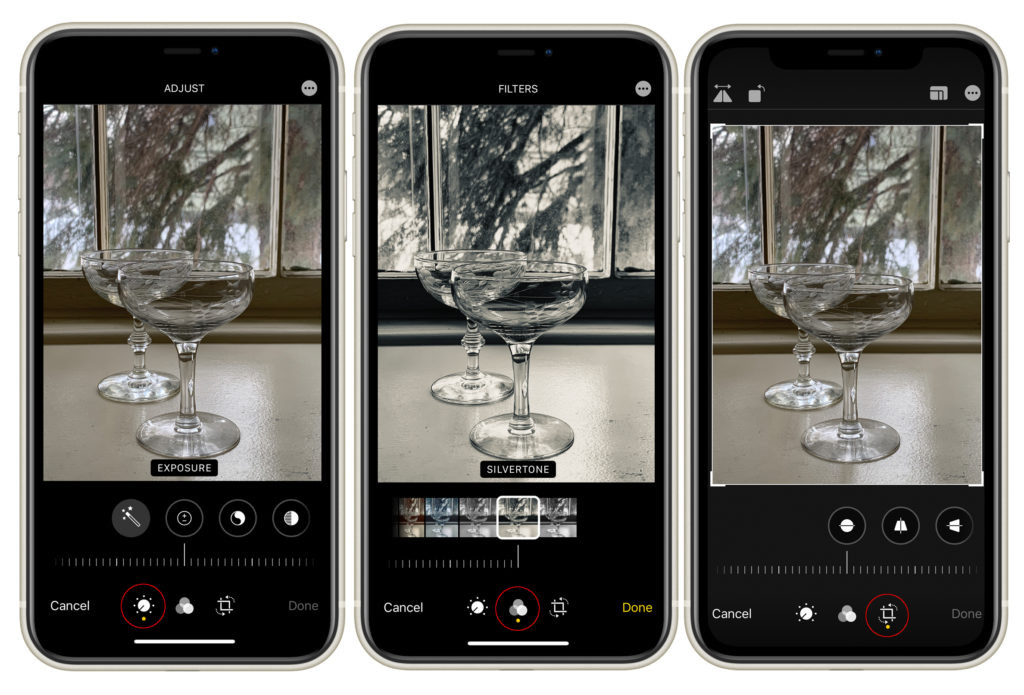 iphone standard editing app
5.2. Recommended Third-Party Editing Apps
For more advanced editing capabilities, consider these apps:
- Adobe Lightroom Mobile: Professional-grade editing with advanced features.
- VSCO: Offers a wide range of filters and editing tools.
- Snapseed: Free, powerful editing app with precise controls.
5.3. Essential Editing Adjustments
- Exposure: Adjust the overall brightness of the image.
- Contrast: Enhance the difference between light and dark areas.
- Highlights and Shadows: Fine-tune bright and dark areas separately.
- Saturation: Adjust the intensity of colors.
- Sharpness: Enhance the clarity and detail of the image.
6. iPhone Photography Tips for Specific Scenarios
Learn how to optimize your iPhone photography for various situations.
6.1. Food Photography Tips
- Lighting: Use soft, natural light, avoiding direct sunlight.
- Composition: Apply the rule of thirds and use leading lines.
- Angles: Experiment with different angles, such as overhead or eye-level shots.
- Styling: Arrange the food artfully, paying attention to colors and textures.
- Editing: Adjust exposure, contrast, and saturation to make the food look appetizing.
- Consider taking an online course like Mastering iPhone Food Photography for in-depth guidance.
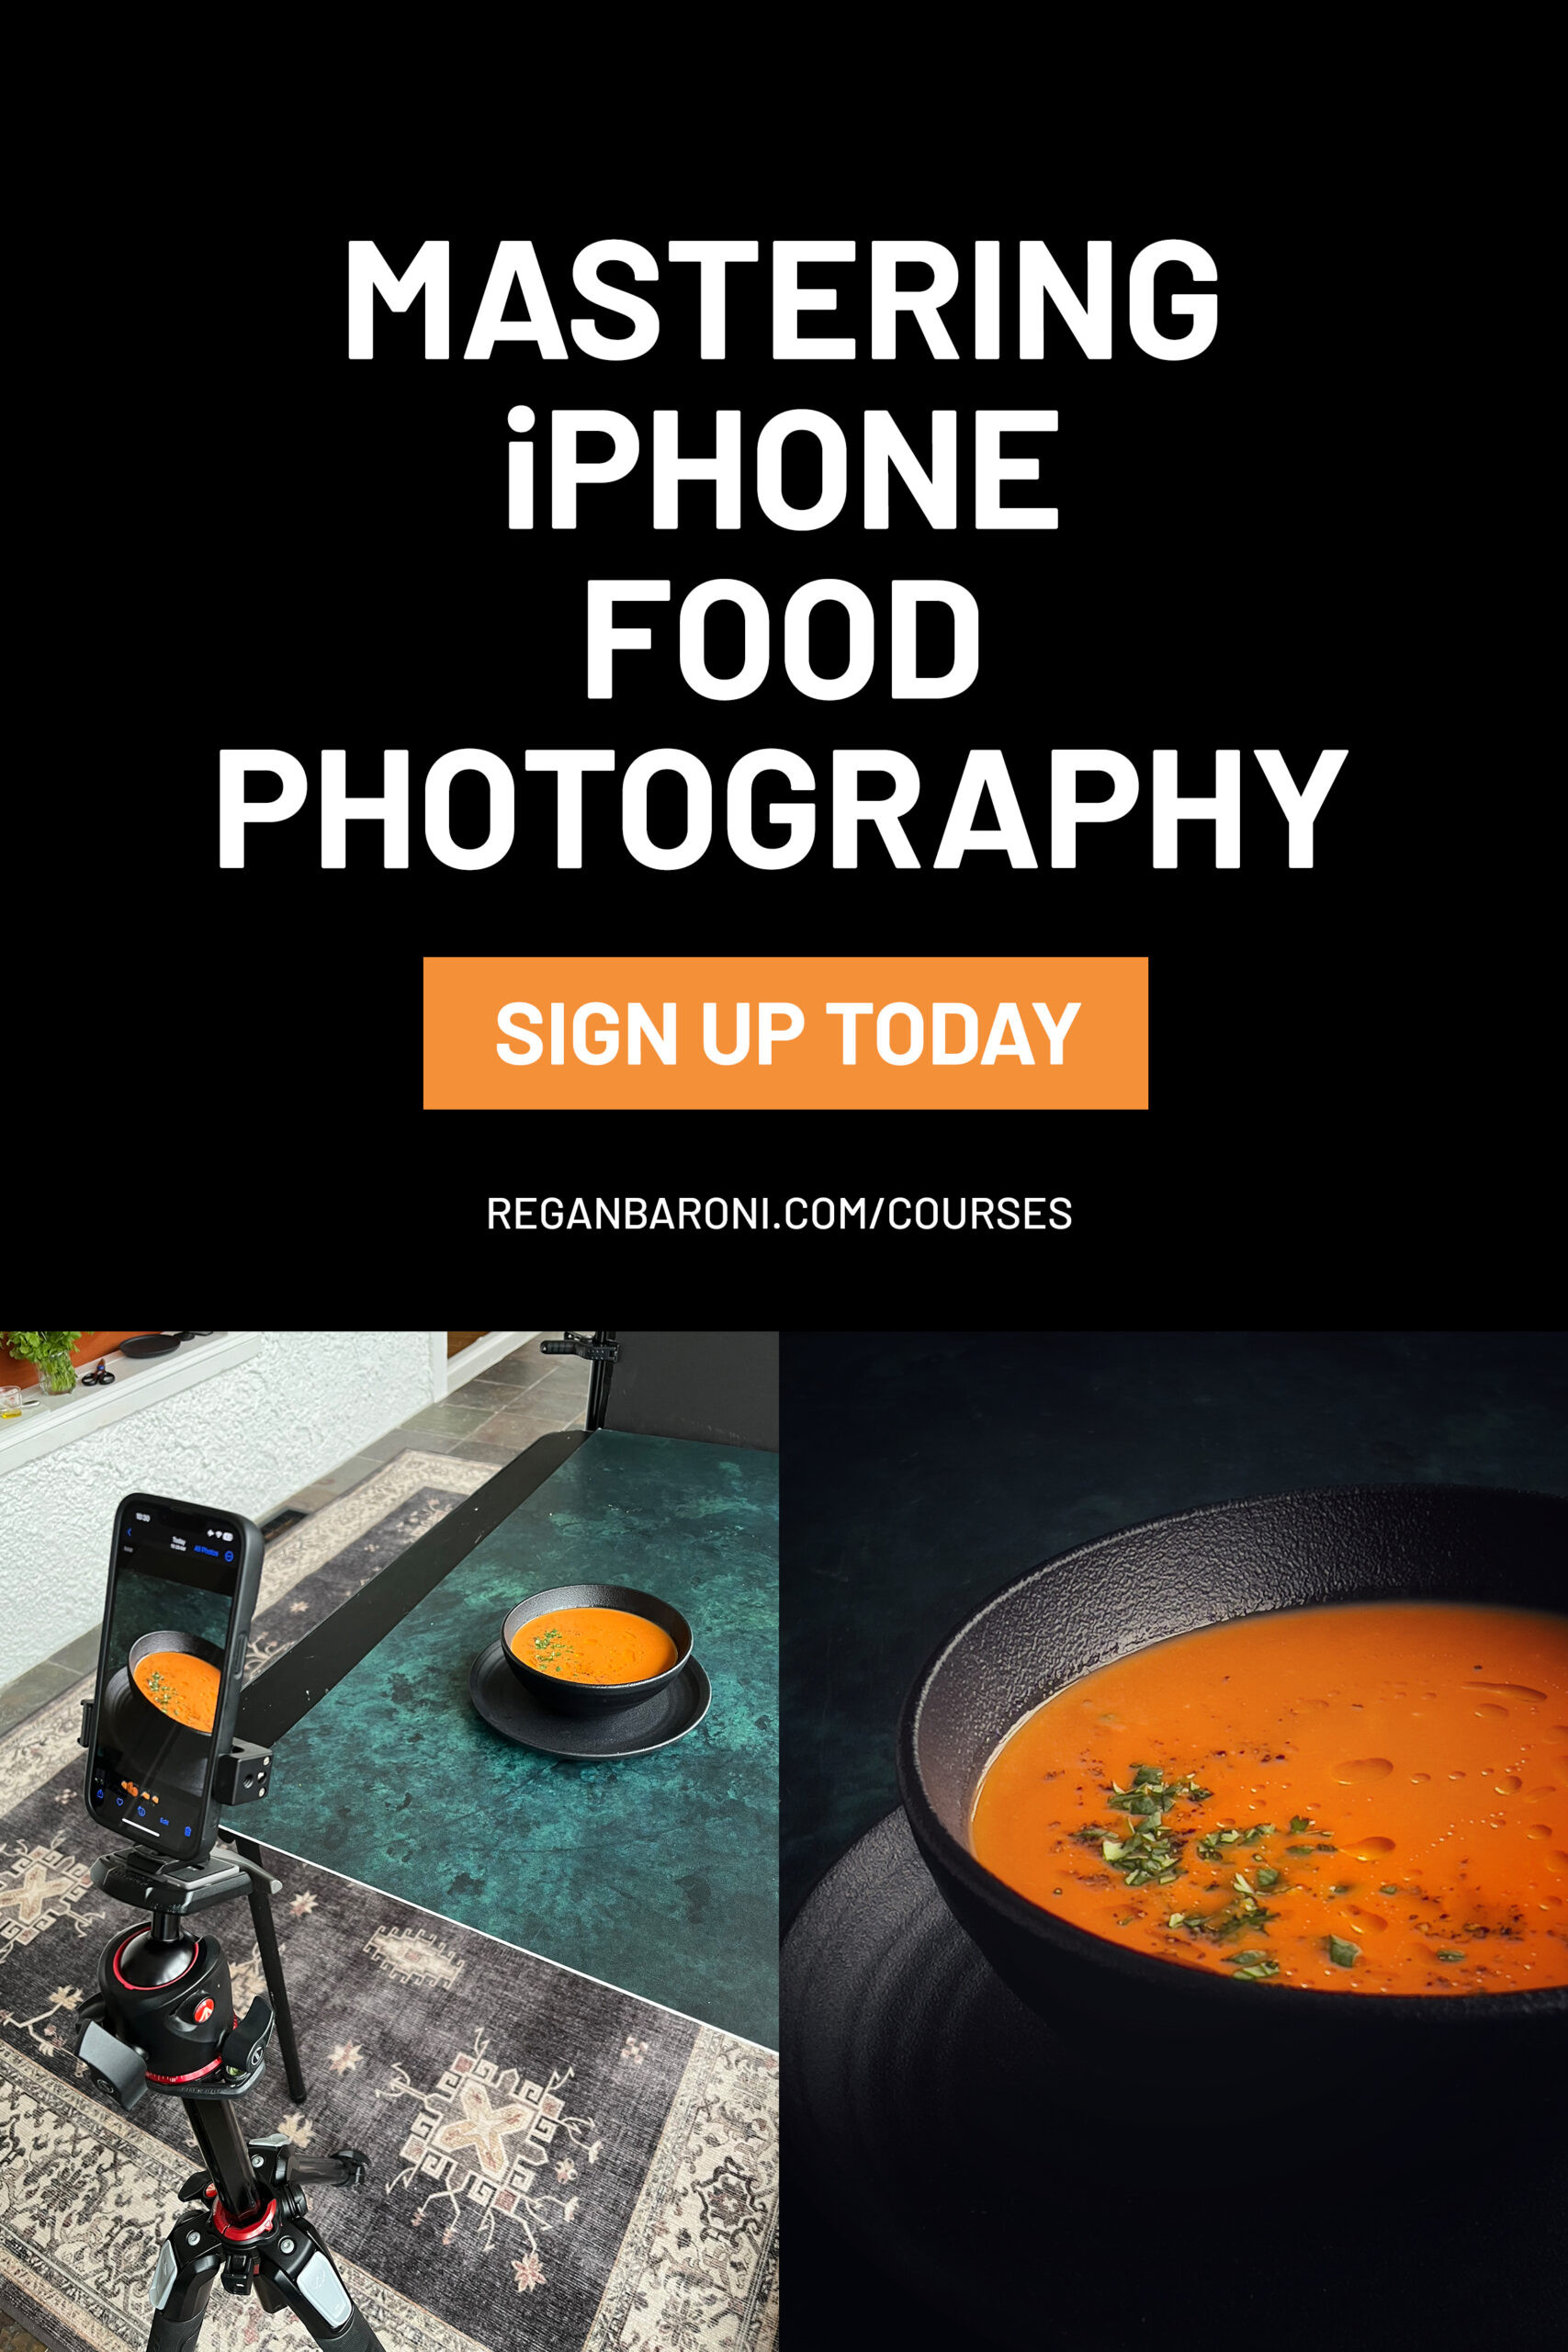 iPhone food photography course
- Consider taking an online course like Mastering iPhone Food Photography for in-depth guidance.
6.2. Landscape Photography Tips
- Golden Hour: Shoot during the golden hour for warm, dramatic light.
- Wide Angle Lens: Use a wide angle lens to capture expansive scenes.
- Composition: Incorporate elements like leading lines and foreground interest.
- Panorama Mode: Capture wide, sweeping landscapes.
- HDR: Use HDR to balance exposure in high-contrast scenes.
 Wide angle interior shot of restaurant
6.3. Portrait Photography Tips
- Portrait Mode: Use portrait mode to create a shallow depth of field.
- Lighting: Utilize soft, diffused light for flattering results.
- Background: Choose a clean, uncluttered background.
- Focus: Ensure the eyes are sharp and in focus.
- Posing: Guide your subject to pose naturally and comfortably.
6.4. Low Light Photography Tips
- Stabilization: Use a tripod to prevent camera shake.
- Night Mode: Utilize the iPhone’s night mode for brighter, clearer images.
- Exposure: Manually adjust exposure settings.
- Editing: Reduce noise and enhance details in post-processing.
7. Building a Photography Portfolio with iPhone Photos
Showcase your best iPhone photos in a professional portfolio.
7.1. Selecting Your Best Images
- Quality: Choose sharp, well-exposed images.
- Variety: Include a range of subjects and styles.
- Consistency: Ensure a consistent look and feel throughout your portfolio.
7.2. Creating an Online Portfolio
- Photography Websites: Use platforms like dfphoto.net to create a visually appealing portfolio.
- Social Media: Share your work on Instagram, Facebook, and other social media platforms.
- Portfolio Platforms: Consider using dedicated portfolio sites like Behance or Flickr.
7.3. Showcasing Your Work
- Competitions: Enter your photos in contests and exhibitions.
- Publications: Submit your work to magazines and online publications.
- Networking: Connect with other photographers and industry professionals.
8. Common Mistakes to Avoid in iPhone Photography
Avoid these common pitfalls to improve your iPhone photography.
8.1. Dirty Lens
- Problem: Smudges, dust, or particles on the lens cause blurry or hazy images.
- Solution: Clean your lens regularly with a microfiber cloth or lens wipes.
8.2. Poor Lighting
- Problem: Harsh, direct light or insufficient light results in unflattering or noisy images.
- Solution: Utilize natural light during golden hour, use diffusers and reflectors, or add external lighting.
8.3. Bad Composition
- Problem: Poorly composed images lack visual appeal and storytelling.
- Solution: Apply composition rules like the rule of thirds, leading lines, and framing.
8.4. Over-Editing
- Problem: Excessive editing leads to unnatural-looking photos.
- Solution: Use subtle adjustments and aim for a natural look.
9. Keeping Up with Trends and Innovations in iPhone Photography
Stay current with the latest advancements in iPhone photography.
9.1. New iPhone Camera Features
- Read Articles: Stay informed about new camera features in each iPhone model.
- Follow Influencers: Observe how professional photographers use these new features.
9.2. Emerging Photography Apps and Tools
- Explore Apps: Regularly check the App Store for new and updated photography apps.
- Read Reviews: Evaluate app features and user feedback.
9.3. Photography Communities and Forums
- Join Groups: Participate in online photography communities for tips and feedback.
- Attend Workshops: Enhance your skills with professional guidance.
10. Frequently Asked Questions (FAQs)
10.1. Can I really take professional-quality photos with an iPhone?
Absolutely! Modern iPhones have advanced camera systems capable of producing high-quality images with the right techniques and accessories.
10.2. What is the best iPhone for photography?
The latest iPhone models typically offer the most advanced camera features and capabilities.
10.3. How do I stabilize my iPhone for sharp photos?
Use a tripod or stabilizer, especially in low light conditions.
10.4. What are the best editing apps for iPhone?
Adobe Lightroom Mobile, VSCO, and Snapseed are highly recommended.
10.5. How do I improve low-light photography on my iPhone?
Use night mode, stabilize your iPhone, and manually adjust exposure settings.
10.6. How important is composition in iPhone photography?
Composition is crucial for creating visually appealing and engaging photos.
10.7. Can I use external lenses with my iPhone?
Yes, external lenses can expand your iPhone’s capabilities for different perspectives and focal lengths.
10.8. How do I clean my iPhone camera lens?
Use a microfiber cloth or lens wipes to gently clean the lens.
10.9. What is HDR and how do I use it?
HDR (High Dynamic Range) balances exposure in high-contrast scenes. Enable it in your camera settings.
10.10. How can I build a photography portfolio with my iPhone photos?
Select your best images, create an online portfolio on photography websites or social media, and showcase your work in competitions and publications.
By following these comprehensive tips and techniques, you can unlock the full potential of your iPhone camera and capture professional-quality photos. Visit dfphoto.net for more in-depth guides, tutorials, and inspiration to elevate your photography skills. Explore our extensive collection of stunning images, connect with a vibrant community of photographers, and find the resources you need to master the art of iPhone photography.
Elevate Your Photography Skills with dfphoto.net
Ready to take your iPhone photography to the next level? Explore dfphoto.net for detailed tutorials, inspiring images, and a community of passionate photographers. Start your journey towards mastering iPhone photography today and see the world through a new lens. Visit dfphoto.net now and transform your smartphone into a powerful creative tool.
Address: 1600 St Michael’s Dr, Santa Fe, NM 87505, United States.
Phone: +1 (505) 471-6001.
Website: dfphoto.net.

