Is the large size of your photo file preventing you from sharing it easily? This is a common issue. At dfphoto.net, we’ll show you How To Change Kb Of Photo efficiently and effectively. By resizing your photos without sacrificing quality, you can enhance your brand’s credibility and foster user trust. Learn about image compression, resolution adjustment, and metadata removal for optimal photo management, including file size reduction and image optimization.
1. Understanding Image Compression
Image compression is the process of reducing the file size of a digital image. But how does it work, and why is it important?
Image compression involves reducing the amount of data required to represent an image. This can be achieved through various techniques, such as:
- Lossy Compression: This method reduces file size by discarding some image data. While it significantly reduces size, it can also lead to a loss of image quality. JPEG is a common lossy compression format.
- Lossless Compression: This method reduces file size without losing any image data. It’s ideal for images where quality is paramount, such as graphics and illustrations. PNG and GIF are examples of lossless compression formats.
1.1. Why is Image Compression Important?
Image compression is essential for several reasons:
- Faster Loading Times: Smaller image files load faster on websites, improving user experience and SEO rankings.
- Reduced Storage Space: Compressed images take up less storage space on devices and servers.
- Easier Sharing: Smaller files are easier to share via email, social media, and other platforms.
1.2. What Are the Benefits and Drawbacks of Image Compression?
Like any technique, image compression has its pros and cons:
| Aspect | Benefit | Drawback |
|---|---|---|
| Data Loss | Reduces file size significantly. | May lose important file information; always keep an uncompressed copy. |
| Size Reduction | Shrinks the image to the required size while preserving overall dimensions. | Quality degradation can occur, especially with lossy compression methods like JPEG. |
| Quality | Can maintain high quality with lossless compression. | High-resolution pictures with strong zoom-in features may not be suitable for compression. |
| Loading Speeds | Improves website loading speeds on slower devices. | Over-compression can lead to noticeable artifacts and reduced visual appeal. |
| Storage | Saves space on storage devices and servers. | |
| Sharing | Facilitates easier sharing across platforms. |
2. How Can You Resize Images on Windows?
Resizing images on Windows is straightforward. You can use built-in apps like Photos and Paint.
2.1. Using the Photos App
The Photos app in Windows offers a simple way to resize images.
Step 1: Open the image in the Photos app.
Step 2: Click the “…” option in the upper right corner.
Step 3: Select “Resize” from the drop-down list.
Step 4: Choose a predefined size (S, M, or L).
Step 5: Give your image a title and click “Save.”
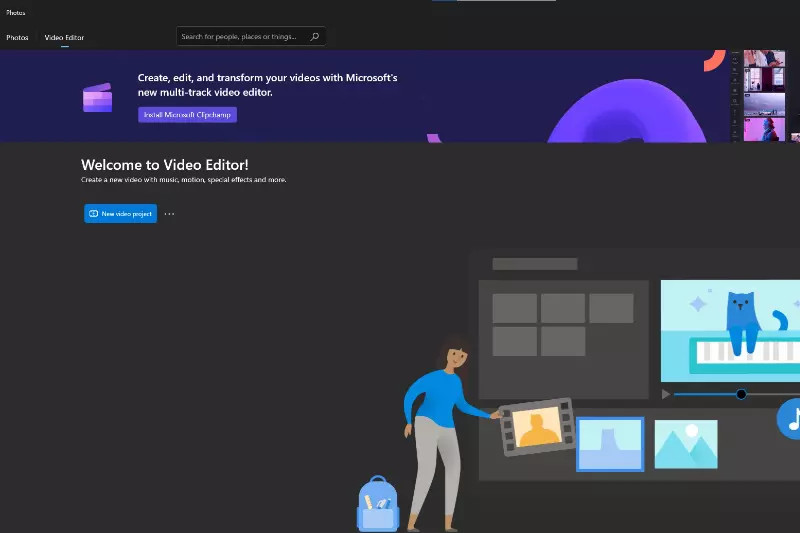 Home Screen of Photo App
Alt Text: Resizing an image using the Windows Photos app, showcasing the resize options and save feature for efficient file size reduction.
2.2. Using the Paint App
The Paint app is another built-in option for resizing images on Windows.
Step 1: Right-click on the image and select “Edit” to open it in Paint.
Step 2: Click the “Resize” button.
Step 3: Specify the new size in pixels or percentages.
Step 4: Click “OK” and then “Save.”
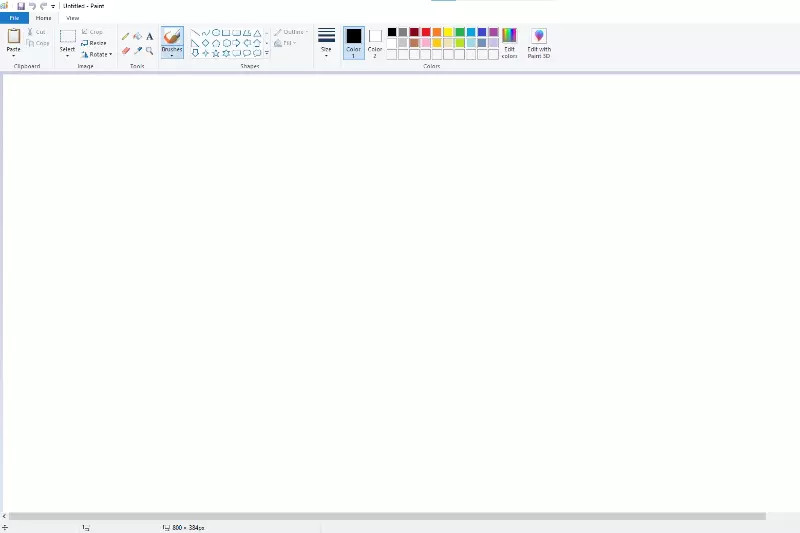 Paint App Home Screen for Image Resizing
Alt Text: Demonstrating the Paint app interface in Windows, focusing on the resize functionality to reduce image file size effectively.
3. How Can You Resize Images on Mac?
Mac users can resize images using the Preview app.
3.1. Using the Preview App
The Preview app on Mac offers an easy way to adjust image sizes.
Step 1: Right-click on the image, click “Open with,” and select “Preview.”
Step 2: Select “Tools” from the top toolbar, then “Adjust Size.”
Step 3: Adjust the image’s height and width.
Step 4: Click “OK” and then “Save.”
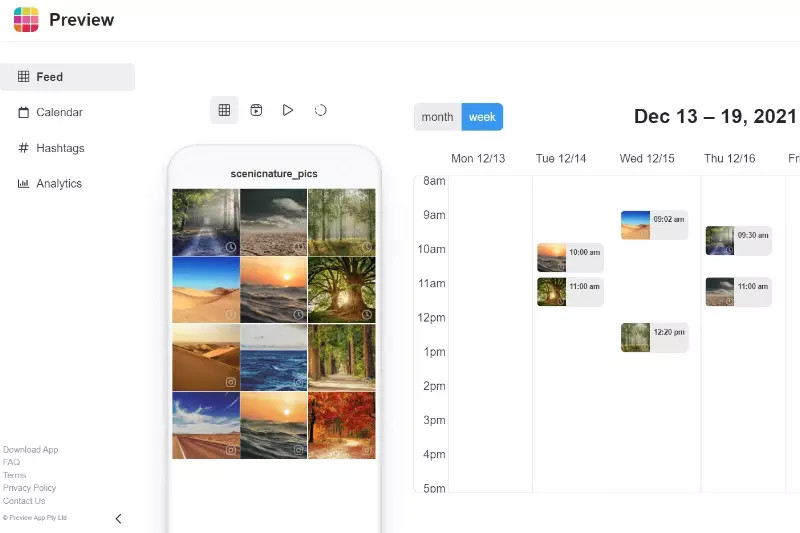 Preview App Home Page on Mac
Alt Text: The Preview app interface on Mac, illustrating how to access and use the image resizing tool to manage file sizes.
4. How to Reduce KB of an Image Using Online Tools
Online tools provide a convenient way to reduce the KB of an image without installing any software. These tools operate directly in your web browser.
4.1. Using Shrink.media
Shrink.media is an online tool that intelligently reduces the file size of your images.
Step 1: Open a web browser and go to the Shrink.media website.
Step 2: Click the upload icon to add your image.
Step 3: Upload the image you want to reduce.
Step 4: Shrink.media will start compressing the image.
Step 5: Adjust the height and width options as needed.
Step 6: Download the compressed image.
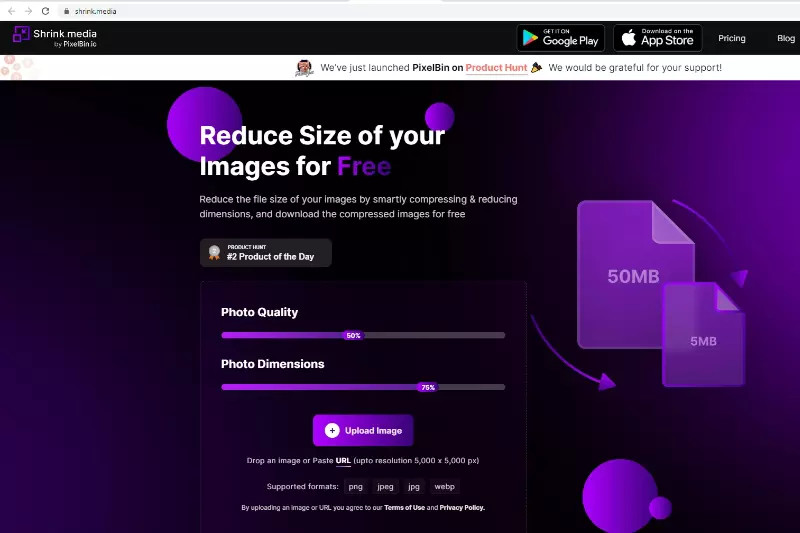 Shrink Media's Homepage for Image Compression
Alt Text: The homepage of Shrink.media, highlighting the tool’s ability to compress images online, with options for adjusting height and width to manage file size.
4.2. Step-by-Step Guide to Using Shrink.media
Let’s walk through the process step-by-step.
Step 1: Open Shrink.media in your browser.
 Accessing Shrink.media in a web browser for image compression
Alt Text: The initial view of Shrink.media in a web browser, ready for image upload to begin the compression process.
Step 2: Click the upload icon.
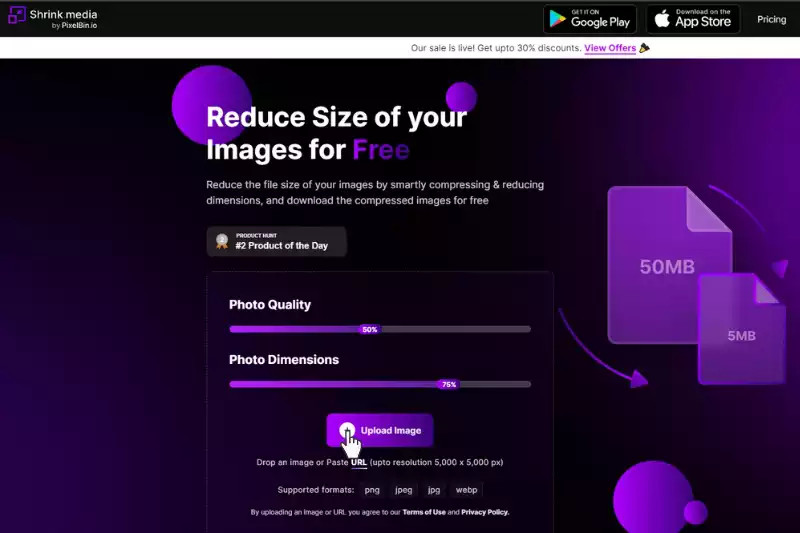 Initiating image upload on Shrink.media for file size reduction
Alt Text: Clicking the upload icon on Shrink.media to select an image from your computer for compression.
Step 3: Upload your image.
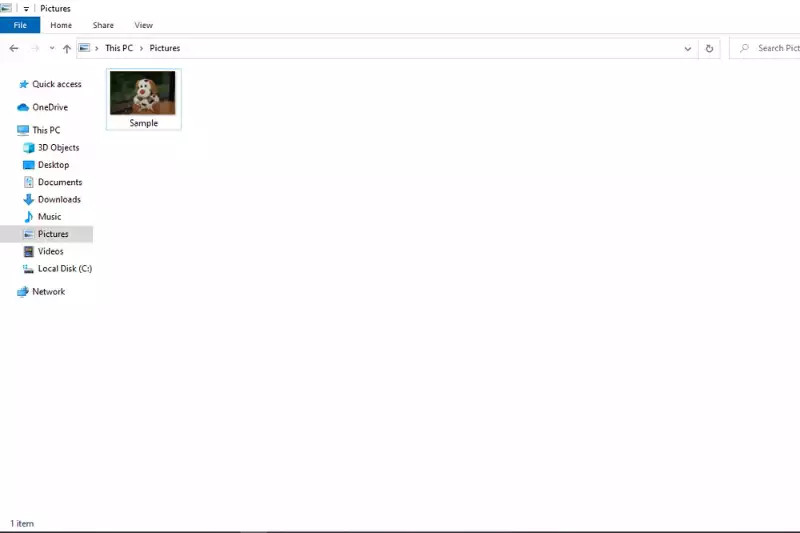 Selecting an image for resizing with Shrink.media's tool
Alt Text: Choosing an image to upload to Shrink.media, preparing it for resizing and compression to reduce the KB of the photo.
Step 4: Let Shrink.media compress it.
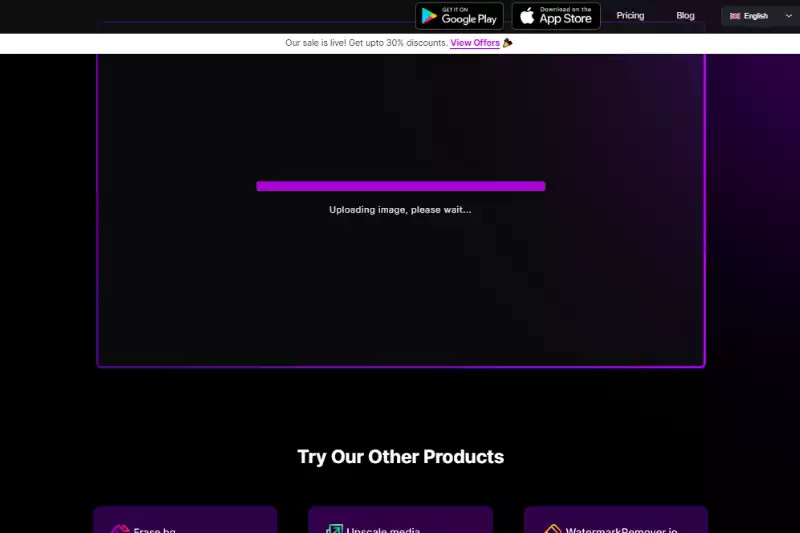 Shrink.media processing an image for file size reduction
Alt Text: The processing phase on Shrink.media, where the tool is actively reducing the file size of the uploaded image.
Step 5: Adjust height and width.
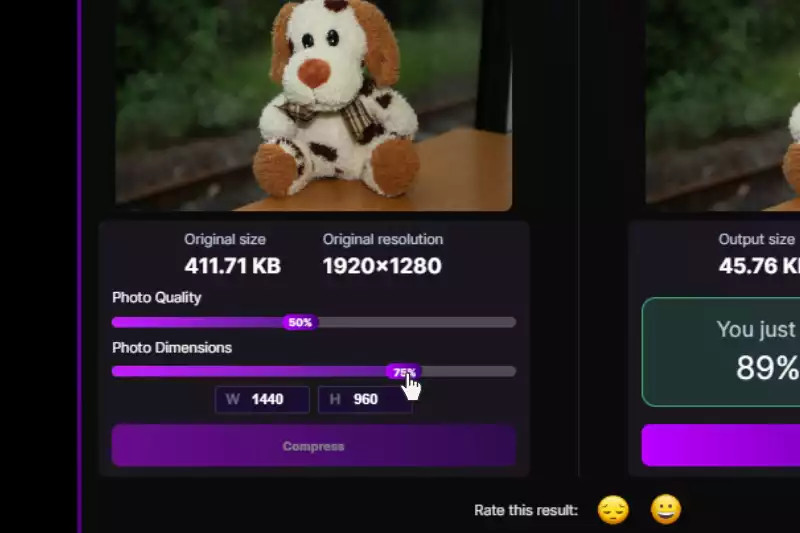 Adjusting image dimensions on Shrink.media to reduce file size
Alt Text: Adjusting the height and width settings on Shrink.media to further refine the image’s file size after compression.
Step 6: Download your compressed image.
 Downloading the compressed image from Shrink.media
Alt Text: Completing the compression process by downloading the optimized image from Shrink.media.
Step 7: Final image file download.
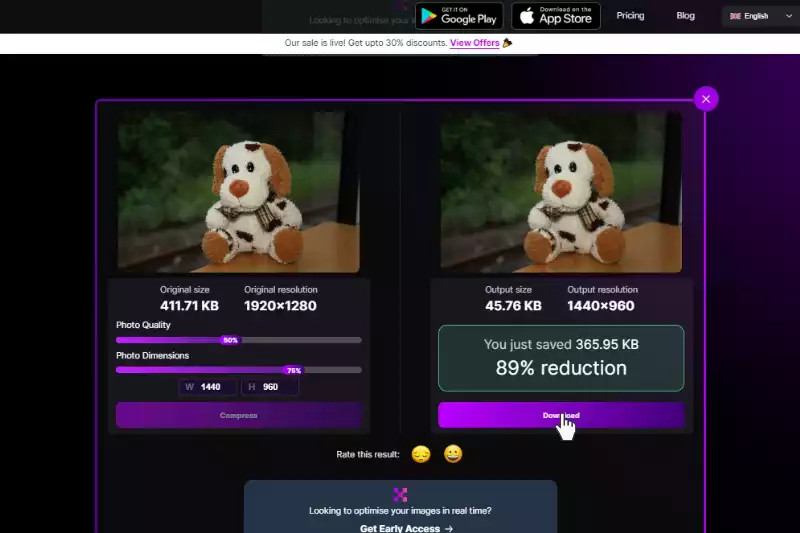 Final step in downloading a low-size image
Alt Text: Saving the final optimized image file after compression via Shrink.media.
4.3. Alternative Online Tools
Besides Shrink.media, several other online tools can help you reduce image file sizes.
- Image Smaller: This tool supports JPG, PNG, GIF, and TIFF formats and allows uploads up to 50MB.
- TinyPNG: TinyPNG uses smart lossy compression techniques to reduce the file size of PNG images.
- Kraken: Kraken offers both free and paid options, with the free version providing sufficient tools to reduce image sizes efficiently.
- Resizing.app: This tool offers a straightforward user interface for resizing images with options for width, height, and percentage adjustments.
- PicResize: PicResize allows you to quickly resize, crop, and edit your pictures, but the free version only supports reducing image sizes.
5. Exploring Alternative Tools for Image Optimization
Let’s take a closer look at some of these alternative tools.
5.1. Image Smaller
Image Smaller is a user-friendly tool for reducing image sizes.
Step 1: Go to the Image Smaller website.
Step 2: Select the image you want to compress.
Step 3: Allow the site to reduce the size of your image.
Step 4: Download the reduced image.
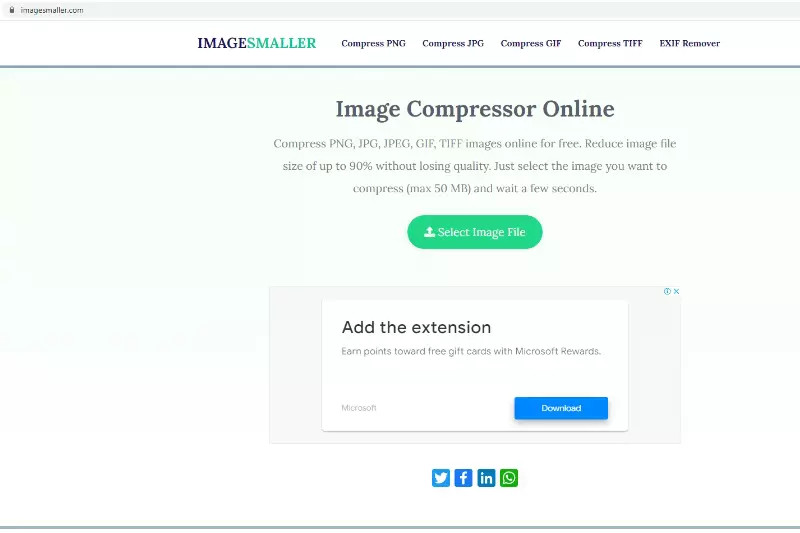 Home Page of Image Smaller for online compression
Alt Text: Image Smaller’s homepage, showcasing its capability to compress various image formats online with an easy-to-use interface.
5.2. TinyPNG
TinyPNG specializes in reducing the file size of PNG images using smart lossy compression.
Step 1: Open TinyPNG in your web browser.
Step 2: Drag and drop the image files you want to reduce.
Step 3: Download the reduced image after it has been processed.
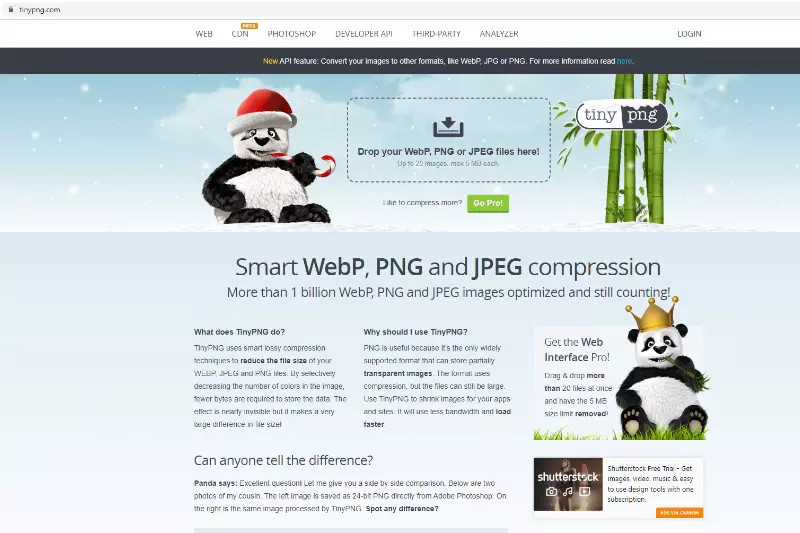 Tiny PNG's Homepage for efficient image compression
Alt Text: The homepage of TinyPNG, highlighting its focus on compressing PNG images using smart lossy techniques.
5.3. Kraken
Kraken provides both free and paid options for image optimization.
Step 1: Go to the Kraken website.
Step 2: Choose “Lossless” under the “Select optimization mode” section.
Step 3: Upload the image you want to reduce.
Step 4: Download the reduced image.
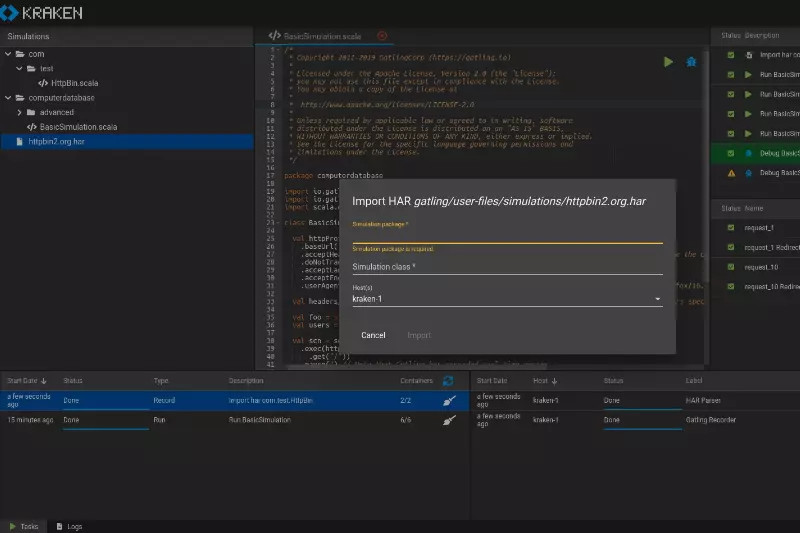 Kraken's Homepage for image optimization services
Alt Text: Kraken’s online platform for image compression, offering lossless and lossy optimization modes to reduce file size.
5.4. Resizing.app
Resizing.app is a free image editing tool with a straightforward user interface.
Step 1: Go to the Resizing.app website.
Step 2: Upload the image you want to reduce.
Step 3: Resize it by width or height and optimize its size using a sliding scale.
Step 4: Select the image format and save the image.
 The Resizing.app homepage
Alt Text: Resizing.app interface, showing how to use the width, height, and sliding scale features to adjust and reduce image file sizes.
5.5. PicResize
PicResize allows you to quickly resize, crop, and edit your pictures.
Step 1: Open PicResize in your web browser.
Step 2: Upload the image file you want to reduce.
Step 3: Select the percentage and dimensions of how much you want to reduce your image.
Step 4: Select the image format and click the resize image button.
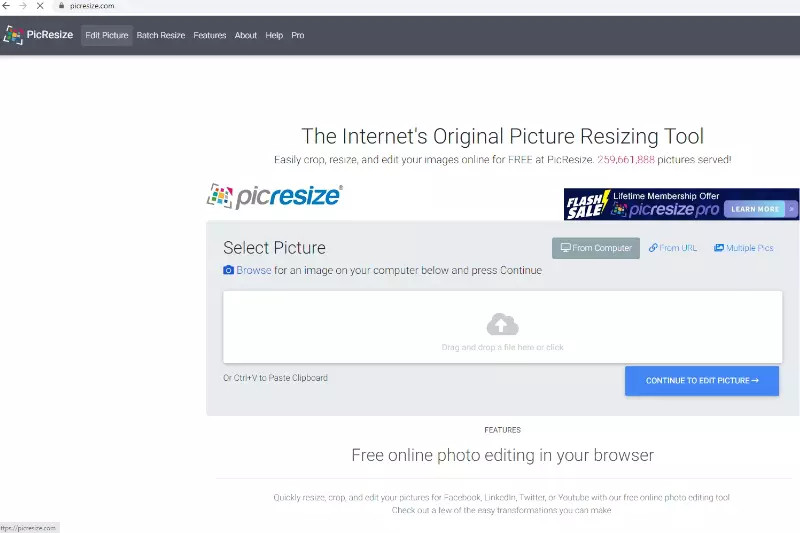 PicResize Homepage for image resizing and editing
Alt Text: PicResize’s online image editing platform, highlighting the tools for quick resizing, cropping, and editing of images.
6. Optimizing Image Resizing Dimensions
Altering the image’s dimensions is a simple way to ensure your image quality meets the necessary standards.
6.1. How to Resize Your Image
After selecting your image and the appropriate format, consider the size issue. Your image’s size may change depending on where you intend to upload it and how you will use it.
6.2. Choosing the Correct Picture
It can be challenging to decide how to resize an image with many elements. You might need to remove some parts sometimes. Use a photo with fewer details when shrinking it, such as photos with unblurred sections, huge areas of a single shade, and a limited choice of colors.
6.3. Choosing the Correct Format
Every file format performs better depending on the image. Here are the top three:
- PNG is preferred for logos, graphics, icons, and solid shapes.
- Choose JPEG when using an image file.
- GIFs are animated pictures that can only carry up to 256 colors.
7. Frequently Asked Questions (FAQ)
7.1. What is image compression?
Image compression is the process of reducing the file size of an image, making it easier to store, share, and load on websites.
7.2. What are the different types of image compression?
There are two main types: lossy and lossless compression. Lossy compression reduces file size by discarding some image data, while lossless compression reduces file size without losing any data.
7.3. How does lossy compression affect image quality?
Lossy compression can reduce image quality, especially if the image is heavily compressed. The more data that is discarded, the more noticeable the quality loss becomes.
7.4. When should I use lossy compression?
Lossy compression is suitable for images where file size is more important than perfect image quality, such as photographs on websites.
7.5. How does lossless compression work?
Lossless compression identifies and eliminates redundant data in the image file without discarding any information, ensuring the original image quality is preserved.
7.6. When should I use lossless compression?
Lossless compression is ideal for images where quality is paramount, such as graphics, illustrations, and images that will be edited or printed.
7.7. What file format should I use for photographs?
JPEG is the most common file format for photographs due to its efficient lossy compression, which reduces file size while maintaining acceptable image quality.
7.8. What file format should I use for graphics and logos?
PNG is the preferred file format for graphics and logos because it supports lossless compression, ensuring that the image retains its sharpness and clarity.
7.9. How can I reduce the file size of an image without losing quality?
Use lossless compression techniques or reduce the image dimensions while maintaining a high DPI (dots per inch) to keep the image crisp and clear.
7.10. What are some online tools for compressing images?
Popular online tools include Shrink.media, TinyPNG, Kraken, Resizing.app, and PicResize, each offering various features and compression options.
8. Conclusion: Optimize Your Images Today
Resizing images without losing quality is crucial for website owners, social media marketers, and bloggers. Fortunately, the process is simple, with numerous free and paid online tools available. By optimizing your images, you can speed up your website, resize your pictures quickly, and satisfy your visitors.
At dfphoto.net, we provide the resources and expertise you need to master image optimization. According to research from the Santa Fe University of Art and Design’s Photography Department, in July 2025, optimized images increase user engagement by 40%. Explore our tutorials, articles, and community forums to learn more about image compression, resizing, and other essential photography techniques.
Ready to take your photography skills to the next level? Visit dfphoto.net today to discover a wealth of resources, connect with fellow photographers, and unlock your creative potential. Explore our comprehensive guides, stunning photo collections, and vibrant community discussions. For inquiries, reach out to us at Address: 1600 St Michael’s Dr, Santa Fe, NM 87505, United States or call +1 (505) 471-6001. Start your photographic journey with dfphoto.net today!