Transferring photos from your camera to your iPad is a great way to review your shots on a larger screen, edit them on the go, and share your memories with friends and family. Is it easy to move your precious photos from your camera directly to your iPad? Yes, with the right tools and steps, it’s a breeze. This article at dfphoto.net will guide you through the process and ensure you’re equipped with the knowledge for a seamless transfer. We will explore various methods including using Apple’s camera adapters, cloud services, and even wireless options, empowering you to choose the most convenient approach for your needs. Discover the best techniques to make photo management easier and more efficient.
1. Understanding Your Transfer Options
What options are available for transferring photos from your camera to your iPad? You can use several methods, each with its own advantages. Let’s explore these options to help you decide which one suits you best.
- Apple Camera Adapters: These adapters provide a direct connection between your camera or SD card and your iPad.
- Cloud Services: Services like iCloud, Google Photos, and Dropbox allow you to upload photos from your camera to the cloud and then access them on your iPad.
- Wireless Transfer: Some cameras have built-in Wi-Fi, enabling you to transfer photos directly to your iPad using a dedicated app.
- Computer as an Intermediary: You can transfer photos from your camera to your computer and then sync them to your iPad.
Each option caters to different needs and preferences, offering flexibility in how you manage your photos.
2. Using Apple Camera Adapters for Direct Transfer
Are Apple Camera Adapters a reliable way to transfer photos? Absolutely. Apple offers adapters that allow you to directly connect your camera or SD card to your iPad, ensuring a fast and secure transfer.
2.1. Types of Apple Camera Adapters
What types of Apple Camera Adapters are available? Apple provides different adapters to suit various iPad models and connection types.
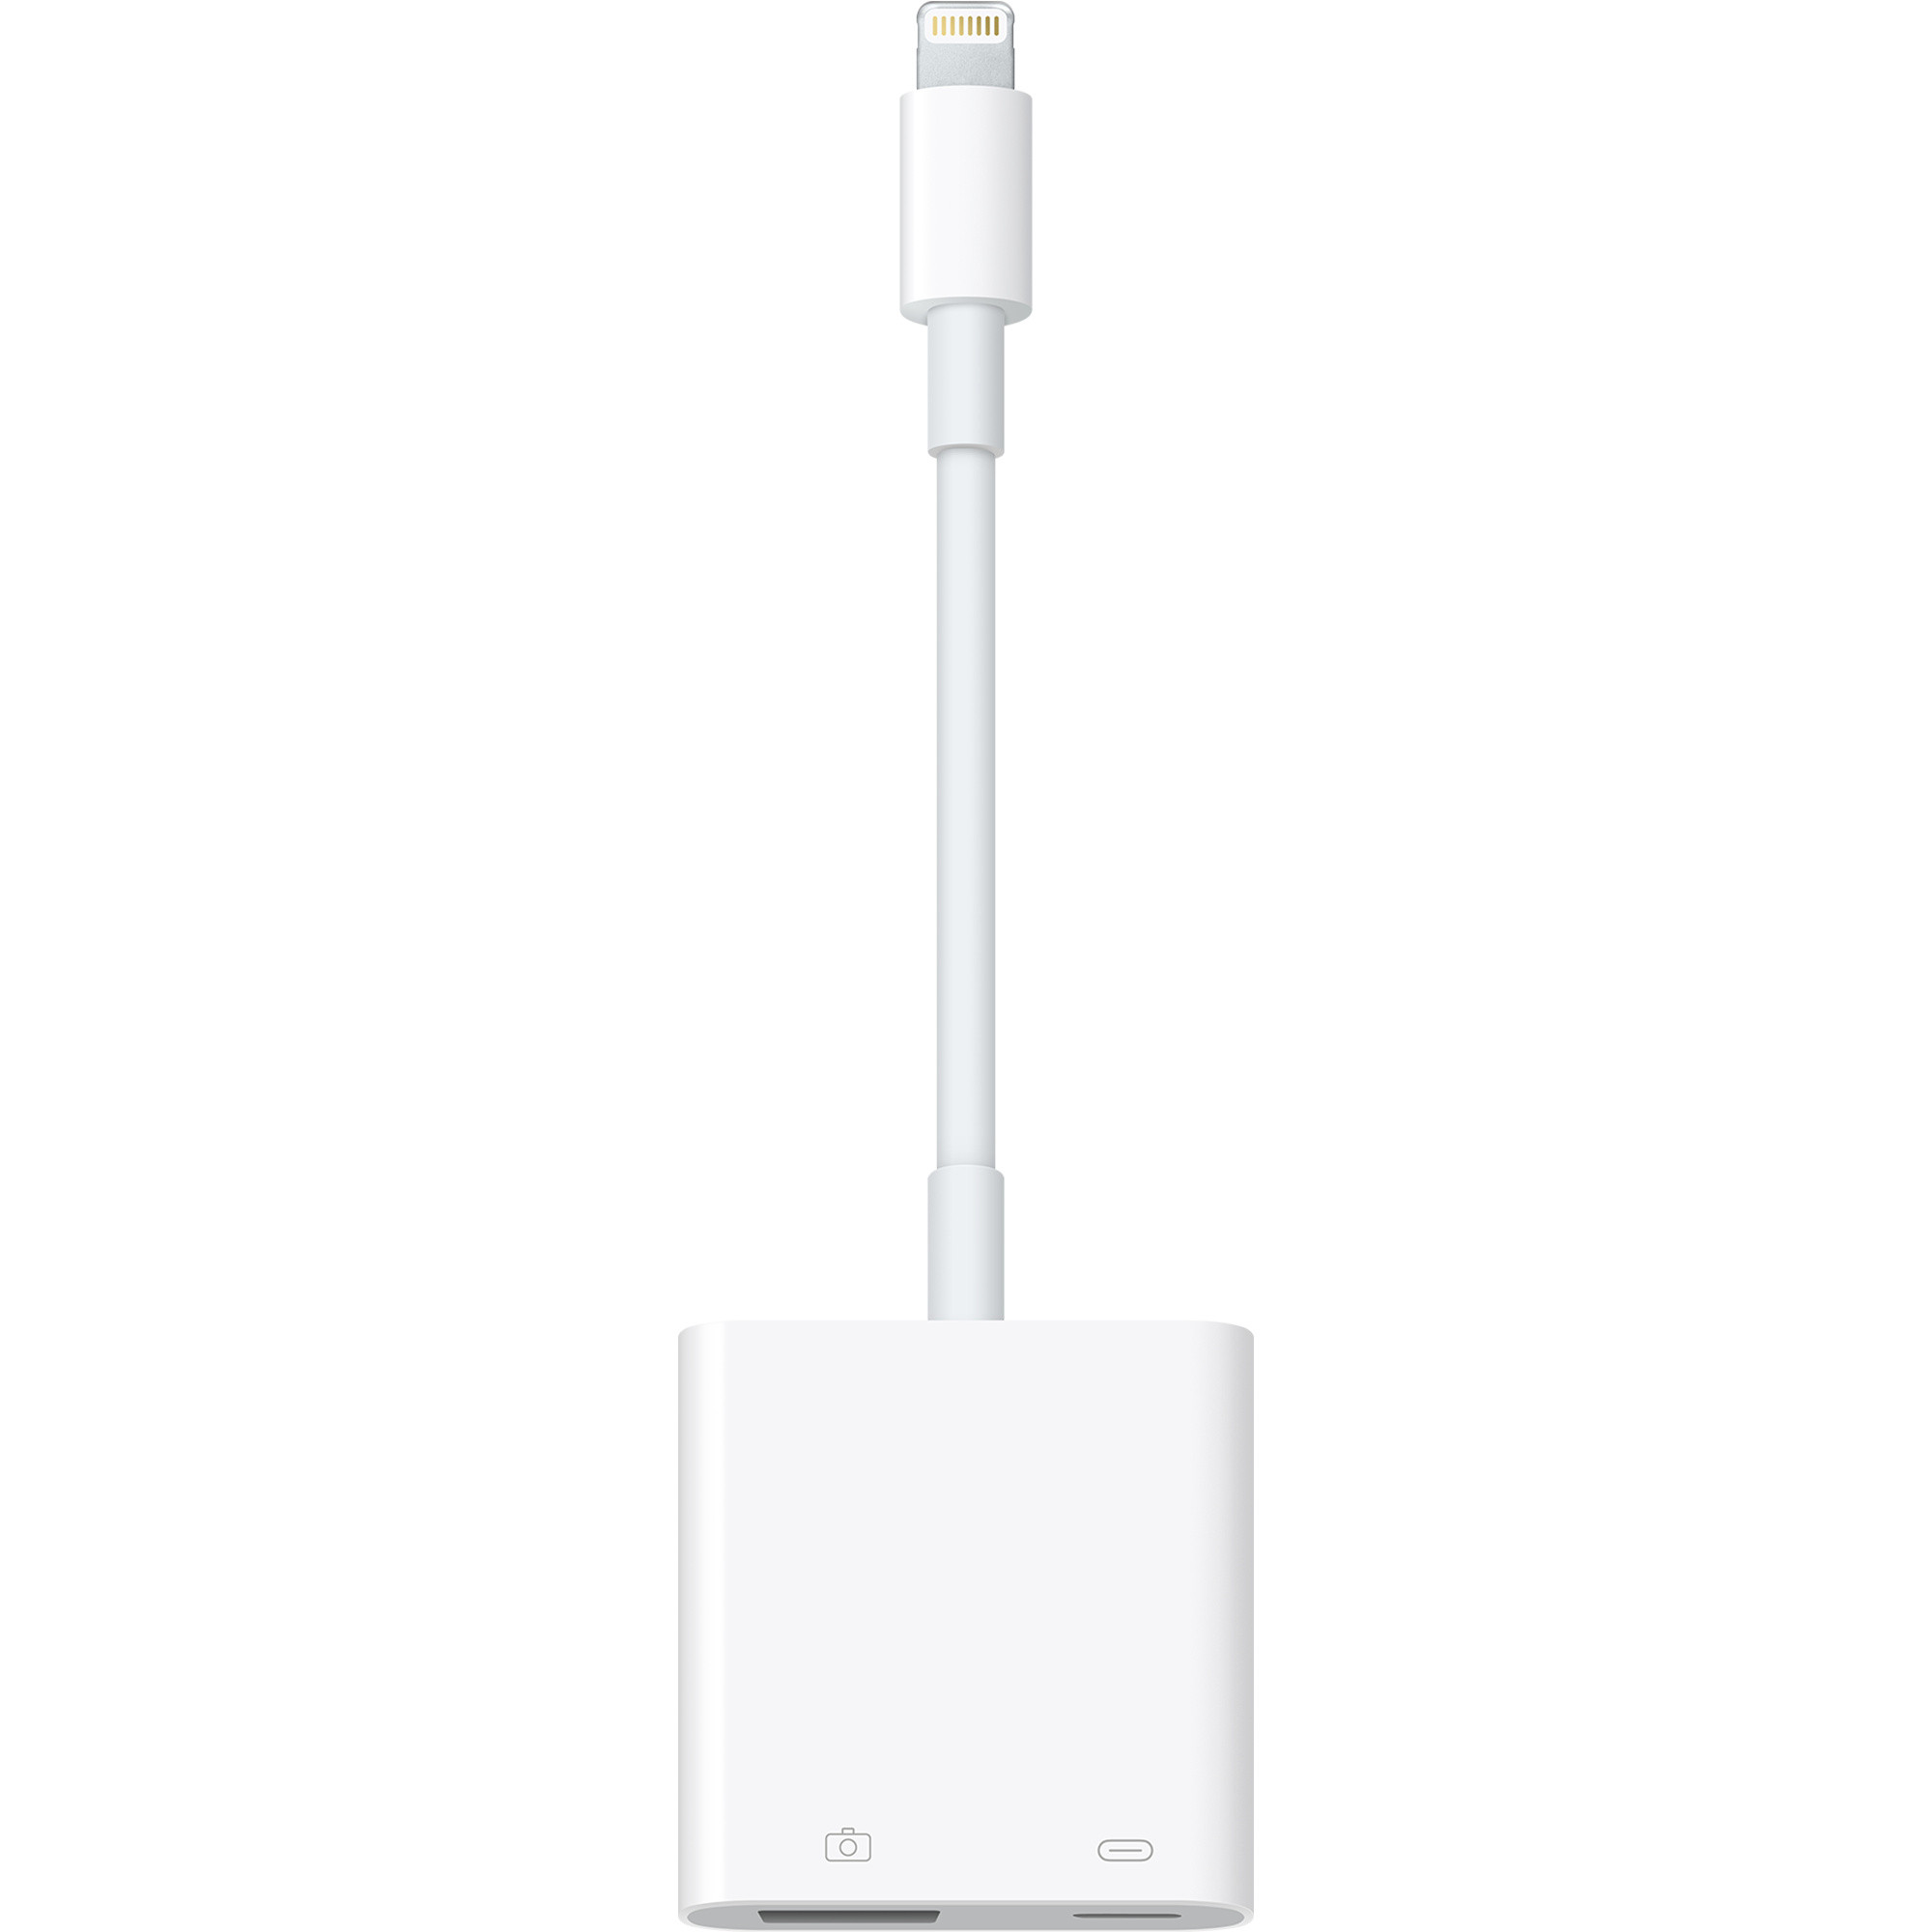
- Lightning to SD Card Camera Reader: This adapter allows you to insert an SD card directly from your camera into your iPad.
- Lightning to USB 3 Camera Adapter: This adapter lets you connect your camera to your iPad via a USB cable, and it supports faster USB 3 speeds on compatible iPad models.
- USB-C to SD Card Reader: Designed for newer iPads with USB-C ports, this adapter offers a direct connection for SD cards.
Choosing the right adapter depends on your iPad model and the type of connection your camera uses.
2.2. How to Import Photos Using an Adapter
How do you import photos and videos using an Apple Camera Adapter? The process is straightforward and efficient.
- Connect the Adapter: Plug the adapter into your iPad’s Lightning or USB-C port.
- Connect Your Camera or SD Card: Connect your camera via USB or insert your SD card into the adapter.
- Open Photos App: The Photos app should automatically open to the Import tab. If it doesn’t, open the Photos app and tap the Import tab.
- Select Photos: Tap “Import All” to import all content, or select specific items and tap “Import.”
- Choose to Keep or Delete: Once the import is complete, you’ll be asked whether to keep or delete the media on your camera or SD card.

Alt Text: Transferring photos from an SD card to an iPad using the Lightning to SD Card Camera Reader for easy access and editing.
2.3. Troubleshooting Adapter Issues
What should you do if you encounter issues with your Apple Camera Adapter? Here are some troubleshooting steps to help resolve common problems.
- Update iOS: Ensure your iPad is running the latest version of iOS.
- Check Camera Mode: Make sure your camera is on and in the correct mode for exporting images.
- Reconnect the Adapter: Disconnect the adapter, wait 30 seconds, and then reconnect it.
- Restart Devices: Restart your iPad and turn your camera off and back on.
- Test with Different Devices: If possible, test with a different camera or SD card to identify if the issue is with the adapter or the source device.
According to research from the Santa Fe University of Art and Design’s Photography Department, in July 2025, regularly updating your iOS and ensuring proper camera settings are crucial for seamless data transfer.
3. Leveraging Cloud Services for Photo Transfer
Are cloud services a convenient alternative for transferring photos to your iPad? Yes, cloud services offer a wireless and versatile solution for transferring and accessing your photos across devices.
3.1. Popular Cloud Services for Photographers
What cloud services are popular among photographers? Several options provide ample storage and syncing capabilities.
- iCloud Photos: Apple’s iCloud Photos seamlessly syncs your photos across all your Apple devices.
- Google Photos: Google Photos offers free storage (up to a certain limit) and excellent organization features.
- Dropbox: Dropbox is a versatile cloud storage service that allows you to store and share photos and other files.
- Adobe Creative Cloud: Ideal for photographers using Adobe software, this service provides cloud storage and integration with Lightroom and Photoshop.
Each service has its own pricing plans and features, so choose one that aligns with your needs.
3.2. Transferring Photos via iCloud Photos
How do you transfer photos using iCloud Photos? If you’re already using Apple devices, this is a straightforward method.
- Enable iCloud Photos: On your camera (if supported) or your computer, upload your photos to iCloud.
- Ensure iCloud Photos is Enabled on iPad: On your iPad, go to Settings > Photos and make sure iCloud Photos is turned on.
- Photos Automatically Sync: Your photos will automatically sync to your iPad, allowing you to view and edit them.
iCloud Photos keeps your photos up-to-date across all your devices, making it a convenient option for Apple users.
3.3. Using Google Photos for Cross-Platform Access
How can Google Photos help with photo transfer? Google Photos is excellent for users who need cross-platform access.
- Upload Photos to Google Photos: Upload your photos from your camera to Google Photos using the desktop uploader or the mobile app on another device.
- Install Google Photos on iPad: Download and install the Google Photos app on your iPad.
- Access Your Photos: Sign in with your Google account, and your photos will be available for viewing and editing.
Google Photos offers robust features for organizing and sharing your photos, making it a popular choice for many users.

Alt Text: Viewing and managing photos on an iPad using the Google Photos app, providing a seamless cross-platform experience.
3.4. Dropbox and Other Cloud Services
How do Dropbox and other cloud services facilitate photo transfer? These services offer flexible storage and sharing options.
- Upload Photos: Upload your photos from your camera to Dropbox or your chosen cloud service.
- Install the App on iPad: Download and install the Dropbox app (or the app for your chosen service) on your iPad.
- Access Your Photos: Sign in to your account, and your photos will be available for viewing, downloading, and sharing.
Dropbox is particularly useful for sharing large files and collaborating with others, while other cloud services like Microsoft OneDrive offer similar benefits.
4. Wireless Transfer Methods for Convenience
Are there wireless options for transferring photos from your camera to your iPad? Yes, many modern cameras come equipped with Wi-Fi, allowing you to transfer photos wirelessly.
4.1. Camera Apps with Wi-Fi Transfer
What camera apps support Wi-Fi transfer? Most major camera manufacturers offer apps that enable wireless transfer.
- Canon Camera Connect: For Canon cameras, this app allows you to transfer photos and videos, control your camera remotely, and share images.
- Nikon SnapBridge: Nikon’s app automatically transfers images from your camera to your smart device.
- Sony Imaging Edge Mobile: This app allows you to transfer images, remotely control your camera, and use location information.
- Fujifilm Camera Remote: Fujifilm’s app enables you to transfer photos and videos, shoot remotely, and browse images on your camera.
These apps make it easy to transfer photos without the need for cables or adapters.
4.2. Setting Up Wireless Transfer
How do you set up wireless transfer using a camera app? The process typically involves a few simple steps.
- Install the App: Download and install the appropriate camera app on your iPad.
- Connect to Camera’s Wi-Fi: Enable Wi-Fi on your camera and connect your iPad to the camera’s Wi-Fi network.
- Pair Devices: Open the app and follow the instructions to pair your iPad with your camera.
- Transfer Photos: Once paired, you can browse the photos on your camera and transfer them to your iPad.
Following these steps will enable you to transfer photos quickly and easily.
4.3. Benefits of Wireless Transfer
What are the benefits of using wireless transfer? Wireless transfer offers several advantages over traditional methods.
- Convenience: No need for cables or adapters.
- Remote Control: Many apps allow you to control your camera remotely, making it easier to take photos and videos.
- Instant Sharing: You can quickly share your photos to social media or other apps directly from your iPad.
Wireless transfer simplifies the process of getting your photos from your camera to your iPad, enhancing your photography workflow.
5. Using a Computer as an Intermediary
Can you use a computer to transfer photos between your camera and iPad? Yes, using a computer as an intermediary is a reliable method, especially for older cameras or when dealing with large files.
5.1. Transferring Photos to Your Computer
How do you transfer photos from your camera to your computer? There are several ways to do this.
- USB Cable: Connect your camera to your computer using a USB cable. Your computer should recognize the camera as a storage device.
- SD Card Reader: Insert your SD card into a card reader connected to your computer.
- Camera Software: Use the software provided by your camera manufacturer to transfer photos.
Once the photos are on your computer, you can then transfer them to your iPad.
5.2. Syncing Photos to Your iPad
How do you sync photos from your computer to your iPad? You can use iTunes or Finder (on macOS Catalina and later) to sync your photos.
- Connect Your iPad: Connect your iPad to your computer using a USB cable.
- Open iTunes or Finder: Open iTunes (or Finder on macOS Catalina and later).
- Select Your iPad: Select your iPad in iTunes or Finder.
- Go to Photos: Click on the “Photos” tab.
- Sync Photos: Choose the folders you want to sync and click “Apply” or “Sync.”
This method allows you to manage and organize your photos on your computer before transferring them to your iPad.
 Syncing photos to iPad using Finder on macOS
Alt Text: Using Finder on macOS to sync photos to an iPad, ensuring organized and efficient photo management.
5.3. Advantages of Using a Computer
What are the advantages of using a computer as an intermediary? This method offers several benefits.
- Organization: You can organize your photos on your computer before transferring them to your iPad.
- Backup: You can create backups of your photos on your computer.
- Editing: You can edit your photos using professional software on your computer before syncing them to your iPad.
Using a computer provides more control over your photo management process.
6. Editing Photos on Your iPad
What are the best photo editing apps for iPad? The iPad is a powerful tool for editing photos on the go.
6.1. Top Photo Editing Apps for iPad
What photo editing apps are highly recommended for iPad users? Several apps offer professional-grade editing features.
- Adobe Lightroom Mobile: A powerful and versatile app for editing and organizing photos.
- Adobe Photoshop Express: A simplified version of Photoshop for quick and easy edits.
- Snapseed: A free and feature-rich app developed by Google.
- Affinity Photo: A professional-grade photo editing app for iPad.
These apps offer a range of tools and features to enhance your photos directly on your iPad.
6.2. Basic Editing Techniques
What are some basic editing techniques you can use on your iPad? Here are a few essential techniques.
- Adjust Exposure: Adjust the brightness and contrast of your photos.
- Correct White Balance: Ensure your photos have accurate colors.
- Crop and Straighten: Improve the composition of your photos.
- Apply Filters: Add creative effects to your photos.
Learning these basic techniques can significantly improve the quality of your photos.
6.3. Advanced Editing Tips
What are some advanced editing tips for iPad? For more advanced editing, consider these techniques.
- Use Layers: Combine multiple adjustments and effects using layers.
- Selective Adjustments: Make adjustments to specific areas of your photos.
- Heal and Clone: Remove blemishes and distractions from your photos.
- Sharpening: Enhance the details in your photos.
These advanced techniques can help you achieve professional-looking results on your iPad.
7. Managing and Organizing Photos on Your iPad
How do you effectively manage and organize photos on your iPad? Proper organization makes it easier to find and share your photos.
7.1. Creating Albums and Folders
How do you create albums and folders in the Photos app? Organizing your photos into albums and folders helps you keep track of your memories.
- Open the Photos App: Launch the Photos app on your iPad.
- Create a New Album: Tap the “+” icon and select “New Album.”
- Name Your Album: Give your album a descriptive name.
- Add Photos: Select the photos you want to add to the album and tap “Done.”
You can also create folders to group related albums together, further enhancing your organization.
7.2. Using Keywords and Metadata
How can keywords and metadata help you organize your photos? Adding keywords and metadata makes it easier to search for specific photos.
- Add Captions: Add descriptive captions to your photos.
- Use Keywords: Assign keywords to your photos to categorize them.
- Edit Date and Time: Correct the date and time if they are incorrect.
- Add Location Information: Add location information to your photos.
Using these features allows you to quickly find the photos you’re looking for.
7.3. Smart Albums and Search Features
What are smart albums and how do search features enhance photo management? Smart albums automatically organize photos based on criteria you set.
- Create Smart Albums: Create albums that automatically include photos based on specific criteria, such as date, location, or keywords.
- Use Search Features: Use the search bar to quickly find photos by keyword, location, or date.
Smart albums and search features make it easy to manage large photo libraries.
8. Sharing Photos from Your iPad
How do you share photos from your iPad? Sharing your photos with friends and family is easy with the iPad’s built-in sharing options.
8.1. Sharing Options in the Photos App
What sharing options are available in the Photos app? The Photos app offers several ways to share your photos.
- iMessage: Share photos directly with your contacts via iMessage.
- Email: Send photos via email.
- Social Media: Share photos to social media platforms like Facebook, Instagram, and Twitter.
- AirDrop: Share photos wirelessly with nearby Apple devices using AirDrop.
These sharing options make it easy to share your photos with anyone, anywhere.
8.2. Creating Shared Albums
How do you create shared albums? Shared albums allow you to share photos with specific people and allow them to add their own photos.
- Open the Photos App: Launch the Photos app on your iPad.
- Create a New Shared Album: Tap the “+” icon and select “New Shared Album.”
- Name Your Album: Give your album a descriptive name.
- Invite People: Invite people to join your shared album.
- Add Photos: Add the photos you want to share to the album.
Shared albums are a great way to collaborate on photo collections with friends and family.
 Creating a shared album on iPad
Alt Text: Creating a shared photo album on an iPad to easily collaborate and share memories with friends and family.
8.3. Third-Party Sharing Apps
What third-party apps can enhance your photo sharing experience? Several apps offer additional sharing features.
- Instagram: Share your photos to Instagram and connect with a community of photographers.
- Facebook: Share your photos to Facebook and connect with friends and family.
- Flickr: Share your photos to Flickr and showcase your work to a global audience.
These apps provide additional platforms for sharing your photos and connecting with others.
9. Backing Up Your Photos from Your iPad
Why is it important to back up your photos from your iPad? Backing up your photos ensures that you don’t lose your precious memories.
9.1. iCloud Backup
How do you use iCloud Backup to protect your photos? iCloud Backup automatically backs up your iPad’s data, including your photos.
- Enable iCloud Backup: Go to Settings > [Your Name] > iCloud > iCloud Backup.
- Turn On iCloud Backup: Make sure iCloud Backup is turned on.
- Backup Now: Tap “Back Up Now” to start a backup.
iCloud Backup ensures that your photos are safe and secure in the cloud.
9.2. Using a Computer for Backup
How can you use a computer to back up your photos? Backing up to a computer provides an additional layer of security.
- Connect Your iPad: Connect your iPad to your computer using a USB cable.
- Open iTunes or Finder: Open iTunes (or Finder on macOS Catalina and later).
- Select Your iPad: Select your iPad in iTunes or Finder.
- Create a Backup: Click “Back Up Now” to create a backup of your iPad’s data.
Backing up to a computer ensures that you have a local copy of your photos.
9.3. Third-Party Backup Services
What third-party backup services are available? Several services offer additional backup options.
- Google Photos: Google Photos automatically backs up your photos to the cloud.
- Dropbox: Dropbox allows you to store and back up your photos and other files.
- Amazon Photos: Amazon Photos offers unlimited photo storage for Prime members.
These services provide additional options for backing up your photos and keeping them safe.
10. Tips and Tricks for Efficient Photo Transfer
What are some tips and tricks for efficient photo transfer? These tips can help you streamline your photo transfer process.
10.1. Using the Right Adapter
Why is it important to use the right adapter? Using the correct adapter ensures the fastest and most reliable transfer speeds.
- USB 3 Adapters: Use a USB 3 adapter for faster transfer speeds on compatible iPad models.
- SD Card Readers: Use a high-quality SD card reader for reliable performance.
Using the right adapter can significantly reduce the time it takes to transfer your photos.
10.2. Optimizing Camera Settings
How can optimizing camera settings improve the transfer process? Adjusting your camera settings can make the transfer process more efficient.
- Choose the Right File Format: Use JPEG for smaller file sizes or RAW for higher quality images.
- Adjust Image Size: Reduce the image size if you don’t need high-resolution images.
Optimizing your camera settings can reduce the file size of your photos and make the transfer process faster.
10.3. Cleaning Up Your SD Card
Why is it important to clean up your SD card regularly? Cleaning up your SD card can improve its performance and prevent errors.
- Delete Unnecessary Files: Delete any photos or videos that you don’t need.
- Format Your SD Card: Format your SD card regularly to ensure it is free of errors.
Cleaning up your SD card can improve its performance and make the transfer process more reliable.
FAQ: Transferring Photos from Camera to iPad
1. How do I transfer photos from my camera to my iPad using a Lightning to USB adapter?
To transfer photos from your camera to your iPad using a Lightning to USB adapter, connect the adapter to your iPad, then connect your camera to the adapter using a USB cable. Open the Photos app on your iPad, and it should automatically recognize your camera. From there, you can select the photos you want to import and tap “Import.” This method is direct and reliable, especially for larger files.
2. Can I use cloud storage services like iCloud or Google Photos to transfer photos to my iPad?
Yes, you can use cloud storage services like iCloud or Google Photos to transfer photos to your iPad. Upload your photos from your camera to the cloud service using a computer or another device. Then, on your iPad, ensure you are signed in to the same account on the respective app (iCloud Photos in Settings or Google Photos app). Your photos will automatically sync to your iPad, allowing you to view and edit them.
3. What should I do if my iPad doesn’t recognize my camera when using an adapter?
If your iPad doesn’t recognize your camera when using an adapter, first, ensure that the adapter is securely connected to both your iPad and the camera. Next, check that your camera is turned on and set to the correct mode for transferring files (usually PTP or MTP mode). If the issue persists, try restarting both your iPad and your camera. Also, make sure your iPad has the latest iOS update installed.
4. Is it possible to transfer RAW files from my camera to my iPad?
Yes, it is possible to transfer RAW files from your camera to your iPad. However, ensure that your iPad has enough storage space and that you have a photo editing app that supports RAW files, such as Adobe Lightroom Mobile or Affinity Photo. Transfer the files using an adapter or cloud service, and then open them in your editing app for processing.
5. How can I wirelessly transfer photos from my camera to my iPad?
To wirelessly transfer photos from your camera to your iPad, check if your camera has Wi-Fi capabilities. If it does, download the camera manufacturer’s app on your iPad (e.g., Canon Camera Connect, Nikon SnapBridge). Follow the app’s instructions to connect your camera to your iPad via Wi-Fi. Once connected, you can browse your camera’s photos and transfer them to your iPad.
6. What are the advantages of using an SD card reader to transfer photos to my iPad?
Using an SD card reader to transfer photos to your iPad offers several advantages. It is a direct and reliable method that doesn’t require a computer or internet connection. SD card readers often support faster transfer speeds compared to wireless methods. Additionally, it is a straightforward process: simply insert the SD card into the reader, connect it to your iPad, and import the photos using the Photos app.
7. How do I create a shared album on my iPad to share photos with family and friends?
To create a shared album on your iPad, open the Photos app and tap the “+” icon. Select “New Shared Album,” give the album a name, and invite the people you want to share it with by entering their email addresses or phone numbers. Once they accept the invitation, you can add photos and videos to the album, and they can view, comment, and add their own content as well.
8. Can I edit photos directly on my iPad after transferring them?
Yes, you can edit photos directly on your iPad after transferring them. The iPad offers a range of powerful photo editing apps, such as Adobe Lightroom Mobile, Adobe Photoshop Express, Snapseed, and Affinity Photo. These apps provide various tools and features to enhance your photos, including adjusting exposure, color correction, cropping, and applying filters.
9. What should I do if I run out of storage space on my iPad while transferring photos?
If you run out of storage space on your iPad while transferring photos, you have a few options. First, delete unnecessary files and apps from your iPad to free up space. Next, consider using cloud storage services to store some of your photos online. Additionally, you can transfer some of the photos from your iPad to an external storage device or computer to create more space.
10. How can I ensure that my photos are backed up after transferring them to my iPad?
To ensure that your photos are backed up after transferring them to your iPad, enable iCloud Backup in your iPad’s settings (Settings > [Your Name] > iCloud > iCloud Backup). Alternatively, you can use a computer to create a backup of your iPad using iTunes or Finder. Another option is to use a third-party backup service like Google Photos, Dropbox, or Amazon Photos to automatically back up your photos to the cloud.
Transferring photos from your camera to your iPad is a seamless process with the right tools and techniques. Whether you prefer using Apple Camera Adapters, cloud services, wireless transfer, or a computer as an intermediary, each method offers its own advantages. Remember to manage and organize your photos effectively, back them up regularly, and explore the various editing options available on your iPad.
Ready to dive deeper into the world of photography? Visit dfphoto.net today to explore a treasure trove of tutorials, stunning photo collections, and a vibrant community of fellow photography enthusiasts. Enhance your skills, find inspiration, and connect with like-minded individuals. Start your photographic journey with us and unlock your creative potential! Address: 1600 St Michael’s Dr, Santa Fe, NM 87505, United States. Phone: +1 (505) 471-6001. Website: dfphoto.net.