Uploading photos to websites should be a straightforward process, but sometimes you might find yourself unable to access your photo library or facing unexpected hurdles. If you’re struggling to upload your favorite images online, you’re not alone. This guide will walk you through common issues and provide simple solutions to get your photos uploaded quickly and easily.
One frequent problem arises when your photos are not in a universally accepted format. Apple devices, for example, often save images in HEIC format. While efficient, HEIC files aren’t always compatible with every website’s upload system. You might notice these files appear dimmed or greyed out when you try to upload them.
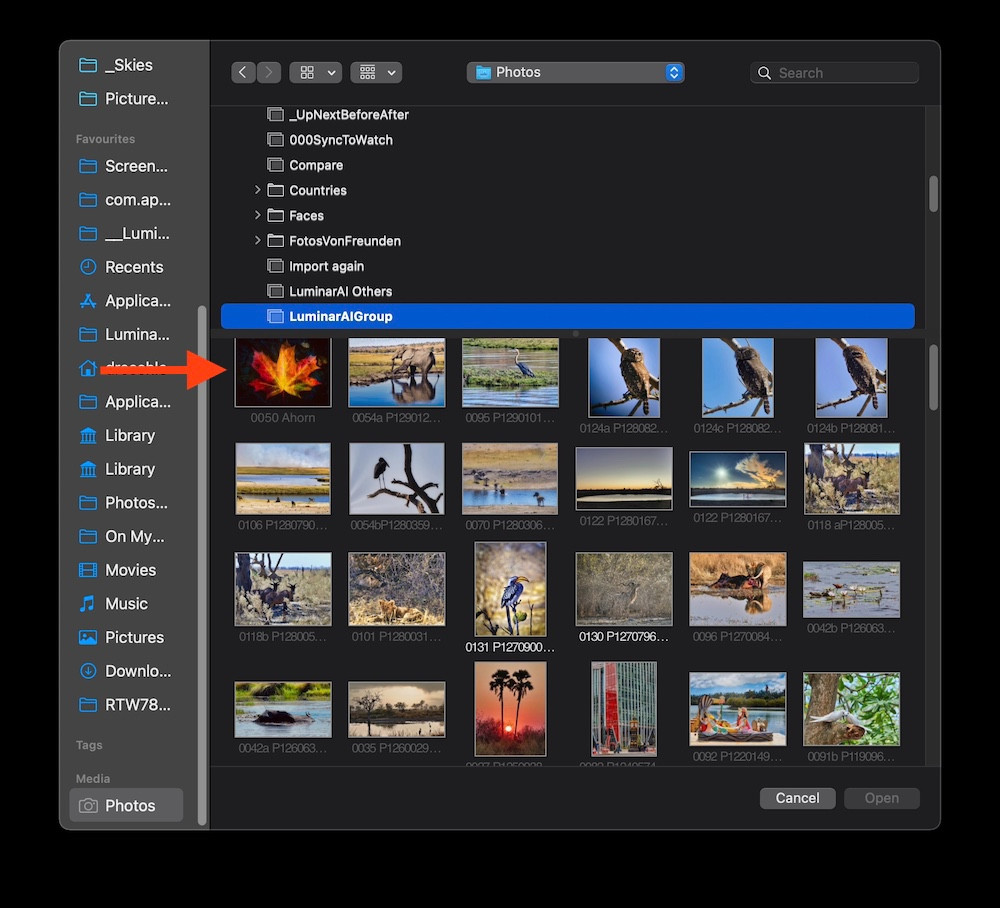 Greyed out HEIC files in Media Browser indicating format incompatibility
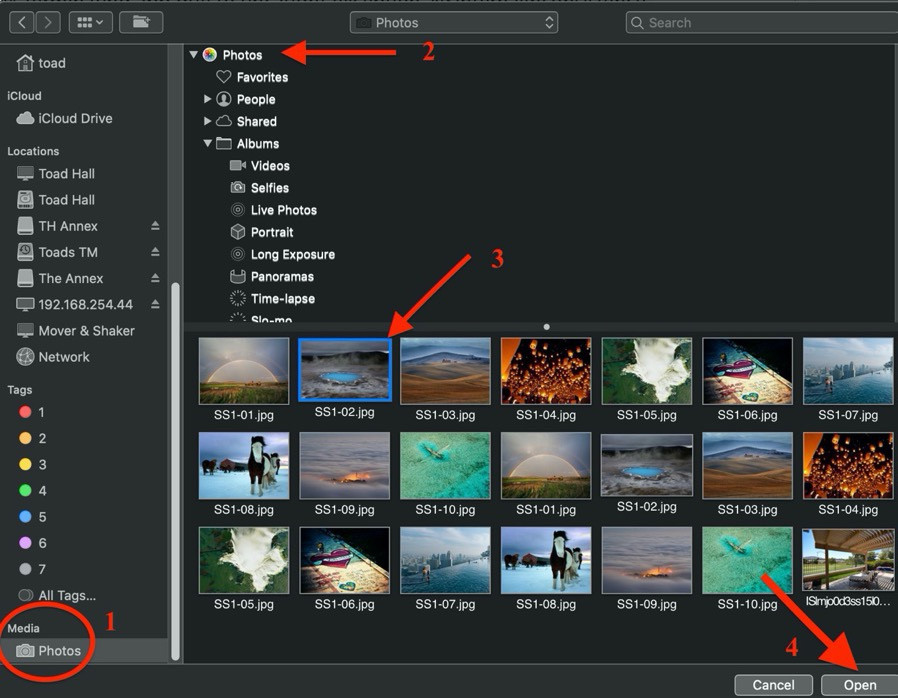
Another common issue is related to your System Photo Library settings. If your photo library isn’t correctly designated as the system library, or if it’s located on an external drive that’s not connected, you might not see your photos when browsing for upload.
 Screenshot showing "Media" option in the file chooser for photo upload
So, how can you overcome these obstacles and successfully upload your photos? Here are a few effective methods:
First, ensure you have designated a System Photo Library in your Photos app. This step is crucial for your computer to recognize and access your photo collection seamlessly. You can check and set this in your Photos app preferences.
If format incompatibility is the issue, converting HEIC files to JPEG before uploading is a simple solution. JPEG is a widely supported format and ensures your images are accepted by most websites. You can use online converters or your computer’s built-in tools to perform this conversion.
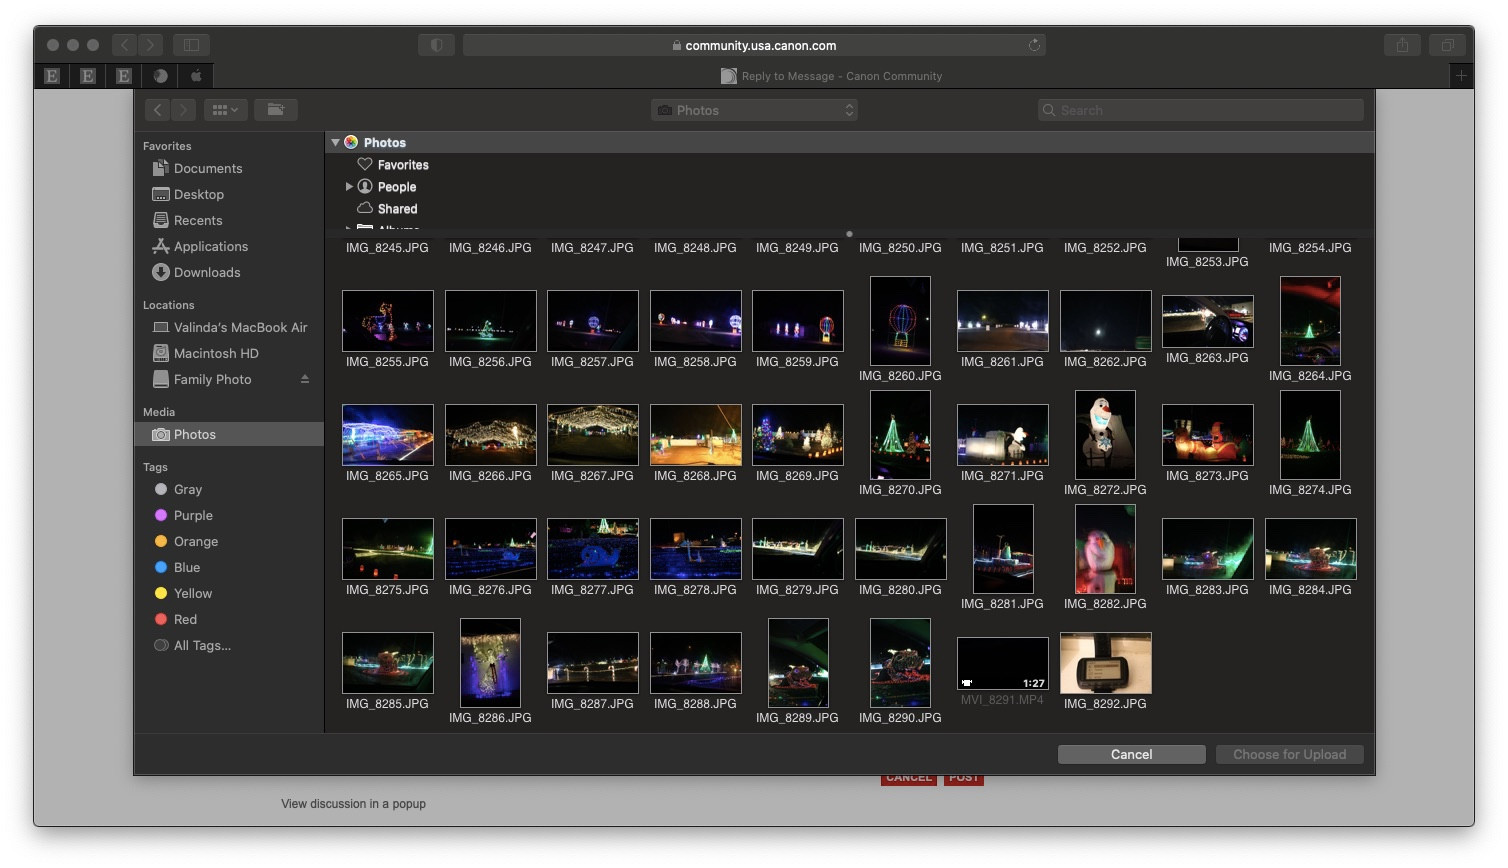
Sometimes, accessing your photos directly through the website’s upload interface via your browser is the most reliable method. Look for the upload button on the website and navigate to your photo files through the browser’s file explorer.
 Browser interface showing file upload options
Alternatively, exporting photos to your desktop or a specific folder before uploading can streamline the process. Simply export the desired photos from your photo library to a known location, and then upload them from that location when prompted by the website. This method can be faster and more straightforward, especially when dealing with specific images.
By addressing format compatibility and system library settings, and by utilizing browser uploads or exporting options, you can easily resolve common photo uploading problems and share your visuals online without frustration.