Changing your contact photo on your iPhone is a straightforward way to personalize your device and make identifying callers and messages quicker and easier. Many iPhone users wonder how to update this visual element, and thankfully, Apple has made the process quite intuitive.
Your iPhone automatically generates your personal contact card, known as ‘My Card,’ using your Apple ID. This card is housed within the Contacts app and serves as your digital identity. What you might not realize is that you have the power to customize this card significantly by adding a contact photo and poster. This visual customization is what others will see when you initiate a call or send a message to them, offering a unique personal touch to your communications.
This guide will walk you through the simple steps to change your contact photo on your iPhone, allowing you to personalize your visual identity and enhance your overall user experience. Let’s get started on customizing your contact details!
Step-by-Step Guide to Changing Your iPhone Contact Photo
Adding a contact photo and poster provides a fantastic way to bring a personalized visual element to your iPhone. It allows for instant recognition of contacts when they call or message you, making your interactions more visually engaging. Here’s exactly how to personalize your contact photo:
 Opening the Contacts app to change contact photo on iPhone
-
Launch the Contacts App: Begin by opening the “Contacts” app directly on your iPhone. Once open, you’ll see your contact list. Locate and select “My Card” at the very top of your contact list. This is your personal contact card that you’ll be customizing.
-
Access Contact Photo & Poster Settings: Tap on “Contact Photo & Poster.” On the subsequent screen, tap “Edit,” then “Customize,” and finally select “Contact Photo.” From the options presented, choose “Choose a Different Photo.” This will allow you to select a new image from your photo library.
-
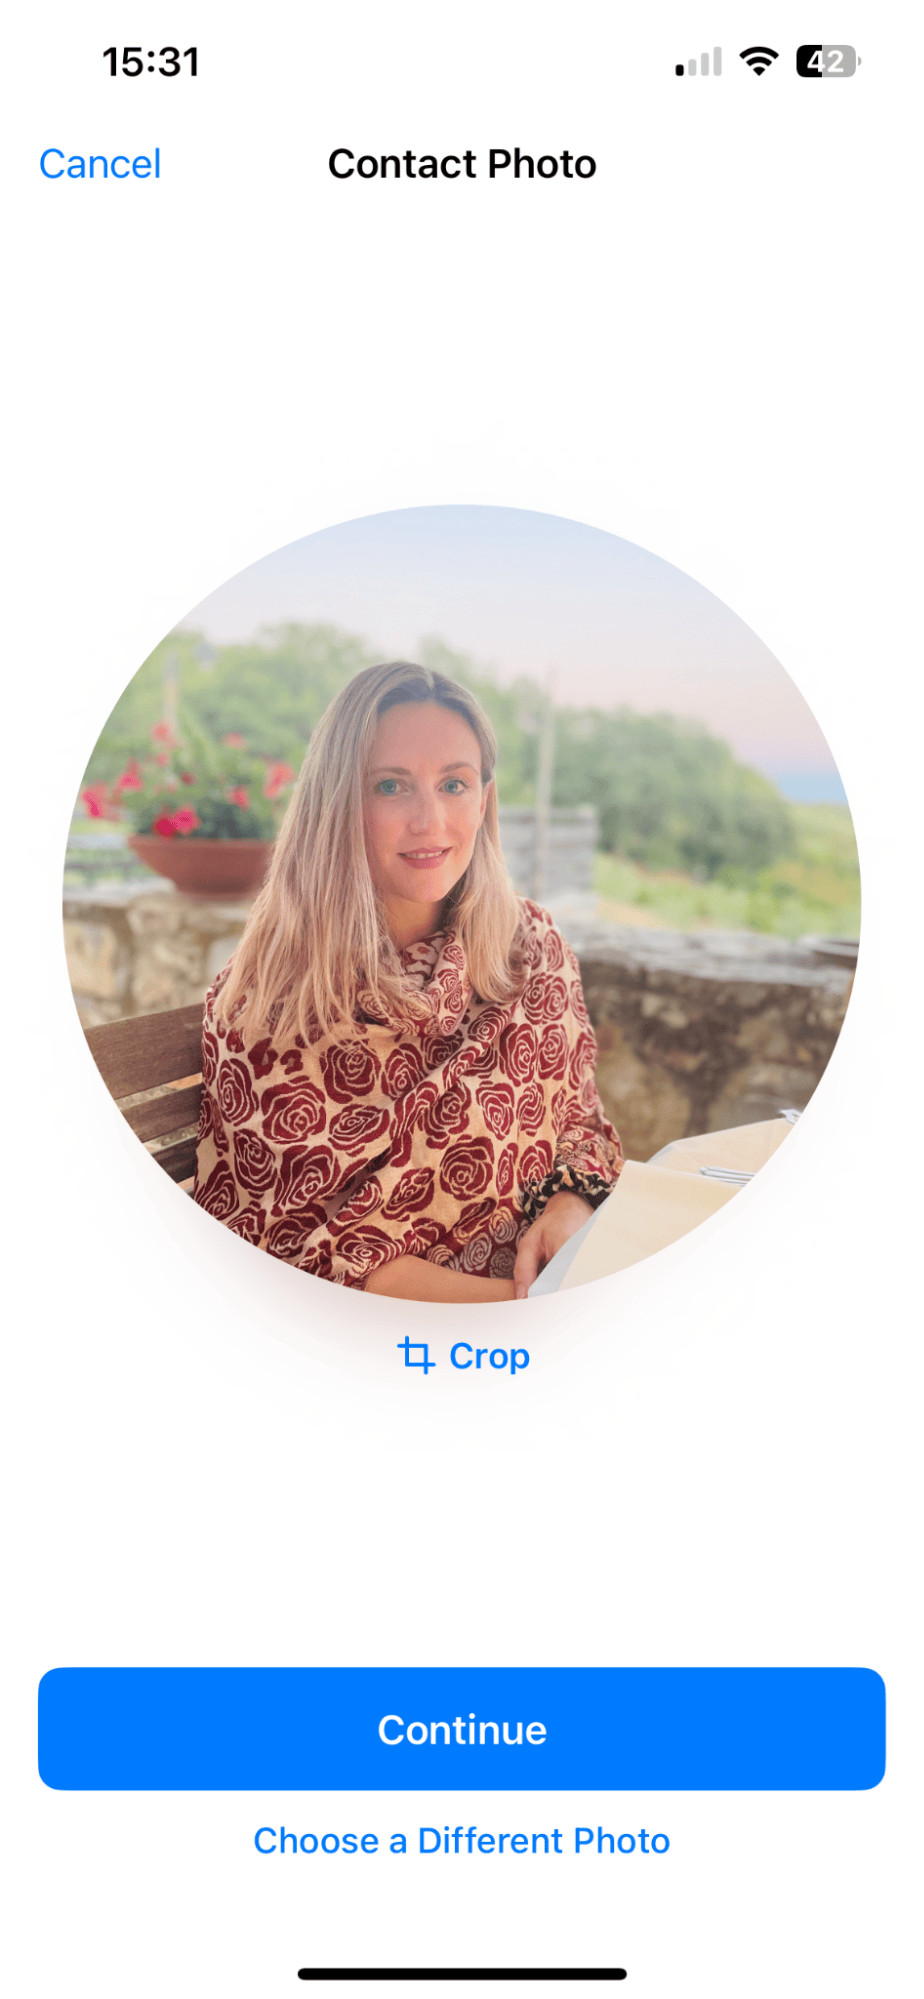
Select Your New Photo: You will now be directed to your photo library. Browse through your albums and select the image you wish to use as your new contact photo. Once you’ve chosen the perfect image, you can adjust its position and scale within the circular frame.
-
Customize Your Contact Poster (Optional): After selecting your contact photo, you will be given the option to customize your “poster.” This poster is a full-screen image or design that appears when you call someone. You can repeat the photo selection process for your poster, or create a unique design.
-
Finalize and Confirm: Once you are satisfied with your chosen photo and poster, tap “Done” to preview how they will appear. After previewing, tap “Continue” to confirm your changes. Your new contact photo is now set!
Beyond just changing the photo, you can also configure who gets to see your contact photo and poster. Additionally, you can adjust how your name appears to others when you contact them, offering further personalization options.
Now that you’ve learned how to change your contact photo and name on your iPhone, let’s explore another useful customization: removing a contact photo if you decide you no longer want one.
How to Remove Your Contact Photo on iPhone
Perhaps you’ve decided that you prefer not having a contact photo, or you want to remove a photo and poster combination you previously created. Removing your contact photo is a simple process. Here’s how to do it:
 Deleting a contact photo on iPhone using the trash icon
-
Go to My Card in Contacts: Open the “Contacts” app on your iPhone and select “My Card” again from the top of your contact list. This returns you to your personal contact card settings.
-
Access Edit Mode: Tap on “Contact Photo & Poster,” then select “Edit.” This will bring you to the editing screen where you can manage your current contact photo and poster.
-
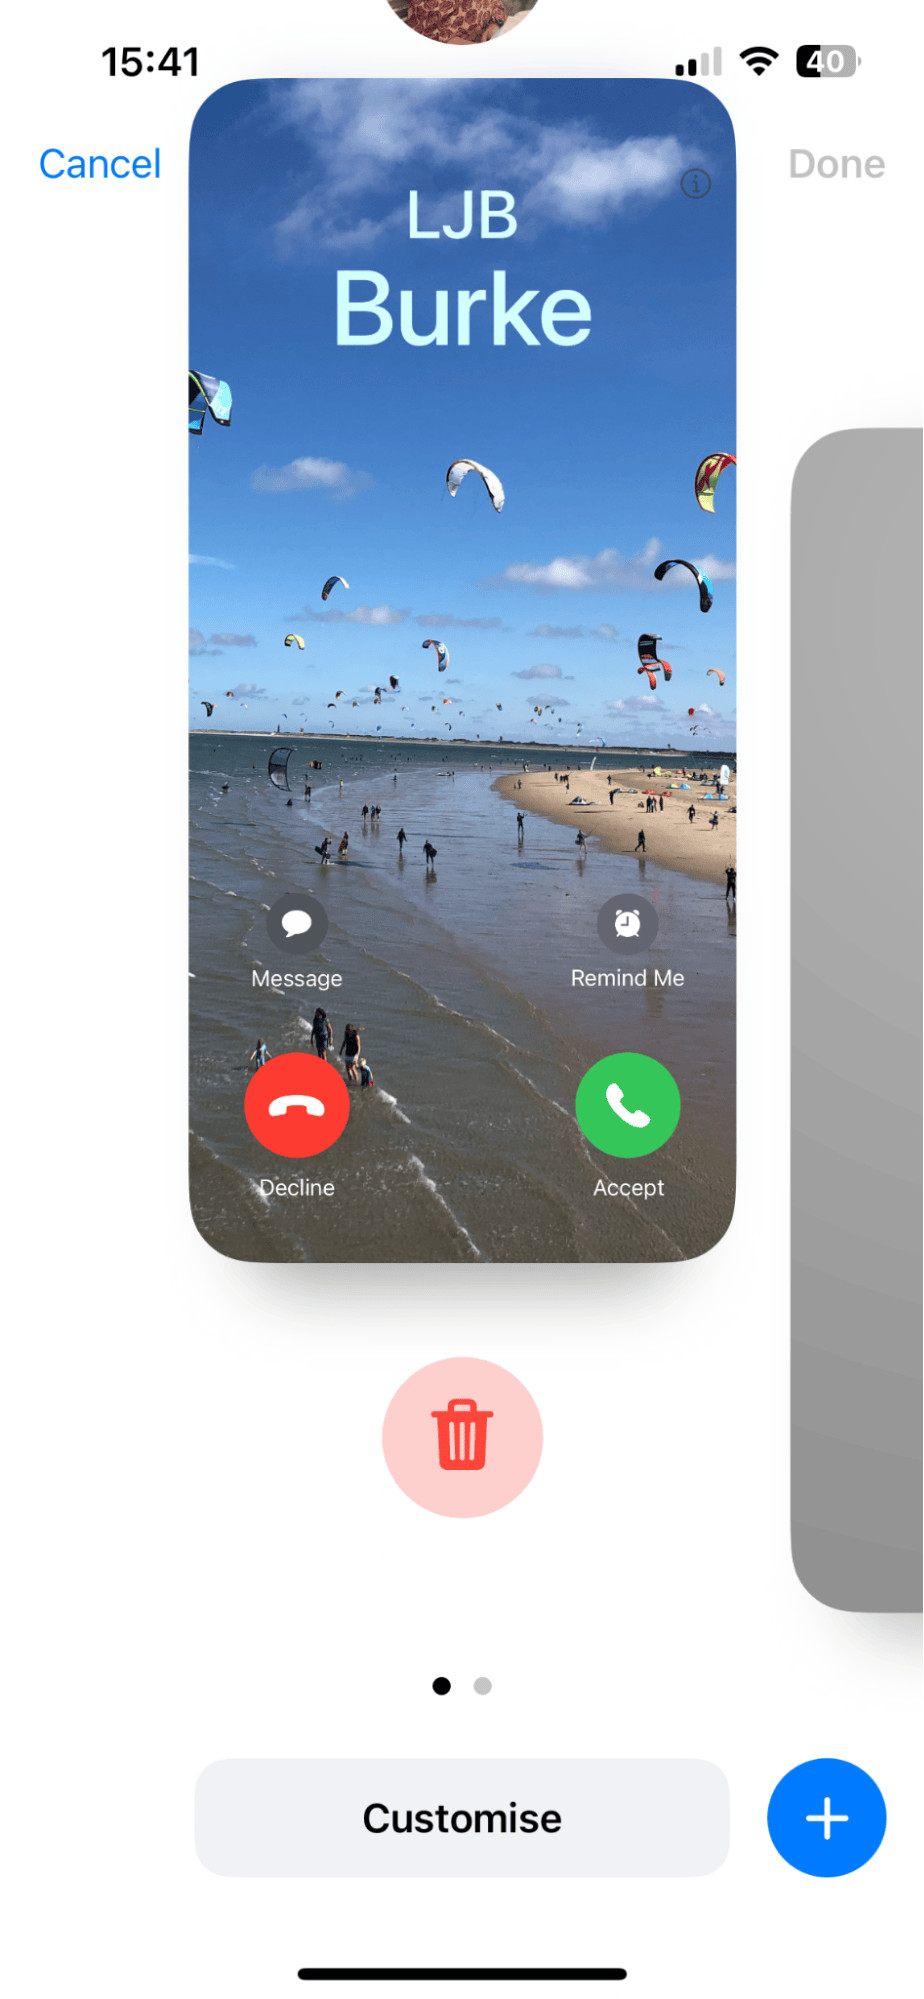
Delete the Current Photo and Poster: Swipe upwards on the contact photo and poster combination you wish to remove. This action will reveal a red trash can icon.
-
Confirm Deletion: Tap the red trash can icon. This will delete your current contact photo and poster. Your contact card will revert to the default visual setting.
That’s all it takes to remove your contact photo! It’s a quick and easy process. Next, let’s look at how to add photos to your individual iPhone contacts, further enhancing your contact list’s visual appeal.
Adding Photos to Your Individual iPhone Contacts
Within your Contacts app, when you select an individual contact, you’ll typically see a gray circle containing their monogram initials, especially if they haven’t set up their own contact photo and shared it with you. This default view can be quite generic. Customizing these individual contact photos can make your contact list more visually engaging and easier to navigate. Here’s how to add photos to your iPhone contacts:
 Adding a contact photo to a specific contact on iPhone
-
Open Contacts and Select a Contact: Launch the “Contacts” app. Find and select the specific contact you wish to customize from your contact list.
-
Enter Edit Mode: Once you’ve selected the contact, tap “Edit” located at the top right corner of the contact details screen. This will allow you to modify the contact’s information, including adding a photo.
-
Add a Photo: Underneath the monogram initials, you will see an “Add Photo” option. Tap on “Add Photo.” You will now be presented with several options: you can choose a photo from your camera roll, create a Memoji to represent the contact, or customize their monogram.
-
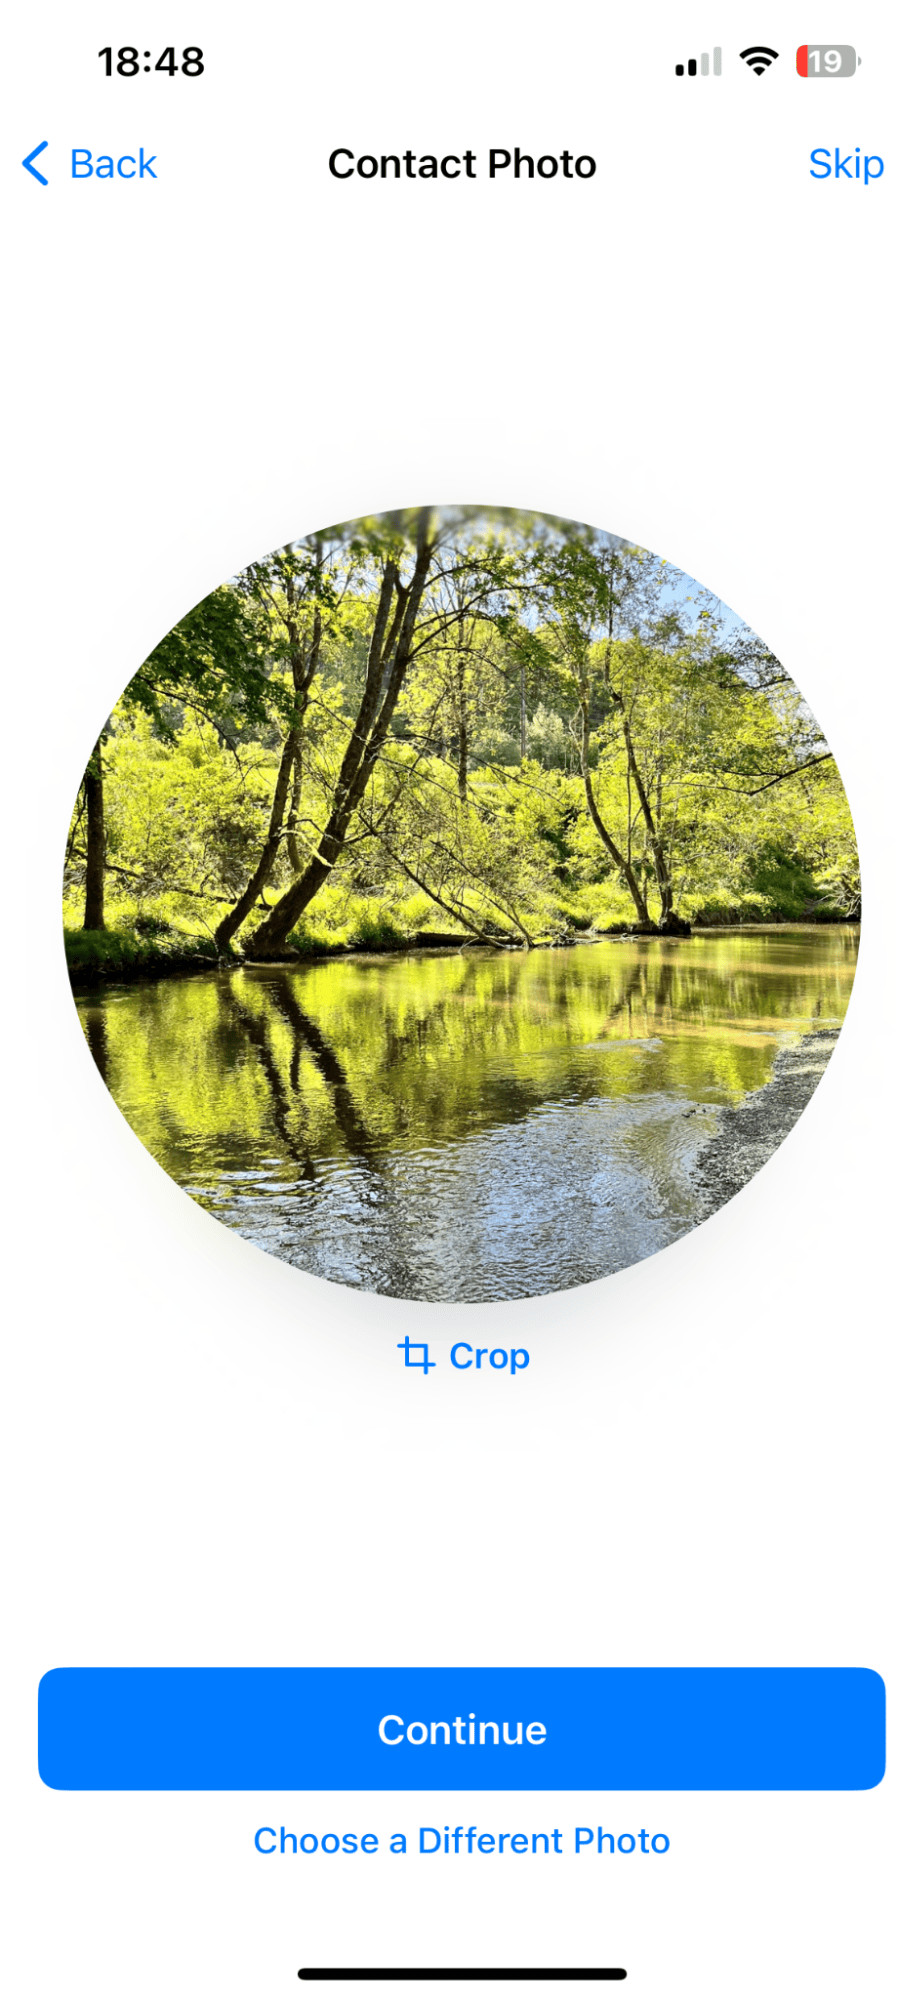
Choose a Photo from Your Library: If you select “Photos,” you can browse through your camera roll to find a suitable image for this contact. Select the desired image. This image will initially be used to create their contact poster. Tap “Continue” to proceed to creating their contact photo.
-
Finalize and Save: Adjust the photo as needed within the circular frame for the contact photo. Once you are satisfied with the photo, tap “Done” in the top right corner to save your changes. The contact will now have a personalized photo associated with their name in your contact list.
While searching for the perfect contact images, you might have noticed a large number of similar or duplicate photos in your photo library. This is a common issue for many iPhone users and can lead to unnecessary storage consumption. Let’s address how to quickly manage this.
Quick Tip: Remove Duplicate and Similar Photos on Your iPhone
Many iPhone users accumulate a vast number of photos over time, often including numerous duplicate and similar images. These redundant photos can take up significant storage space on your device. Fortunately, there are efficient ways to manage and remove these unwanted images, freeing up valuable storage and improving your iPhone’s performance.
Dedicated apps like CleanMy®Phone are designed to simplify the process of finding and removing duplicate and similar photos. These tools offer features that can scan your photo library and identify redundant images in just a few clicks. Here’s how to use CleanMy®Phone to quickly declutter your photos:
Removing Duplicate Photos Quickly
- Install and Open CleanMy®Phone: First, download and install the CleanMy®Phone app from the App Store. Once installed, open the application.
- Initiate Smart Scan: In the app, navigate to the “Declutter” section and select “Scan.”
- Choose Duplicates: From the scan options, select “Duplicates.” The app will now scan your photo library specifically for duplicate images.
- Review and Clean: After the scan, review the identified duplicate photos. Select the duplicates you wish to remove and tap “Clean.” The app will then safely remove the selected duplicate photos, freeing up space on your iPhone.
Managing and Removing Similar Photos
- Navigate to Organize: In the CleanMy®Phone app, this time select the “Organize” module from the main menu.
- Start Scanning: Tap “Scan” to begin the process of analyzing your photo library for similar images.
- Access Similar Photos Category: After scanning, browse through the different categories presented and select “Similar” from the top. This will display groups of photos that are visually similar.
- Select and Clean: Review the groups of similar photos. Select the photos you want to delete – perhaps the lower quality versions or less appealing shots within a similar group. Tap “Clean” to remove the selected similar photos.
By regularly removing duplicate and similar photos, you not only free up storage space but also help optimize your iPhone’s performance. A decluttered iPhone tends to operate more efficiently and faster.
FAQs: Updating Your Contact Photo on iPhone
What should I do if the option to add a contact photo is missing?
If you cannot find the option to add or change a contact photo, ensure that your iPhone is updated to the latest version of iOS. Older versions might not support the latest contact photo features. Go to “Settings” > “General” > “Software Update” to check for and install any available updates.
Can my contact photo be synced across all my Apple devices?
Yes, to ensure your contact photos are consistent across all your Apple devices, make sure iCloud Contacts is enabled in your iCloud settings. This setting syncs your contacts, including photos, across all devices logged in with your Apple ID. Verify that you are signed into the same Apple ID on all your devices.
Is it possible to add contact photos in bulk?
Currently, iOS does not offer a feature to add contact photos in bulk. Photos must be assigned to contacts individually. However, Apple may introduce bulk editing features in future iOS updates to streamline this process.
By following this comprehensive guide, you can easily change, add, and remove contact photos on your iPhone, as well as manage your photo library for better device performance. Personalizing your contact photos is a simple yet effective way to make your iPhone experience more personal and visually intuitive.