Putting a photo on a cake is a fantastic way to personalize any celebration. This guide, brought to you by dfphoto.net, covers everything from image selection to application, ensuring your cake is both delicious and visually stunning. Learn how to create memorable moments with edible photo cakes using our expert tips and tricks, designed to enhance your baking and visual artistry.
1. Why Put a Photo on a Cake?
Adding a photo to a cake transforms it from a simple dessert into a personalized masterpiece. Here are several reasons why this trend is so popular:
- Personalization: A photo cake adds a personal touch, making it unique and memorable for the recipient.
- Surprise Element: It’s unexpected and delightful, perfect for surprising loved ones on special occasions.
- Conversation Starter: A photo cake is a great conversation piece, sparking stories and memories.
- Emotional Connection: It can evoke strong emotions, especially when the photo features cherished moments or people.
- Celebratory: Ideal for birthdays, anniversaries, graduations, and other milestones, marking the occasion in a special way.
2. Choosing the Right Image for Your Cake
Selecting the perfect image is crucial for creating a stunning photo cake. Keep these factors in mind:
- Size and Shape: Ensure the photo fits well with the cake’s dimensions. A round cake suits circular images, while rectangular cakes work best with landscape photos.
- Image Quality: Opt for high-resolution photos to avoid blurriness. A clear, crisp image will look more appealing on the cake.
- Lighting: Well-lit photos translate better onto edible paper. Avoid dark or overly shadowed images.
- Background: Choose images with simple, uncluttered backgrounds to keep the focus on the main subject.
- Subject Matter: Consider the occasion and the recipient’s preferences. Family photos, pet pictures, or images related to their hobbies are great choices.
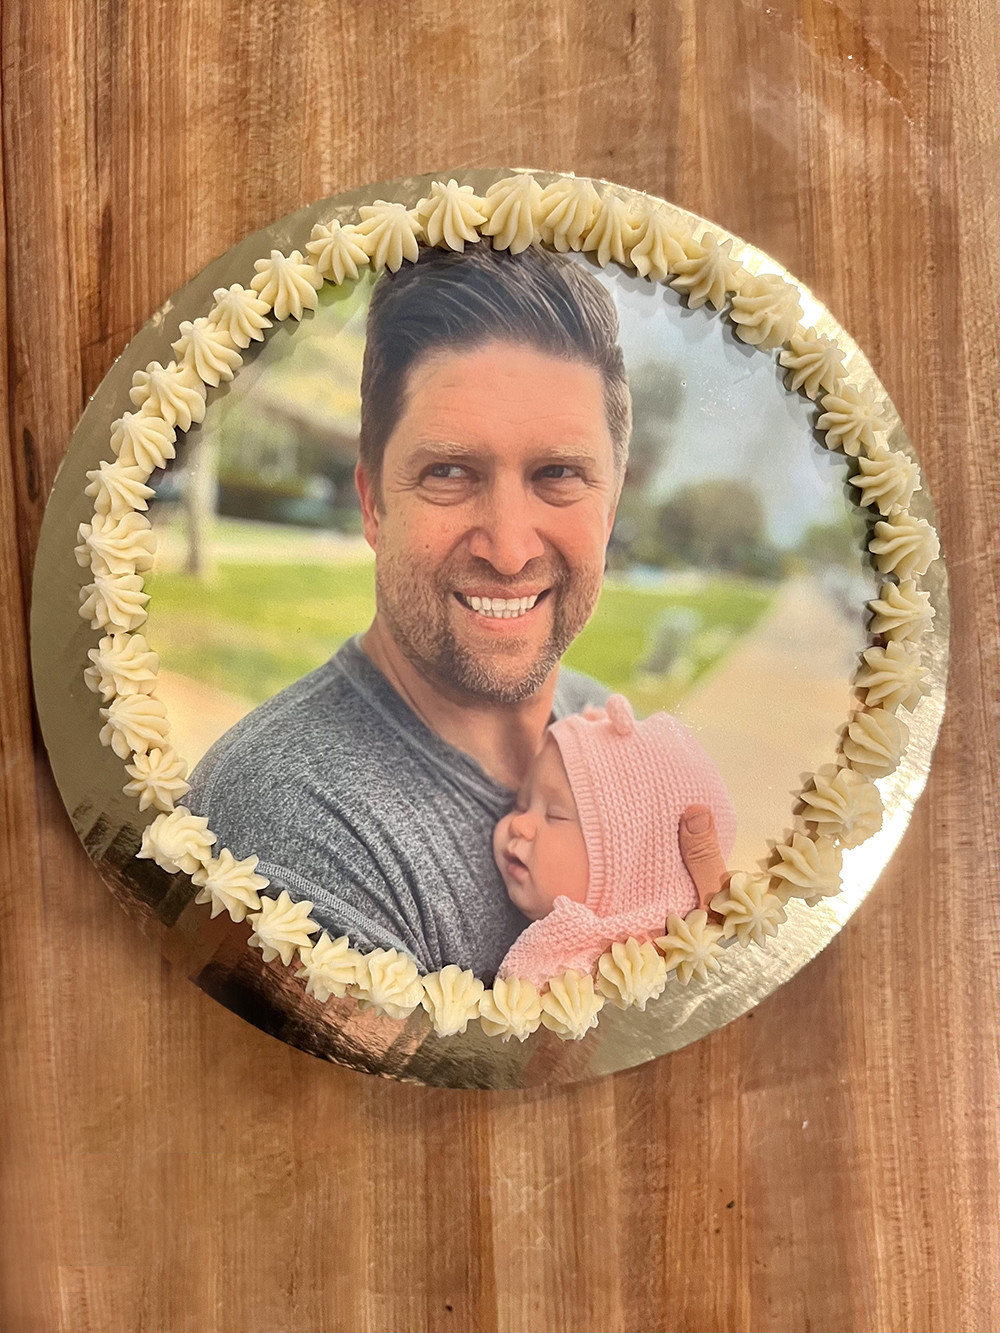
 Father and daughter smiling, perfect for a Father's Day cake with a picture on it
3. How to Prepare Your Image for Printing
Before sending your image for printing, some preparation can significantly enhance the final result. Here’s what to do:
- Cropping: Crop the photo to fit the exact dimensions required for your cake. Use photo editing software to get the perfect size and shape.
- Enhancements: Adjust brightness, contrast, and saturation to make the image pop. Subtle adjustments can make a big difference.
- Text Addition: Add text like “Happy Birthday” or “Congratulations” using a photo editor. Choose a font and color that complement the image.
- Resolution Check: Ensure the image resolution is high enough for printing. A resolution of 300 DPI (dots per inch) is ideal for clear, sharp prints.
- File Format: Save the image in a compatible format like JPEG or PNG. Check with your printing vendor for their preferred file type.
4. Where to Print Your Edible Image: Vendor Selection
Choosing the right vendor to print your edible image is essential for a high-quality result. Consider these factors:
- Reputation: Look for vendors with positive reviews and testimonials. Check online forums and social media for feedback.
- Edible Inks and Papers: Ensure the vendor uses FDA-approved edible inks and papers. Quality materials ensure safety and vibrant colors.
- Printing Technology: Inquire about the type of printers they use. High-resolution edible printers produce sharper and more detailed images.
- Customization Options: Check if they offer customization options like cropping, text addition, and color correction.
- Turnaround Time and Shipping: Consider the turnaround time and shipping options. Choose a vendor that can deliver the image on time for your event.
5. Making the Perfect Cake: A Baker’s Foundation
The type of cake you choose is entirely up to your personal preference. Here are a few ideas to get you started:
- Sheet Cake: Easy to decorate and great for large gatherings.
- Round Cake: A classic choice that’s perfect for circular images.
- Multi-Layer Cake: Adds height and drama, ideal for special occasions.
- Cupcakes: Individual servings that are easy to customize.
Icing options are equally varied:
- Buttercream: A classic, versatile choice that’s easy to work with.
- Fondant: Provides a smooth, professional finish, perfect for detailed designs.
- Whipped Cream: Light and airy, best for cakes that will be served immediately.
- Cream Cheese Frosting: Tangy and rich, pairs well with many cake flavors.
 Vanilla cake frosted with buttercream, ready for an edible image
6. Step-by-Step Guide: Applying the Edible Image to Your Cake
Applying the edible image correctly ensures a seamless and professional look. Follow these steps:
- Prepare Your Cake: Ensure the cake is fully frosted and the icing is smooth. If the icing has formed a crust, lightly dampen it with a pastry brush.
- Prepare the Image: Remove the edible image from its packaging. Allow it to sit for a few minutes to dry slightly, making it easier to peel from the backing sheet.
- Peel the Image: Gently peel the edible image from the backing sheet. If it sticks, try the freezer or hairdryer trick (see below).
- Position the Image: Carefully position the image on the cake, starting from the center and smoothing outwards.
- Smooth Out Bubbles: Use your fingers or a smooth tool to gently smooth out any bubbles or wrinkles.
- Finishing Touches: Pipe a border around the image to hide any visible edges and add a polished look.
7. Troubleshooting: Common Issues and Solutions
Sometimes, applying an edible image can present challenges. Here are some common issues and how to resolve them:
- Image Sticks to Backing Sheet:
- Solution: Place the sheet in the freezer for 10-15 seconds or use a hairdryer on low heat to help release the image.
- Bubbles and Wrinkles:
- Solution: Gently smooth them out with your fingers or a soft, smooth tool.
- Tears in the Image:
- Solution: Don’t panic! Gently press the edges together and smooth them out. The tear will become less noticeable over time.
- Colors Running:
- Solution: Avoid over-wetting the cake or the image. Use a dry pastry brush to smooth the surface.
8. Storing Your Edible Photo Cake: Keep it Fresh
Proper storage is crucial to maintaining the quality and appearance of your edible photo cake. Here are some tips:
- Avoid Refrigeration: Refrigerating edible images can cause them to become brittle or the colors to run.
- Room Temperature Storage: Store the cake at room temperature in an airtight container to prevent it from drying out.
- Protect from Light: Keep the cake away from direct sunlight to prevent the colors in the image from fading.
- Short-Term Storage: For best results, serve the cake within 24-48 hours of applying the edible image.
- Freezing (with caution): If you must freeze the cake, wrap it tightly in plastic wrap and then foil. Thaw it slowly in the refrigerator, uncovered, to minimize condensation.
9. Creative Ideas for Photo Cakes: Beyond the Basics
While a simple photo cake is always a hit, consider these creative ideas to take your cake decorating to the next level:
- Themed Cakes: Create a themed cake around the photo. For example, a sports-themed cake for a photo of someone playing their favorite sport.
- Collage Cakes: Use multiple photos to create a collage on the cake. This is great for milestone birthdays or anniversaries.
- 3D Elements: Add 3D elements around the photo, such as fondant figures or edible decorations, to create a more dynamic design.
- Photo and Message Combination: Combine the photo with a heartfelt message or inside joke to make the cake even more personal.
- Interactive Cakes: Incorporate edible QR codes that link to videos or messages for an interactive surprise.
10. The Science Behind Edible Images: What You Need to Know
Understanding the science behind edible images can help you make informed decisions and achieve the best results. Here’s a breakdown:
- Edible Paper: Edible paper is typically made from rice paper or potato starch. These papers are thin, flexible, and safe to consume.
- Edible Inks: Edible inks are made from food-grade dyes that are approved for consumption. They come in various colors and are designed to produce vibrant, long-lasting images.
- Printing Process: Edible images are printed using special printers that use edible inks. These printers are designed to produce high-resolution images on edible paper.
- FDA Approval: Always ensure that the edible paper and inks you use are FDA-approved. This guarantees that they are safe for consumption. According to the Food and Drug Administration (FDA), food color additives must meet strict safety standards before they are approved for use in food.
- Storage Conditions: Proper storage is essential to prevent the edible image from drying out or becoming brittle. Keep it in a sealed bag at room temperature and away from direct sunlight.
11. DFPHOTO.NET: Your Resource for Stunning Visual Creations
At dfphoto.net, we’re passionate about helping you create visually stunning moments, whether it’s through photography or personalized cakes. We understand the power of visual storytelling and offer resources to inspire and educate. Here’s how we can assist you:
- Photography Tutorials: Learn tips and techniques for capturing the perfect photos to use on your cakes.
- Image Editing Guides: Discover how to enhance your photos using software like Canva or Photoshop.
- Vendor Recommendations: Find trusted vendors for printing your edible images.
- Creative Inspiration: Explore our gallery of photo cake ideas for inspiration.
- Community Forum: Connect with other cake decorators and photographers to share ideas and get feedback.
12. SEO Optimization for Photo Cake Content: Reach a Wider Audience
To ensure your photo cake content reaches a wider audience, it’s important to optimize it for search engines. Here are some SEO tips:
- Keyword Research: Use tools like Google Keyword Planner to identify popular keywords related to photo cakes.
- Content Optimization: Incorporate relevant keywords into your content, including the title, headings, and body text.
- Image Optimization: Use descriptive alt tags for your images to improve search engine visibility.
- Link Building: Build high-quality backlinks to your content to improve your website’s authority.
- Mobile Optimization: Ensure your website is mobile-friendly to provide a seamless user experience on all devices.
- Social Media Promotion: Share your content on social media platforms to drive traffic and engagement.
13. Photo Cake Safety: Essential Guidelines
Ensuring the safety of your photo cake is paramount. Follow these guidelines to protect your consumers:
- Use FDA-Approved Materials: Always use edible paper and inks that are FDA-approved to ensure they are safe for consumption.
- Check Expiry Dates: Verify the expiry dates of all edible materials to avoid using expired products.
- Maintain Hygiene: Practice strict hygiene when handling edible materials and decorating the cake.
- Allergen Awareness: Be aware of potential allergens in the edible paper and inks, and clearly label your cake if it contains any common allergens.
- Storage Conditions: Store the cake in a clean, dry environment away from direct sunlight to prevent contamination.
14. Addressing Customer Concerns: FAQs About Photo Cakes
Answering frequently asked questions can help alleviate customer concerns and build trust. Here are some common questions and answers:
- Are edible images safe to eat?
- Yes, edible images are made from FDA-approved food-grade materials and are safe for consumption.
- How long do edible images last on a cake?
- Edible images can last for several days on a cake if stored properly in an airtight container at room temperature.
- Can I refrigerate a cake with an edible image?
- It’s best to avoid refrigerating a cake with an edible image, as it can cause the colors to run or the image to become brittle.
- Can I customize the image on my cake?
- Yes, most vendors offer customization options, allowing you to add text, crop the image, or create a collage.
- How do I apply the edible image to my cake?
- Gently peel the image from the backing sheet and apply it to the frosted cake, smoothing out any bubbles or wrinkles.
15. Case Studies: Successful Photo Cake Creations
Examining successful photo cake creations can provide inspiration and practical insights. Here are a few case studies:
- Birthday Celebration: A customer ordered a photo cake featuring a childhood photo of the birthday celebrant. The cake was a surprise hit and brought back many fond memories.
- Anniversary Milestone: A couple celebrated their 50th anniversary with a photo cake featuring a picture from their wedding day. The cake was a touching tribute to their enduring love.
- Corporate Event: A company used photo cakes featuring their logo to celebrate a successful product launch. The cakes were a creative way to promote their brand.
- Graduation Party: A family celebrated their child’s graduation with a photo cake featuring a picture of the graduate in their cap and gown. The cake was a proud moment for the entire family.
- Pet Memorial: A pet owner honored their beloved pet with a photo cake featuring a picture of the pet. The cake was a comforting way to remember their furry friend.
16. Advanced Techniques: Creating Stunning Effects
For those looking to elevate their photo cake skills, here are some advanced techniques:
- Airbrushing: Use edible airbrush colors to create stunning backgrounds and accents around the photo.
- Wafer Paper Flowers: Add delicate wafer paper flowers to your cake for an elegant touch.
- Edible Glitter: Sprinkle edible glitter on your cake to add sparkle and glamour.
- Piping Techniques: Master advanced piping techniques to create intricate borders and designs around the photo.
- 3D Modeling: Use fondant or modeling chocolate to create 3D elements that complement the photo.
17. The Legal Aspects: Copyright and Usage Rights
Understanding the legal aspects of using photos on cakes is crucial to avoid copyright infringement. Here are some guidelines:
- Personal Photos: You can freely use personal photos that you have taken yourself.
- Copyrighted Images: If you want to use copyrighted images, you need to obtain permission from the copyright holder.
- Royalty-Free Images: Consider using royalty-free images from stock photo websites, which allow you to use the images for commercial purposes without paying royalties.
- Fair Use: Be aware of the fair use doctrine, which allows you to use copyrighted material for certain purposes, such as criticism, commentary, or education.
- Attribution: Always give credit to the photographer or copyright holder when using their images.
18. Future Trends: Innovations in Photo Cake Technology
The world of photo cakes is constantly evolving, with new technologies and innovations emerging. Here are some future trends to watch out for:
- 3D Printing: 3D printing technology is being used to create intricate edible decorations and personalized cake toppers.
- Edible Scanners: Edible scanners can scan images and print them directly onto cakes, eliminating the need for edible paper.
- Augmented Reality: Augmented reality apps can overlay digital content onto photo cakes, creating interactive and immersive experiences.
- Smart Cakes: Smart cakes can incorporate sensors and displays to provide real-time information or interactive games.
- Personalized Nutrition: Technology is being developed to create photo cakes that are tailored to individual nutritional needs and dietary restrictions.
19. Community Engagement: Sharing Your Photo Cake Creations
Engaging with the photo cake community can provide inspiration, feedback, and support. Here are some ways to get involved:
- Online Forums: Join online forums and communities dedicated to cake decorating and photography.
- Social Media: Share your photo cake creations on social media platforms like Instagram, Facebook, and Pinterest.
- Cake Competitions: Participate in cake competitions to showcase your skills and gain recognition.
- Workshops and Classes: Attend workshops and classes to learn new techniques and connect with other cake decorators.
- Collaborations: Collaborate with other artists and creators to develop unique and innovative photo cake designs.
20. Maximizing Your Investment: ROI on Photo Cakes
For businesses, understanding the return on investment (ROI) for photo cakes is essential. Here are some strategies to maximize your ROI:
- Pricing Strategy: Develop a pricing strategy that balances profitability with customer affordability.
- Marketing and Promotion: Invest in marketing and promotion to attract new customers and drive sales.
- Customer Loyalty Programs: Implement customer loyalty programs to reward repeat customers and encourage referrals.
- Upselling and Cross-selling: Offer upsells and cross-sells, such as additional decorations or matching cupcakes, to increase revenue.
- Inventory Management: Practice efficient inventory management to minimize waste and maximize profitability.
21. dfphoto.net: Connect, Create, and Celebrate
Visit dfphoto.net to explore a world of photography and creative expression. Whether you’re looking for inspiration, education, or a community of like-minded individuals, we have something for everyone.
Address: 1600 St Michael’s Dr, Santa Fe, NM 87505, United States
Phone: +1 (505) 471-6001
Website: dfphoto.net
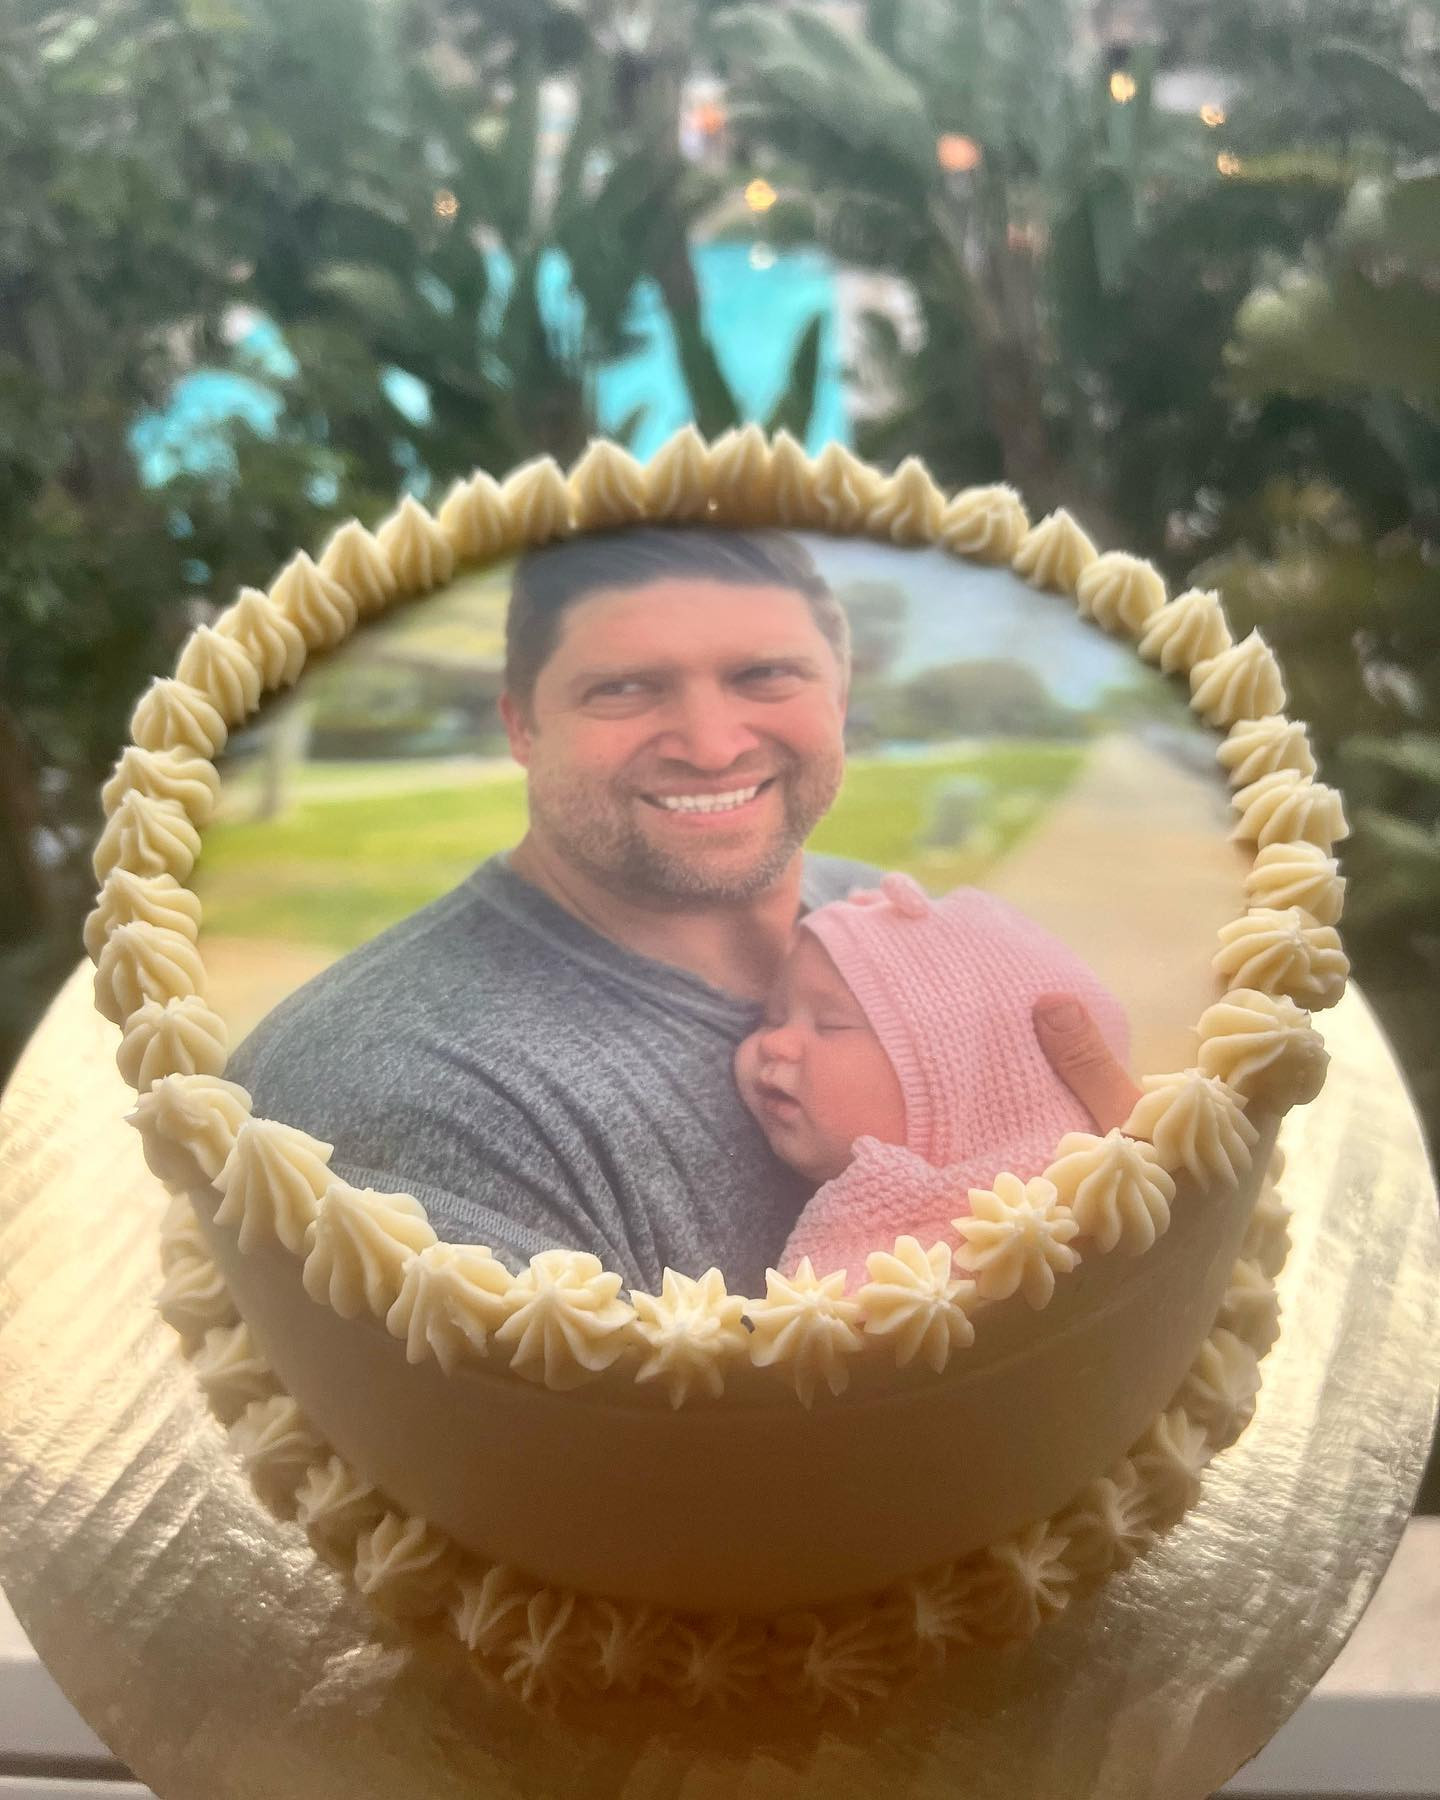 Piping frosting on a cake with a photo, adding finishing touches
22. Call to Action: Start Your Photo Cake Journey Today!
Ready to create your own stunning photo cake? Visit dfphoto.net for inspiration, tutorials, and resources to help you get started. Explore our photography guides, image editing tips, and vendor recommendations. Join our community and share your creations with the world.
FAQ: Putting Photos on Cakes
1. What kind of icing works best for edible images?
Buttercream, fondant, sugar paste, royal icing, and glaze icing all work well with edible images.
2. How do I store an edible photo before applying it to the cake?
Keep the edible photo in its sealed bag at room temperature and away from direct light to preserve color vibrancy.
3. What do I do if the edible image doesn’t peel easily from the backing sheet?
Place the frosting sheet into a cold freezer for 10 to 15 seconds or use a hairdryer on the front and reverse sides of the backing sheet on high heat for 30-40 seconds.
4. Can I apply an edible image to an ice cream cake?
Yes, but allow the ice cream to “sweat” a bit or mist it with milk before applying the image for best results.
5. How can I prevent bubbles or wrinkles when applying the image?
Gently smooth out any bubbles or wrinkles with dry fingers after placing the image on the cake.
6. What should I do if I accidentally tear the edible image?
Rub the tear very gently with a dry finger; it will merge back together and disappear after an hour or so.
7. How long does it take for the picture to blend into the icing?
After a few hours, the picture will blend into the icing, but the time may vary depending on how dry your icing is.
8. Can I refrigerate a cake with an edible image?
It is not recommended to refrigerate edible images as it may affect the image quality.
9. Where can I get high-quality edible images printed?
There are many online vendors that specialize in printing edible images. Research and choose a reputable company for the best results.
10. What file format is best for printing edible images?
JPEG and PNG are common file formats, but check with your printing vendor for their preferred file type.
More Posts You’ll Love
Explore more creative DIY ideas and inspiration with these related posts from our blog:
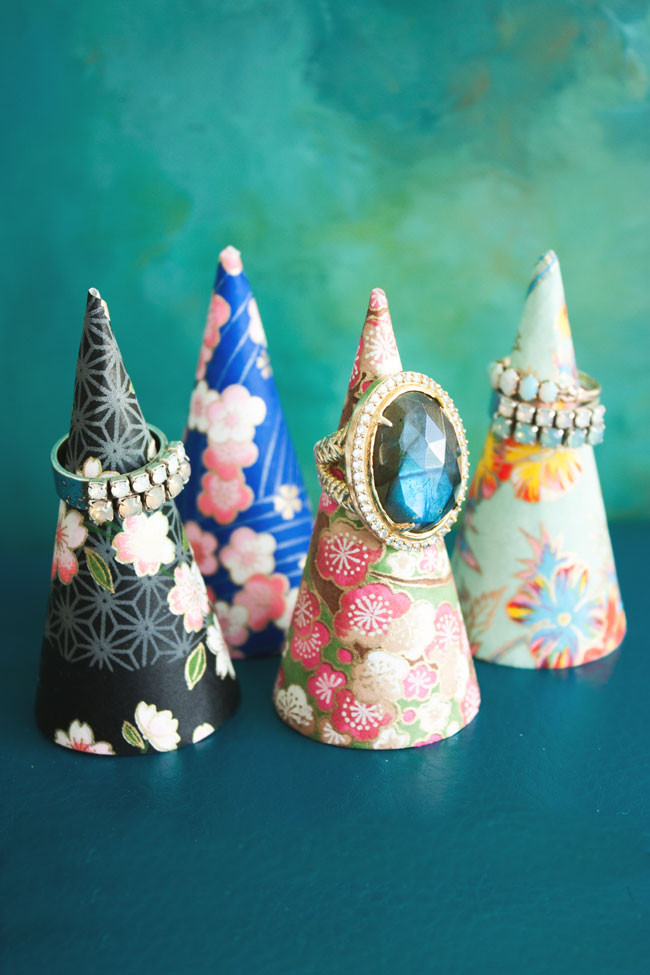
DIY Ring Holder
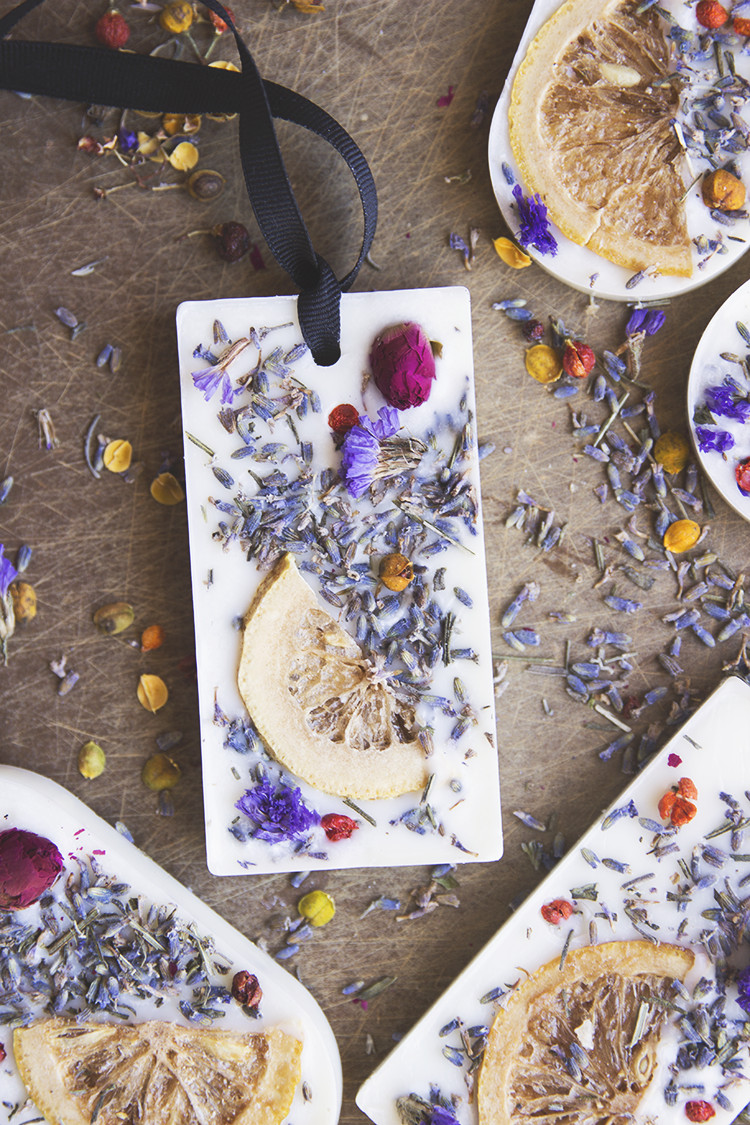
Wax Sachet DIY with Lavender, Rose & Lemon
DIY Mason Jar Bouquets
[