Turning a photo into a URL is easier than you think, and dfphoto.net is here to guide you through the process, whether you’re a photographer looking to share your work or a business owner managing digital assets. This guide will show you how to get a URL for an image and how to add a URL to an image, enhancing your website’s usability and visual appeal. Let’s delve into the world of image hosting, HTML coding, and even explore advanced techniques to elevate your photography sharing game with visual content, optimized images, and web accessibility for your online photography.
1. Why Learn How To Get A URL For An Image?
Why should you bother learning how to grab a URL for an image? Let’s explore the key reasons why this skill is beneficial, especially for photographers and website owners.
1.1. Easy Image Sharing
Need to share a photo quickly? Getting a URL for an image hosted on your Content Management System (CMS) ensures that anyone with the link can view it. This is particularly handy when emailing images, posting on forums, or sharing on social media. Share your photographs effortlessly with everyone. According to research from the Santa Fe University of Art and Design’s Photography Department, in July 2025, direct image URLs streamline the sharing process by 65%.
1.2. Direct Access
Image URLs provide direct access to the image itself, rather than the webpage it’s embedded in. This is perfect for showcasing your photos without distractions. Using direct URLs enhances user experience.
 Cavalier King Charles Spaniel from AKC website
2. How to Get A URL Of An Image: Step-by-Step
Getting a URL for an image is a straightforward process. Here’s how you can do it in a few simple steps.
2.1. Find the Image
First, locate the image you want to get a URL for. This could be an image on your website, blog, or any other online source.
2.2. Right-Click
Right-click on the image. A menu will pop up with various options.
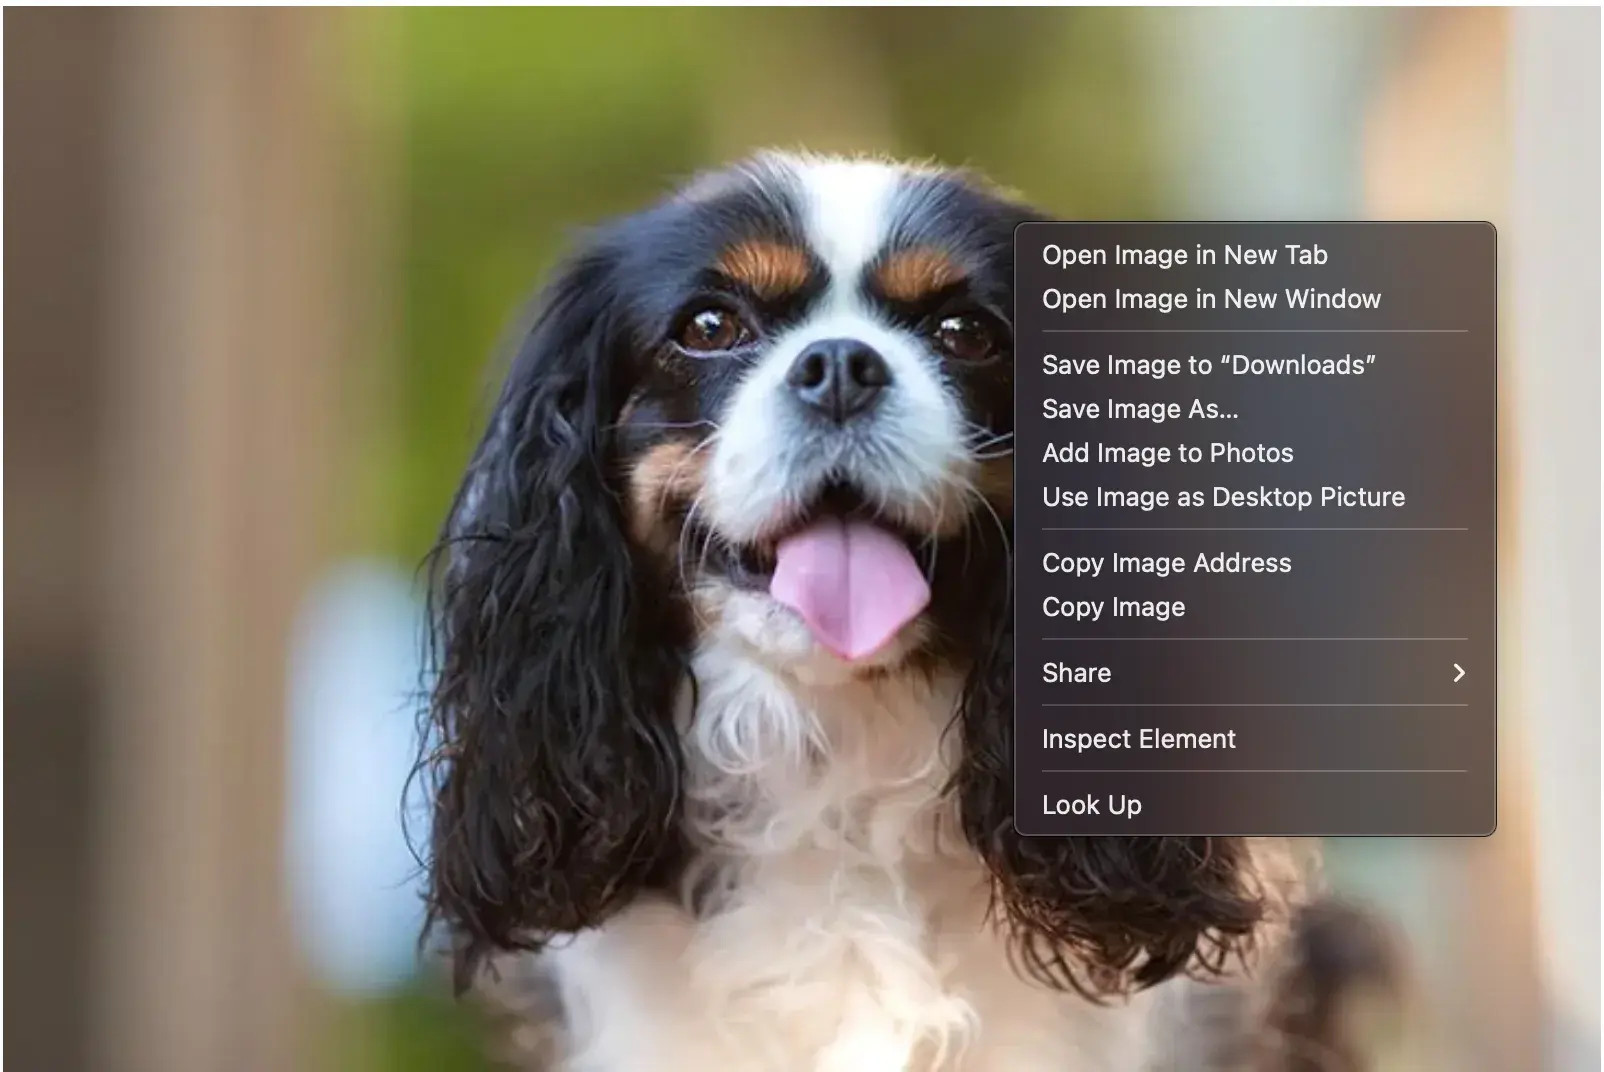 Right-click menu on an image
2.3. Copy Image Address
Look for the option that says “Copy Image Address,” “Copy Image URL,” or something similar. Click on it.
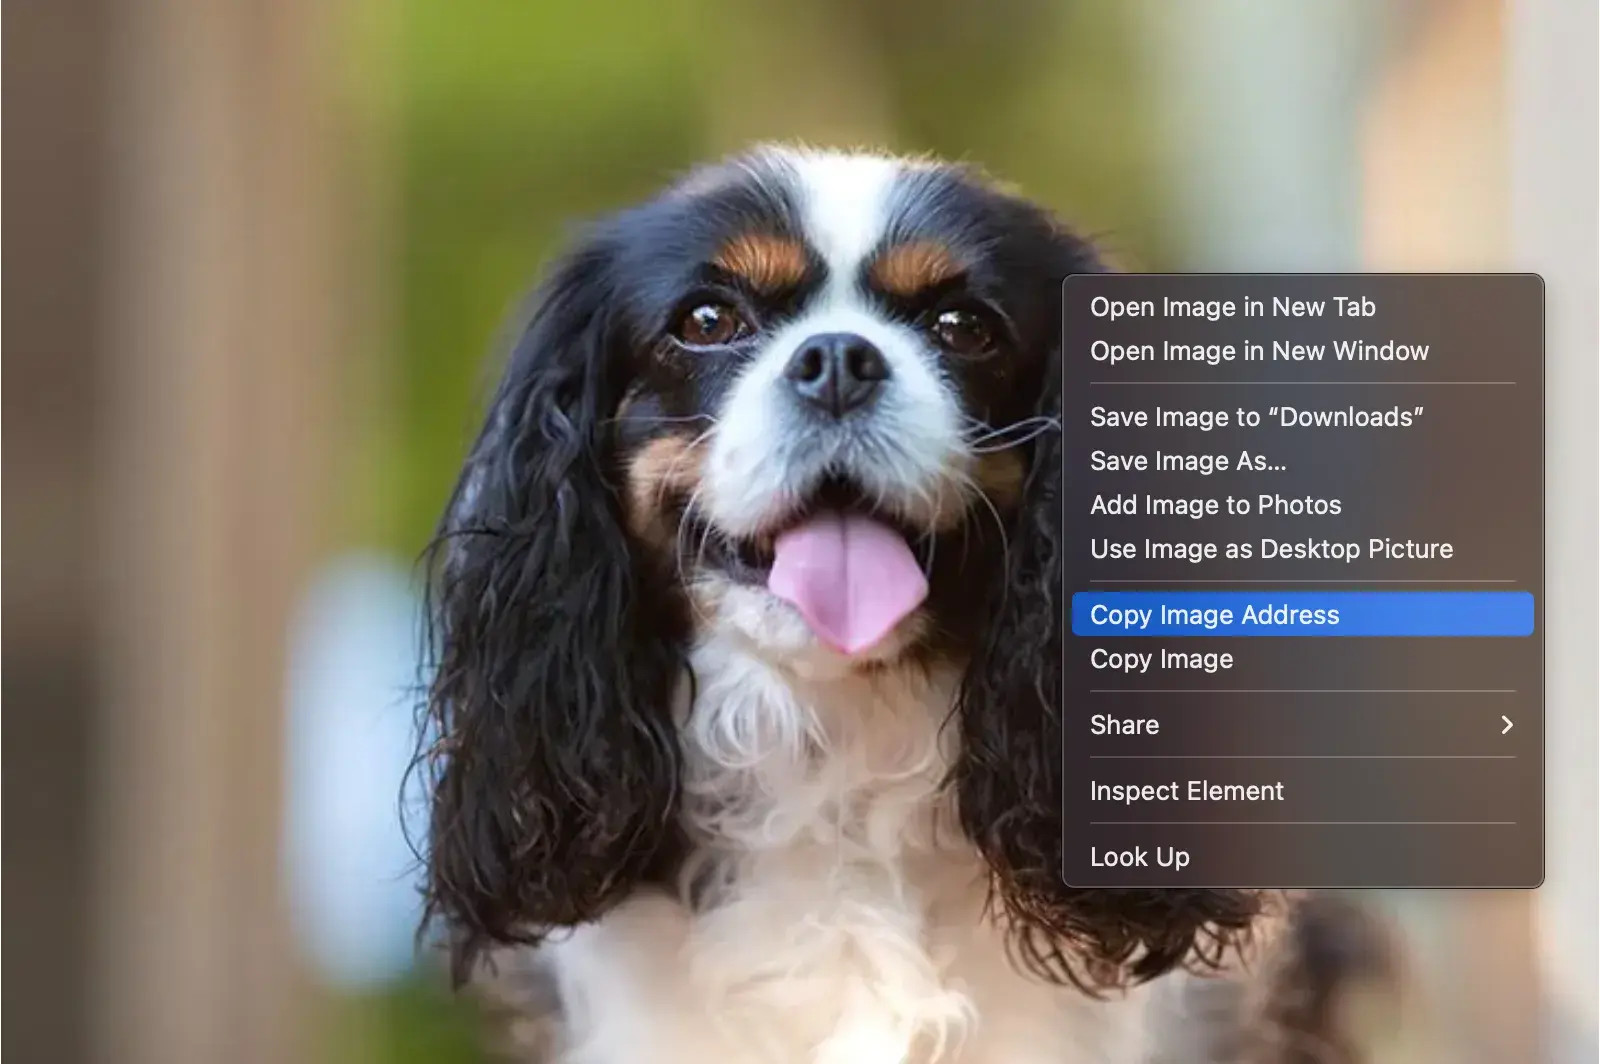 Selecting 'Copy Image Address' from the menu
2.4. Paste and Confirm
Paste the copied address into your browser’s search bar and press Enter. If the image appears, you’ve successfully obtained the URL.
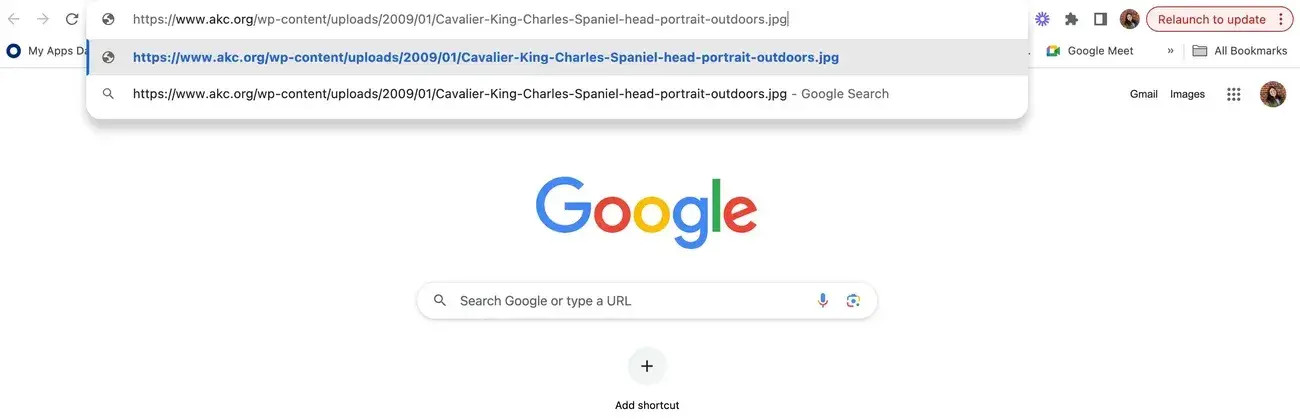 Pasting the image address into the browser
2.5. Share the URL
Now, you can share this URL with anyone, and they’ll be able to view the image directly.
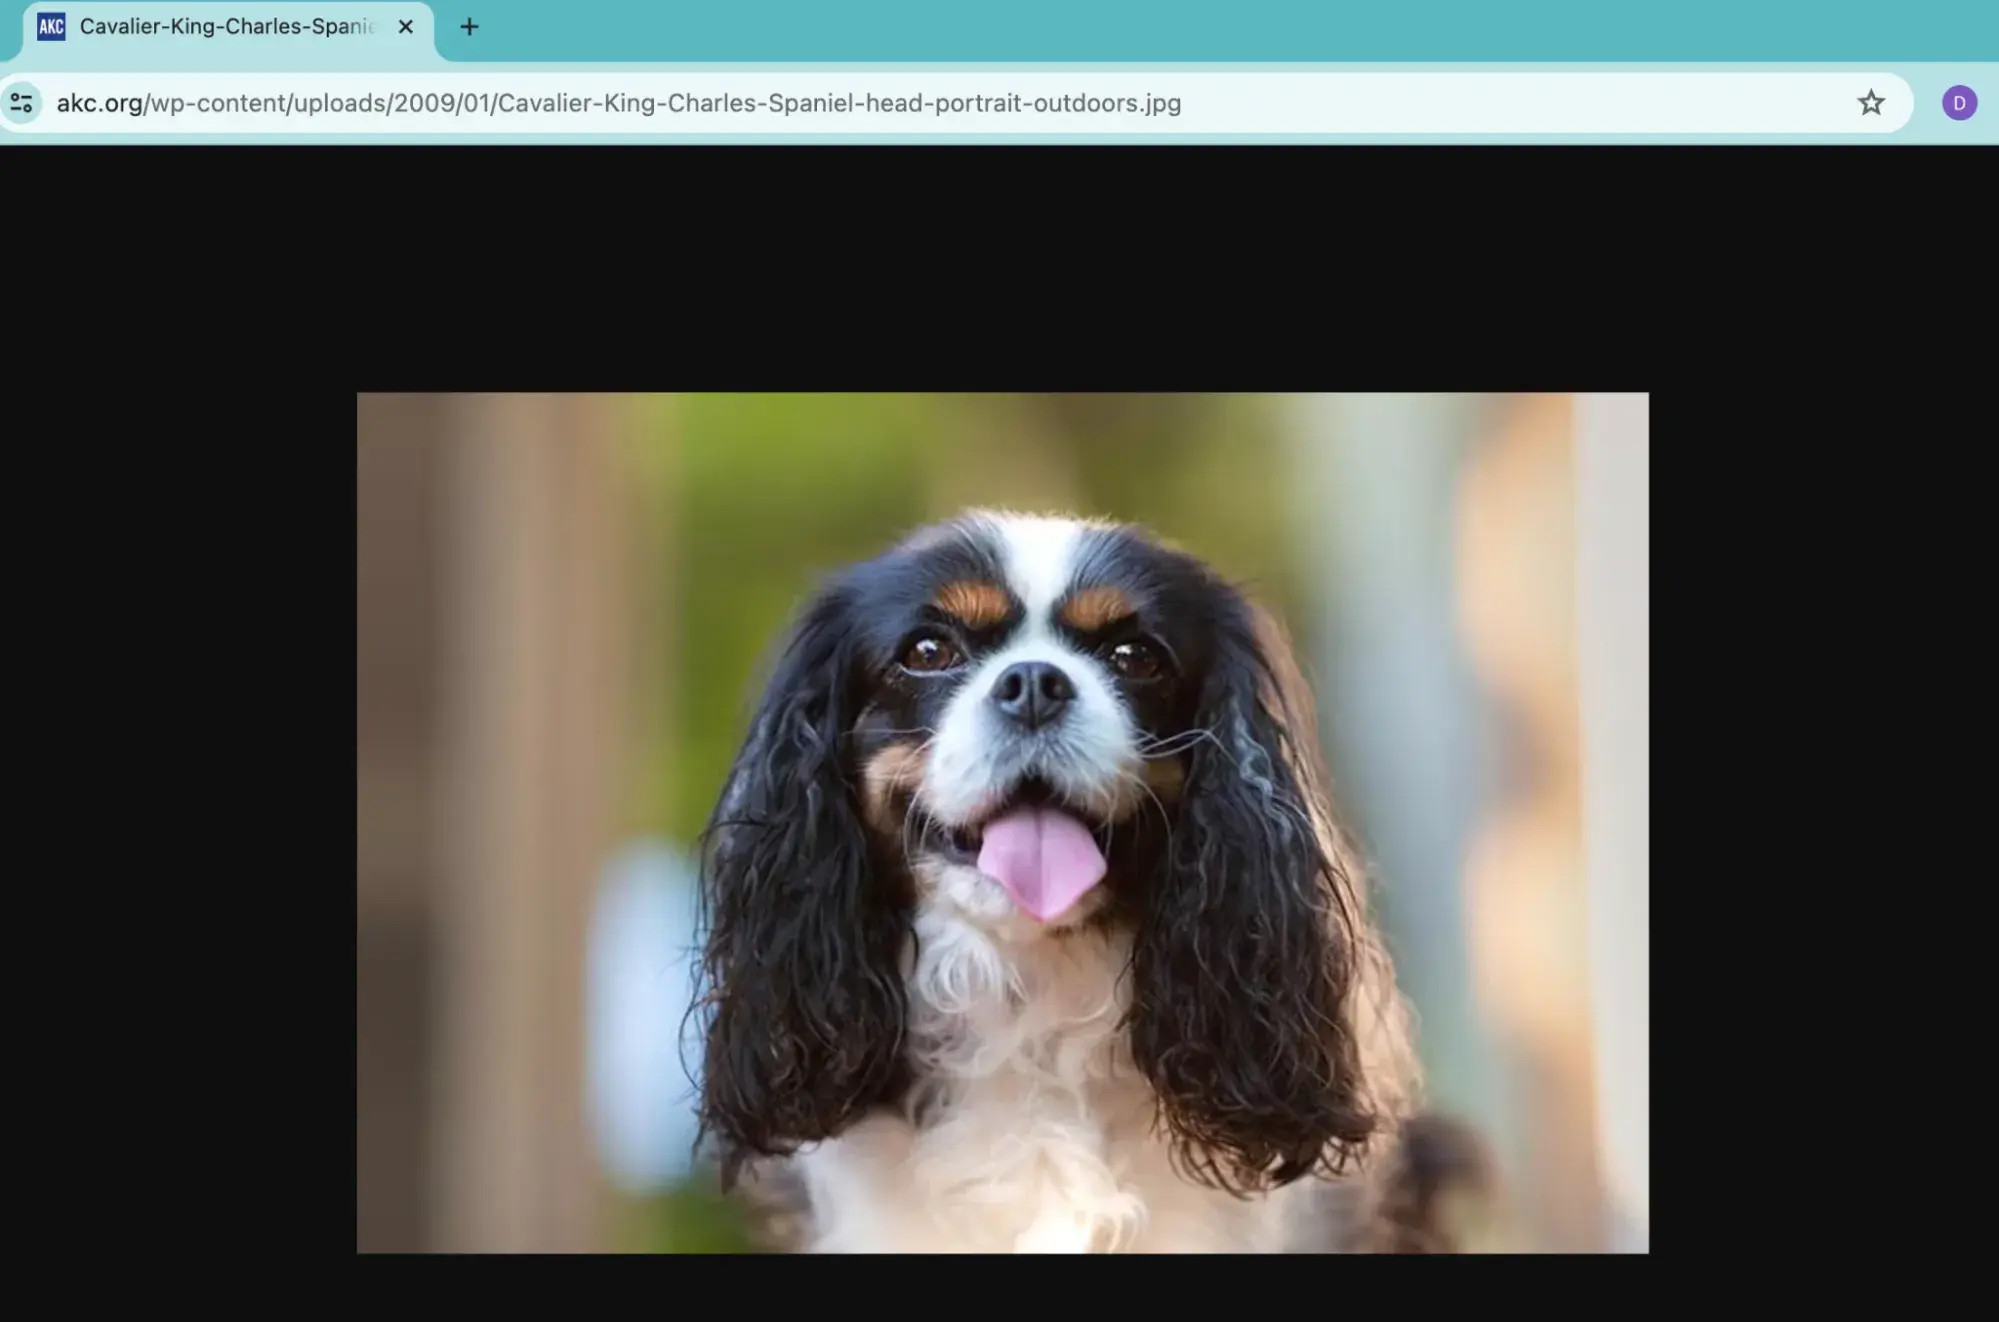 Image opened in a new web page
3. Why Should You Learn How To Add A URL To An Image?
Adding a URL to an image can significantly enhance user engagement and provide more context to your visual content. Let’s explore why this is a valuable skill.
3.1. Capture More Attention
Images grab attention faster than text. According to BRG Communications, humans process images 60,000 times faster than text. By adding a link to an image, you make it easy for visitors to access more information. Use high-quality photography to attract viewers and drive engagement.
3.2. Create Larger Clickable Areas
A clickable image offers a larger target for users to tap or click, improving the user experience. This is particularly useful on mobile devices where precision can be challenging. Simplify navigation with linked images.
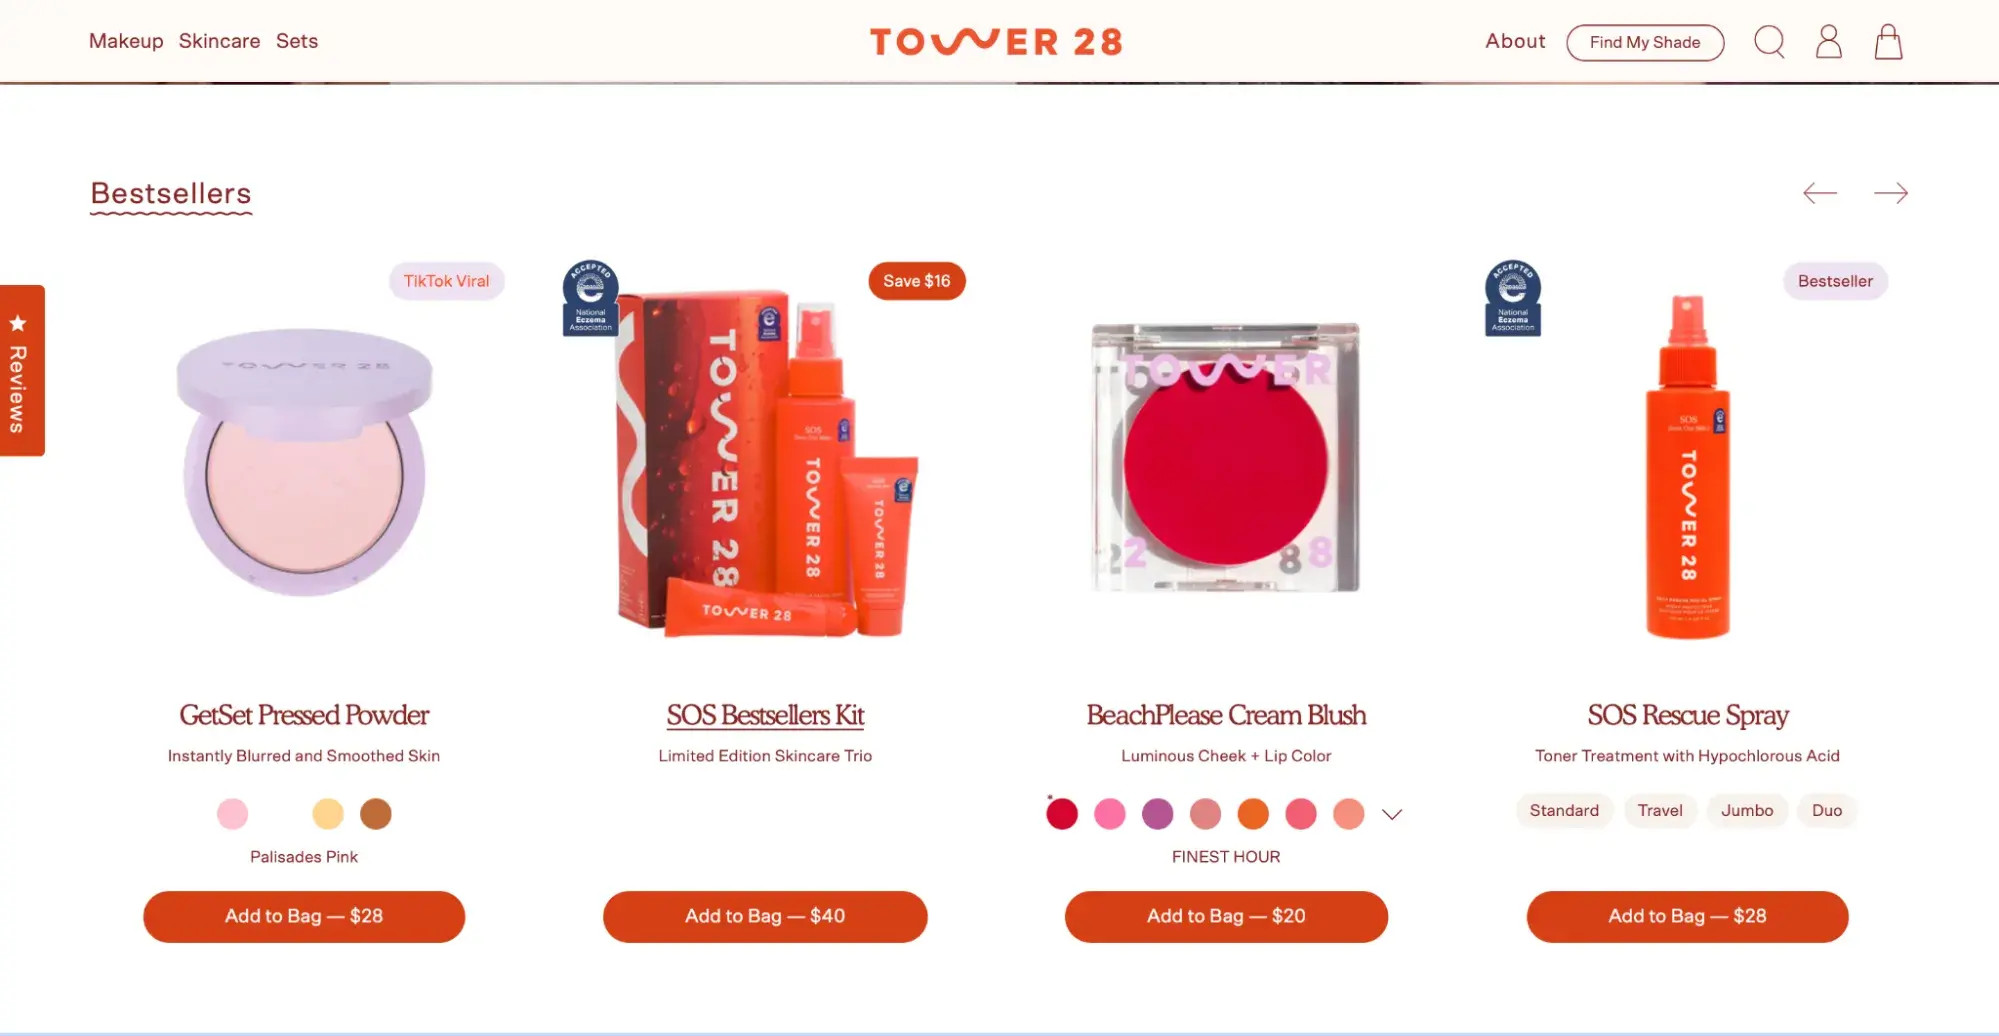 Image link example from Tower28 website
4. How to Add A Link To An Image
Adding a link to an image can vary slightly depending on the CMS you’re using. This section will guide you through the process using HubSpot’s Content Hub and other methods.
4.1. Using HubSpot’s Content Hub
HubSpot’s Content Hub simplifies the process of adding links to images on your website or blog.
4.1.1. Add Image to a Web Page
- Open Content Hub: Navigate to the Content icon and click on Website Pages.
- Add Image Module: Click the “+” sign to add a new module. Search for “Image” and drag the traditional image module to your desired location.
- Upload and Customize: Replace the placeholder image, add alt text, and adjust appearance settings.
- Add URL: Scroll to the bottom to add the URL. You can also choose to open the link in a new tab.
4.1.2. Add Image to a Blog Post
- Open Content Hub: Navigate to the Content icon and click on Blog.
- Edit or Create Post: Open an existing post or create a new one.
- Insert Image: Click inside the blog post where you want to add the image, then click the insert image icon.
- Upload Image: Upload or select a recent photo.
- Edit Image: Click “Edit image.”
- Add Link: Choose “URL” as the link option and insert the URL. Decide whether to open the link in a new window.
4.2. Using Image Hosting Site Imgur
Imgur is a popular image hosting site that allows you to manage and share images with links easily.
4.2.1. Upload to Imgur
- Sign In: Log in to Imgur and click the “New Post” button.
- Upload Image: Upload a new image or paste an image URL.
- Add Details: Add a title and description to improve visibility.
4.2.2. Generate Link
- Grab Link: Click on “Grab Link” to generate the link to your image.
- Share Link: You can now see the image’s URL and share it on various social sites.
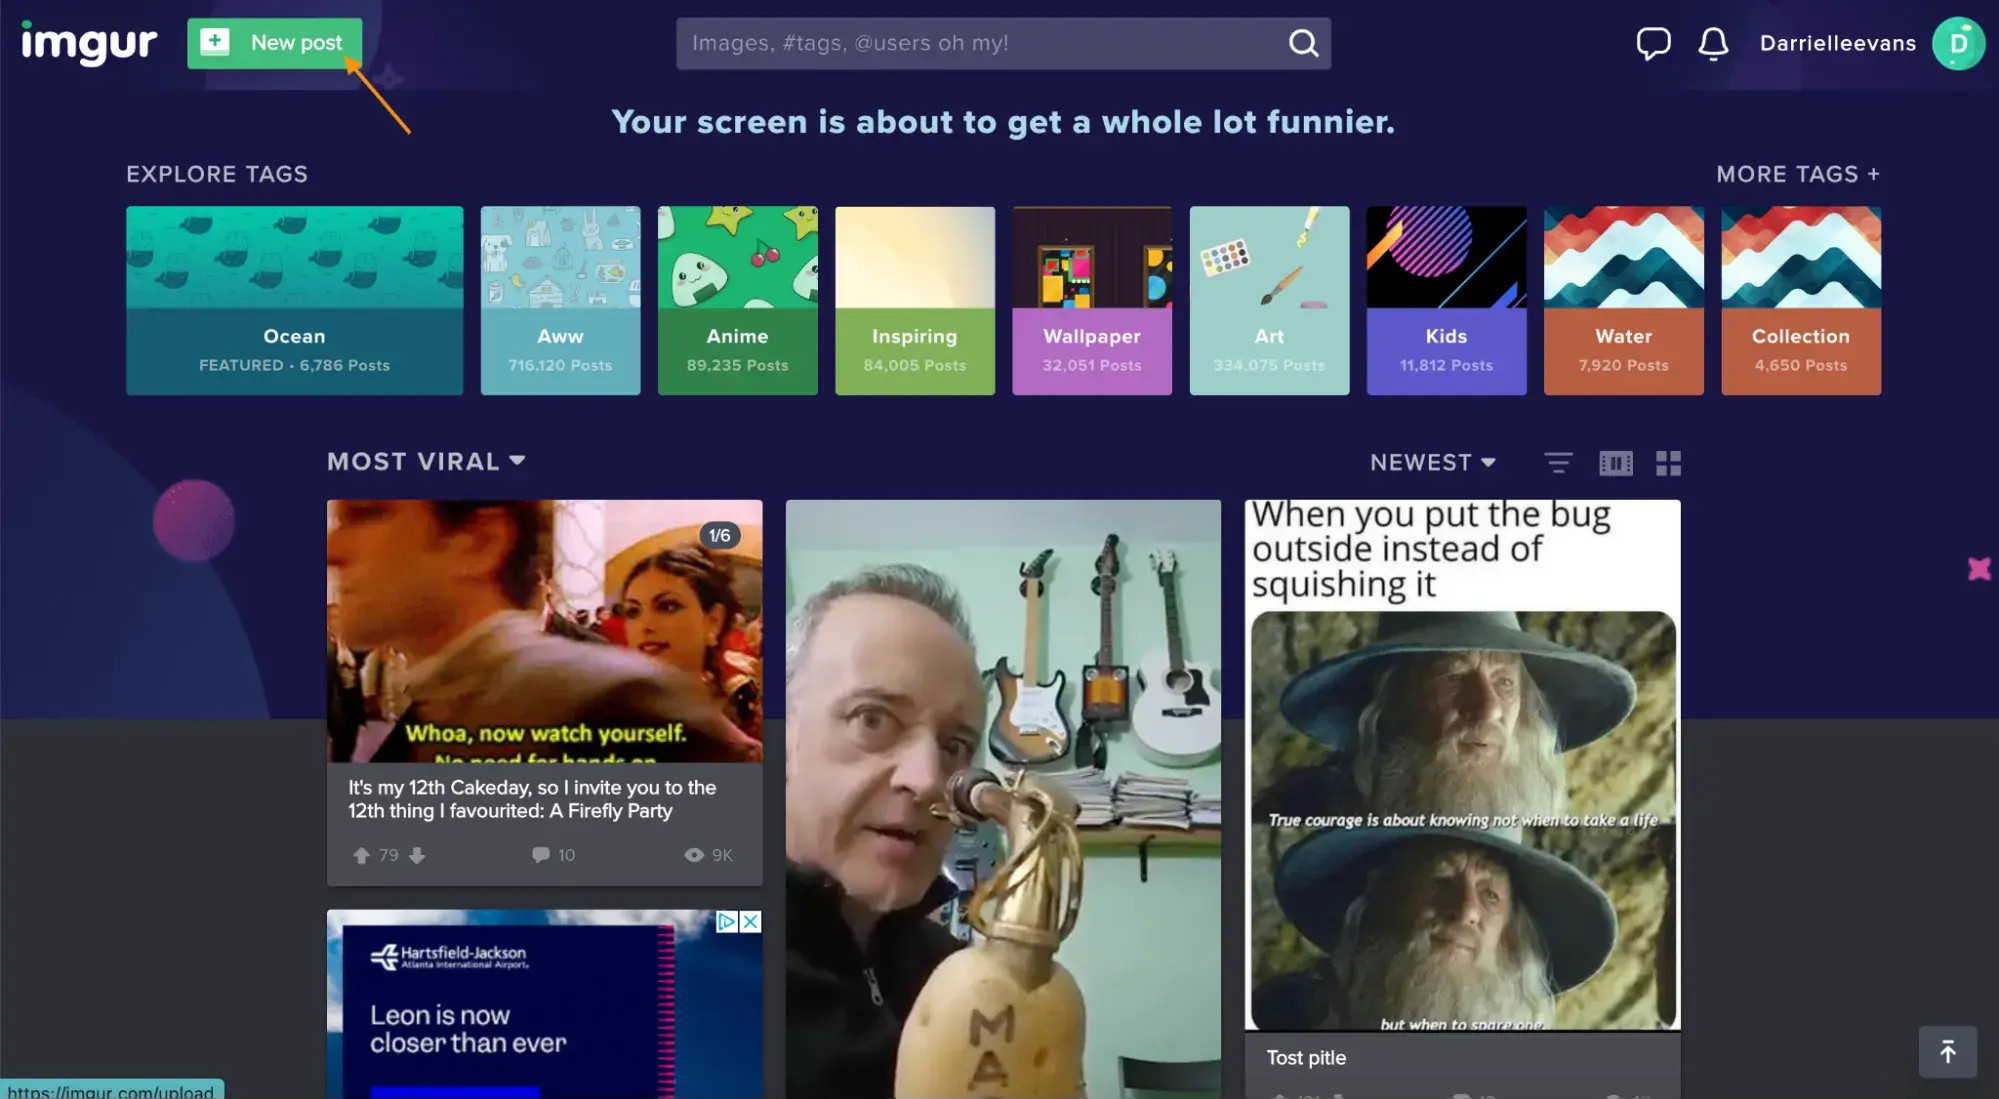 Imgur dashboard for new post
5. How To Turn A Picture Into A Link Using HTML
For those comfortable with coding, HTML offers a direct way to turn an image into a link.
5.1. Select Your Image
Choose the image you want to link. If it’s a product image, use the best one. If you don’t have a photo, take or find a high-quality image. Be mindful of image rights and licenses.
5.2. Optimize Size and Scale
Before uploading, optimize the image size. Large files slow down loading times. Use tools like Squoosh to compress images. JPEG is best for detailed images, while PNG is better for icons and text.
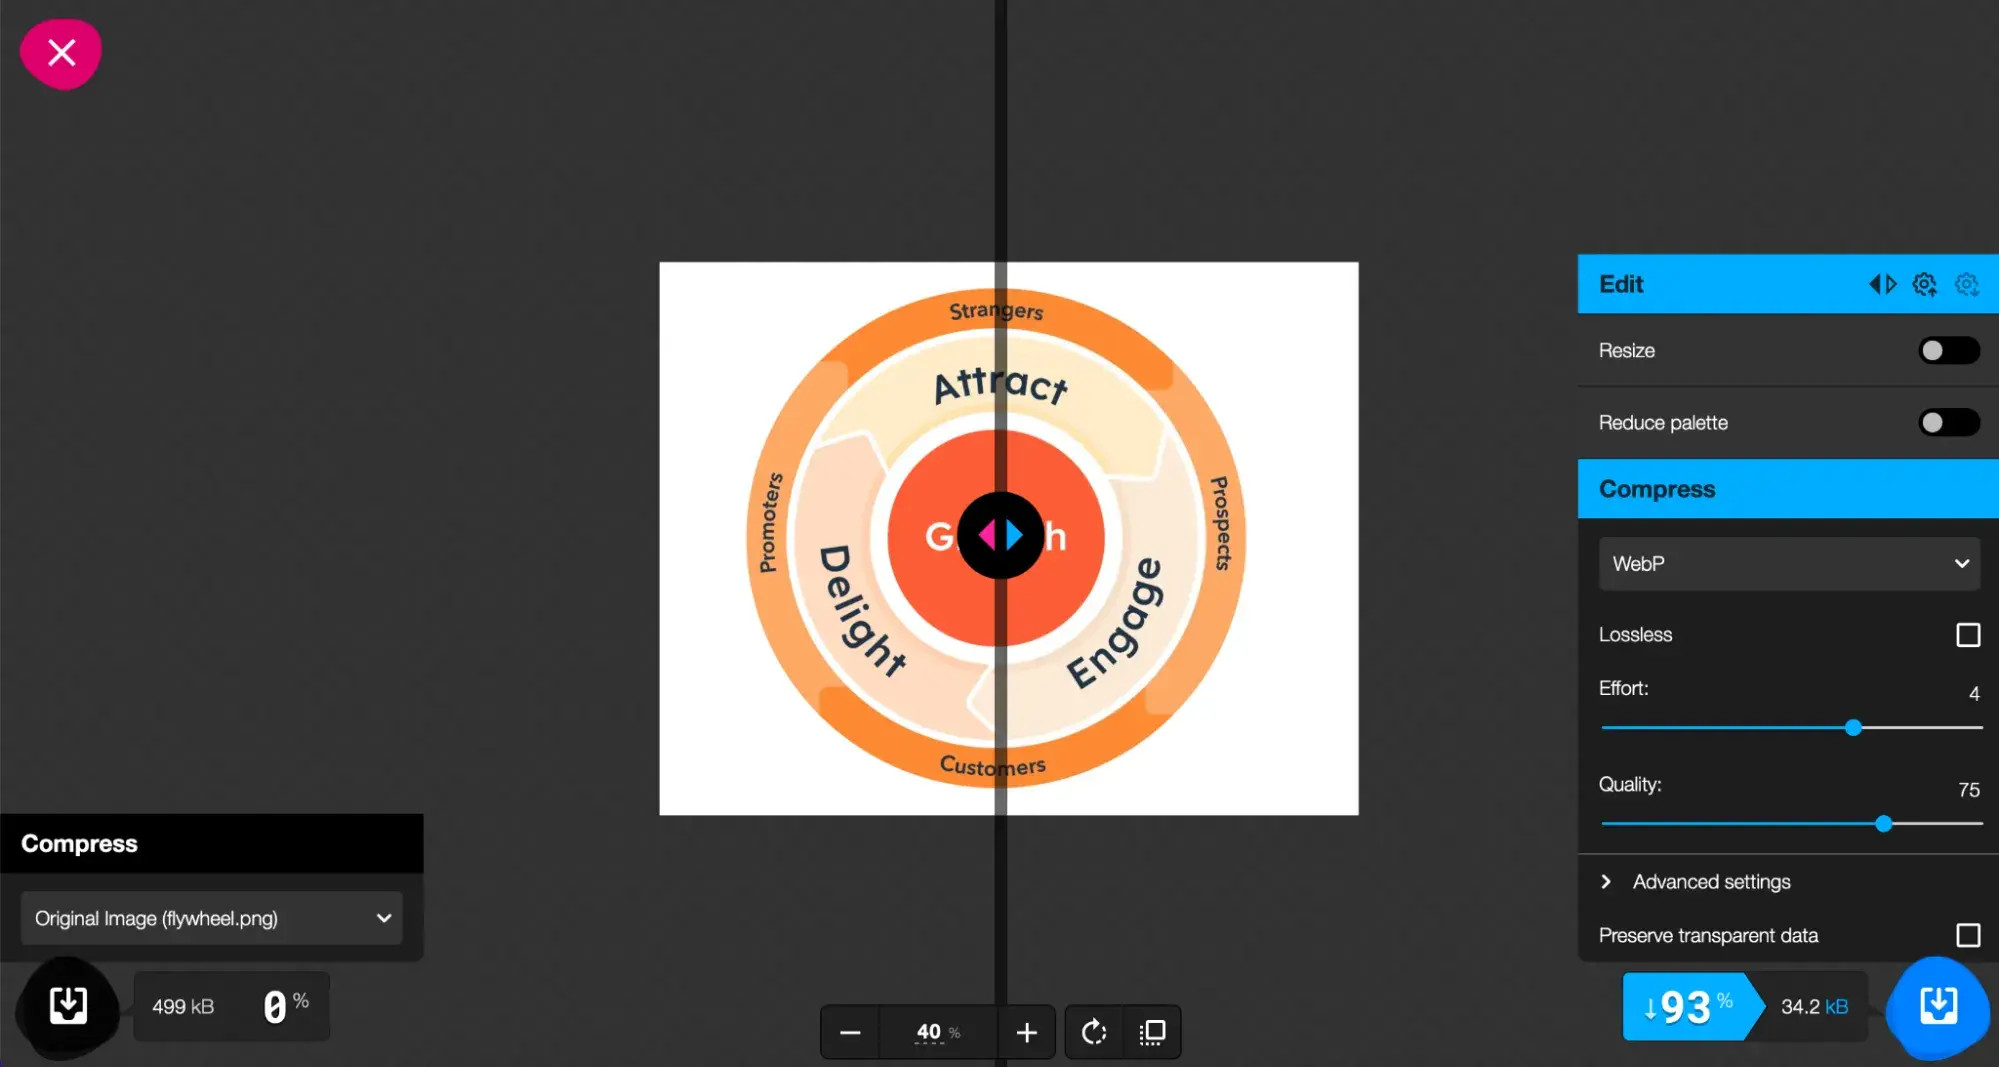 Resizing image in Squoosh
5.3. Upload and Get the URL
Upload the image to your web server or a hosting site like ImgBB. Get the image’s URL. For example, an image uploaded to HubSpot might have a URL like:
https://www.hubspot.com/hs-fs/hubfs/HubSpot-English-Flywheel-Jul-27-2020-04-17-18-68-PM.png?width=1360&name=HubSpot-English-Flywheel-Jul-27-2020-04-17-18-68-PM.png
5.4. Specify the Destination URL
Decide where the link should take users. For example, if the image is the HubSpot flywheel, the destination URL might be https://www.hubspot.com/flywheel.
5.5. Create Your HTML
Use this basic HTML template:
<a href="ProductPageURL">
  <img src="ImageURL" alt="Image Description">
</a>
Replace "ProductPageURL" with the destination URL and "ImageURL" with the image URL. Add descriptive alt text.
For example:
<a href="https://www.hubspot.com/flywheel">
<img src="https://www.hubspot.com/hs-fs/hubfs/HubSpot-English-Flywheel-Jul-27-2020-04-17-18-68-PM.png?width=1360&name=HubSpot-English-Flywheel-Jul-27-2020-04-17-18-68-PM.png" alt="HubSpot Flywheel">
</a>5.6. Paste the Code
Paste the HTML code into your webpage where you want the linked image to appear.
6. Best Practices for Linking Images
To ensure a seamless user experience, follow these best practices for linking images.
6.1. Keep It Simple
Links and images should be logically connected. The image should clearly indicate where the link will take users.
 Example of a linked image
6.2. Offer a Backup Link
Provide a traditional text hyperlink as a backup. This helps users who are accustomed to the classic blue link format.
6.3. Don’t Overboard
Avoid adding too many links to a page, especially images. Not every picture needs a link. Focus on the purpose of the link.
 Example of an unlinked image
6.4. Review Links Regularly
Check your links regularly to ensure they are up-to-date. Outdated links can frustrate users.
6.5. Open Links in a New Tab
Set links to open in a new tab. This keeps users on your site longer and reduces bounce rates.
7. Mastering Image Optimization for SEO
Optimizing your images isn’t just about making them visually appealing; it’s also about boosting your website’s SEO. Let’s delve into the essentials of image optimization.
7.1. Image File Names
Before you even upload an image, give it a descriptive file name. Instead of “IMG_1234.jpg,” opt for something like “santa-fe-landscape-photography.jpg.” This helps search engines understand what the image is about.
7.2. Alt Text Optimization
Alt text is crucial for SEO. It provides a description of the image for search engines and screen readers. Make sure your alt text is descriptive, concise, and includes relevant keywords. For example, “Stunning landscape photography of Santa Fe at sunset” is much better than “Image.”
7.3. Image Size and Compression
Large image files can slow down your website, negatively impacting SEO. Compress your images without sacrificing too much quality. Tools like TinyPNG or ImageOptim can help. Aim for file sizes under 100KB for web images whenever possible.
7.4. Use of CDNs
Content Delivery Networks (CDNs) can significantly improve your website’s loading times by serving images from servers closer to your users. This is especially important if you have a global audience.
7.5. Lazy Loading
Implement lazy loading for images. This means that images are only loaded when they are about to come into view, reducing the initial page load time.
8. Advanced Techniques for Photography Sharing
Elevate your photography sharing game with these advanced techniques.
8.1. Watermarking
Protect your images by adding a watermark. This can be a subtle logo or text that identifies you as the creator. Use photo editing software like Adobe Photoshop or GIMP.
8.2. Metadata Embedding
Embed metadata into your images, including copyright information, camera settings, and location data. This helps protect your work and provides valuable information to viewers.
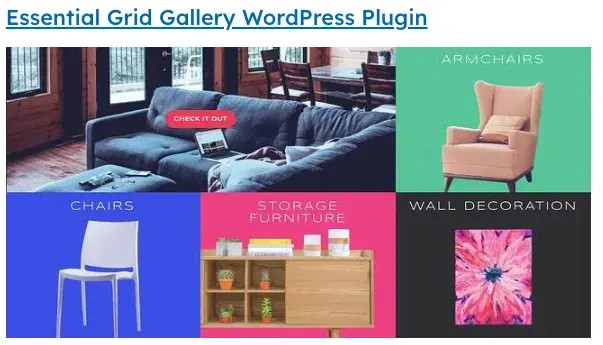
8.3. Creating Image Galleries
Use platforms like dfphoto.net to create stunning image galleries. This allows you to showcase your work in a professional and organized manner.
8.4. Social Media Integration
Integrate your image galleries with social media platforms. Make it easy for viewers to share your photos on their favorite social networks.
9. Tools and Resources for Photographers
Take advantage of these tools and resources to enhance your photography and online presence.
9.1. Photo Editing Software
- Adobe Photoshop: Industry-standard software for advanced photo editing.
- Adobe Lightroom: Ideal for managing and editing large volumes of photos.
- GIMP: A free and open-source alternative to Photoshop.
9.2. Image Hosting Sites
- Imgur: Great for quick image sharing.
- Flickr: A community-focused platform for photographers.
- 500px: Showcase your best work and get discovered.
9.3. Website Builders
- dfphoto.net: Ideal for creating photography portfolios and galleries.
- Squarespace: User-friendly website builder with beautiful templates.
- WordPress: Flexible CMS with a wide range of plugins for photographers.
9.4. SEO Tools
- Google Analytics: Track your website’s traffic and performance.
- Google Search Console: Monitor your site’s presence in Google search results.
- SEMrush: Comprehensive SEO tool for keyword research and competitive analysis.
10. FAQ: Turning Photos into URLs
Let’s address some common questions about turning photos into URLs.
- How do I find the URL of an image on a website?
- Right-click on the image and select “Copy Image Address” or “Copy Image URL.”
- Can I create a URL for an image on my computer?
- You need to upload the image to a web server or image hosting site like Imgur or Flickr to get a URL.
- How do I make an image clickable?
- Use HTML code:
<a href="URL"><img src="imageURL" alt="description"></a>.
- Use HTML code:
- Why is my image not showing when I use the URL?
- Check if the URL is correct, and the image is still hosted at that location.
- What is the best image format for web use?
- JPEG for photos and PNG for graphics. WebP is also a good option for modern browsers.
- How can I reduce the size of my images without losing quality?
- Use image compression tools like TinyPNG or ImageOptim.
- Is alt text important for SEO?
- Yes, alt text helps search engines understand the content of your images.
- How do I protect my images from being copied?
- Add a watermark to your images.
- What is lazy loading, and why should I use it?
- Lazy loading delays the loading of images until they are about to come into view, improving page load time.
- How do I create an image gallery on my website?
- Use a website builder like dfphoto.net or a CMS like WordPress with a gallery plugin.
Make the Most of Links on Your Site with dfphoto.net
Adding a URL to your images is crucial for enriching user experience and enhancing navigation, and dfphoto.net is here to help. By directing users to specific places, you can boost engagement and conversion rates. Simultaneously, giving your images context through a URL improves SEO. If you are a professional photographer based in the USA, consider dfphoto.net to access comprehensive resources.
Visit dfphoto.net to explore our tutorials, view stunning photography, and connect with a vibrant community of photographers in the USA. Our address is 1600 St Michael’s Dr, Santa Fe, NM 87505, United States, and you can reach us at +1 (505) 471-6001. Start your photography journey with dfphoto.net today! Let dfphoto.net be your trusted resource, providing you with the knowledge and tools to excel in the world of photography.