While iPhones are known for taking great photos, you might want to adjust the image quality for various reasons, such as saving storage space or sharing smaller files. Unfortunately, directly changing the resolution or compression level of images within the iPhone’s default camera app isn’t possible. However, there are workarounds to achieve similar results. This article explores methods to effectively manage and alter photo quality on your iPhone.
Utilizing Third-Party Apps
One of the most effective ways to control photo quality on your iPhone is by using third-party camera apps. Many apps available on the App Store offer features that allow you to adjust image resolution, compression settings (like JPEG quality), and even shoot in RAW format. Shooting in RAW provides maximum image data, giving you more control during post-processing. These apps often provide a wider range of control over image parameters compared to the built-in camera app.
 Adjusting photo quality in a third-party app.
Resizing Images with Preview
If you’ve already taken a photo and need to reduce its file size, you can use the Preview app on your Mac. While this doesn’t change the original photo on your iPhone, it creates a smaller copy for sharing or storage.
- Transfer the photo to your Mac.
- Open the photo in Preview.
- Go to Tools > Adjust Size.
- Enter your desired dimensions. Ensure “Scale proportionally” and “Resample image” are checked.
- Save the resized image as a new file to avoid overwriting the original. Choose JPEG format and set the quality to “Best” for optimal results.
 Resizing an image in Preview
Emailing and Messaging Considerations
When you share photos through email or messaging apps, your iPhone automatically reduces the image size to optimize for faster sending and data usage. You might have noticed options like “Actual Size” or “Small,” “Medium,” “Large” when sending pictures. Selecting a smaller size will result in a lower quality image but a significantly reduced file size.
iCloud Photo Library Settings
While iCloud Photo Library doesn’t allow for direct control over the initial capture quality, it does offer options to manage storage space. You can choose to optimize iPhone storage, which keeps smaller, device-optimized versions of photos on your phone while storing the full-resolution originals in iCloud. This can free up significant space on your device.
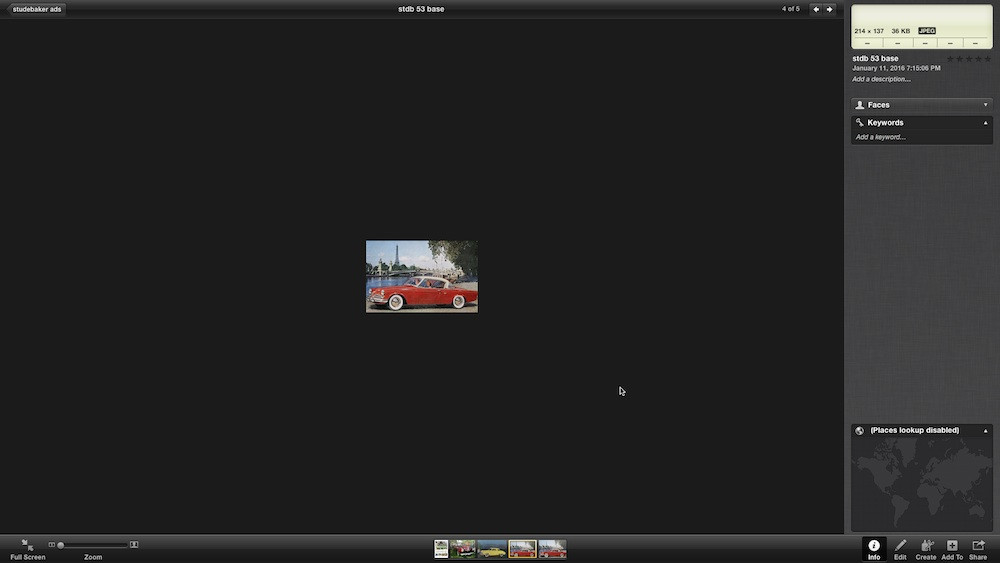
 A very small image upsized to fit the screen
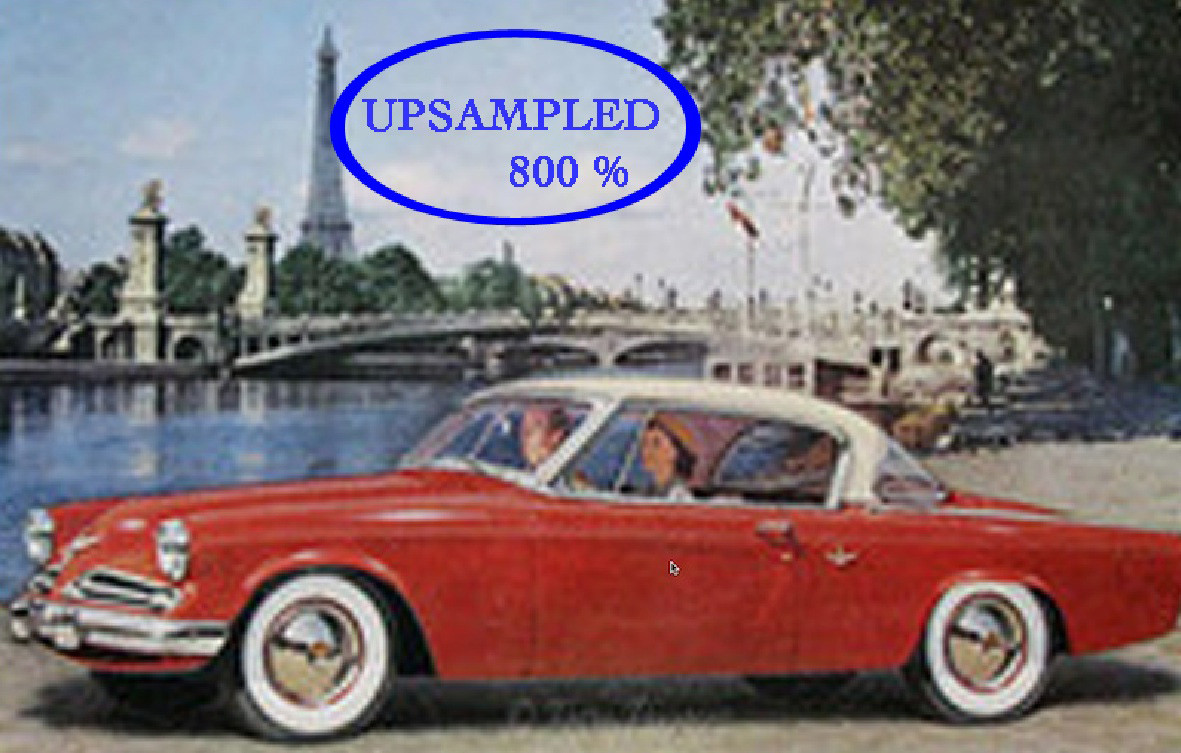
Understanding Upscaling Limitations
While you can increase the pixel dimensions of a photo (upscaling) using apps like Preview, remember that this process doesn’t magically add detail. Upscaling essentially stretches the existing pixels, which can lead to a blurry or pixelated appearance, especially with significant increases in size. This technique is best suited for minor adjustments or when dealing with low-resolution images that need to fit a larger display.
 A low-resolution image before upscaling.
Conclusion
While directly changing the photo quality within the iPhone’s default camera app is not an option, several alternative methods exist. Leveraging third-party camera apps, resizing images with external software, managing iCloud settings, and understanding the limitations of upscaling provide practical ways to control and optimize your iPhone photo quality based on your needs. Remember to choose the method that best suits your specific situation, whether it’s saving storage space, sharing smaller files, or achieving greater control during image capture.