Capturing the moon’s beauty in a photograph can be challenging. Often, the resulting image doesn’t match the breathtaking view seen with the naked eye. This guide provides a step-by-step approach on How To Shoot Moon Photos that truly capture its brilliance and detail.
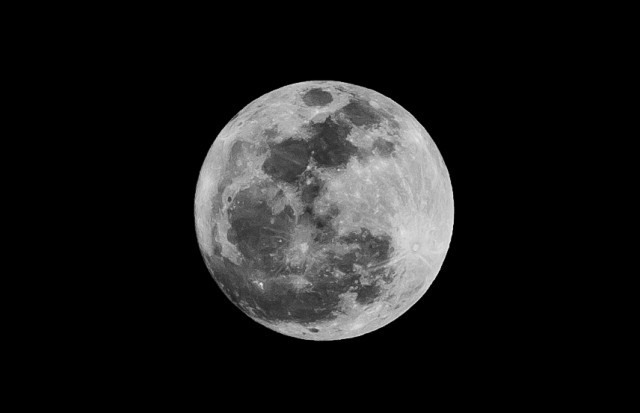 Close-up of the moon with visible craters.
Essential Equipment for Moon Photography
The right equipment significantly impacts the quality of your moon photos. Here’s what you’ll need:
- DSLR Camera: Most DSLR cameras are capable of capturing stunning moon images.
- Telephoto Lens: A lens with a focal length of at least 200mm is crucial for capturing detailed shots. A 70-200mm lens, or even longer, is ideal. A cropped sensor camera effectively increases the focal length, providing even greater reach.
- Tripod: A sturdy tripod is essential for minimizing camera shake, especially with long exposures.
- Remote Shutter Release (Optional): This helps further reduce vibrations during shutter activation. A camera’s self-timer function serves as a viable alternative.
- Flashlight: A flashlight aids in setting up your equipment in low-light conditions. A cell phone flashlight can also work.
Camera Settings for Moon Photography
Successfully photographing the moon requires mastering focus and exposure. Remember, the moon is incredibly bright against the night sky. This necessitates specific camera settings:
- Shooting Mode: Set your camera to manual mode (M) for full control over exposure settings.
- Focus Mode: Switch to manual focus and select a single focus point.
- Vibration Reduction: Turn VR off on your lens, if applicable.
- Image Format: Shoot in RAW format for greater flexibility during post-processing.
Recommended starting settings:
- ISO: 200
- Shutter Speed: 1/160 – 1/250 second (adjust based on the moon’s brightness and your lens)
- Aperture: f/8 – f/11 (experiment to find the optimal setting for your equipment)
Aim for slightly underexposed images. This preserves details and allows for adjustments during post-processing.
Focusing on the Moon
Achieving sharp focus on the moon can be tricky. Follow these steps:
- Live View: Activate Live View and zoom in on the moon until it fills the screen.
- Focus Point: Center your focus point on the brightest part of the moon.
- Fine-Tune Focus: Carefully adjust the focus ring until the moon’s details appear sharp. Take multiple shots, slightly adjusting the focus each time, as subtle adjustments can make a significant difference.
- Remote Shutter/Self-Timer: Use a remote shutter release or the camera’s self-timer to prevent vibrations.
Remember, the moon moves continuously, so periodically re-center and refocus.
Post-Processing Your Moon Photos
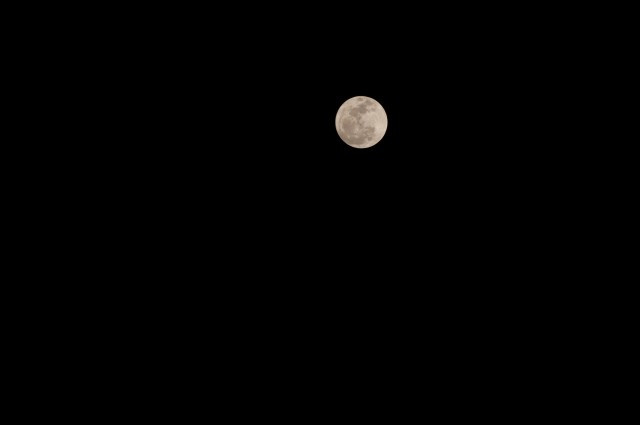 An unedited photo of the moon.
Post-processing enhances your moon photos. Software like Adobe Lightroom or Photoshop provides the necessary tools:
- Select Best Image: Choose the sharpest image from your series.
- Crop: Crop the image to your desired composition while maintaining the original aspect ratio.
- Exposure Adjustment: Fine-tune the exposure and contrast to bring out details and achieve a completely black sky.
- Experiment: Explore other adjustments like desaturation or white balance to achieve your desired aesthetic.
Close-up of the moon with visible craters.
Tips for Different Moon Phases
These techniques apply to all moon phases. A partially illuminated moon might be easier to photograph due to lower brightness. The key is to experiment and learn what works best for you. Don’t be discouraged by initial setbacks. Practice and experimentation will lead to stunning moon photos.