Blurring the background of your iPhone photos can make your subject pop and give your images a professional look. Think you need a fancy camera? Think again! This guide will show you how to blur the background of a photo on iPhone, whether you’re using Portrait mode or creative editing techniques.
 A woman taking a photo of flowers with an iPhone.
Using Portrait Mode for Instant Background Blur
The easiest way to blur the background of a photo on iPhone is using Portrait mode. Available on newer iPhone models (iPhone 7 Plus and later), this feature uses depth-effect software to automatically blur the background while keeping your subject sharp.
How to Shoot in Portrait Mode:
- Open the Camera app.
- Select Portrait at the bottom of the screen.
- Position your subject 2-8 feet away from the camera in well-lit conditions.
- A yellow focus box will appear when your iPhone is ready to shoot.
- Press the shutter button.
An iPhone screen showing the camera in Portrait mode.
Adjusting Blur Intensity After Shooting:
On iPhone XS and later, you can even adjust the blur after taking the photo:
- Open the portrait photo in the Photos app.
- Tap Edit.
- Tap the f/number icon (top left).
- Use the Depth slider to control the blur strength. Lower f/numbers create stronger blur.
Editing a portrait photo in the Photos app to adjust the depth effect.
Blurring the Background Without Portrait Mode
Don’t have Portrait mode? No problem! You can still achieve background blur by using these simple techniques:
Get Closer to Your Subject:
The closer your camera is to the subject, the more blurred the background will appear. This technique, called shallow depth of field, works because the camera focuses on a smaller area, naturally blurring the rest. Experiment with different distances to find the perfect balance.
A close-up photo of a flower with a blurred background.
Blurring in Editing Apps:
Several editing apps allow you to blur the background after taking a picture. Apps like AfterFocus let you manually select your subject and apply blur to the background.
Using AfterFocus:
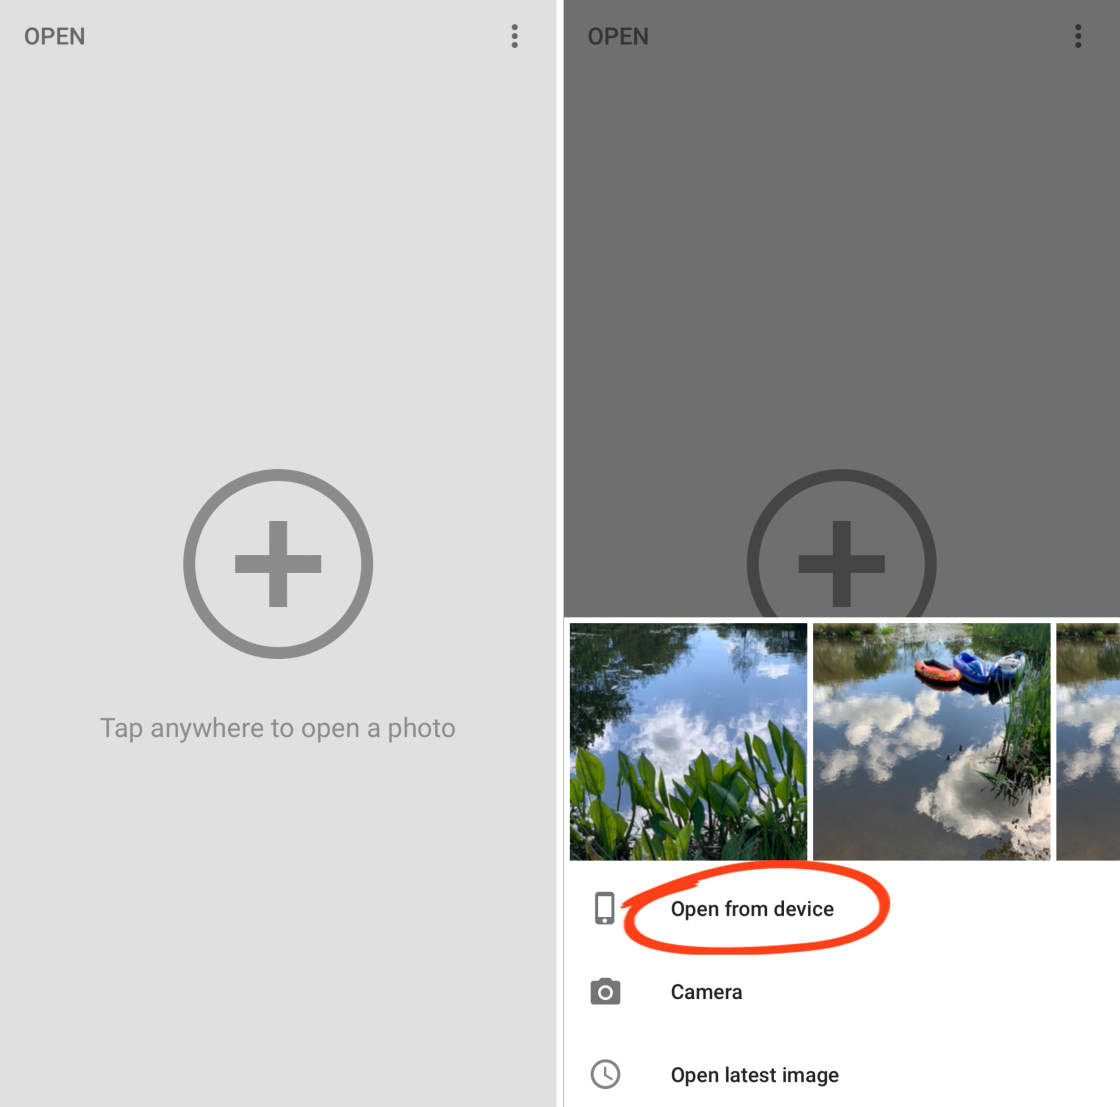
- Open AfterFocus and select your photo.
- Use the Smart Selection or Manual Selection tools to mark your subject and background.
- Adjust the Blur intensity using the slider.
- Save your edited photo.
Using the AfterFocus app to manually select the foreground and background of a photo.
Creative Blur Effects: Motion Blur and Vignettes
Beyond basic background blur, you can explore creative effects like motion blur and vignettes.
Motion Blur:
Simulate movement by applying motion blur to the background. This effect can make a static subject appear as if it’s in motion. AfterFocus offers a Motion Blur option for this purpose.
A photo of a cyclist with motion blur applied to the background.
Blurred Vignettes:
Create a dreamy effect by blurring the edges of your photo with a vignette. Snapseed’s Lens Blur tool allows you to create this effect by adjusting the blur strength and transition around a central focus point.
A photo with a blurred vignette around the edges.
Conclusion
With these tips and tricks, you can easily blur the background of a photo on iPhone and elevate your mobile photography. Whether you use Portrait mode, adjust your proximity to the subject, or utilize editing apps, you now have the power to create stunning images with beautifully blurred backgrounds.
