Transferring a photo to wood is a unique and personalized way to create stunning home decor or heartfelt gifts. This comprehensive guide provides a step-by-step tutorial on how to easily transfer your favorite images onto wood using the Mod Podge method. Let’s transform your cherished photos into lasting works of art!
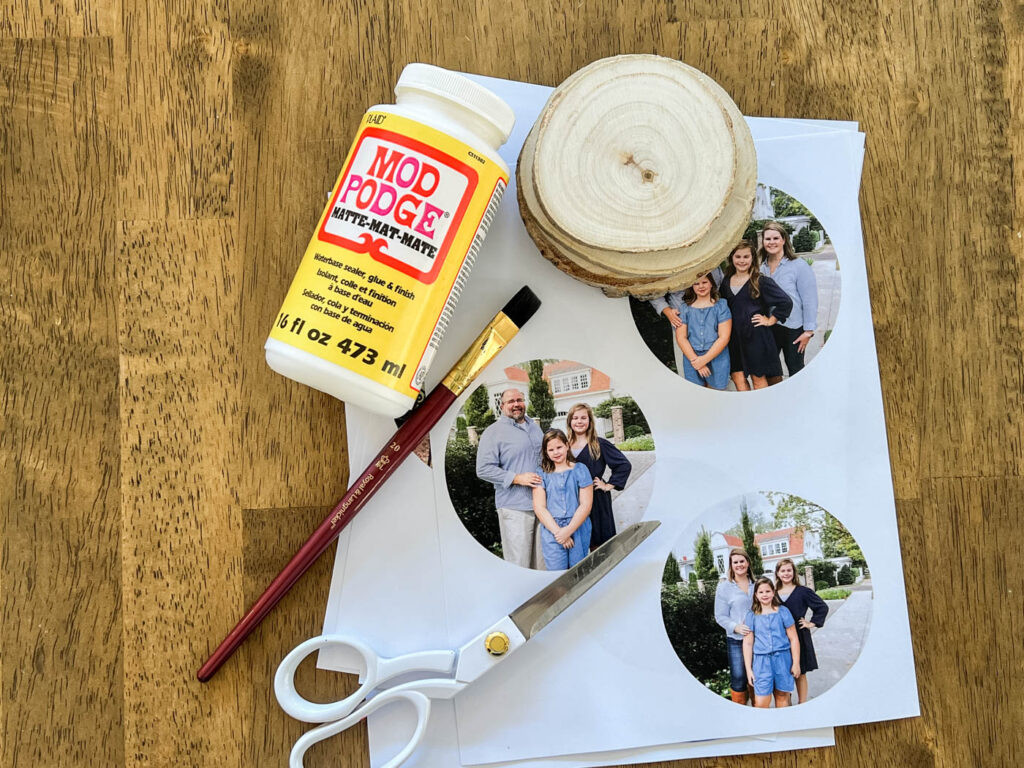 Supplies for DIY photo transfer to wood
Gathering Your Supplies for Photo Transfer to Wood
Before embarking on this creative journey, gather the essential materials:
- Wood Piece: Choose any wood surface – a smooth plaque, a rustic slice, or even a simple wood block. Round wood slices are perfect for ornaments or gift tags.
- Photo or Image: This needs to be a laser-printed copy on regular printer paper (around 22lb). Inkjet prints won’t work for this technique.
- Mod Podge: This acts as the adhesive and sealant. Choose a matte or gloss finish based on your preference.
- Foam Brush or Small Craft Brush: For applying the Mod Podge evenly.
- Scissors: For trimming your photo.
- Washcloth or Paper Towel: For removing the paper backing.
- Water: To dampen the paper towel or washcloth.
- Optional: Hair dryer to speed up drying time, drill and drill bit for creating hanging ornaments.
Steps to Transfer a Photo to Wood
1. Preparing Your Image
- Mirror the Image: If your image contains text or requires a specific orientation, mirror it before printing. Canva or PicMonkey are great online tools for mirroring and resizing.
- Resize: Adjust the image size to fit your wood surface.
- Laser Print: Crucially, print your image using a laser printer. If you don’t have one, consider using a printing service like Staples.
- Cut Out Image: Trim the printed image with scissors.
2. Applying Mod Podge and Adhering the Photo
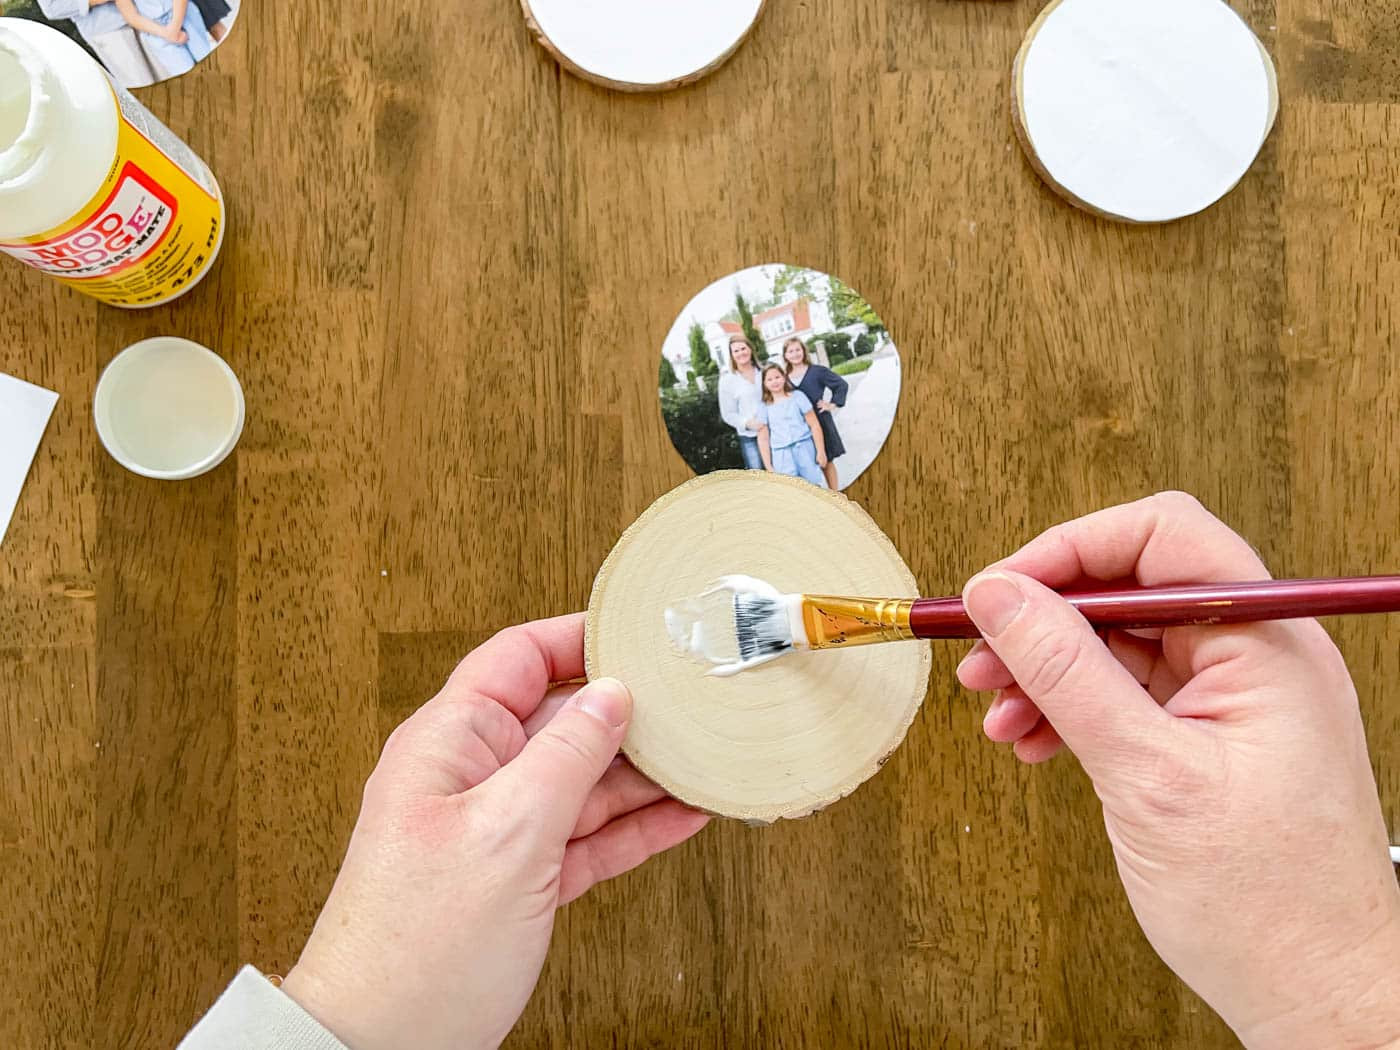 Paint a layer of Mod Podge on the wood slice
- Apply Mod Podge: Coat the wood surface with a medium layer of Mod Podge using a brush. Ensure complete and even coverage.
- Place the Photo: Carefully position the printed image face down onto the Mod Podge layer.
- Remove Air Bubbles: Smooth out the image with your fingers or a credit card, ensuring firm contact and eliminating any air bubbles.
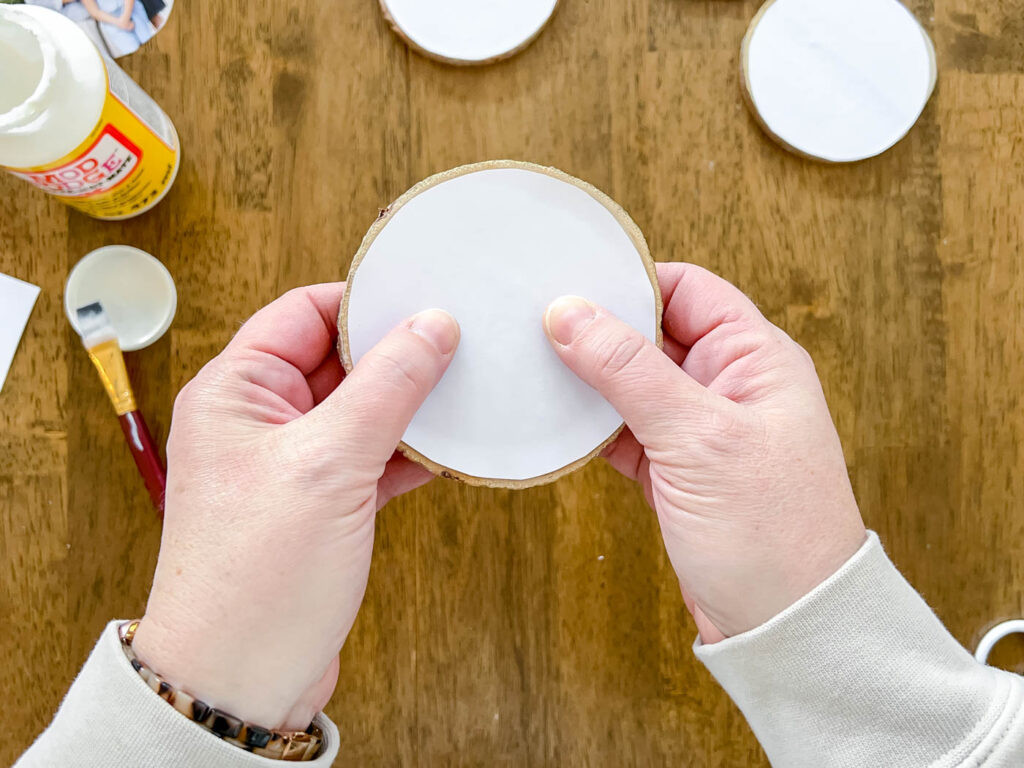 Press bubbles out of wood slice
3. Drying and Removing the Paper Backing
- Drying Time: Allow the Mod Podge to dry completely for at least 24-48 hours. Longer drying times generally yield better results. A hair dryer on medium heat can help speed up the process.
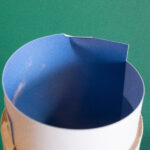
- Dampen the Paper: Wet a washcloth or paper towel and wring out excess water.
- Gently Rub: Carefully rub the damp cloth over the paper backing in a circular motion. The paper will start to peel away, revealing the transferred image. Be patient and avoid excessive rubbing, which could damage the image. Multiple passes with a damp cloth may be needed.
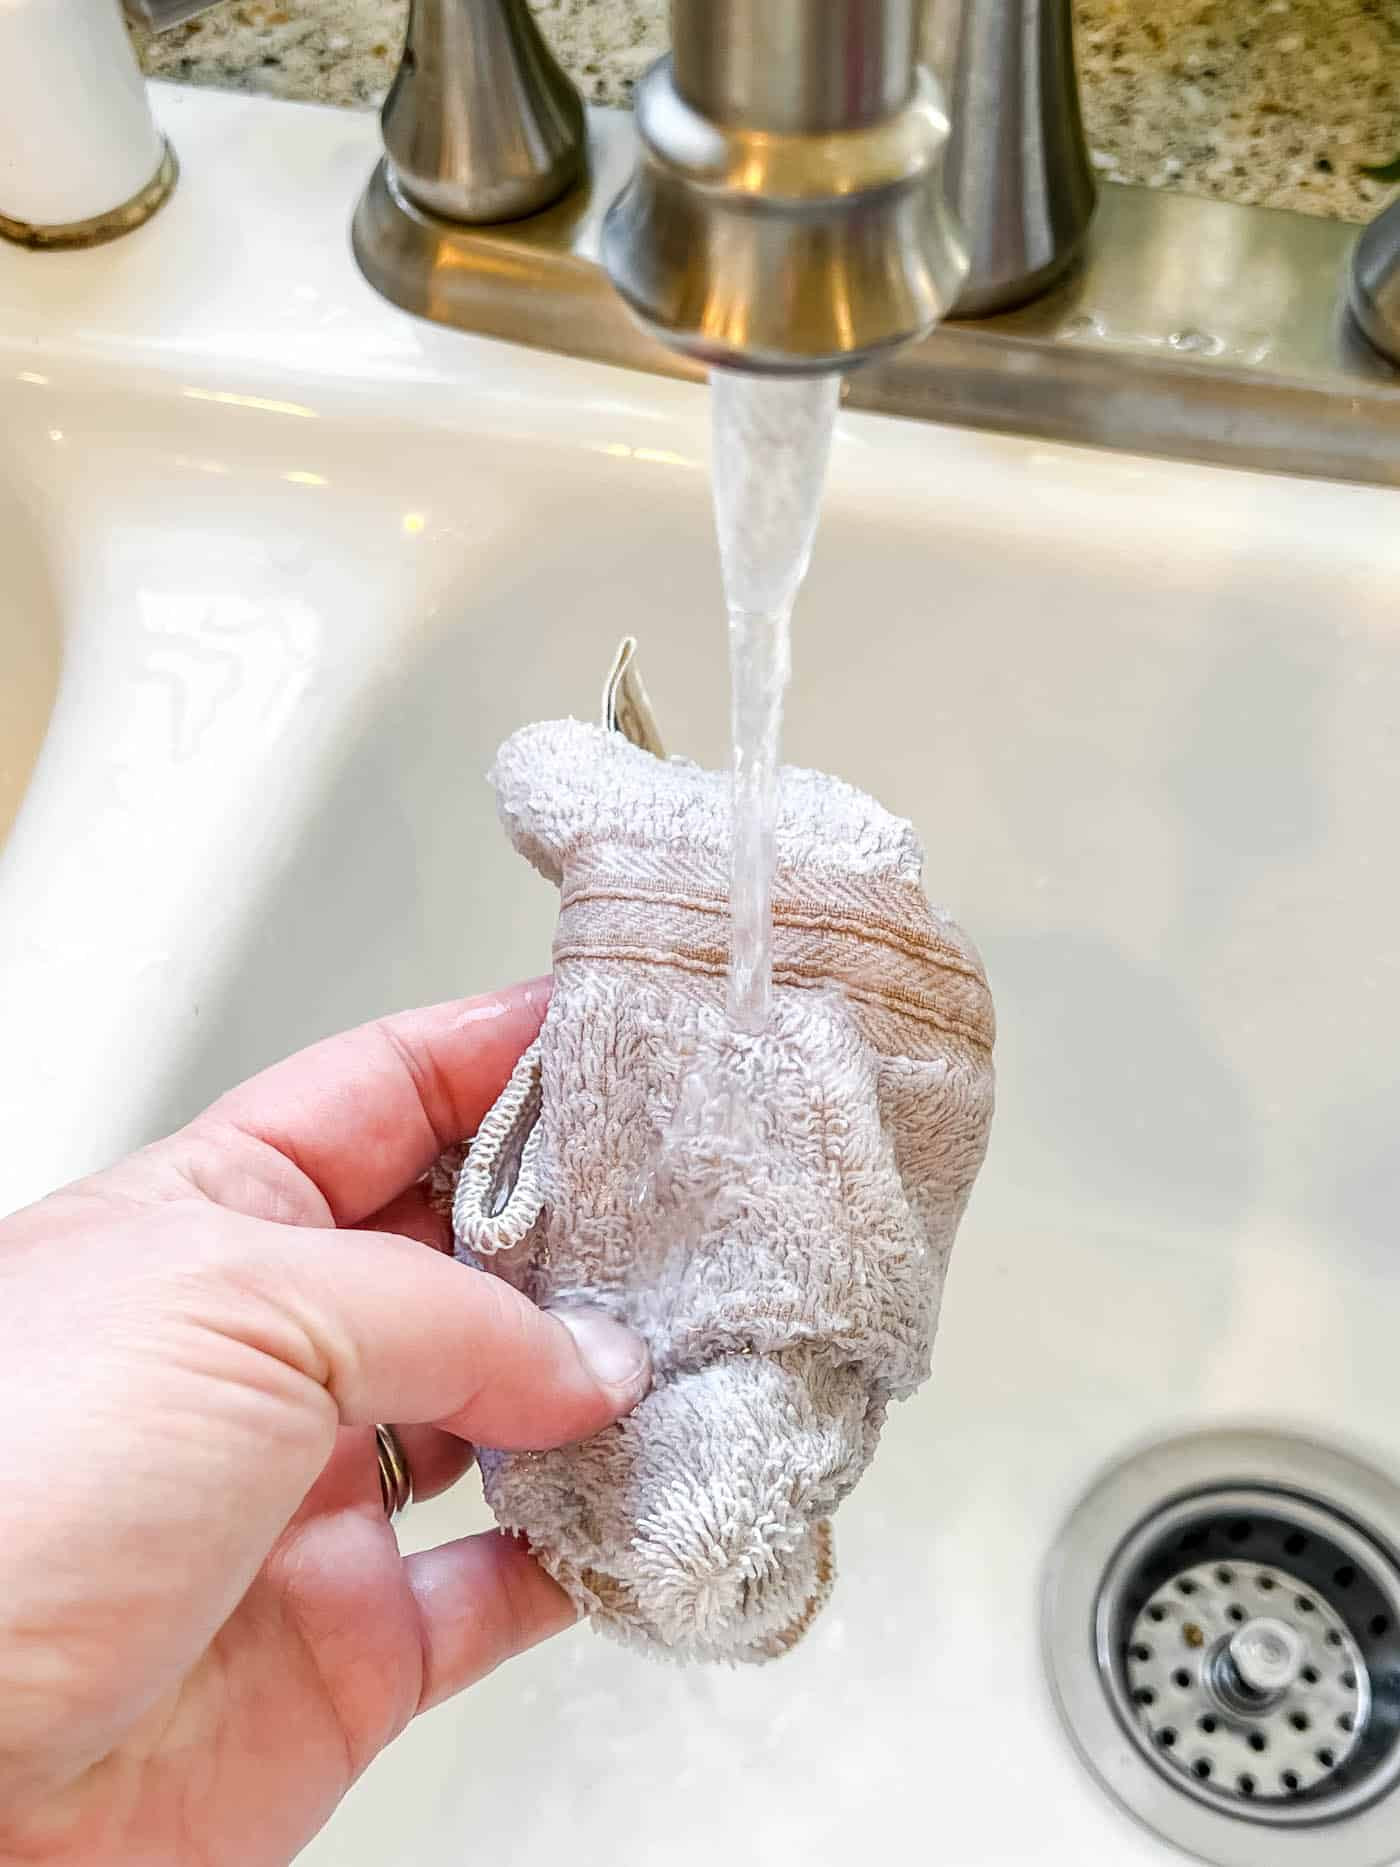 wet a rag to rub the paper off the wood slice
4. Sealing the Transferred Image
- Apply a Top Coat: Once all the paper is removed and the image is dry, apply a thin layer of Mod Podge over the transferred image as a sealant. This protects it from dust and moisture.
Displaying Your Wood Photo Transfer
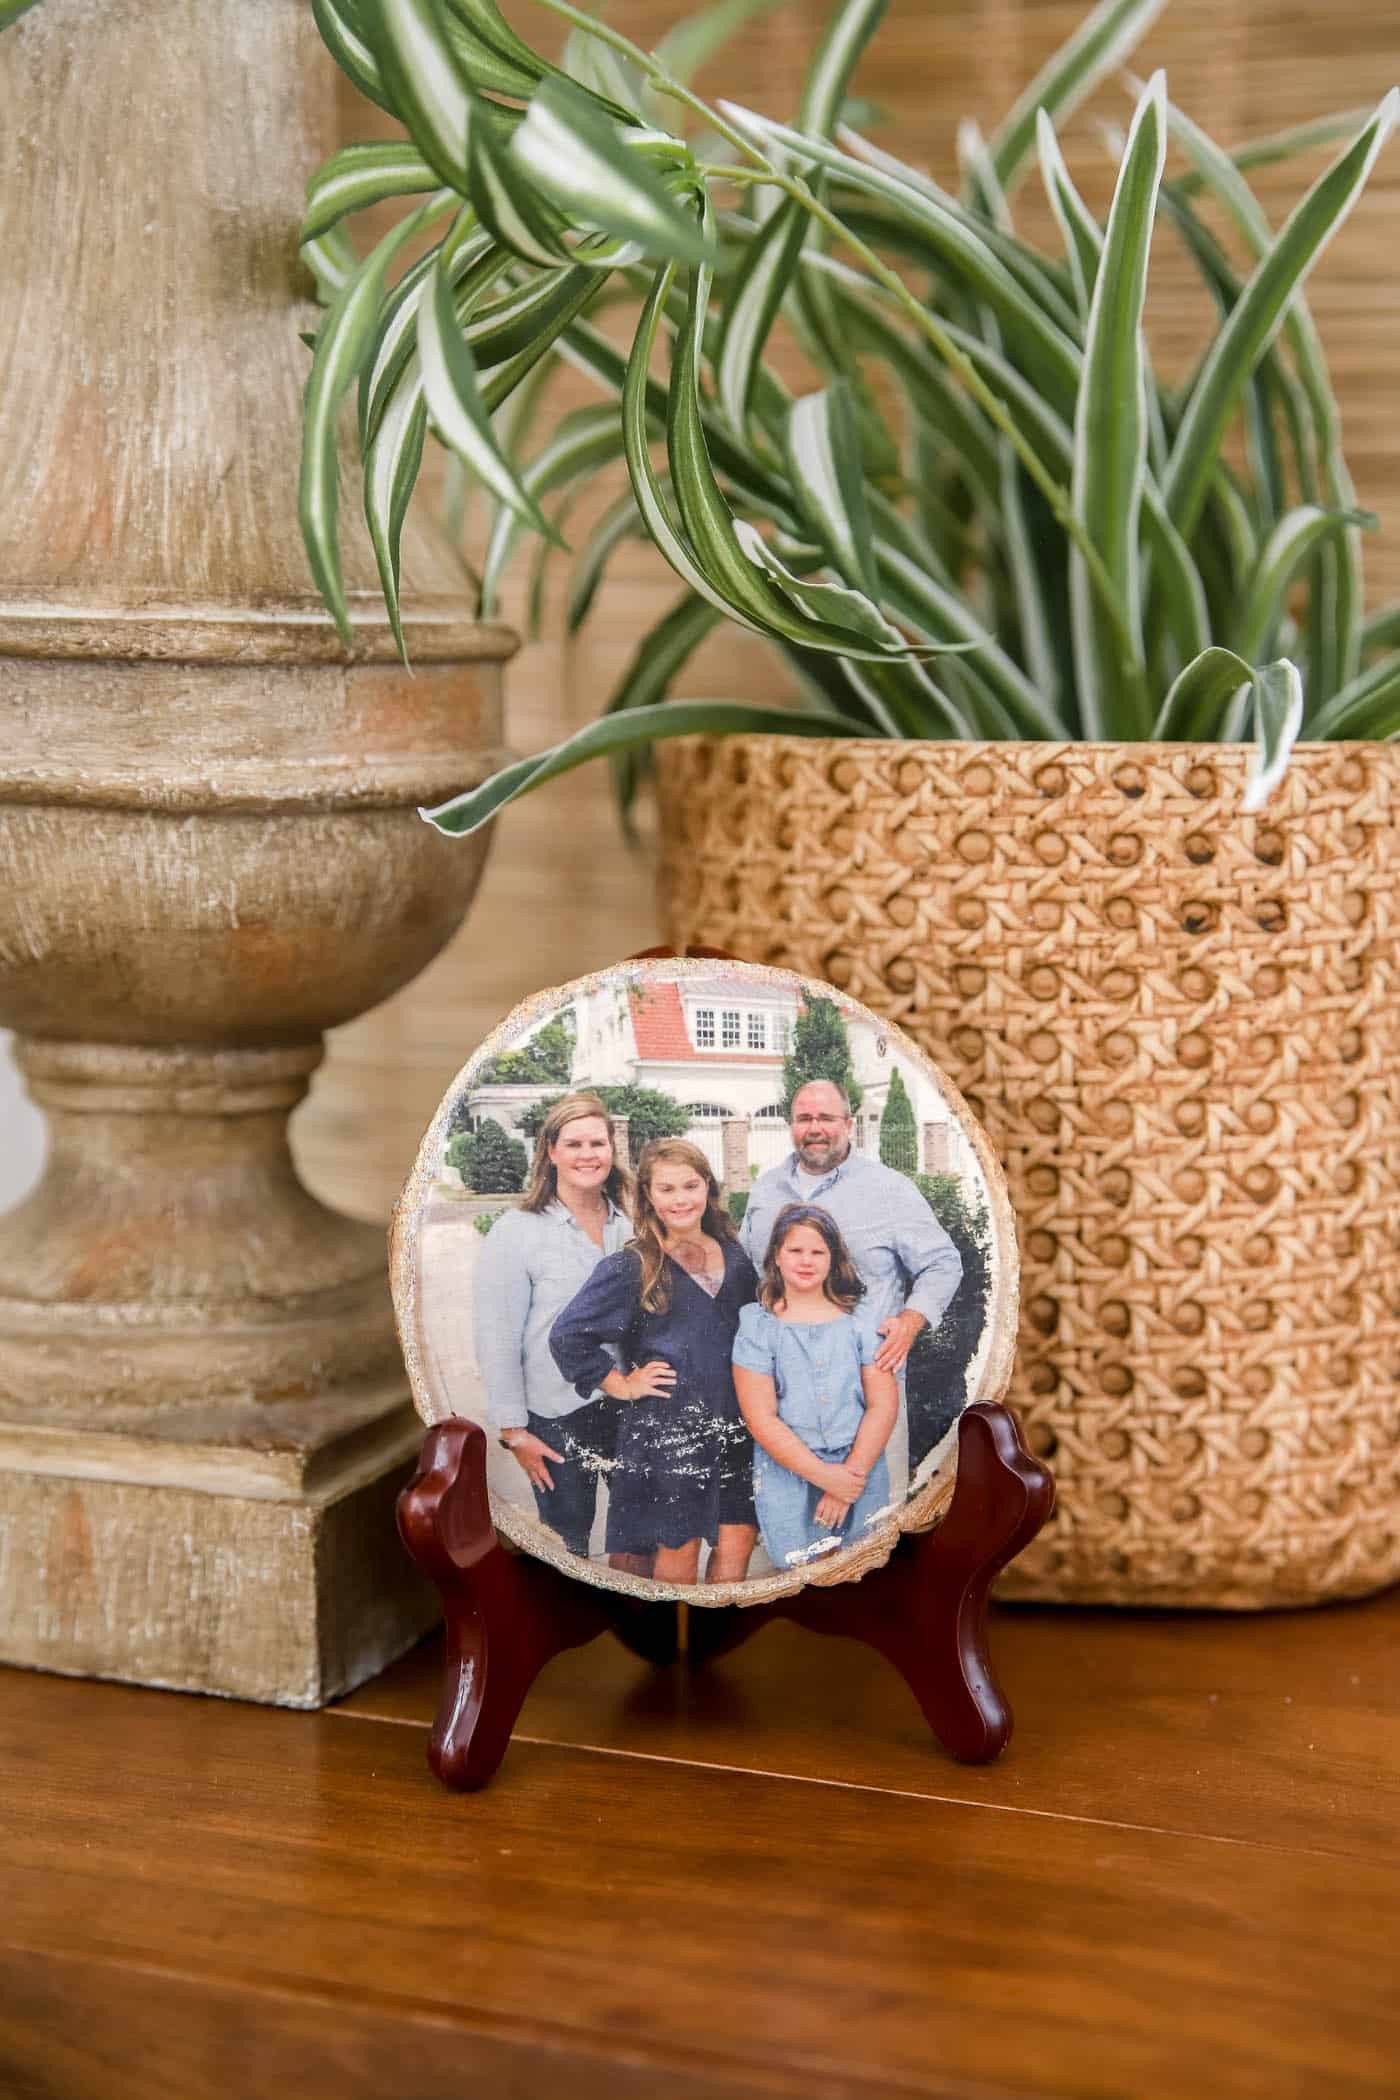 DIY Photo Transfer to Wood
Your finished photo transfer can be displayed in various ways: as a decorative plaque, in a stand, hung as a Christmas ornament (using a drill to create a hole for hanging), or even as a personalized gift tag. Let your creativity shine!