Syncing your photos to Google Photos offers a secure backup and easy access across devices. This guide provides a comprehensive walkthrough on How To Sync Photos On Google Photos from your computer, ensuring your precious memories are safely stored and readily available.
 Choosing backup quality in Google Photos
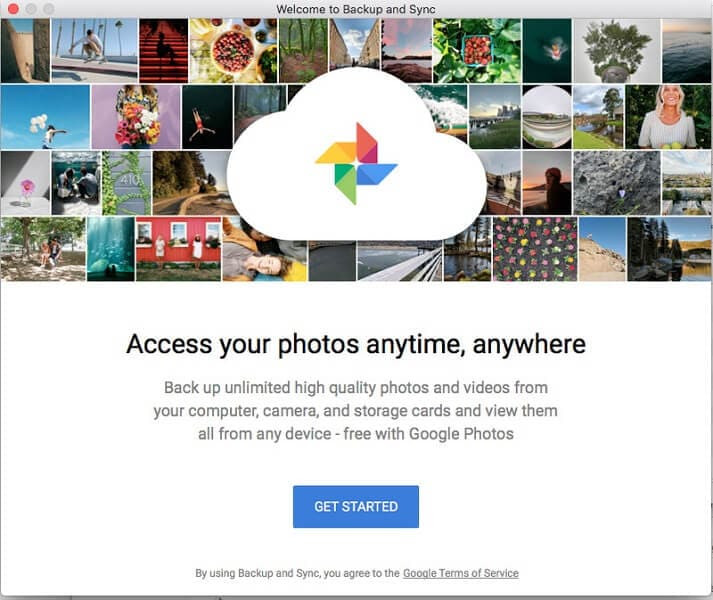
Google Photos utilizes the “Backup and Sync” application for seamless photo synchronization. Let’s dive into the steps:
Download and Install Backup and Sync
First, navigate to the official Google Photos website and download the “Backup and Sync” application for your operating system (Windows or macOS). Once downloaded, install the application by following the on-screen prompts. After installation, launch the application and sign in using your Google account credentials.
 Logging into Google Backup and Sync
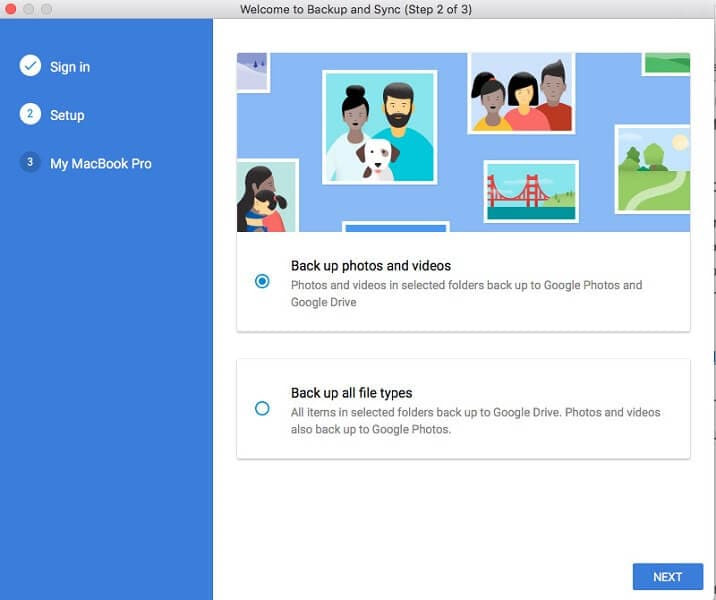
Choose Your Backup Settings
Upon logging in, you’ll encounter two primary options: “Back up photos and videos” and “Back up all file types.” Select “Back up photos and videos” to focus solely on photo synchronization. If you desire to back up other file types as well, choose the latter option. Click “Next” to proceed.
 Choosing backup source in Google Photos
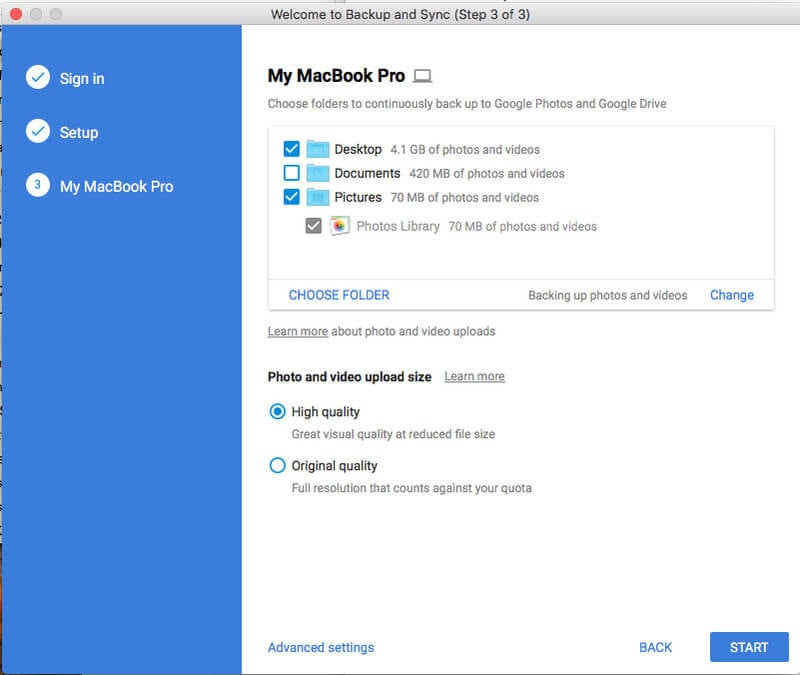
Select Folders and Photo Quality
The next step involves selecting the specific folders on your computer that contain the photos you wish to sync. You can choose individual folders or select the entire “Pictures” folder for a comprehensive backup. Crucially, you need to choose your desired upload quality:
- High Quality: This option offers unlimited free storage, but your photos will be compressed to save space. Google recommends this setting for most users.
- Original Quality: This preserves the original resolution of your photos, but it will consume your allocated Google Drive storage quota. Choose this if you require uncompressed images for professional use or archiving.
Advanced Settings and Google Drive Integration
After selecting your folders and quality, you can delve into the “Advanced settings.” Here, you can choose to sync your computer files with Google Drive, providing a centralized location for all your data. While optional, this feature enhances cross-device accessibility and data management.
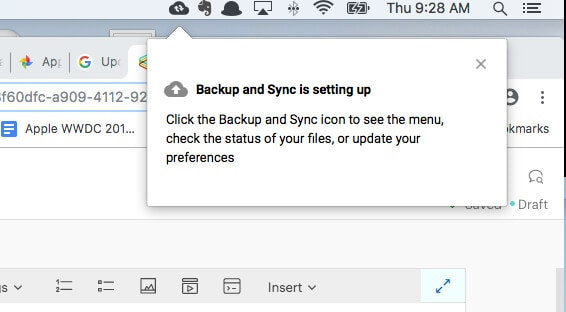
Initiate the Sync Process
Finally, click “Start” to commence the synchronization process. The duration of the backup will depend on the number of photos, their size, and your internet connection speed. Be patient and allow the application to complete the upload.
 Starting the backup process in Google Photos
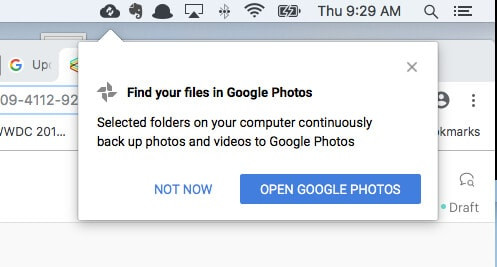
Confirmation and Accessing Your Photos
Upon completion, a notification will appear, confirming the successful backup and offering the option to view your photos in Google Photos. You can now access your synchronized photos from any device with an internet connection by logging into your Google account.
 Choosing to view photos after backup
By following these steps, you can effortlessly sync your photos on Google Photos, safeguarding your memories and enjoying seamless access across your devices. Remember to choose the photo quality that best suits your needs and storage capacity.

