A blurry or pixelated image can ruin a design. Understanding high-resolution imagery is crucial for both print and web use. This guide dives deep into creating and optimizing high-resolution photos, answering common questions like “What is 300 DPI?” and “What’s the difference between DPI and PPI?”.
![]() Zooming in reveals the building blocks of an image: pixels.
Zooming in reveals the building blocks of an image: pixels.
Defining High Resolution: DPI and PPI
High resolution refers to an image with sufficient detail for sharp, clear output. It’s measured in DPI (dots per inch) for printing and PPI (pixels per inch) for screens. A 300 DPI image is generally considered high resolution for printing, meaning the printer uses 300 ink dots for every inch of the image. Monitors use pixels to display images, hence PPI. A high PPI ensures a crisp image on screen.
For optimal print quality, the image’s PPI should match the printer’s DPI.
Print vs. Web Images: Resolution Requirements
Printers demand higher resolution (typically 300 DPI) than screens. Monitors use fewer pixels, often around 72 PPI as a reference point, although modern monitors and Retina displays boast much higher PPI. This difference in resolution requirements necessitates different approaches to image preparation. A 2400 x 3000 pixel image ideal for an 8×10 inch print would appear massive on a 72 PPI screen.
Optimizing Images for Web Use
Website layouts often dictate image dimensions. Blog posts might use images around 600 pixels wide, while header images could be 1200 pixels or larger. Browsers then scale these images to fit the screen. Overly large images slow down website loading times. A general guideline for high-resolution web images is around 1200 to 1600 pixels wide, balancing quality with file size.
Achieving 300 DPI for Print
Most printers operate at 300 DPI. To calculate the necessary pixel dimensions for a print, multiply the desired print size in inches by 300. For example, a 4×6 inch print requires an image of 1200 x 1800 pixels (4 x 300 = 1200, 6 x 300 = 1800).
Pixels to Inches Conversion Chart for Common Print Sizes
| Size in Inches | Size in Pixels |
|---|---|
| 3 x 5 | 900 x 1500 |
| 4 x 6 | 1200 x 1800 |
| 5 x 7 | 1500 x 2100 |
| 8 x 8 | 2400 x 2400 |
| 8 x 10 | 2400 x 3000 |
| 8.5 x 11 | 2550 x 3300 |
| 11 x 14 | 3300 x 4200 |
Creating High-Resolution Images Using PicMonkey
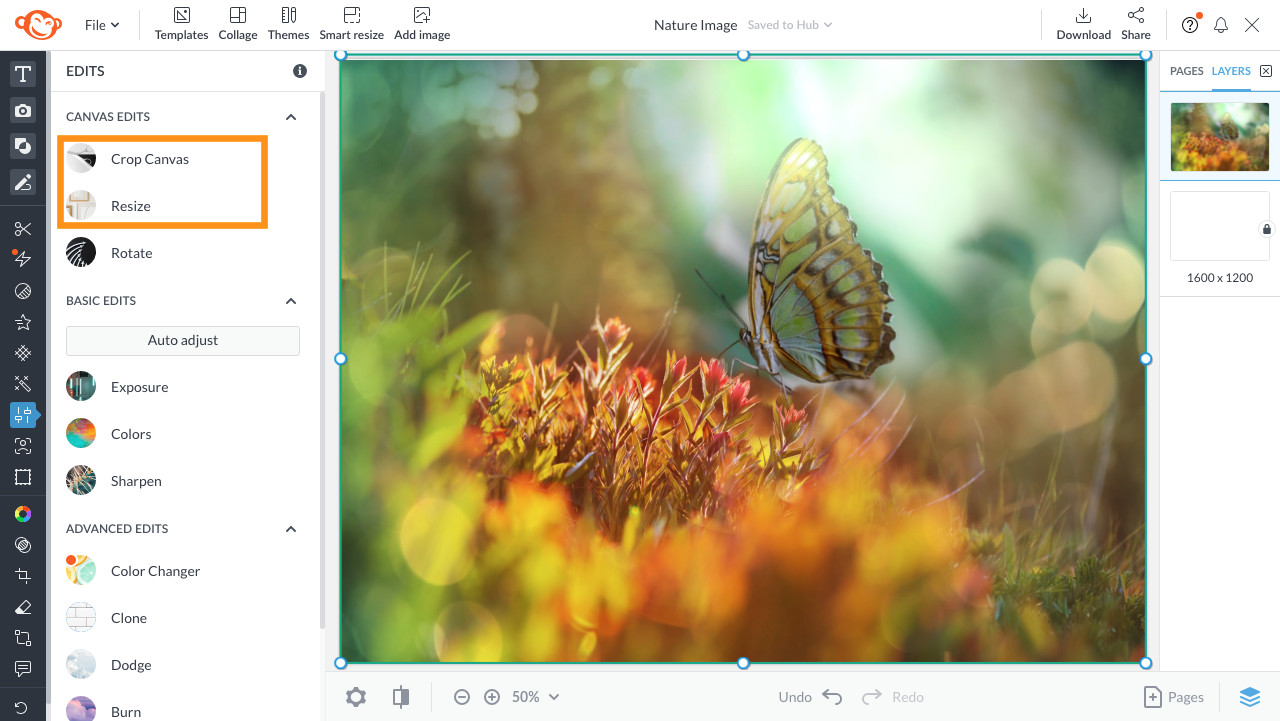
PicMonkey’s Crop Canvas tool helps ensure correct aspect ratio.
PicMonkey offers tools like Resize and Crop Canvas to prepare images for print or web. Maintaining the correct aspect ratio is crucial to avoid distortion.
Five Steps to High-Resolution Images in PicMonkey
![]()
PicMonkey’s blank canvases simplify the process with pre-set dimensions.
- Start with a blank canvas: Choose your desired print size.
- Add your image: Upload your own or choose from PicMonkey’s stock library.
- Customize: Edit and enhance your image as needed.
- Download: Select the appropriate file type (PNG, JPG, or PDF for Pro users) and resolution for web or print.
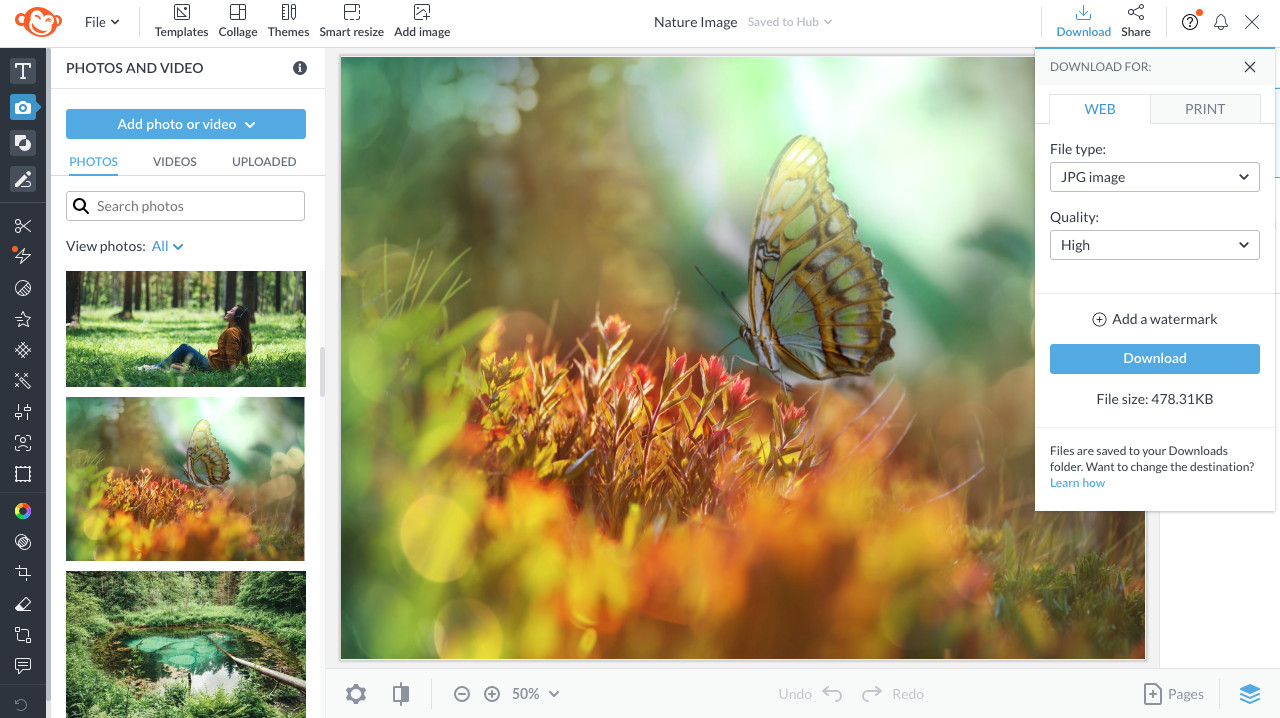 Download options for web use.
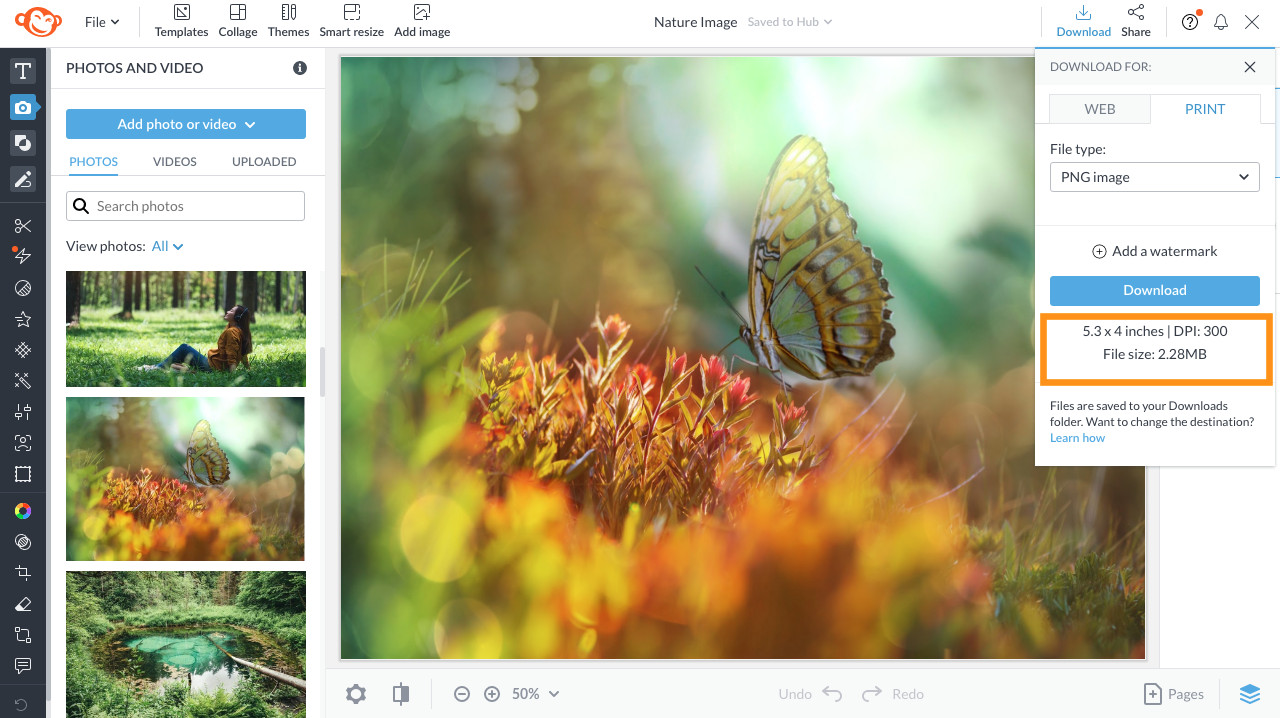
Download options for print, clearly displaying DPI.
By understanding these principles, you can confidently create and manage high-resolution images for any project.