Sending photos from your iPhone via email is a breeze. Whether it’s a vacation snapshot, a funny meme, or an important document, attaching images to your emails is straightforward. This guide provides a step-by-step walkthrough on how to attach photos to email on your iPhone, along with instructions for attaching other file types and even scanning documents directly into your message.
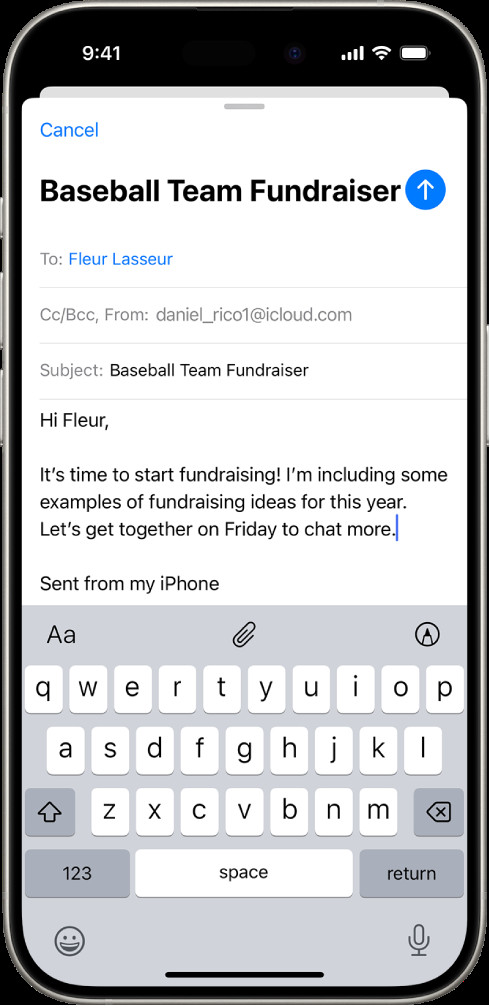 A screenshot of the iPhone Mail app with attachment options.
Attaching Images from Your Photo Library
The most common way to attach photos to an email is by selecting them directly from your photo library. Here’s how:
- Open the Mail app: Locate and tap the Mail icon on your iPhone’s home screen.
- Compose a new email or reply: Start a new message by tapping the compose button (a square with a pencil icon) or reply to an existing email.
- Access the attachment options: Tap within the email body where you want to insert the photo. Above the keyboard, you’ll see a row of icons. Tap the icon that looks like an arrow pointing upwards out of a box. Then tap the “+” icon.
- Choose “Photo or Video”: A menu will appear with various attachment options. Select “Photo or Video.”
- Select your photo: Browse your photo library and tap the image you wish to attach. You can select multiple photos if needed.
- Insert the photo: Tap “Done” in the top right corner to insert the selected photo(s) into your email.
Attaching Other File Types
Besides photos, you can attach various file types to your emails, such as documents and videos. The process is similar to attaching photos:
- Follow steps 1-3 from above.
- Choose “Attach File”: This time, select the option labeled “Attach File.”
- Navigate to your file: The Files app will open, allowing you to browse through your iCloud Drive, On My iPhone storage, or other connected cloud services.
- Select and insert: Locate and tap the file you want to attach, then it will be inserted into your email.
Scanning Documents as PDF Attachments
Your iPhone can also scan paper documents and attach them as PDFs to your emails:
- Follow steps 1-3 from the first section.
- Choose “Scan Document”: Select the icon that looks like a document with a scanning line across it.
- Scan your document: Position your iPhone’s camera over the document and it will automatically scan. You can also manually capture the scan by tapping the shutter button or pressing a volume button.
- Adjust and save: After scanning, you can adjust the corners, rotate, or apply filters to the scan. Tap “Save” when finished. The scanned document will be attached as a PDF to your email.
Sending Your Email
Once you’ve attached your desired photos or files, simply fill in the recipient’s email address, add a subject line, write your message, and tap the send button (an upward-pointing arrow) in the top right corner. You’ve successfully sent an email with attachments from your iPhone!