Taking a photo with your Mac is simple using the built-in Photo Booth app. This guide provides a step-by-step approach on how to locate, launch, and use Photo Booth to capture photos and selfies. We’ll also cover how to keep it readily accessible for future use.
Locating and Launching Photo Booth
Photo Booth comes pre-installed on all Macs. You can find it in the Applications folder within your Macintosh HD. However, if you can’t find it there, try using Spotlight Search:
- Spotlight Search: Click the magnifying glass icon in the upper right corner of your screen.
- Type “Photo Booth”: Ensure you include the space between “Photo” and “Booth.”
- Launch: Press the Return key to open the application. This will activate your Mac’s built-in camera, indicated by a green LED light.
 Using Spotlight Search to find Photo Booth
Taking a Photo
Once Photo Booth is open, you’ll see a live preview of yourself. Here’s how to capture a photo:
- Position Yourself: Adjust your position and framing within the preview window.
- Click the Red Button: The large red button initiates a three-second countdown, followed by a simulated flash to enhance lighting.
- Review Your Photo: After the countdown, your photo will appear in the filmstrip at the bottom of the Photo Booth window.
Viewing and Managing Photos
All captured photos are displayed in the filmstrip at the bottom of the Photo Booth application.
- Select a Photo: Click on any thumbnail in the filmstrip to view it larger.
- Export or Delete: Control-click (or right-click) on a selected thumbnail to access options for exporting or deleting the image.
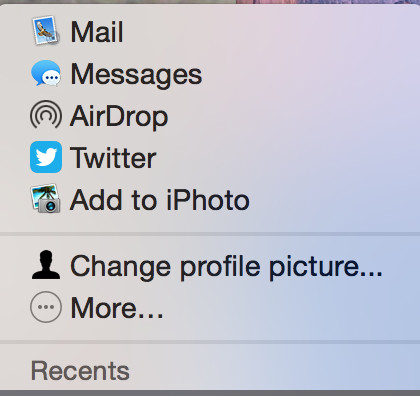
- Upload: Click the upload icon below the filmstrip to share your photos using various methods.
Keeping Photo Booth in the Dock
For easy access, you can keep Photo Booth permanently in your Dock:
- Right-Click the Icon: Right-click (or Control-click if you’ve enabled secondary click in System Preferences) on the Photo Booth icon in the Dock.
- Select Options: Choose “Options” from the context menu.
- Keep in Dock: Select “Keep in Dock.” This ensures the Photo Booth icon remains in the Dock for quick future access.
 Keeping Photo Booth in the Dock
Using Photo Booth Effects
Photo Booth also offers a variety of fun effects:
- Effects Button: Click the “Effects” button in the bottom left corner of the Photo Booth window.
- Choose an Effect: Browse through the available effects and click on one to apply it to your live preview.
- Take a Photo: Click the red button to capture a photo with the selected effect.
Photo Booth provides a straightforward way to take pictures and selfies on your Mac. By following these steps, you can easily capture and manage your photos using this user-friendly application.