Creating stunning panoramic images involves capturing multiple photos and seamlessly merging them. This guide provides a step-by-step approach on How To Stitch Photos Together using both Lightroom Classic and Photoshop.
Understanding Panoramic Photography
A panoramic photo typically exhibits a width-to-height ratio of at least 2:1, showcasing a broader field of view than a single shot. While often associated with landscapes, panoramas can enhance various subjects by revealing a wider perspective. Multiple frames are stitched together to create the final image.
Capturing the Perfect Panorama
Before stitching, capturing well-aligned photos is crucial. Here’s how:
- Master the Exposure Triangle: Consistent exposure across all frames ensures a seamless blend.
- Compose Thoughtfully: Visualize the final panorama and compose each frame accordingly.
- Utilize a Tripod: While optional, a tripod minimizes variations between shots, simplifying alignment.
- Maintain Focus: Lock focus on the primary subject and avoid refocusing between frames. Use back-button focus or manual focus for consistency.
- Overlap Frames: Ensure a consistent overlap of approximately one-third (1/3) of each frame to aid the stitching process.
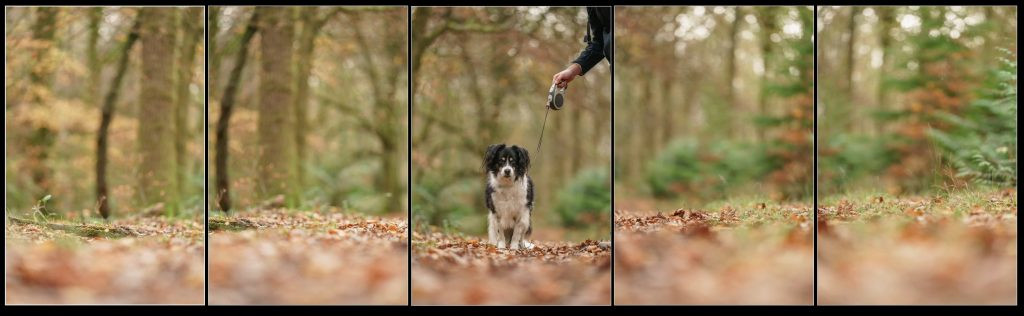 Overlapping frames for panorama stitching.
Stitching Panoramas in Lightroom Classic
Lightroom Classic offers a user-friendly approach to stitching:
- Prepare Your Files: Arrange frames sequentially to visualize the entire scene.
- Select Frames: Select all frames intended for the panorama using Command-click (Mac) or Ctrl-click (Windows).
- Initiate Photo Merge: Right-click on a selected image and choose Photo Merge > Panorama.
- Adjust Settings: Experiment with different projection options (e.g., Spherical, Cylindrical, Perspective) to achieve the desired result.
- Stack Images (Optional): Enable “Stack Images” to organize the source files within Lightroom.
- Render the Panorama: Lightroom will process and generate the stitched image.
Stitching Panoramas in Photoshop
Photoshop provides more control over the stitching process:
- Prepare and Select as in Lightroom: Follow the same initial steps as in Lightroom Classic.
- Open in Photoshop: Right-click on a selected image and choose Edit In > Merge to Panorama in Photoshop.
- Basic Merge: Accept default settings for a quick and automatic panorama. Or…
- Advanced Merge: Deselect “Blend Images Together” for manual blending control. Consider enabling “Geometric Distortion Correction” and “Content Aware Fill Transparent Areas” for refining the result.
- Refine with Layers and Masks: If you deselected “Blend Images Together,” Photoshop opens each frame as a separate layer. Use masks and blending modes for precise control over transitions and remove unwanted elements.
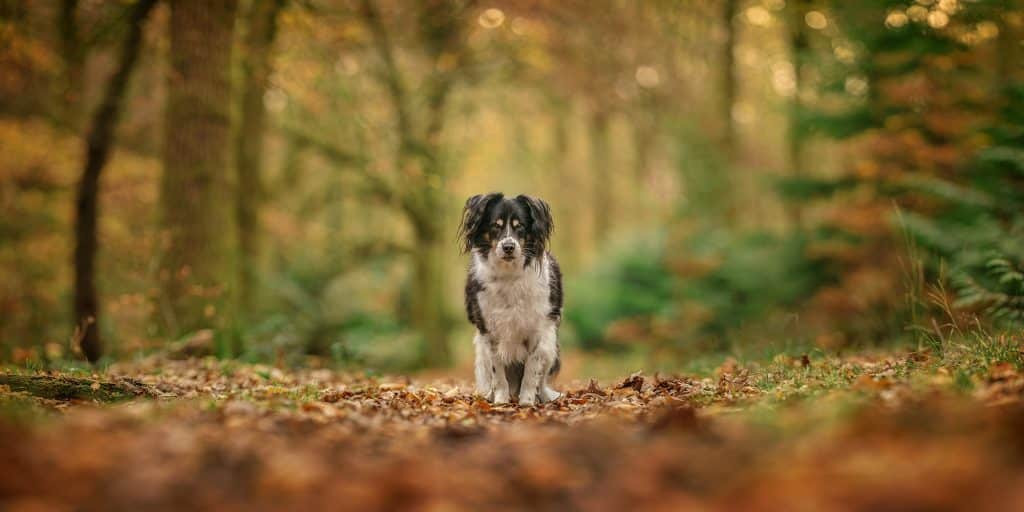 Example of a finished panoramic landscape image.
Conclusion
Creating breathtaking panoramas is achievable with careful planning and the right software. Whether you prefer the simplicity of Lightroom Classic or the advanced features of Photoshop, this guide provides the essential steps to seamlessly stitch photos together. Experiment with different techniques and settings to master the art of panoramic photography.
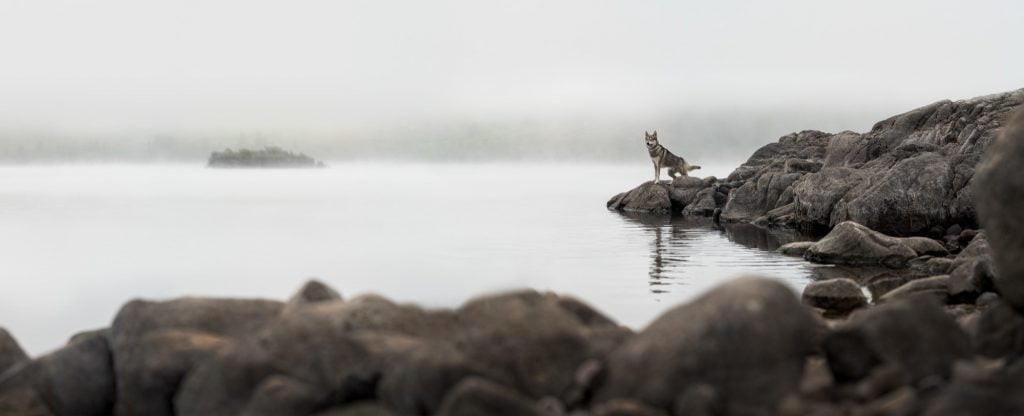 Panoramic image of a loch with a dog.