Capturing the mesmerizing dance of the Aurora Borealis is a dream for many photographers. While smartphone cameras might capture a glimpse, achieving truly stunning images requires a bit more knowledge and equipment. This guide delves into the essential gear, settings, and techniques to help you photograph the Northern Lights like a pro.
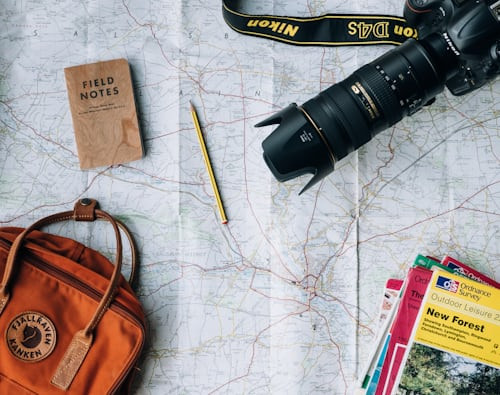
Essential Gear for Aurora Photography
High-quality Aurora photography demands specific equipment capable of handling low-light conditions:
- Camera: A DSLR or mirrorless camera with robust high ISO performance (up to 6400 without excessive grain) is crucial. Most modern cameras meet this requirement.
- Lens: A wide-angle lens (12-24mm full-frame equivalent) with a fast aperture (f/1.4 to f/2.8) is essential for capturing the vastness of the Aurora.
- Tripod: A sturdy tripod is non-negotiable for long exposure shots, ensuring sharp images.
Location and Timing: Where and When to Hunt the Aurora
Choosing the right location and time significantly impacts your chances of witnessing and photographing the Northern Lights:
-
Head North: Venture towards higher latitudes for optimal viewing. Prime locations include Finnish Lapland, Swedish Lapland, Iceland, Svalbard, and Northern Norway.
-
Escape Light Pollution: City lights diminish Aurora visibility. Seek dark skies away from urban areas for the best results.
-
Seasonal Timing: The optimal Aurora viewing season is from autumn to spring.
Predicting Aurora Activity: Knowing When to Shoot
While spontaneously gazing at the night sky might yield results, utilizing forecasting tools enhances your chances:
- Aurora Forecast Apps: Numerous apps provide Aurora forecasts based on the KP index, a measure of geomagnetic activity. Higher KP values indicate greater Aurora visibility at lower latitudes. Recommended apps include Aurora Now, Aurora Fcst, and My Aurora Forecast.
- Weather Check: Clear skies are essential. Consult weather forecasts, but remain vigilant as predictions can be inaccurate. Don’t miss the show due to a faulty forecast!
 Using a smartphone to check aurora forecast
Camera Settings: Mastering Exposure for the Northern Lights
Manual mode offers the greatest control for capturing the Aurora’s nuances:
- Manual Mode and Focus: Utilize manual mode and focus for precise adjustments. Practice beforehand in daylight to become comfortable.
- ISO: Start with ISO 800-6400, adjusting based on the Aurora’s brightness and surrounding light.
- Aperture: Use the widest aperture possible (f/2.8 or lower) to maximize light intake.
- Shutter Speed: Experiment with shutter speeds between 4-30 seconds, starting with longer exposures (10-25 seconds) and adjusting based on the Aurora’s activity and brightness. Reduce ISO if images are overexposed.
Composition Tips: Framing the Aurora’s Beauty
Consider these compositional guidelines to enhance your Aurora photographs:
-
Perspective and Reflections: Explore various angles, looking up, down, and for reflections in water or ice.
-
Subject Alignment: Position the Aurora in relation to other elements in the scene, using it as a leading line or backdrop.
-
Creative Angles: Circle your subject to discover unique perspectives and foreground elements to add depth and interest.
Conclusion
Photographing the Aurora Borealis is a rewarding experience. By understanding the necessary equipment, planning your trip meticulously, utilizing forecasting tools, mastering camera settings, and employing creative composition techniques, you can capture breathtaking images of this celestial phenomenon. Remember to be patient, persistent, and prepared to embrace the unexpected magic of the Northern Lights.