A white background makes products pop and creates a clean, professional look for photos. However, achieving a pure white background can be tricky. This guide provides simple steps and tips for taking stunning photos on a white background, even with basic equipment.
Mastering White Background Photography: Equipment and Setup
The key to successful white background photography lies in understanding your equipment and setting up your shot correctly. Here’s what you need:
- Camera: A DSLR camera offers greater control over settings, but you can also achieve good results with a smartphone camera and some adjustments.
- Lens: A lens with a wide aperture (low f-stop number, like f/2.8 or f/4) allows for more light and helps blur the background, focusing attention on the subject.
- White Background: A seamless white backdrop paper roll is ideal, but a large white sheet or foam board can also work.
- Lighting: Natural light is best. Position your setup near a large window to utilize soft, diffused sunlight. Avoid harsh, direct sunlight.
- Bounce Card (Optional): A white foam board placed opposite the light source can help reflect light back onto the subject, reducing shadows.
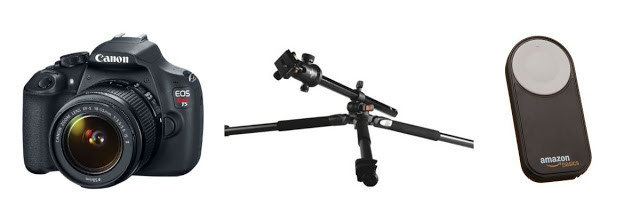 alt text: Photography equipment including camera, lens, tripod and lighting
Achieving Perfect Exposure for White Backgrounds
Getting the right exposure is crucial. Your camera’s automatic settings often underexpose white background shots, resulting in a grayish background and a dark subject. Here’s how to fix it:
- Shoot in Manual Mode: This gives you complete control over your camera’s settings.
- Adjust Exposure Compensation: Increase the exposure compensation dial to +1 or +2 to brighten the image. Experiment to find the optimal setting.
- Manipulate the Exposure Triangle:
- ISO: Start with a low ISO (e.g., 100 or 200) to minimize noise.
- Aperture: Use a wide aperture (low f-stop) to let in more light and create a shallow depth of field.
- Shutter Speed: Adjust the shutter speed to achieve the desired brightness. Start around 1/125th of a second and adjust as needed. Use a tripod to prevent blurry images when using slower shutter speeds.
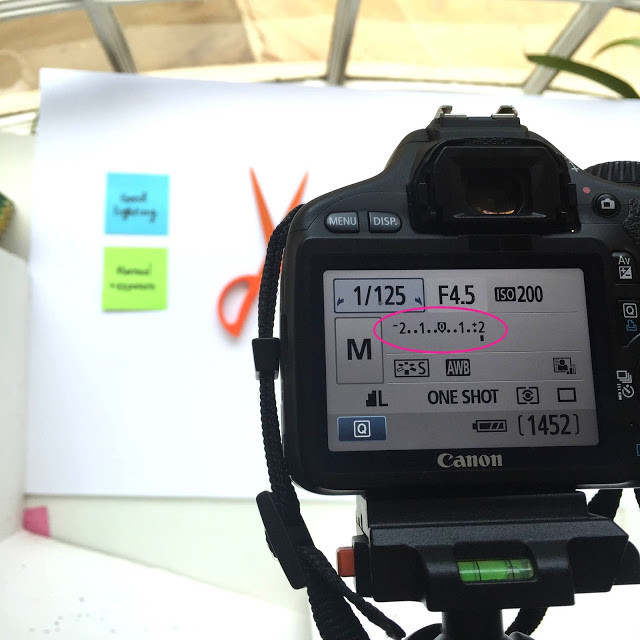 alt text: Camera screen showing the light meter/exposure level
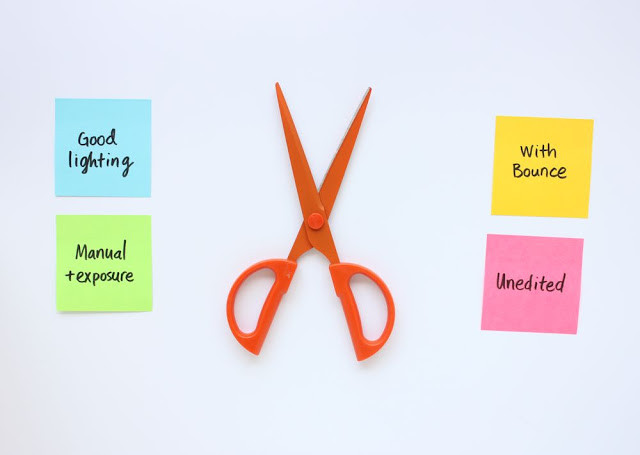
Utilizing a White Bounce Card for Even Lighting
A white bounce card, positioned opposite your light source, reflects light back onto the subject, filling in shadows and creating a more evenly lit image. This simple technique can significantly improve your white background photos.
 alt text: A white bounce card positioned opposite the light source to reflect light back onto the subject
Fine-Tuning Your Images with Post-Processing
Even with perfect lighting and exposure, minor adjustments in post-processing can enhance your photos.
- Brightness and Contrast: Increase brightness to achieve a pure white background and adjust contrast to enhance the subject’s details.
- Lighten/Dodge Tool: Use a lighten or dodge tool to brighten any remaining dark corners or edges. Use a low opacity to avoid harsh lines.
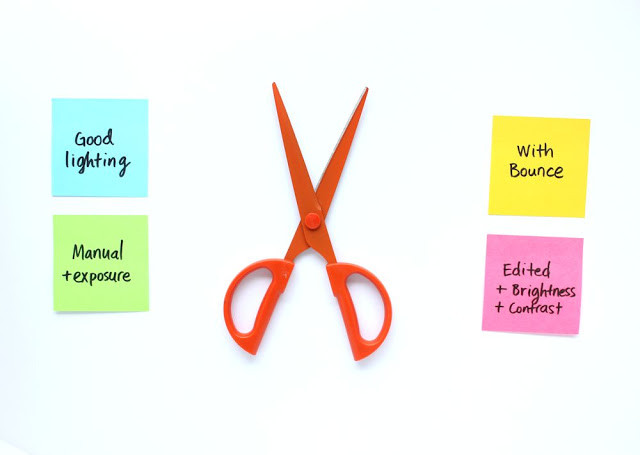 alt text: Comparison of photos before and after editing for brightness and contrast
Conclusion
By following these steps, you can capture professional-looking photos on a white background. Remember to experiment with different settings and techniques to find what works best for you and your equipment. With practice, you’ll master the art of white background photography.