Saving your precious photos to a secure and accessible platform is crucial. Google Photos offers a fantastic solution for storing and organizing your pictures. This guide provides a step-by-step walkthrough on How To Save Photos On Google Photos from your computer, whether it’s a Mac, PC, or laptop. We’ll cover downloading the necessary software, selecting your preferred upload quality, and initiating the automatic backup process.
Download “Backup and Sync” and Log In
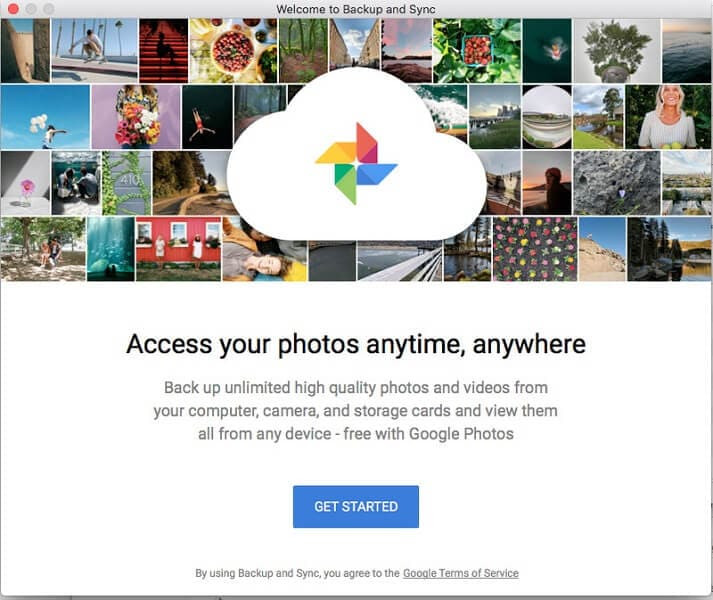
The first step to saving your photos on Google Photos is downloading the “Backup and Sync” application from Google’s website. This tool facilitates the seamless transfer of your photos from your computer to the cloud. After installing the application, log in using your Google account credentials.
 Logging into Backup and Sync
Choose Your Backup Options
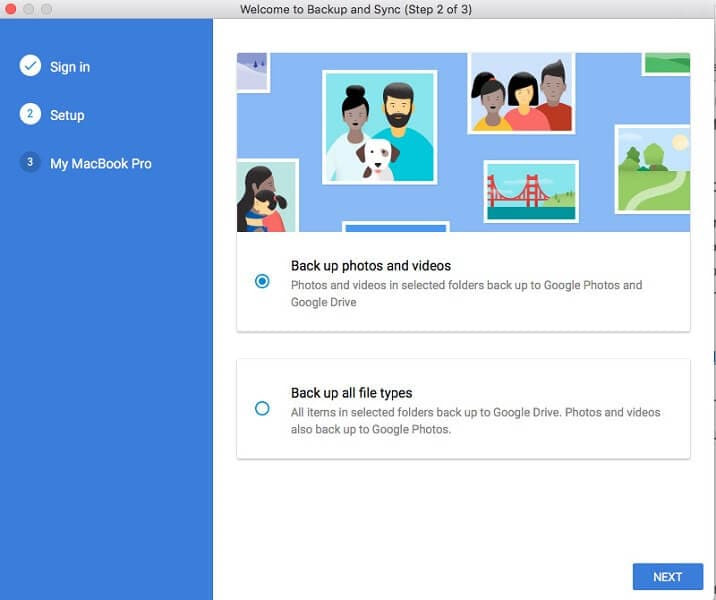
Once logged in, “Backup and Sync” presents you with two primary options: “Back up photos and videos” or “Back up all file types.” The first option focuses solely on media files, while the second allows you to back up any file type to Google Drive. For saving photos to Google Photos, select “Back up photos and videos” and click “Next.”
 Choosing backup options
Select Folders and Photo Quality
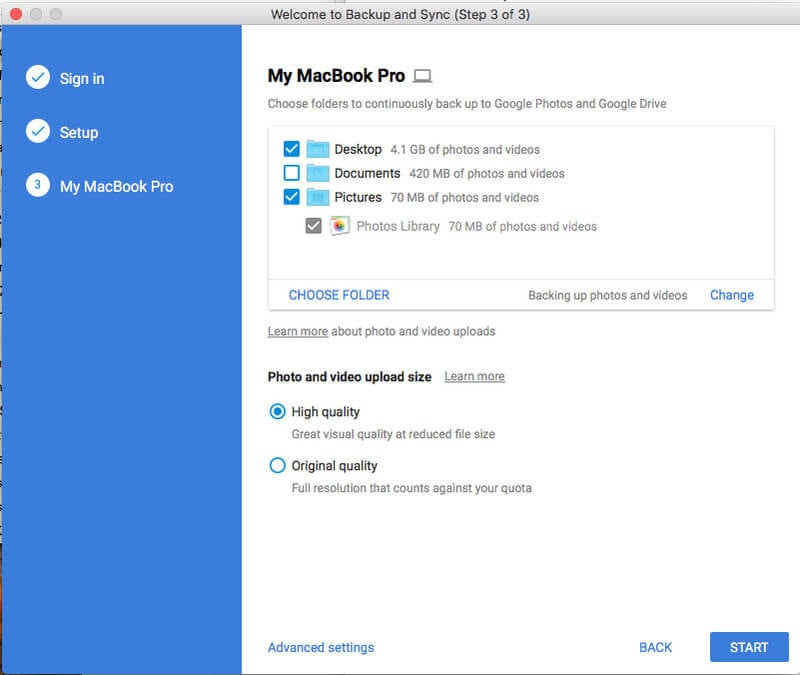
Next, choose the specific folders on your computer containing the photos you wish to upload to Google Photos. Crucially, you’ll need to decide on the upload quality: “High quality” or “Original quality.” “High quality” offers unlimited free storage but compresses your photos, potentially reducing resolution. “Original quality” preserves the original resolution but counts towards your Google account’s storage limit.
 Selecting folders and quality
“Backup and Sync” also offers “Advanced settings,” enabling you to synchronize other files on your computer with Google Drive. This is optional and not required for simply saving photos to Google Photos.
Start the Backup Process
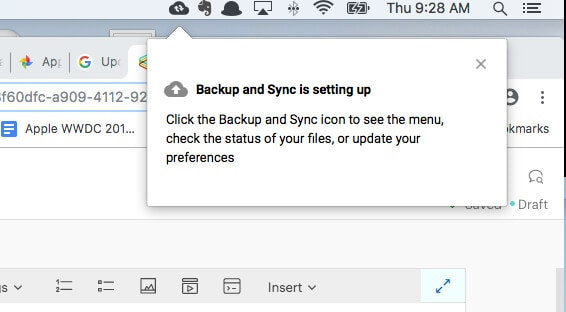
After selecting your desired folders and upload quality, click “Start” to initiate the automatic backup process. The duration of the backup depends on the number and size of your photos and your internet connection speed.
 Starting the backup
Backup Complete
Upon completion, a notification will appear, offering to open Google Photos to view your uploaded pictures. You can choose to view them immediately or dismiss the notification.
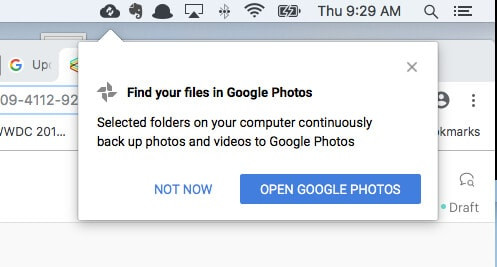 Backup complete notification
By following these steps, you can efficiently and securely save your photos on Google Photos, ensuring they are readily accessible and protected from data loss. This platform provides a convenient way to manage, share, and cherish your memories.