Inserting images into Photoshop is a fundamental skill for photo editing and graphic design. This tutorial provides a comprehensive guide on how to seamlessly add photos to your Photoshop projects, covering essential techniques for a smooth workflow.
 Opening a photo in Photoshop
Selecting and Opening Images in Photoshop
The first step involves choosing the right images. Consider the overall composition and ensure the images you want to insert complement the background in terms of lighting, color, and perspective. Don’t worry about initial image sizes, as Photoshop allows for easy adjustments later. Begin by opening your chosen background image in Photoshop: File > Open. This establishes the foundation for your composition.
Placing Images as New Layers
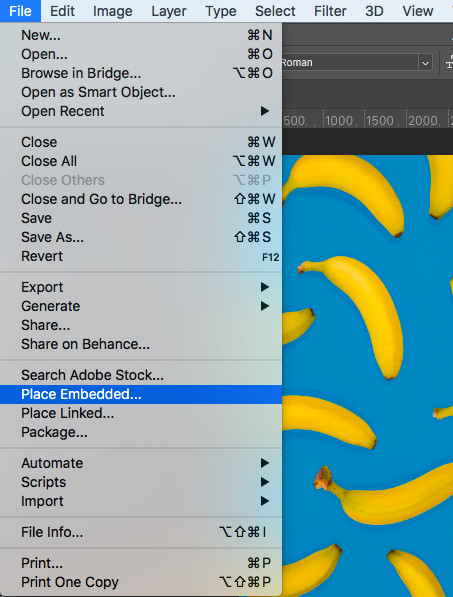
Next, insert your desired image onto the background. You can do this by dragging and dropping the image from your file explorer directly onto the Photoshop canvas. Alternatively, use File > Place Embedded to select the image from your computer. This action creates a new layer for the inserted image, positioned above the background layer. For better organization, rename each layer in the Layers Panel using descriptive names. This will be helpful when working with multiple images.
 Photoshop File Menu Dropdown for Placing an Image
Utilizing Smart Objects for Non-Destructive Editing
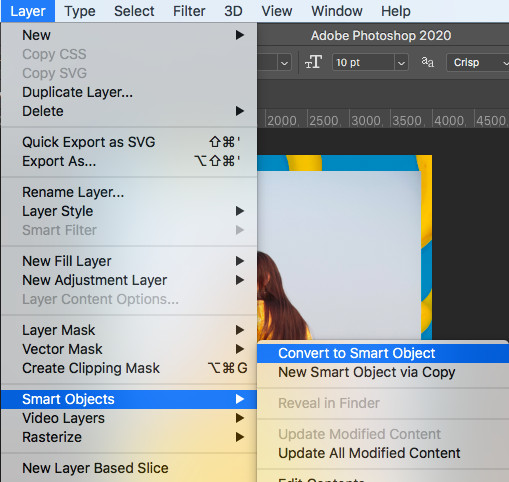
Converting your inserted image layer to a Smart Object is crucial for preserving image quality. Smart Objects allow you to scale and transform the image without losing resolution. Right-click on the image layer in the Layers Panel and select “Convert to Smart Object.” You’ll notice a small icon in the layer thumbnail indicating it’s now a Smart Object.
Resizing and Positioning Images
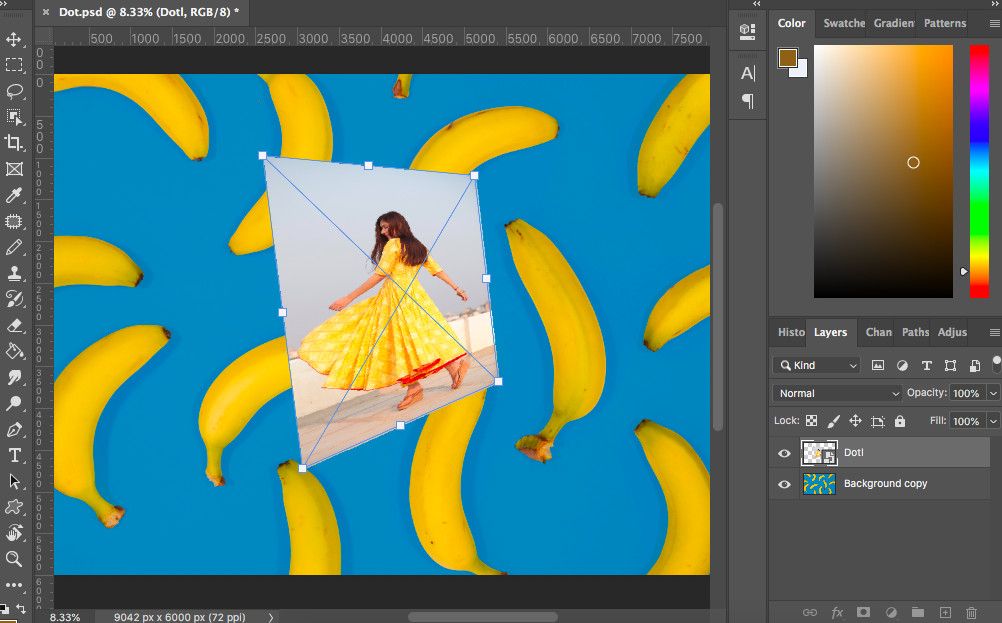
Now, adjust the size and position of the inserted image. Select the layer and use the Transform tool (shortcut: Ctrl+T or Cmd+T). Click and drag the corner handles of the bounding box to resize the image proportionally. Hold Shift while dragging to maintain the aspect ratio. Use the move tool (shortcut: V) to reposition the image within the canvas.
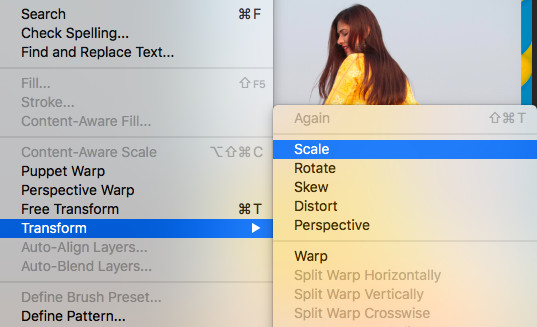 Using the Shift Key to Resize Proportionally in Photoshop
Cutting and Refining Images
To remove unwanted portions of the inserted image, use selection tools like the Lasso or Quick Selection tool to define the area you want to keep. Then, choose Select > Inverse to select the area outside your selection. Press Delete or Backspace to remove the unwanted portion. Layer masks offer a non-destructive alternative for hiding parts of an image, allowing for flexibility in editing.
 Resizing an image in Photoshop
By mastering these techniques, you can efficiently insert photos into Photoshop, manipulate them seamlessly, and create stunning visuals. Remember to save your work regularly in the .PSD format to preserve layers and editing capabilities.
