The iPhone has revolutionized photography, placing a powerful camera in everyone’s pocket. But capturing a great photo is only half the battle. To truly make your iPhone photos stand out and achieve a professional look, mastering the art of editing directly on your device is essential. Fortunately, the built-in Photos app offers a surprisingly robust suite of editing tools that, when used correctly, can transform your snapshots into stunning images. Let’s dive into how you can edit photos on your iPhone to achieve professional-quality results.
Select the Perfect Frame from Live Photos
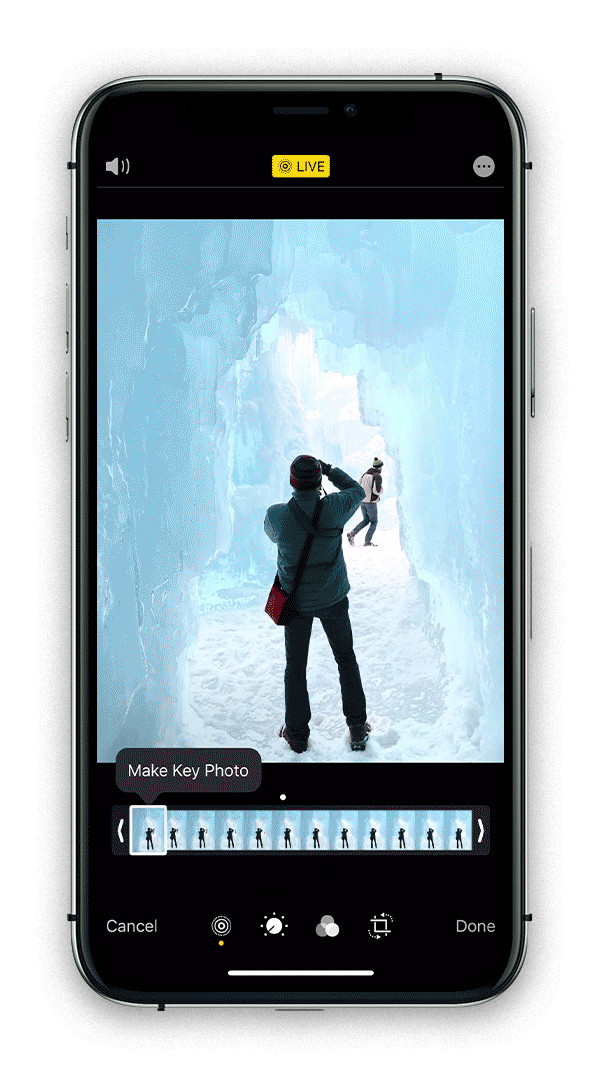
The Live Photo feature on iPhones is more than just a fun gimmick; it’s a valuable tool for capturing fleeting moments. Instead of relying on a single shot, Live Photos record a short video clip, increasing your chances of catching the perfect expression or action. The iPhone intelligently selects a key frame, but you have the power to choose the absolute best moment from the entire clip and extract it as a still photo. This is incredibly useful for portraits, action shots, or any situation where timing is crucial.
 Selecting a key frame from a Live Photo on iPhone
 Professionally edited photo of a photographer in an ice cave, frame selected from Live Photo
How to Select Frames and Edit Live Photos: Open your Live Photo in the Photos app and tap “Edit.” You’ll see the “Live” icon (three concentric circles). Tap it to reveal the frame viewer at the bottom. Slide through the frames to pinpoint your favorite. Tap “Make Key Photo” to set your chosen frame as the main image. To finalize it as a still photo, tap the yellow “Live” button at the top to disable Live Photo mode.
Master Exposure for Brighter, Professional Photos
Exposure, often referred to as brightness, is a fundamental aspect of photography. It dictates how light or dark your image appears. Correct exposure is crucial for a professional look, ensuring your photos are well-lit and visually appealing. The “Exposure” tool in iPhone editing is your secret weapon for brightening images and making them pop. However, moderation is key. Over-brightening can lead to overexposure, washing out details, especially in the highlights. Think of adjusting exposure as the foundation upon which all other edits are built. Sometimes, a simple exposure adjustment is all a photo needs to go from ordinary to extraordinary.
 Demonstration of adjusting exposure on an iPhone photo
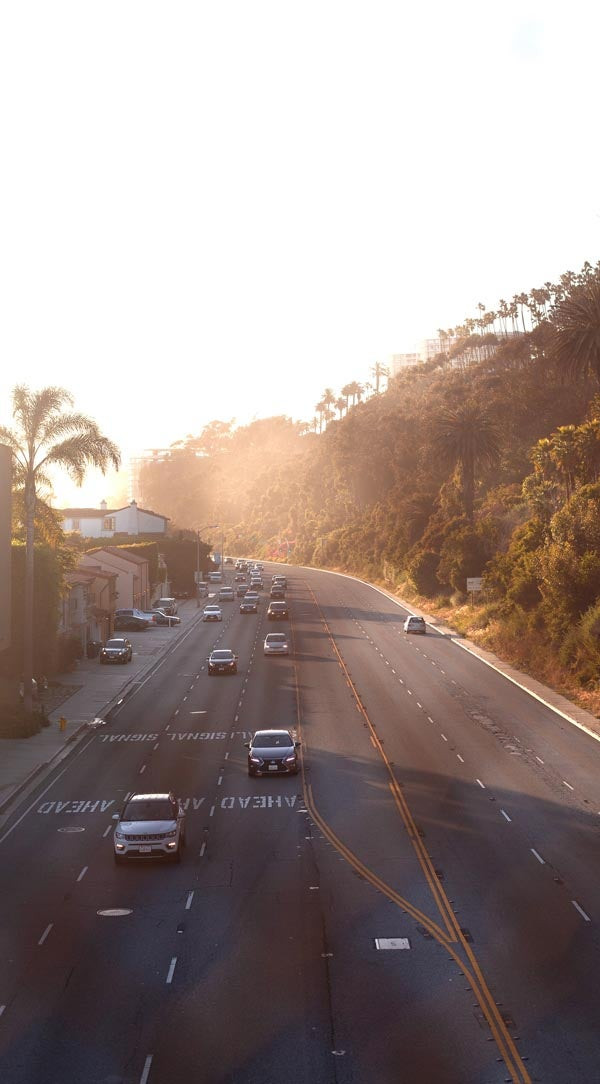 Professionally edited photo of a palm tree-lined highway with optimized exposure
How to Adjust Exposure on iPhone: Enter edit mode by tapping “Edit” on your chosen photo. Tap the “Adjust” icon (a circular dial). Select the “+/-” icon to access exposure. For darker photos, gently drag the slider to the right to increase brightness, typically around 1/3 to 1/2 of the range, depending on the original image’s darkness.
Enhance Depth with Contrast for Professional Impact
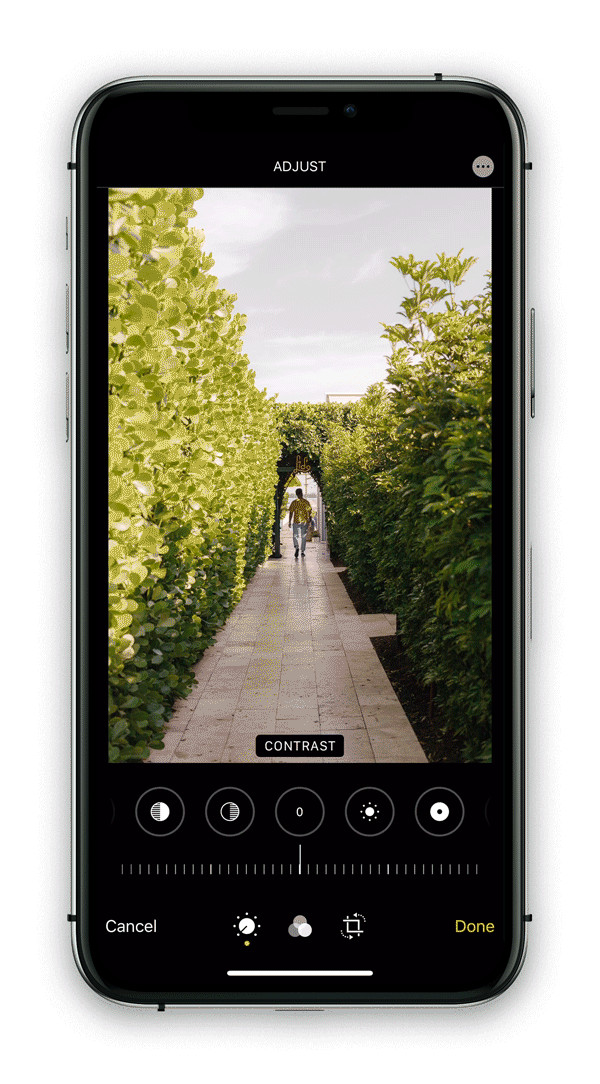
Contrast is what gives your photos depth and visual interest. It’s the difference between the lightest and darkest areas of your image. Increasing contrast deepens shadows and brightens highlights, making details stand out and adding a sense of drama. For professional-looking photos, contrast is essential for creating visual impact. Like all editing tools, contrast should be applied subtly. Overdoing it can result in harsh, unnatural-looking images.
 Video tutorial on how to adjust contrast on iPhone
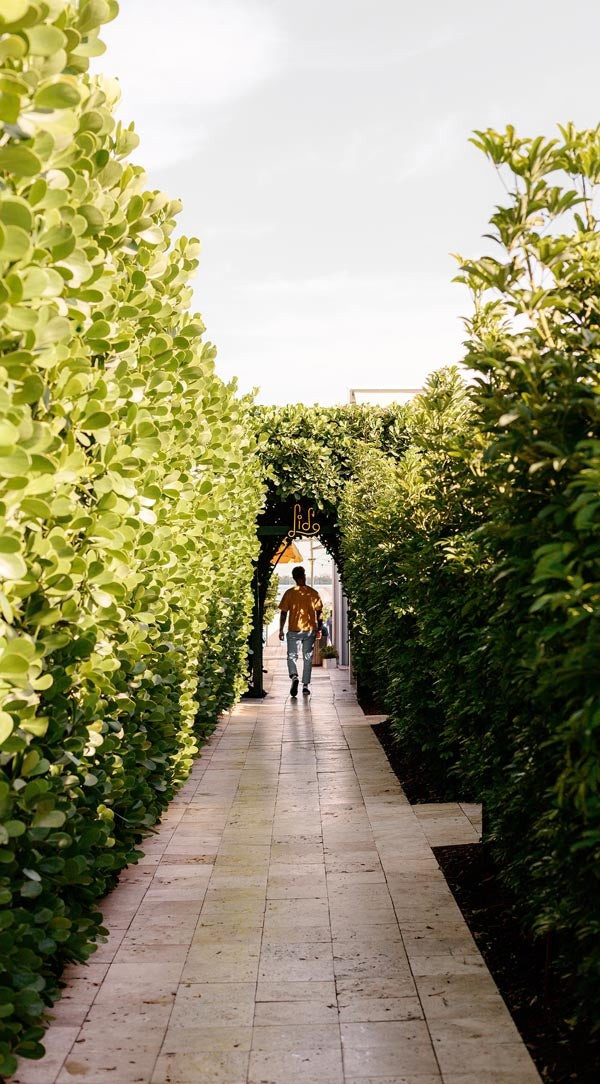 Professionally edited photo of a man walking on a vine-covered path with enhanced contrast
How to Change Contrast on iPhone: In edit mode, navigate to the “Adjust” section. Find the “Contrast” option (half-filled circle icon). Experiment with the slider, moving it slightly to the right to increase contrast and make your photo “pop.” A subtle adjustment, around halfway, is often sufficient.
Crop for Perfect Composition and Professional Focus
Cropping is a powerful editing technique that dramatically alters the visual story of your photograph. It allows you to refine composition, emphasize key subjects, and eliminate distracting elements. Professional photographers use cropping to guide the viewer’s eye, create visual balance, and achieve specific artistic effects. Whether you want to tighten the focus on your subject, create negative space, or reframe the scene entirely, cropping is your go-to tool. Understanding composition principles like the Rule of Thirds (which you can learn more about here) will further enhance your cropping skills and lead to more professional results.
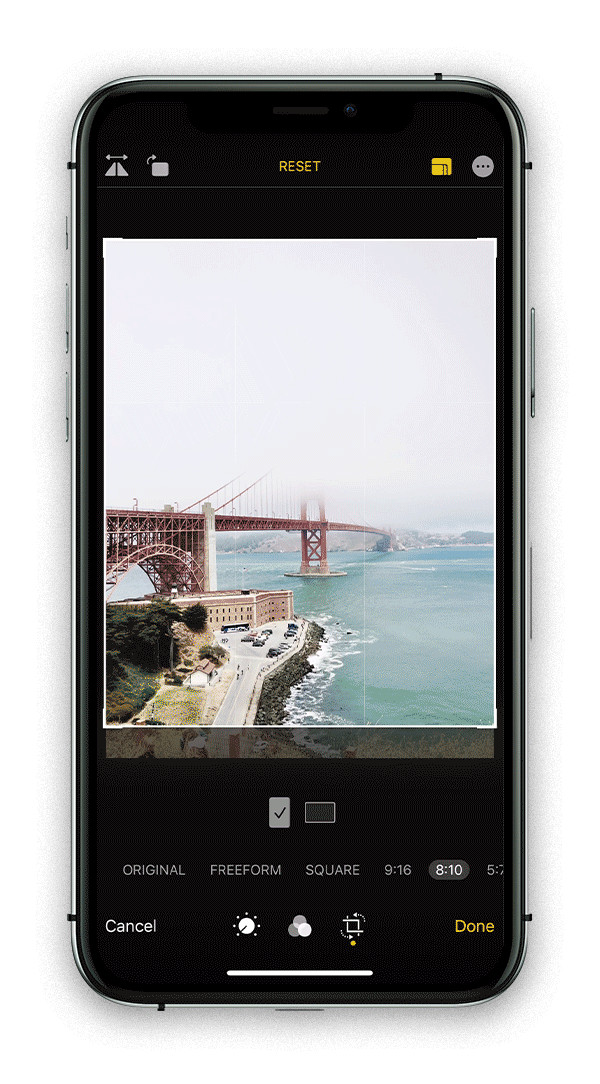 Demonstration of cropping photos on an iPhone
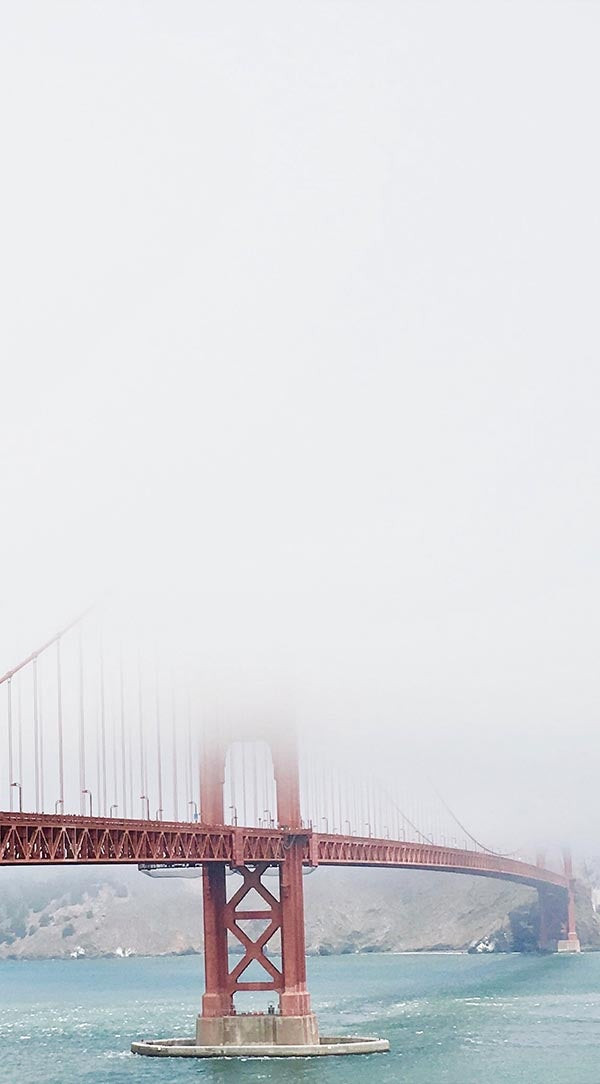 Professionally cropped photo of the Golden Gate Bridge in fog, emphasizing composition
How to Crop Photos on iPhone: In edit mode, tap the “Crop” icon (square shape) on the left. Drag the edges of the cropping box to frame your image as desired. Experiment with different crops – tighter crops, wider crops, different aspect ratios – to discover the most impactful composition.
Enhance Color Vibrancy with Saturation for Professional Appeal
Saturation refers to the intensity of colors in your photo. Adjusting saturation is key to enhancing the vibrancy and mood of your images. Subtle saturation adjustments can bring colors to life, making them richer and more appealing, contributing to a professional and polished look. The goal is to enhance colors realistically, reflecting what you saw with your own eyes, rather than creating artificial-looking, over-saturated images. Remember, less is often more when it comes to saturation, especially when aiming for a professional aesthetic.
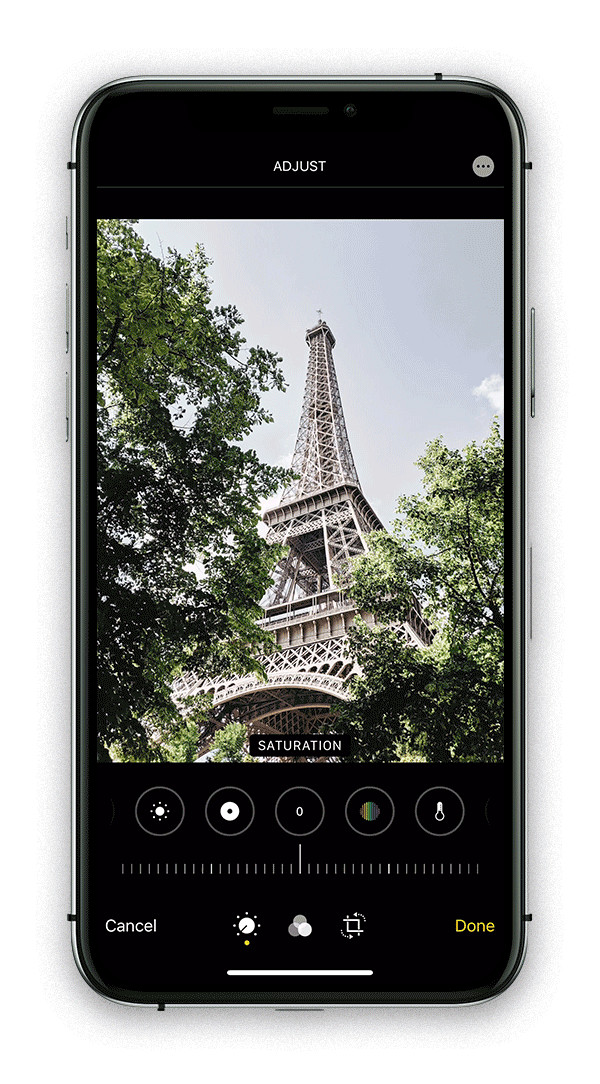 Video showing how to adjust color saturation on an iPhone
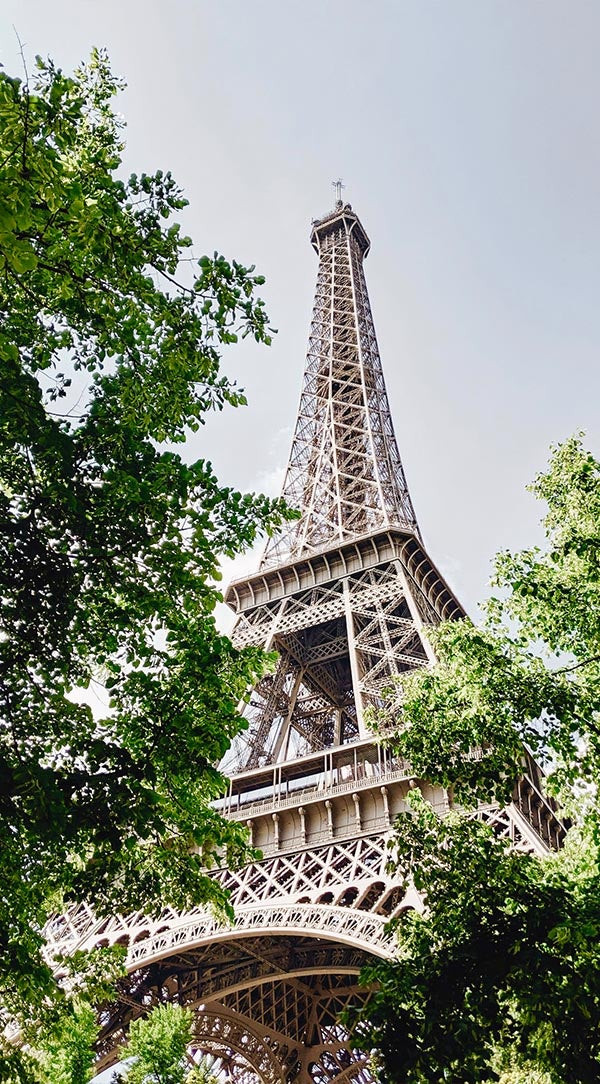 Professionally edited photo of the Eiffel Tower with optimized color saturation
How to Change Saturation on iPhone: In edit mode, go to the “Adjust” tab. Scroll to find the “Saturation” icon (solid rainbow circle). Use the slider to subtly increase saturation for more vivid colors or decrease it for a muted, calming effect.
Fine-Tune Highlights for Professional Detail Recovery
Highlights are the brightest areas of your photo, where light is most intense. Often, in bright conditions, highlights can become overexposed, losing detail and appearing blown out. The “Highlights” adjustment tool is designed to recover detail in these bright areas, bringing back texture and information that might otherwise be lost. For professional editing, controlling highlights is crucial for balanced exposure and preventing distracting blown-out areas.
 Video tutorial on adjusting highlights in iPhone photos
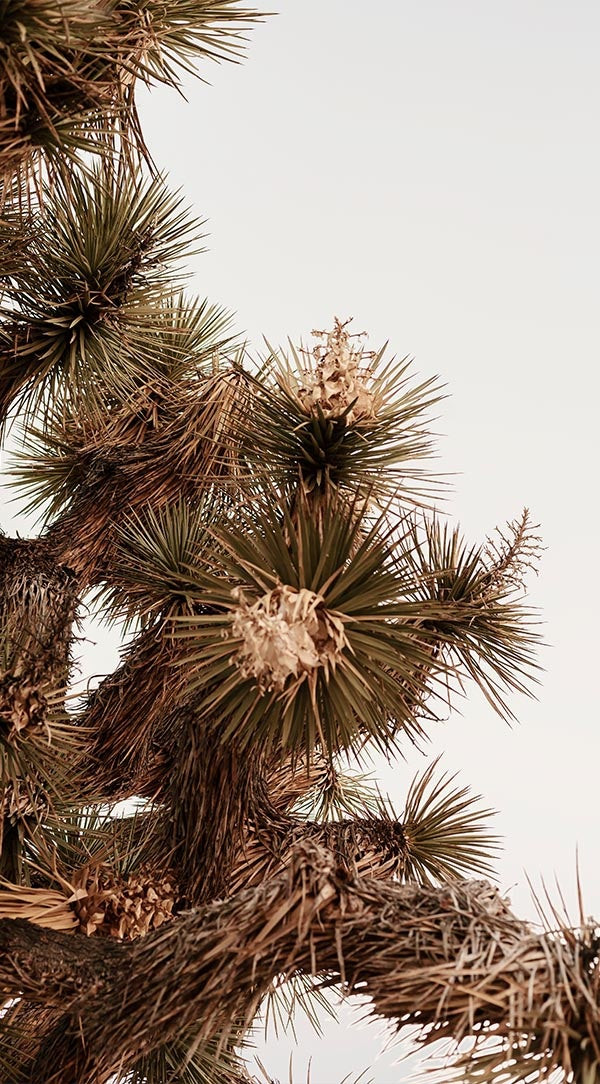 Professionally edited photo of a pine tree with highlights adjusted for detail
How to Adjust Highlights on iPhone: In the “Adjust” tab, locate the “Highlights” icon (circle with lines and white filling). Drag the slider to the left to reduce highlights and recover detail in overexposed areas. Move it to the right to brighten highlights if they appear too dark.
Refine Shadows for Depth and Professional Dimension
Shadows are the darkest areas of your photo, where light is minimal. If shadows are too dark, they can obscure details and make your image look flat. Conversely, if shadows are too light, the photo can lack depth and contrast. The “Shadows” adjustment tool allows you to fine-tune the darkness of these areas, adding depth, dimension, and visual richness to your photos, all hallmarks of professional editing.
 Video demonstration of shadow adjustment on iPhone
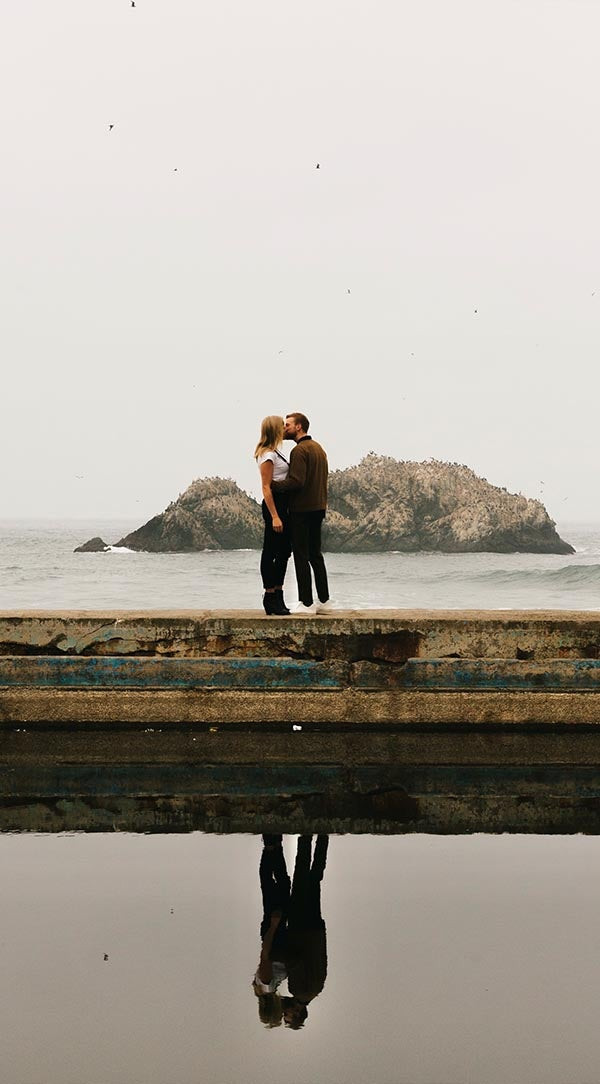 Professionally edited photo of a couple kissing on a dock with refined shadows
How to Fine-Tune Shadows on iPhone: In the “Adjust” tab, find the “Shadows” icon (circle with black and lined filling). Drag the slider to the right to lighten shadows and reveal detail in dark areas. Move it to the left to deepen shadows and increase contrast, but be mindful of faces – avoid making shadows on faces too dark.
Use Filters Subtly for a Professional Starting Point
Filters offer a quick and easy way to apply a stylistic look to your photos. The iPhone Photos app includes a range of built-in filters, from vibrant to monochrome. While filters can be a convenient starting point, for professional editing, they should be used subtly. Think of filters as a base layer that you can further refine with manual adjustments. Over-reliance on strong filters can often lead to an artificial or amateurish look. The key is to use them judiciously to enhance, not overwhelm, your images. Remember, iPhone filters are non-destructive, meaning you can always remove or adjust them later.
 Video showing how to apply filters on iPhone
 Professionally edited photo of a woman in sunlight with a subtly applied filter
How to Use Filters on iPhone: In edit mode, tap the “Filters” icon (three interlocking circles). Scroll through the filter options and tap to apply one. Use the slider beneath the filter name to adjust its intensity, reducing it for a more subtle effect.
Aim for Natural Edits: The Hallmark of Professional iPhone Photography
Ultimately, the goal of editing your iPhone photos to look professional is to enhance their natural beauty, not to drastically alter reality. Whether you’re adjusting colors, exposure, or applying filters, always keep in mind the scene as you originally experienced it. Professional photo editing is about refinement and subtle improvements that elevate the image while maintaining a realistic and authentic feel. Don’t be afraid to compare your edits to the original photo to ensure you’re enhancing, not over-processing.
.gif)
Achieving Natural Edits on Your iPhone: While editing, tap and hold the photo to quickly preview the original, unedited version. This allows you to compare and ensure your edits are enhancing the image in a natural way. If you feel you’ve gone too far, the “Revert” button is your friend – it allows you to start fresh. Mastering iPhone photo editing is a skill that develops with practice and a keen eye. Be patient, experiment, and enjoy the process of transforming your iPhone photos into professional-looking images.
Ready to take your iPhone photography to the next level? Start experimenting with these editing tips and discover the professional potential within your pocket.
![You can choose Optimize [device] storage or Download and Keep Originals.](https://dfphoto.net/wp-content/uploads/2025/02/ios-18-iphone-15-pro-settings-apple-account-icloud-photos-optimize-iphone-storage-150x150.jpg)