iCloud Photos is a fantastic service for Apple users to keep their precious memories safe and accessible across all their devices. But what if you want to download those photos and videos from iCloud to your PC? Whether you’re freeing up iCloud storage, creating a local backup, or simply prefer to manage your photos on your computer, transferring your iCloud library to your PC is a straightforward process. This guide will walk you through the most effective methods to download your photos from iCloud to your PC, ensuring you don’t lose any of your cherished moments.
Method 1: Using iCloud for Windows Application
The most seamless way to download your iCloud Photos to a PC is by using the official iCloud for Windows application. This method keeps your photos synchronized and allows for easy access and download.
-
Download and Install iCloud for Windows: First, you need to download iCloud for Windows from the Microsoft Store. Once downloaded, follow the installation prompts to set it up on your PC.
-
Sign in to iCloud: After installation, launch the iCloud for Windows application and sign in using your Apple ID and password, the same credentials you use for iCloud.
-
Select Photos: In the iCloud for Windows interface, you will see various options. Ensure that “Photos” is checked. Click “Options…” next to Photos to customize settings.
-
Choose Download Location and Options: In the Photos options, you can choose the location where you want your iCloud Photos to be downloaded on your PC. By default, it creates an “iCloud Photos” folder in your File Explorer. Make sure “Download new photos and videos to my PC” is selected. You can also choose to “Keep HEIF and JPEG as most compatible” if you prefer JPEG format over HEIF for compatibility reasons on your PC.
-
Apply and Finish: Click “Done” and then “Apply” in the main iCloud for Windows window. iCloud will now start downloading your photos and videos to the specified folder on your PC. The time taken for download will depend on the size of your iCloud Photo library and your internet speed.
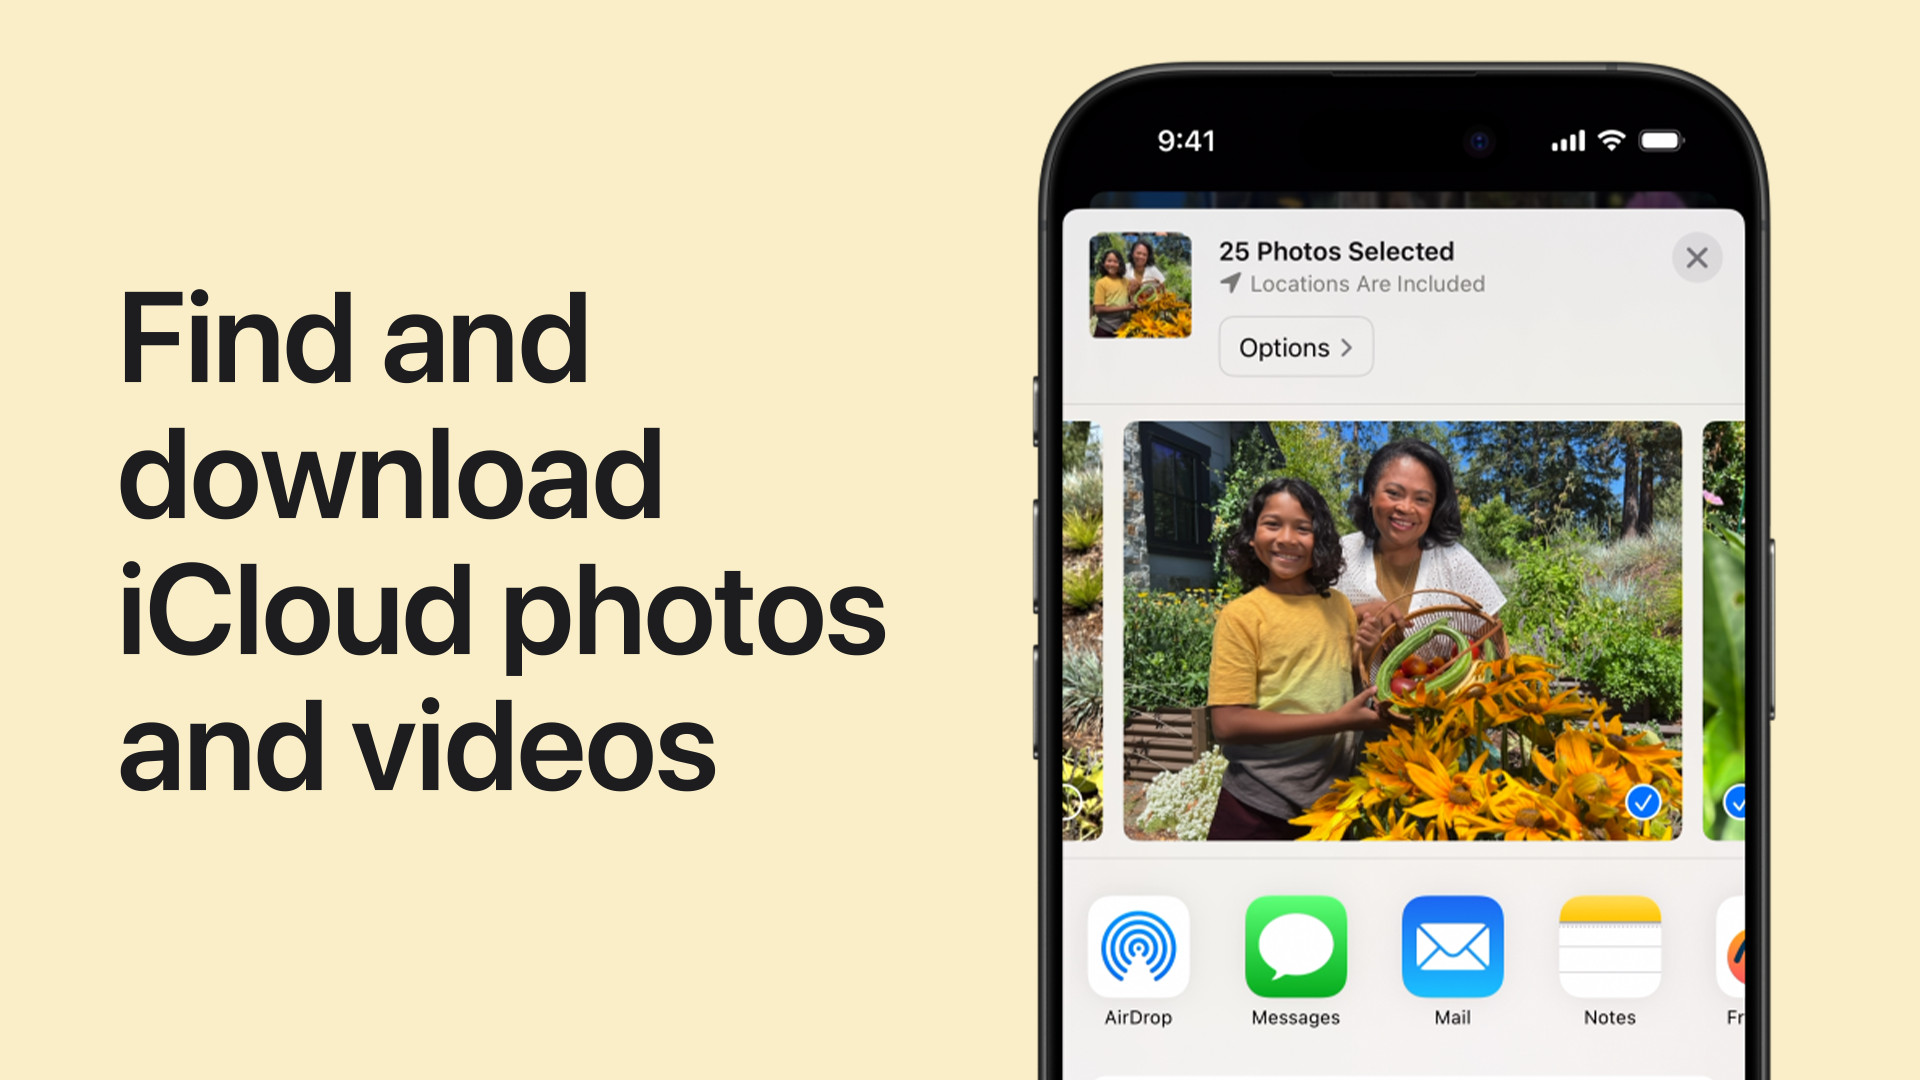
 Video thumbnail showing how to download photos from iCloud to PC using different methods, including iCloud for Windows and iCloud.com web interface.
Method 2: Downloading Photos from iCloud.com
If you prefer not to install iCloud for Windows, or need to download specific photos or albums, iCloud.com offers a web-based solution to access and download your photos.
-
Go to iCloud.com and Sign In: Open your web browser and navigate to iCloud.com/photos. Sign in with your Apple ID and password.
-
Select Photos to Download: Once logged in, you will see your iCloud Photos library in your web browser. You can browse through your photos and videos. To download, click to select the photos or videos you want. You can select multiple items by holding down the “Ctrl” key (on Windows) or “Command” key (on Mac) while clicking. To select all, look for a “Select All” option, often found in the menu or top bar.
-
Click the Download Button: After selecting your desired photos, look for the download button, which is typically represented by a cloud icon with a downward arrow, usually located in the top right corner of the iCloud Photos interface on the website.
-
Choose Download Options (If Available): Sometimes, iCloud.com provides options for download formats. You might see options like “Unmodified Originals,” “Highest Resolution,” or “Most Compatible.” “Unmodified Originals” will download the photos in their original format and resolution as they were captured. “Highest Resolution” is usually recommended for best quality on your device. “Most Compatible” converts them to JPEG and MP4 formats for better compatibility, which might be useful if you anticipate compatibility issues on your PC.
-
Download and Save: Click “Download.” Your browser will then download the selected photos and videos, typically as a ZIP file if you’ve selected multiple items. Choose a location on your PC to save the downloaded file(s). After downloading, you may need to extract the photos from the ZIP file.
Method 3: Downloading Photos from Shared Albums (via iCloud.com)
If the photos you wish to download to your PC are located in Shared Albums in iCloud, you can also download them through iCloud.com.
-
Access Shared Albums on iCloud.com: Go to iCloud.com and sign in. Click on the “Photos” app icon. In the Photos app on iCloud.com, look for “Shared Albums” in the left sidebar menu.
-
Open the Shared Album: Click on the Shared Album that contains the photos you want to download.
-
Select Photos and Download: Inside the Shared Album, select the photos or videos you wish to download, similar to how you would select photos in your main library on iCloud.com. Then, click the download button. The photos will be downloaded to your PC, usually in JPEG format for photos and MP4 for videos, ensuring compatibility.
By following these methods, you can effectively download your photos from iCloud to your PC, ensuring you have a local copy of your valuable memories. Whether you choose to use the iCloud for Windows application for ongoing synchronization or iCloud.com for selective downloads, you have flexible options to manage your iCloud Photos on your PC.
