Picture frames are more than just holders for photos; they are fantastic decor elements that can instantly elevate any wall or space. There’s something truly special about displaying cherished memories, and what better way to do it than with a Do It Yourself Photo Frame? This project is incredibly easy, making it perfect for anyone, regardless of their DIY experience. Whether you want to create a statement piece or add a personal touch to your home decor, crafting your own picture frame is a rewarding and budget-friendly option. In this guide, we’ll focus on creating a stylish, large-size photo frame, but the techniques can be adapted to make frames of any dimension, perfect for a single photo or a stunning gallery wall.
 DIY wood picture frame for home decor
Why Choose a Do It Yourself Photo Frame?
The beauty of a do it yourself photo frame lies in its simplicity and the personal touch it adds to your home. DIY projects are incredibly satisfying, and creating your own photo frame is no exception. With the holiday season approaching, these frames also make thoughtful and personalized Christmas gifts, especially when paired with a meaningful photograph or a piece of art.
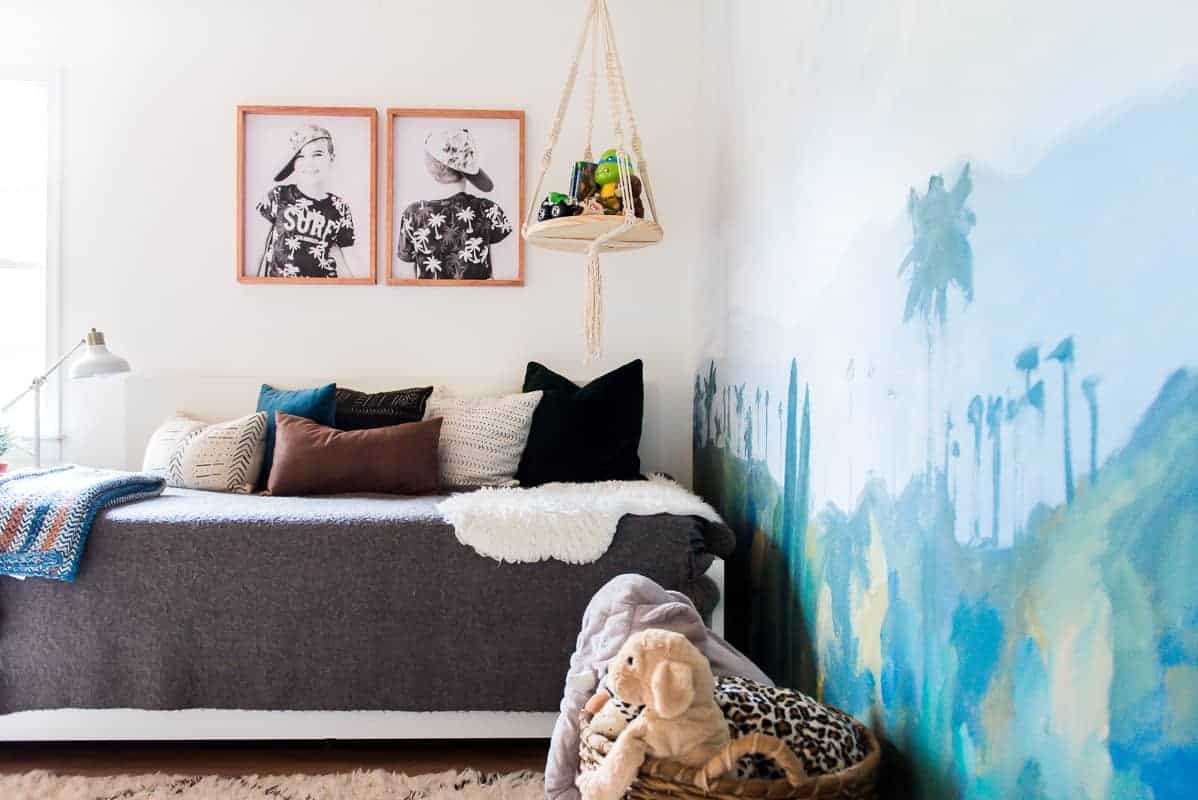
In today’s digital age, we capture countless photos on our phones, often sharing them briefly on social media before they’re forgotten. Displaying physical photographs in your home is a wonderful way to keep those precious memories alive and add warmth to your living spaces. Recently, while revamping my son’s room, I opted for DIY photo frames to hang above his bed. Safety is always a priority, especially in kids’ rooms, and these lightweight, non-breakable frames are the perfect solution for worry-free decorating.
The Charm of a Wood Picture Frame
I’m particularly drawn to wood picture frames for their natural warmth and versatility. The look of wood adds a cozy and inviting feel to any room. Furthermore, the satisfaction of transforming simple pine boards or even scrap wood into a beautiful piece of home decor is incredibly rewarding. This project is not only aesthetically pleasing but also a great way to utilize readily available materials and create something truly unique.
DIY Photo Frame Tutorial: Get Crafting!
Ready to create your own stunning do it yourself photo frame? This tutorial will guide you through the process of making a custom frame in under an hour, and at a fraction of the cost of store-bought frames. For this project, I wanted to showcase a striking photo of my son, capturing his vibrant personality. The goal was to create a frame that complements the image and adds a personal touch to his room. The best part? Each of these frames cost only around $5 to make!
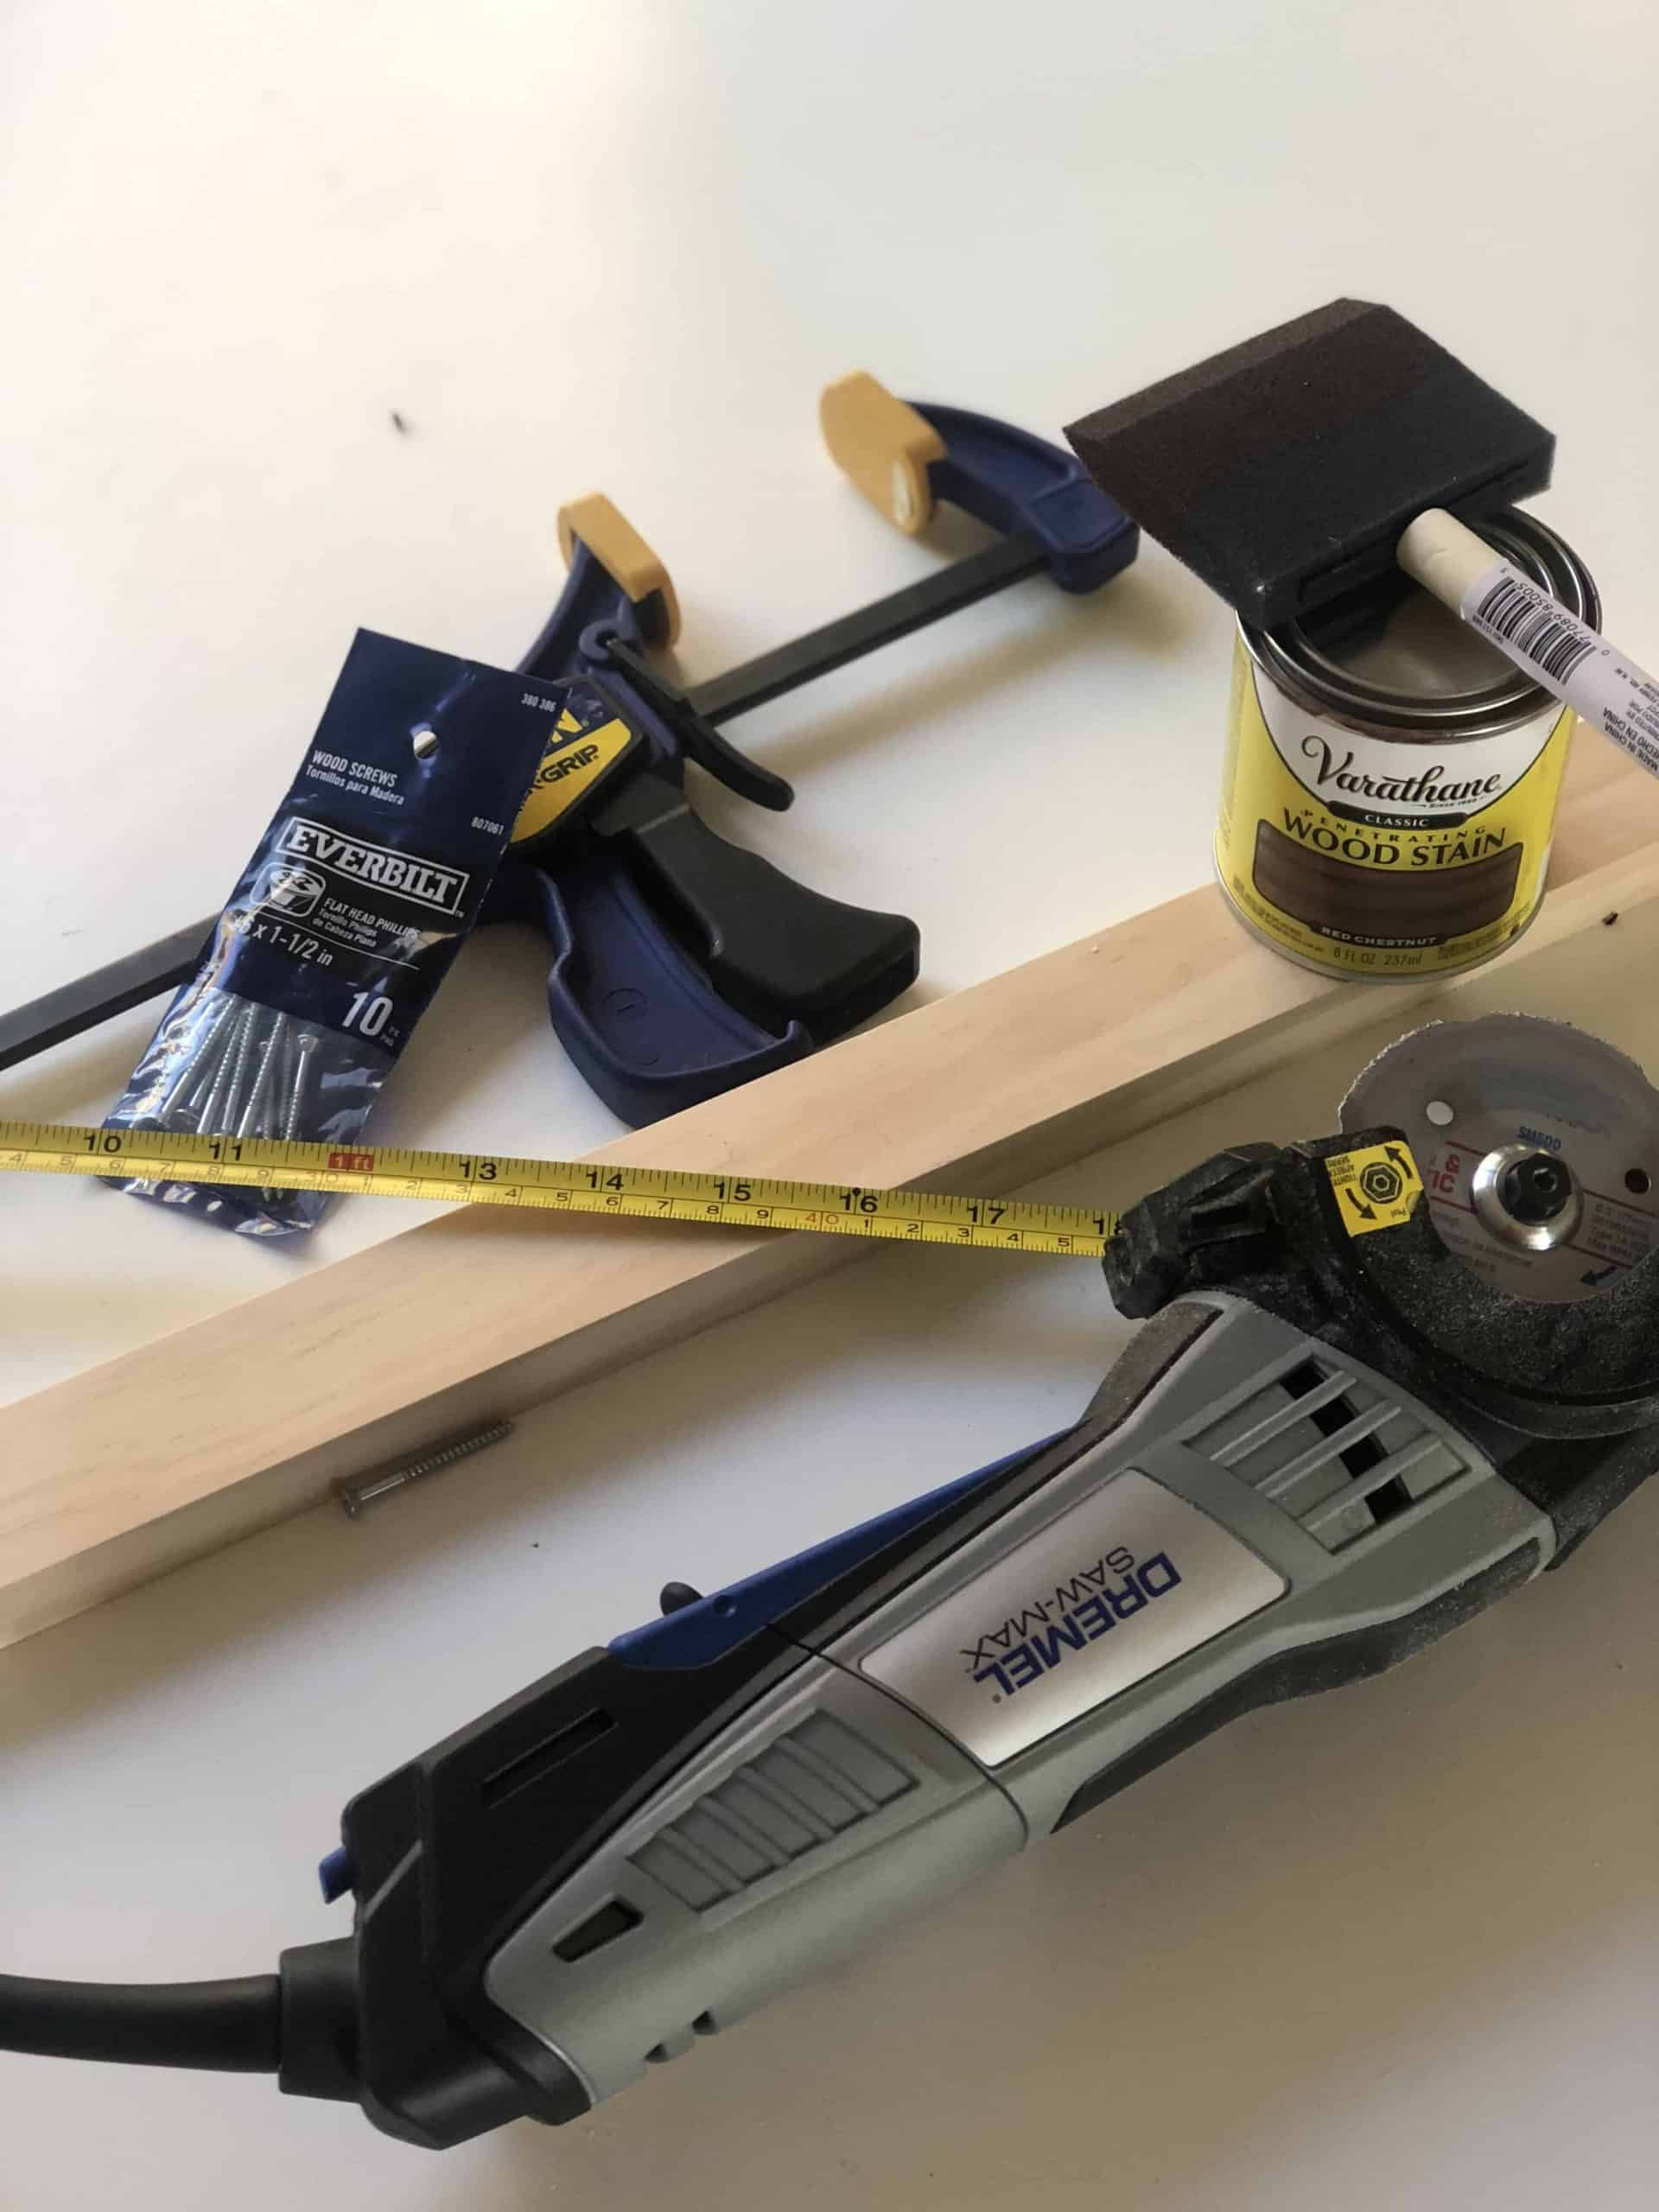
Materials You’ll Need for Your DIY Photo Frame
Before you begin, gather these readily available materials from your local hardware store, or check if you already have them at home:
- Pine Boards: (1×2 inch pine board, 8 ft length recommended)
- Screws: Wood screws suitable for pine.
- Screwdriver: To drive in the screws.
- Clamps: To hold wood pieces securely together.
- Tape Measure: For accurate measurements.
- Pencil: For marking wood.
- Wood Stain: Choose your preferred color to match your decor.
- Wall Hanging Hardware: Picture hanging hooks or wire.
- Dremel Ultra Saw (or similar cutting tool): For precise wood cuts. Wood glue (optional): For added frame stability.
Steps to Make This Easy DIY Photo Frame
Follow these simple steps to construct your own beautiful do it yourself photo frame:
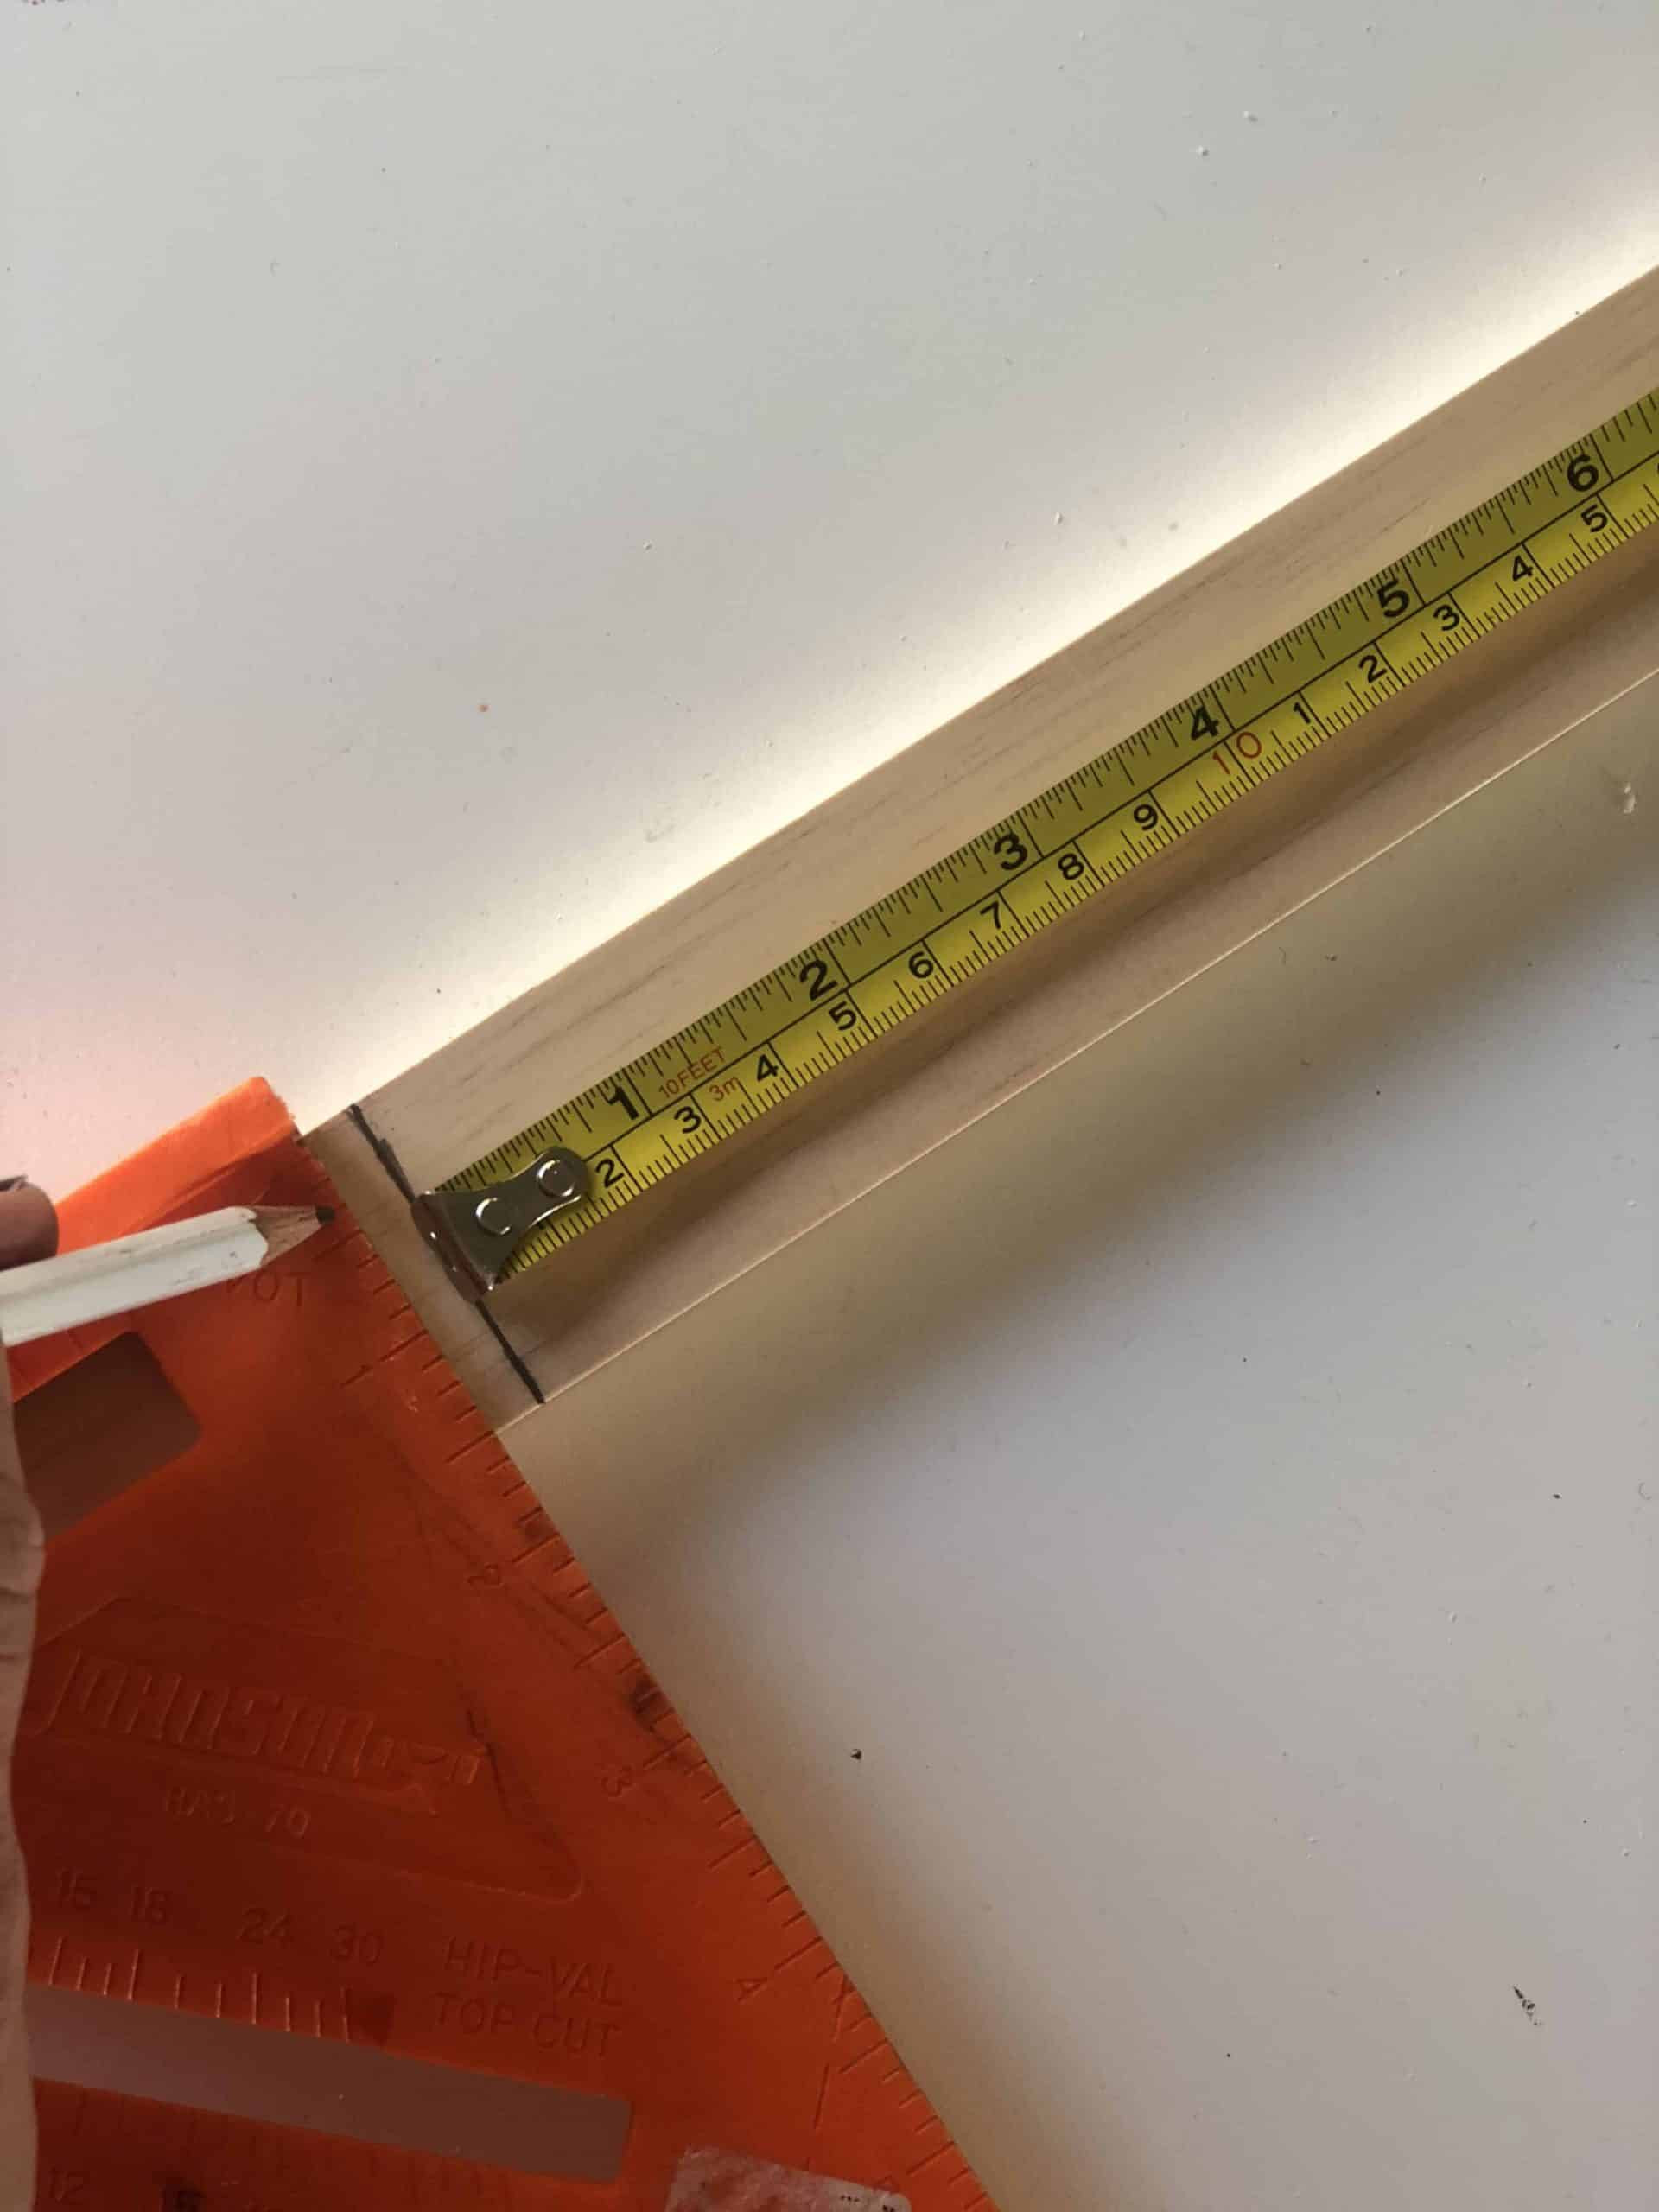
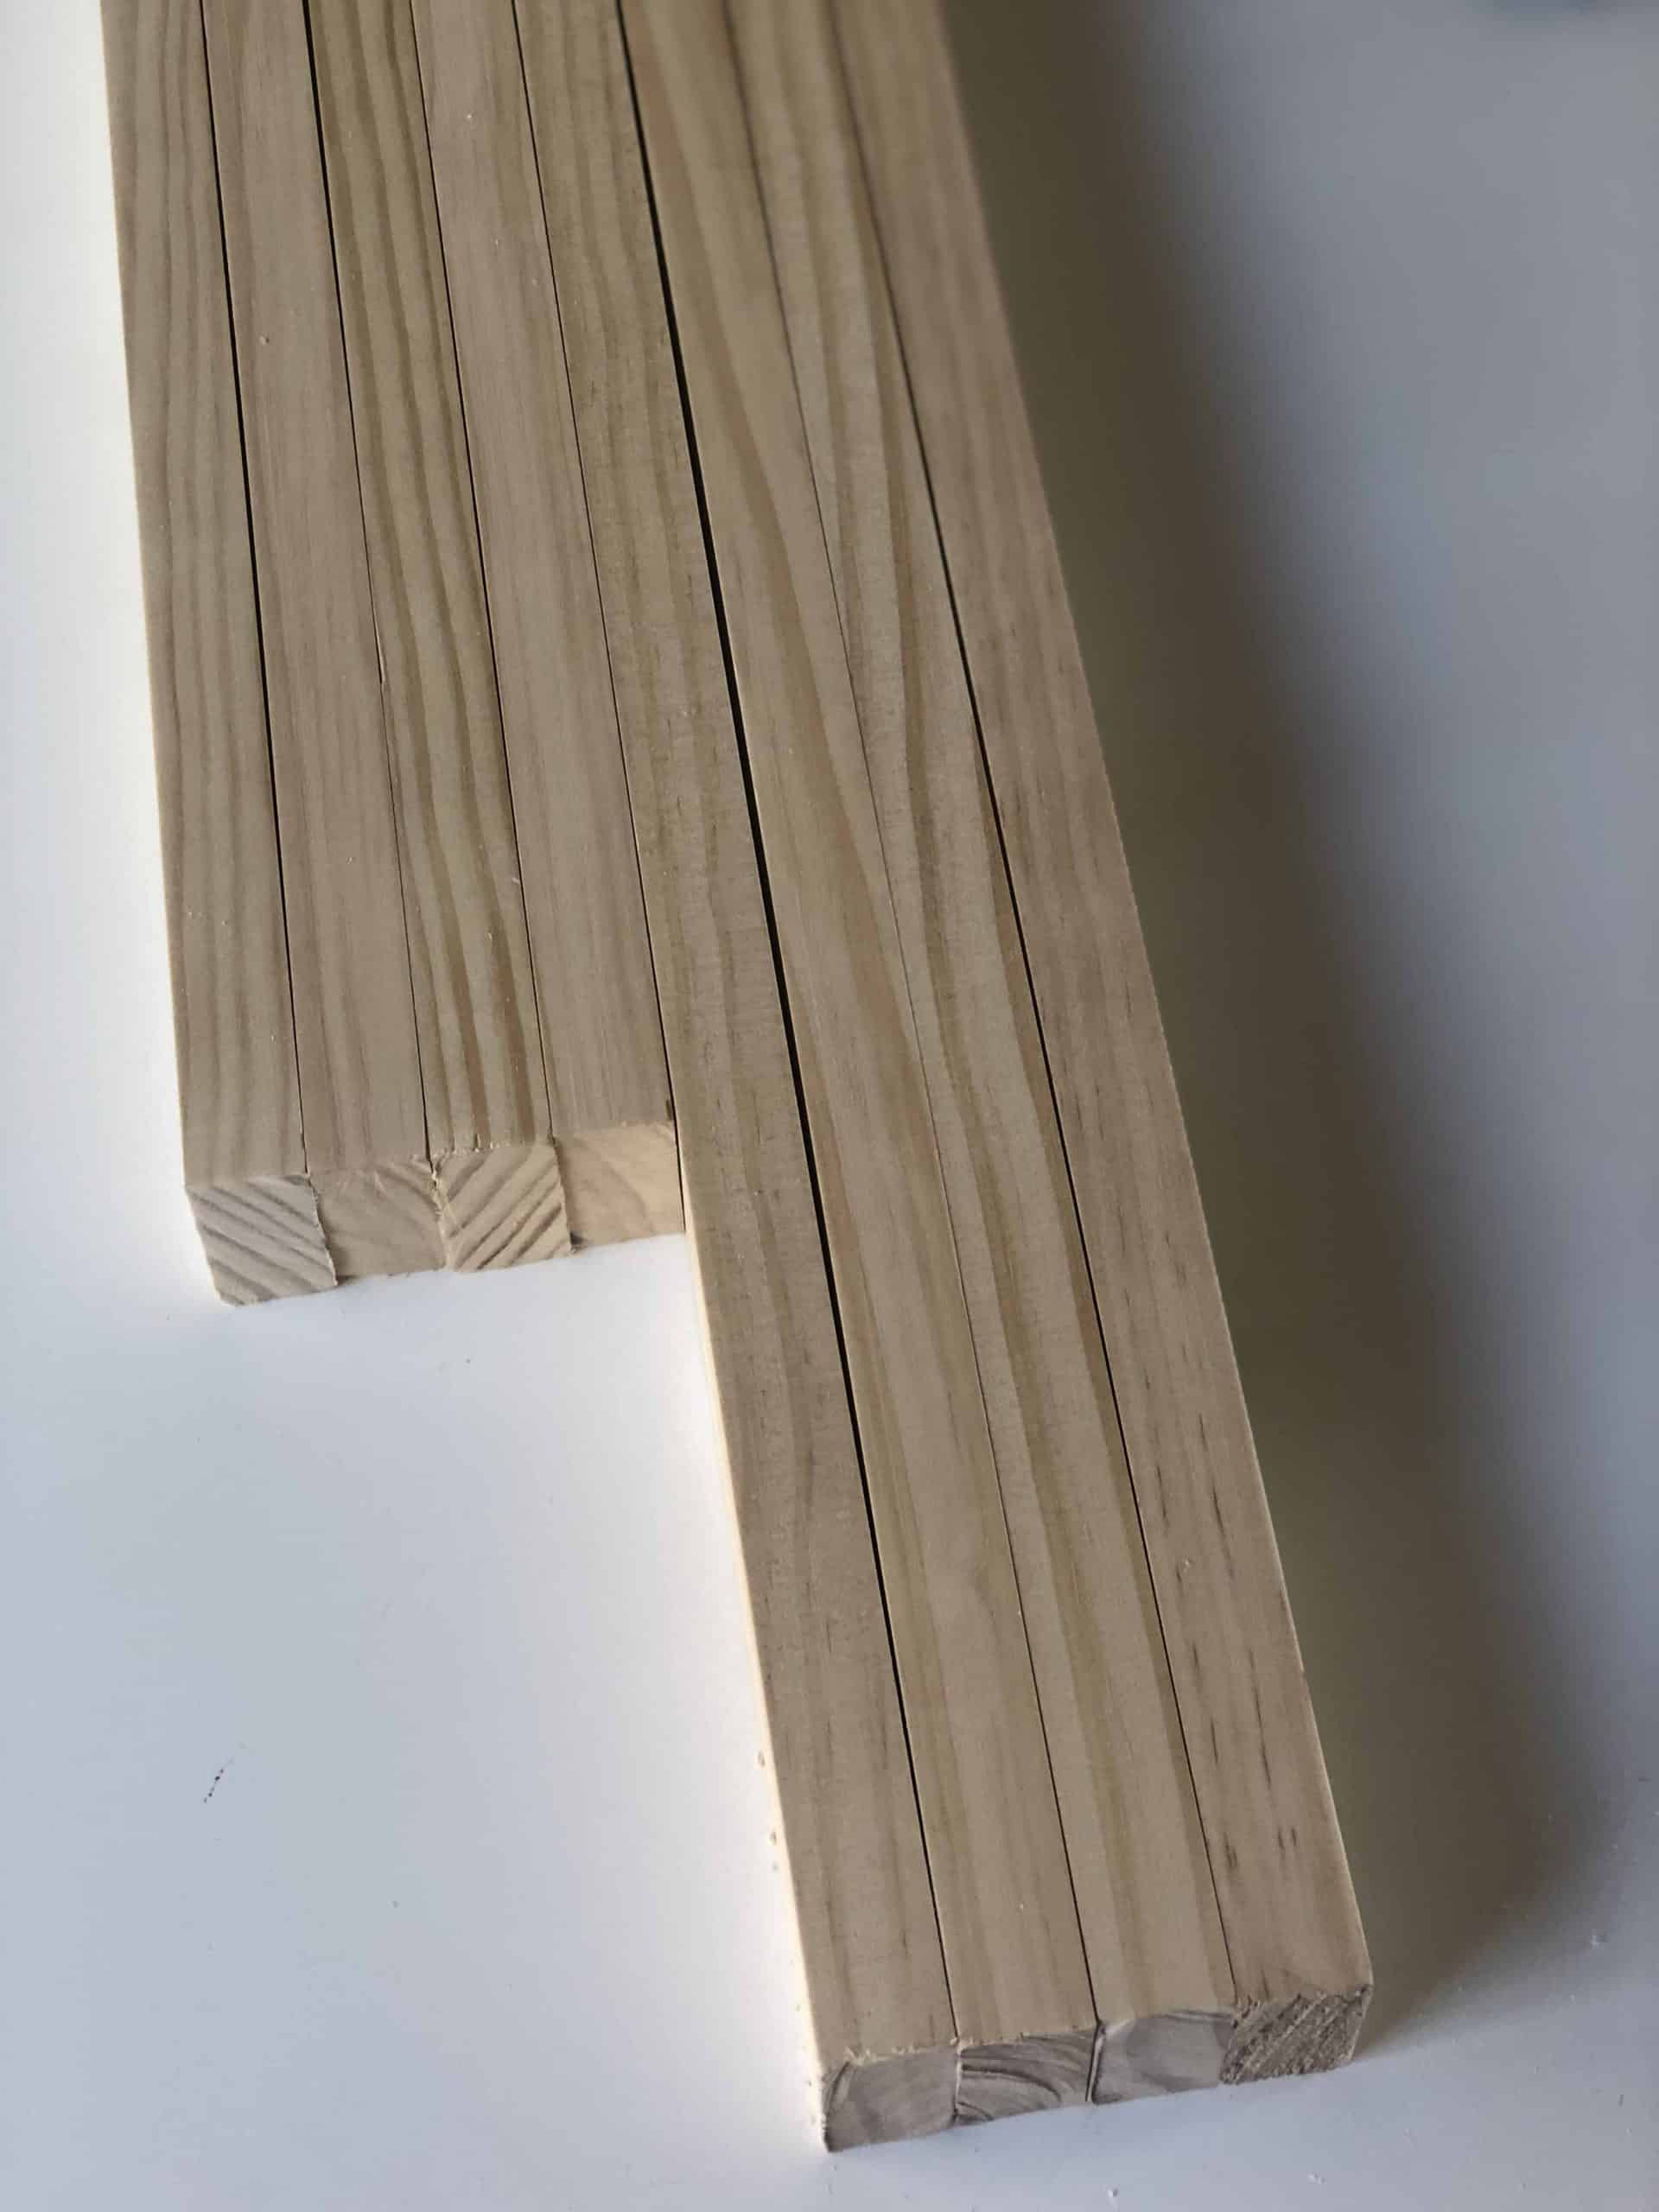
Step 1: Measure and Cut the Wood Boards
Begin by determining the desired dimensions of your photo frame. For this tutorial, we’ll create a 24″x20″ frame. Accurate measurements are crucial. Remember to account for the extra inch added at each corner when joining the boards. For a 24″x20″ frame, you will need:
- Two boards at 24 inches (for the top and bottom)
- Two boards at 20 inches (for the sides)
Carefully measure and mark the pine boards using your tape measure and pencil. Then, using your Dremel Ultra Saw or preferred cutting tool, precisely cut the boards to the marked lengths. Ensure clean, straight cuts for a professional finish.
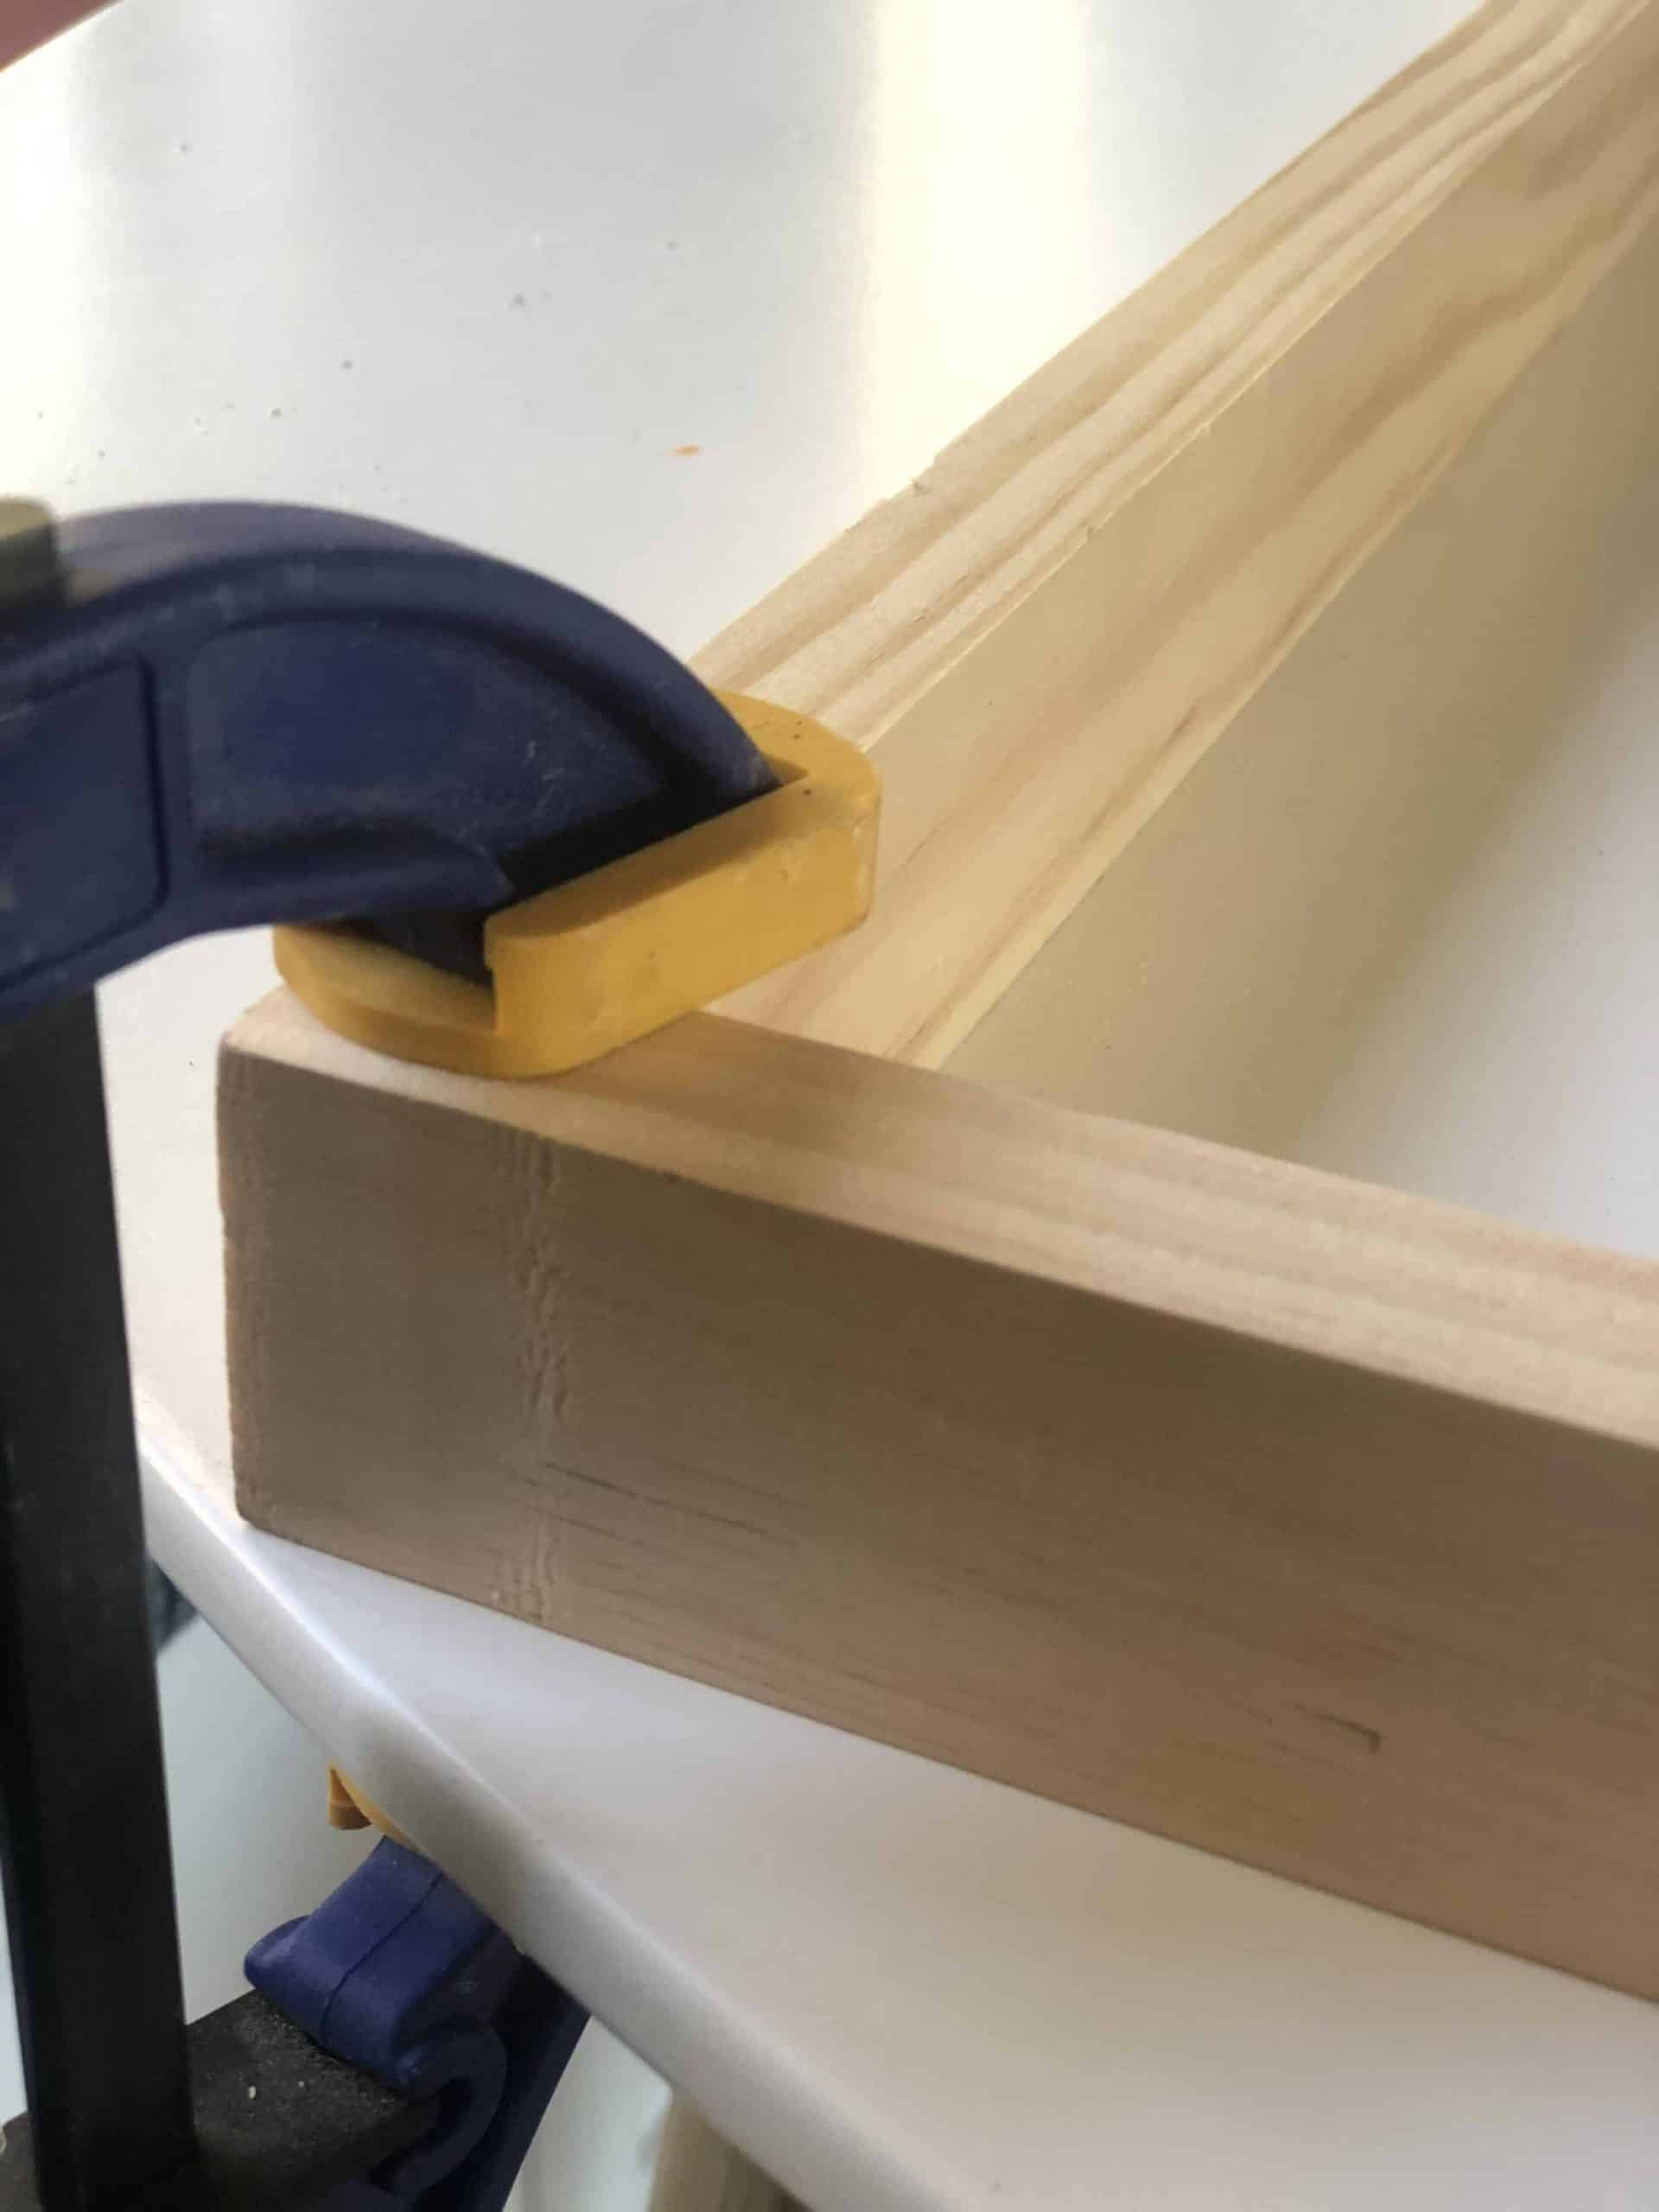
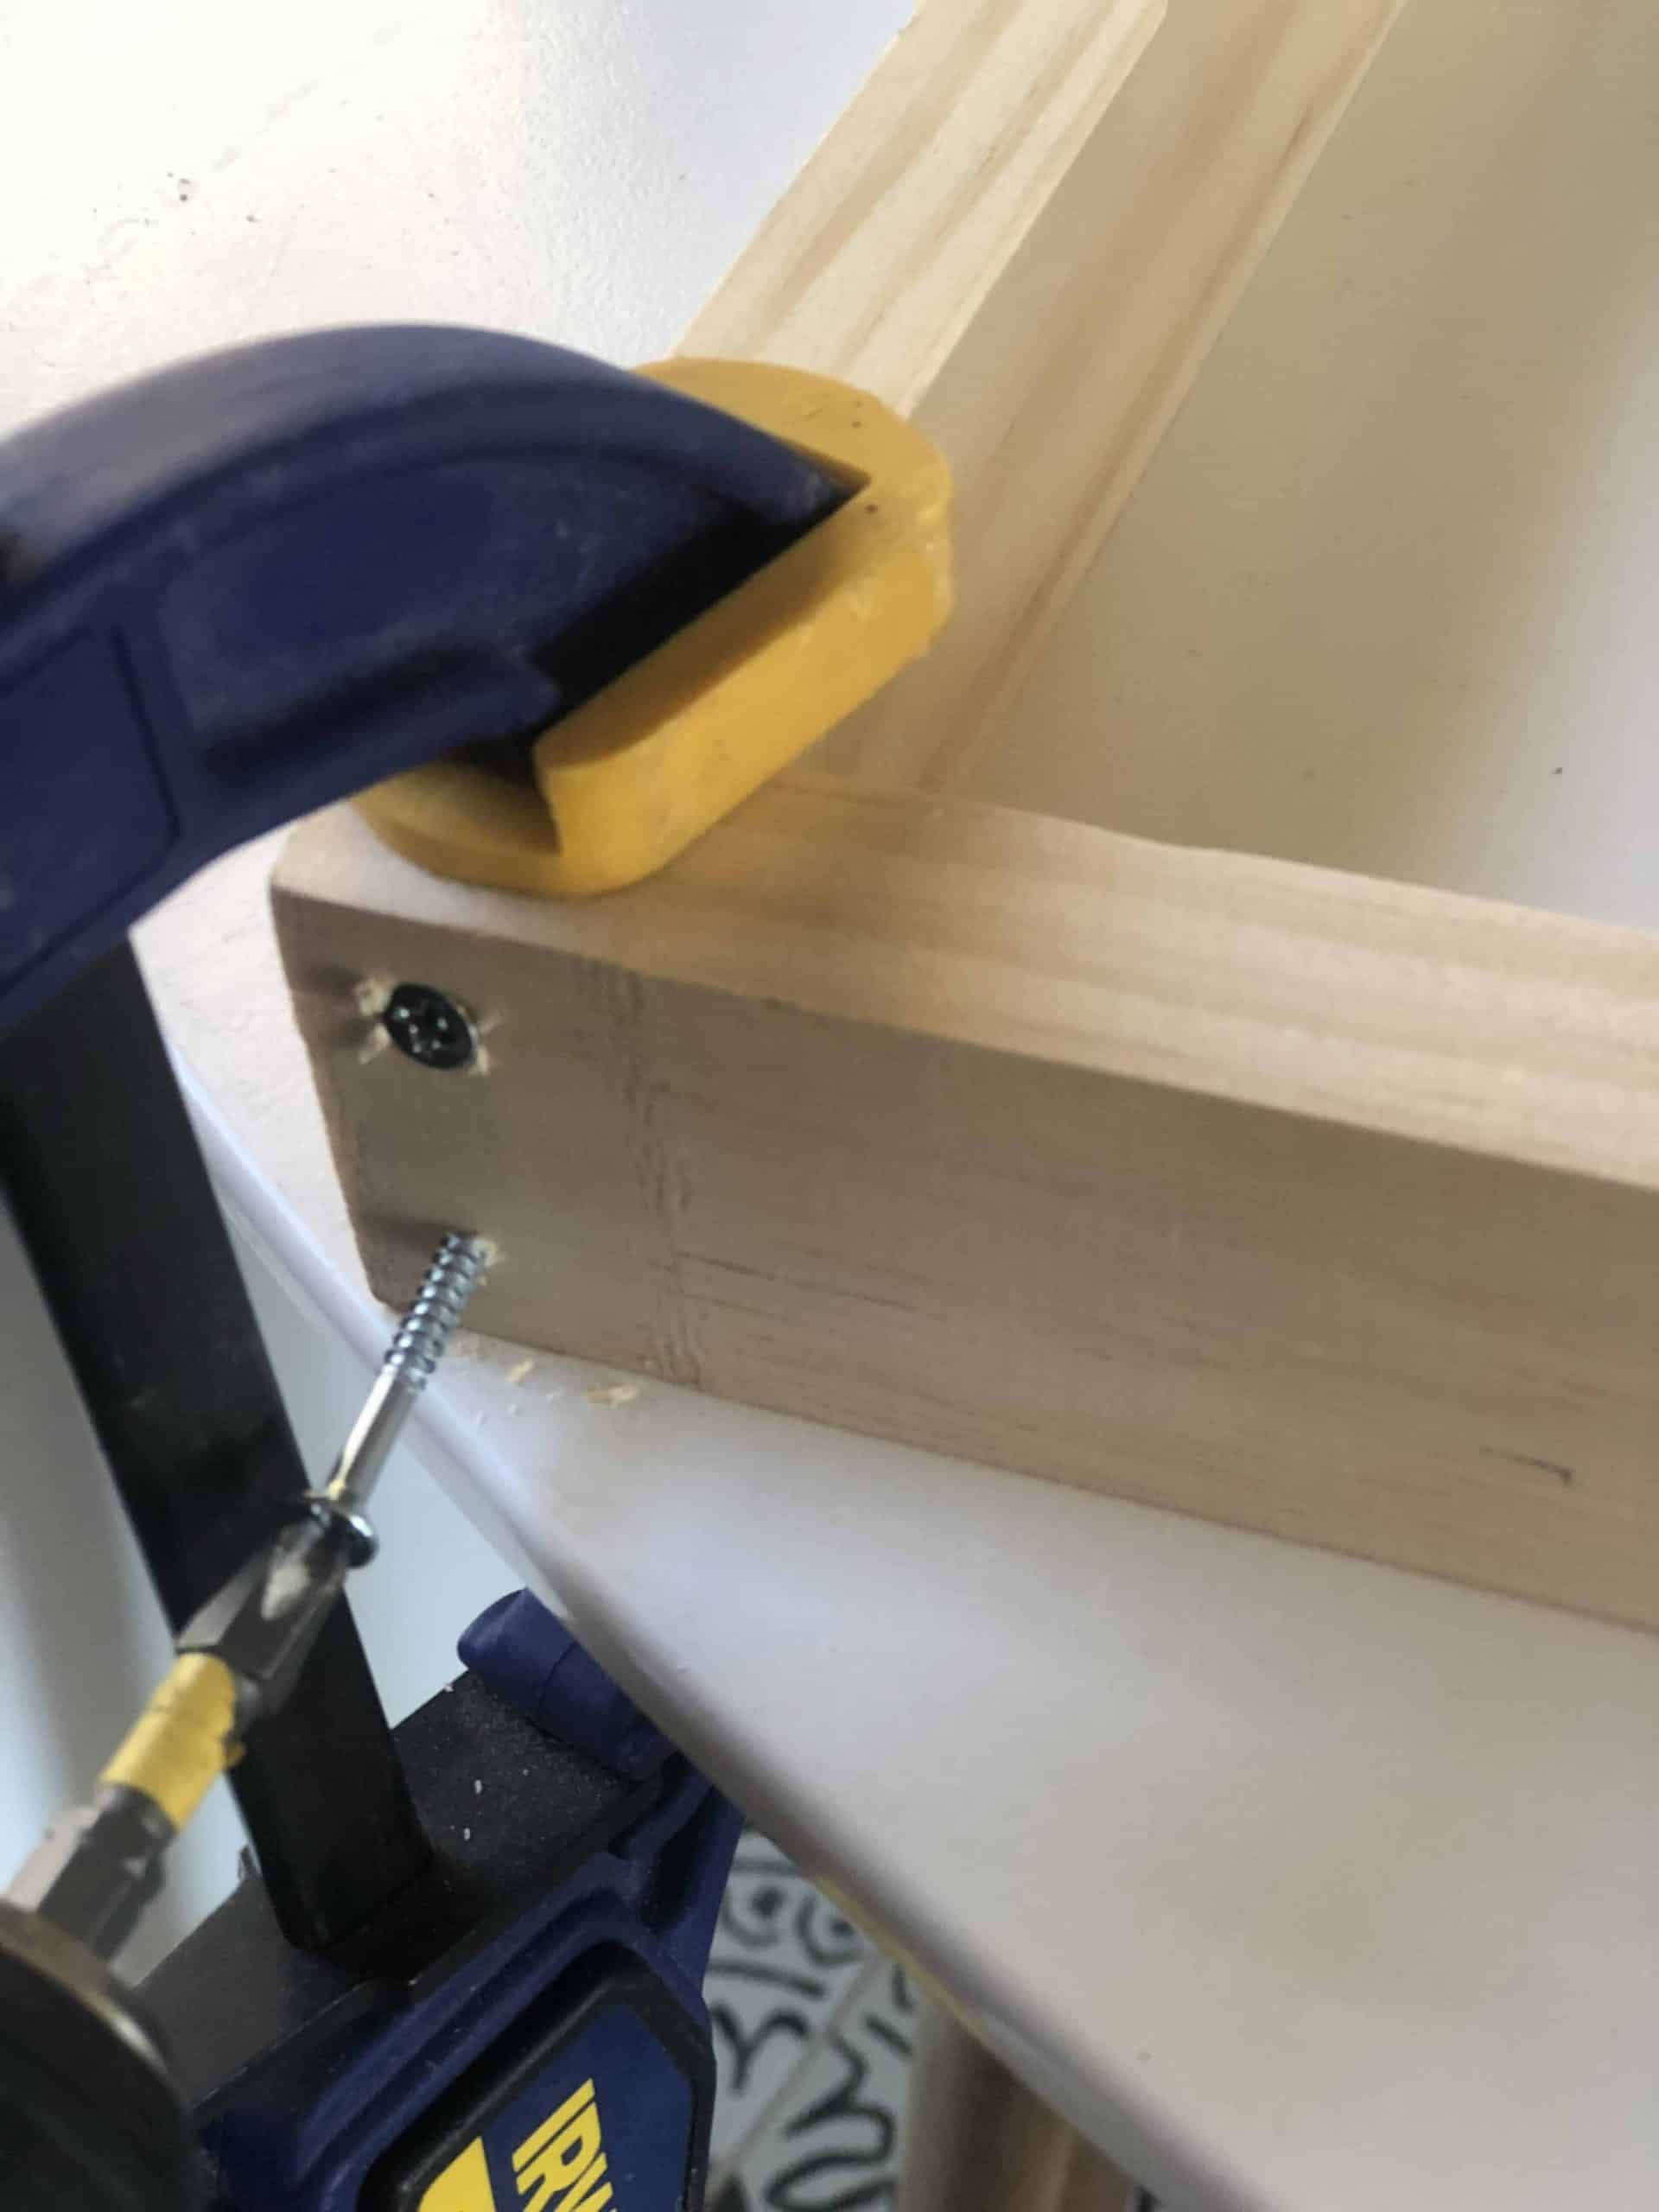
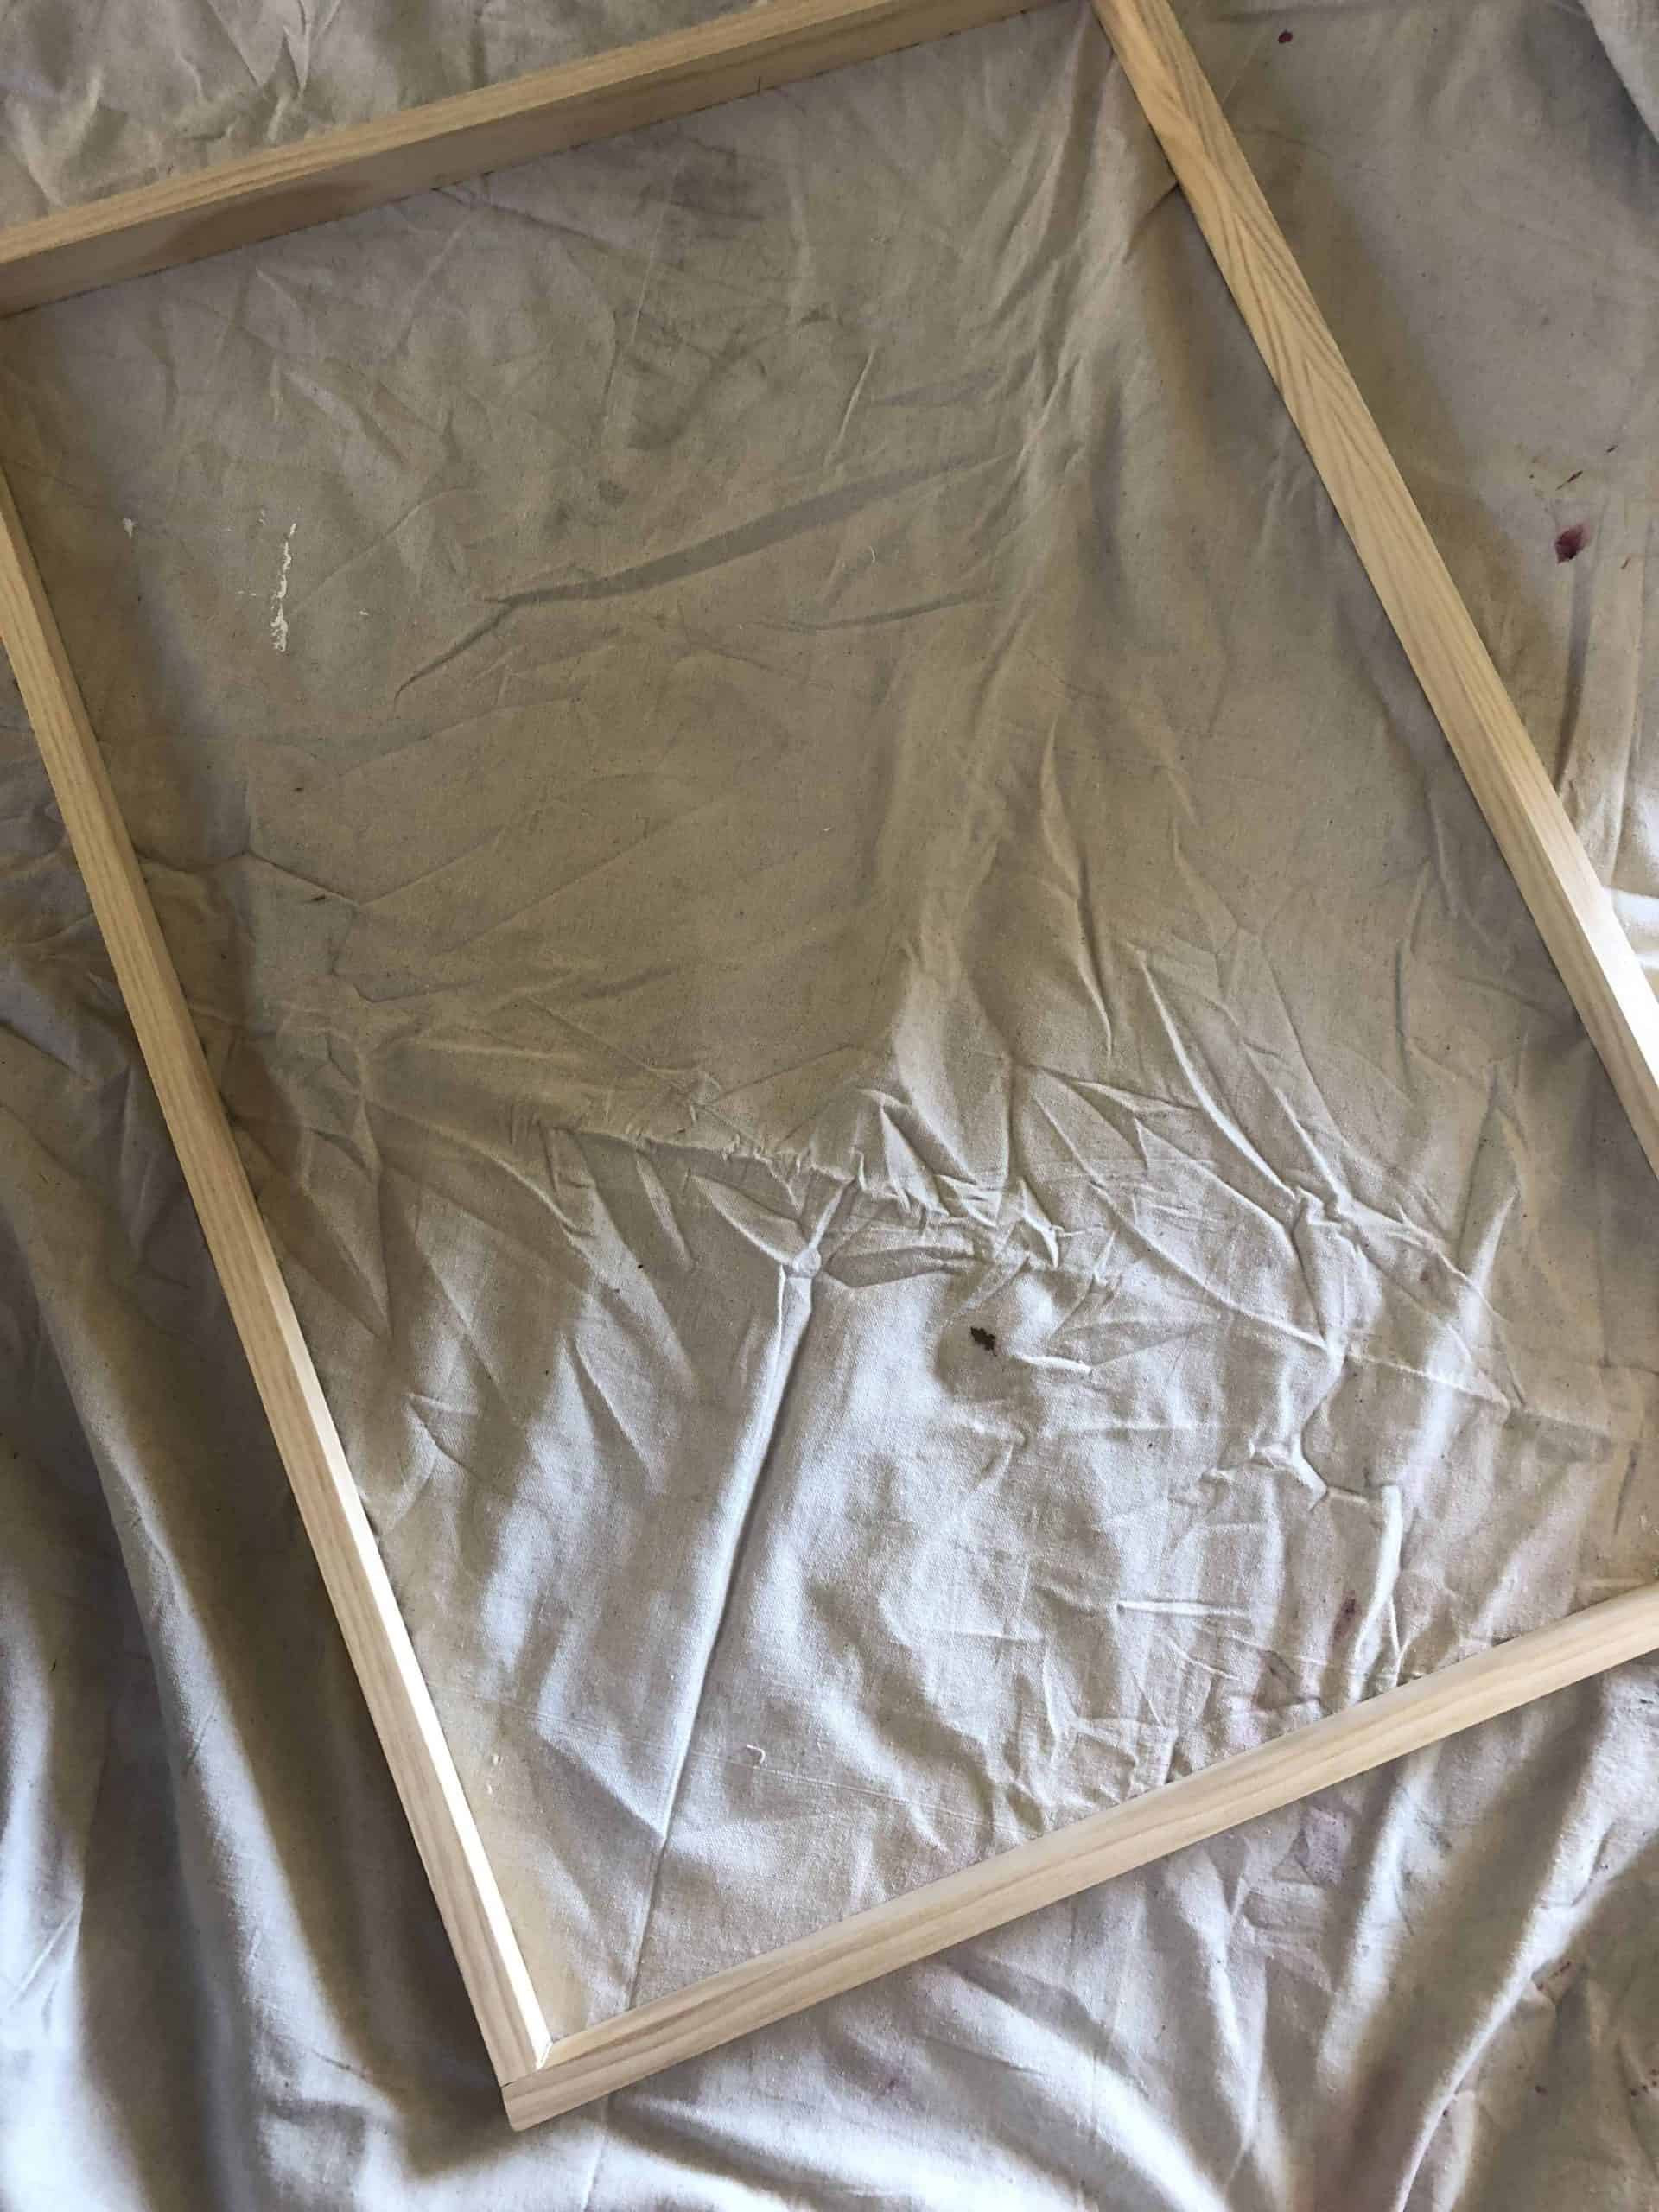
Step 2: Assemble the Frame Corners
For a simple and sturdy assembly, we’ll avoid mitered corners and opt for a straightforward 90-degree angle join. This method is beginner-friendly and yields excellent results.
How-to:
- Secure your work surface: Place your boards on a flat workbench or table.
- Clamp for stability: Use clamps to firmly hold two boards together at a 90-degree angle, forming a corner of your frame.
- Screw the pieces together: Using your screwdriver and wood screws, drive screws through the bottom board into the side board. For added stability, you can pre-drill pilot holes, but it’s generally not necessary for pine.
- Repeat for all corners: Repeat this clamping and screwing process for the remaining corners until your frame is fully assembled.
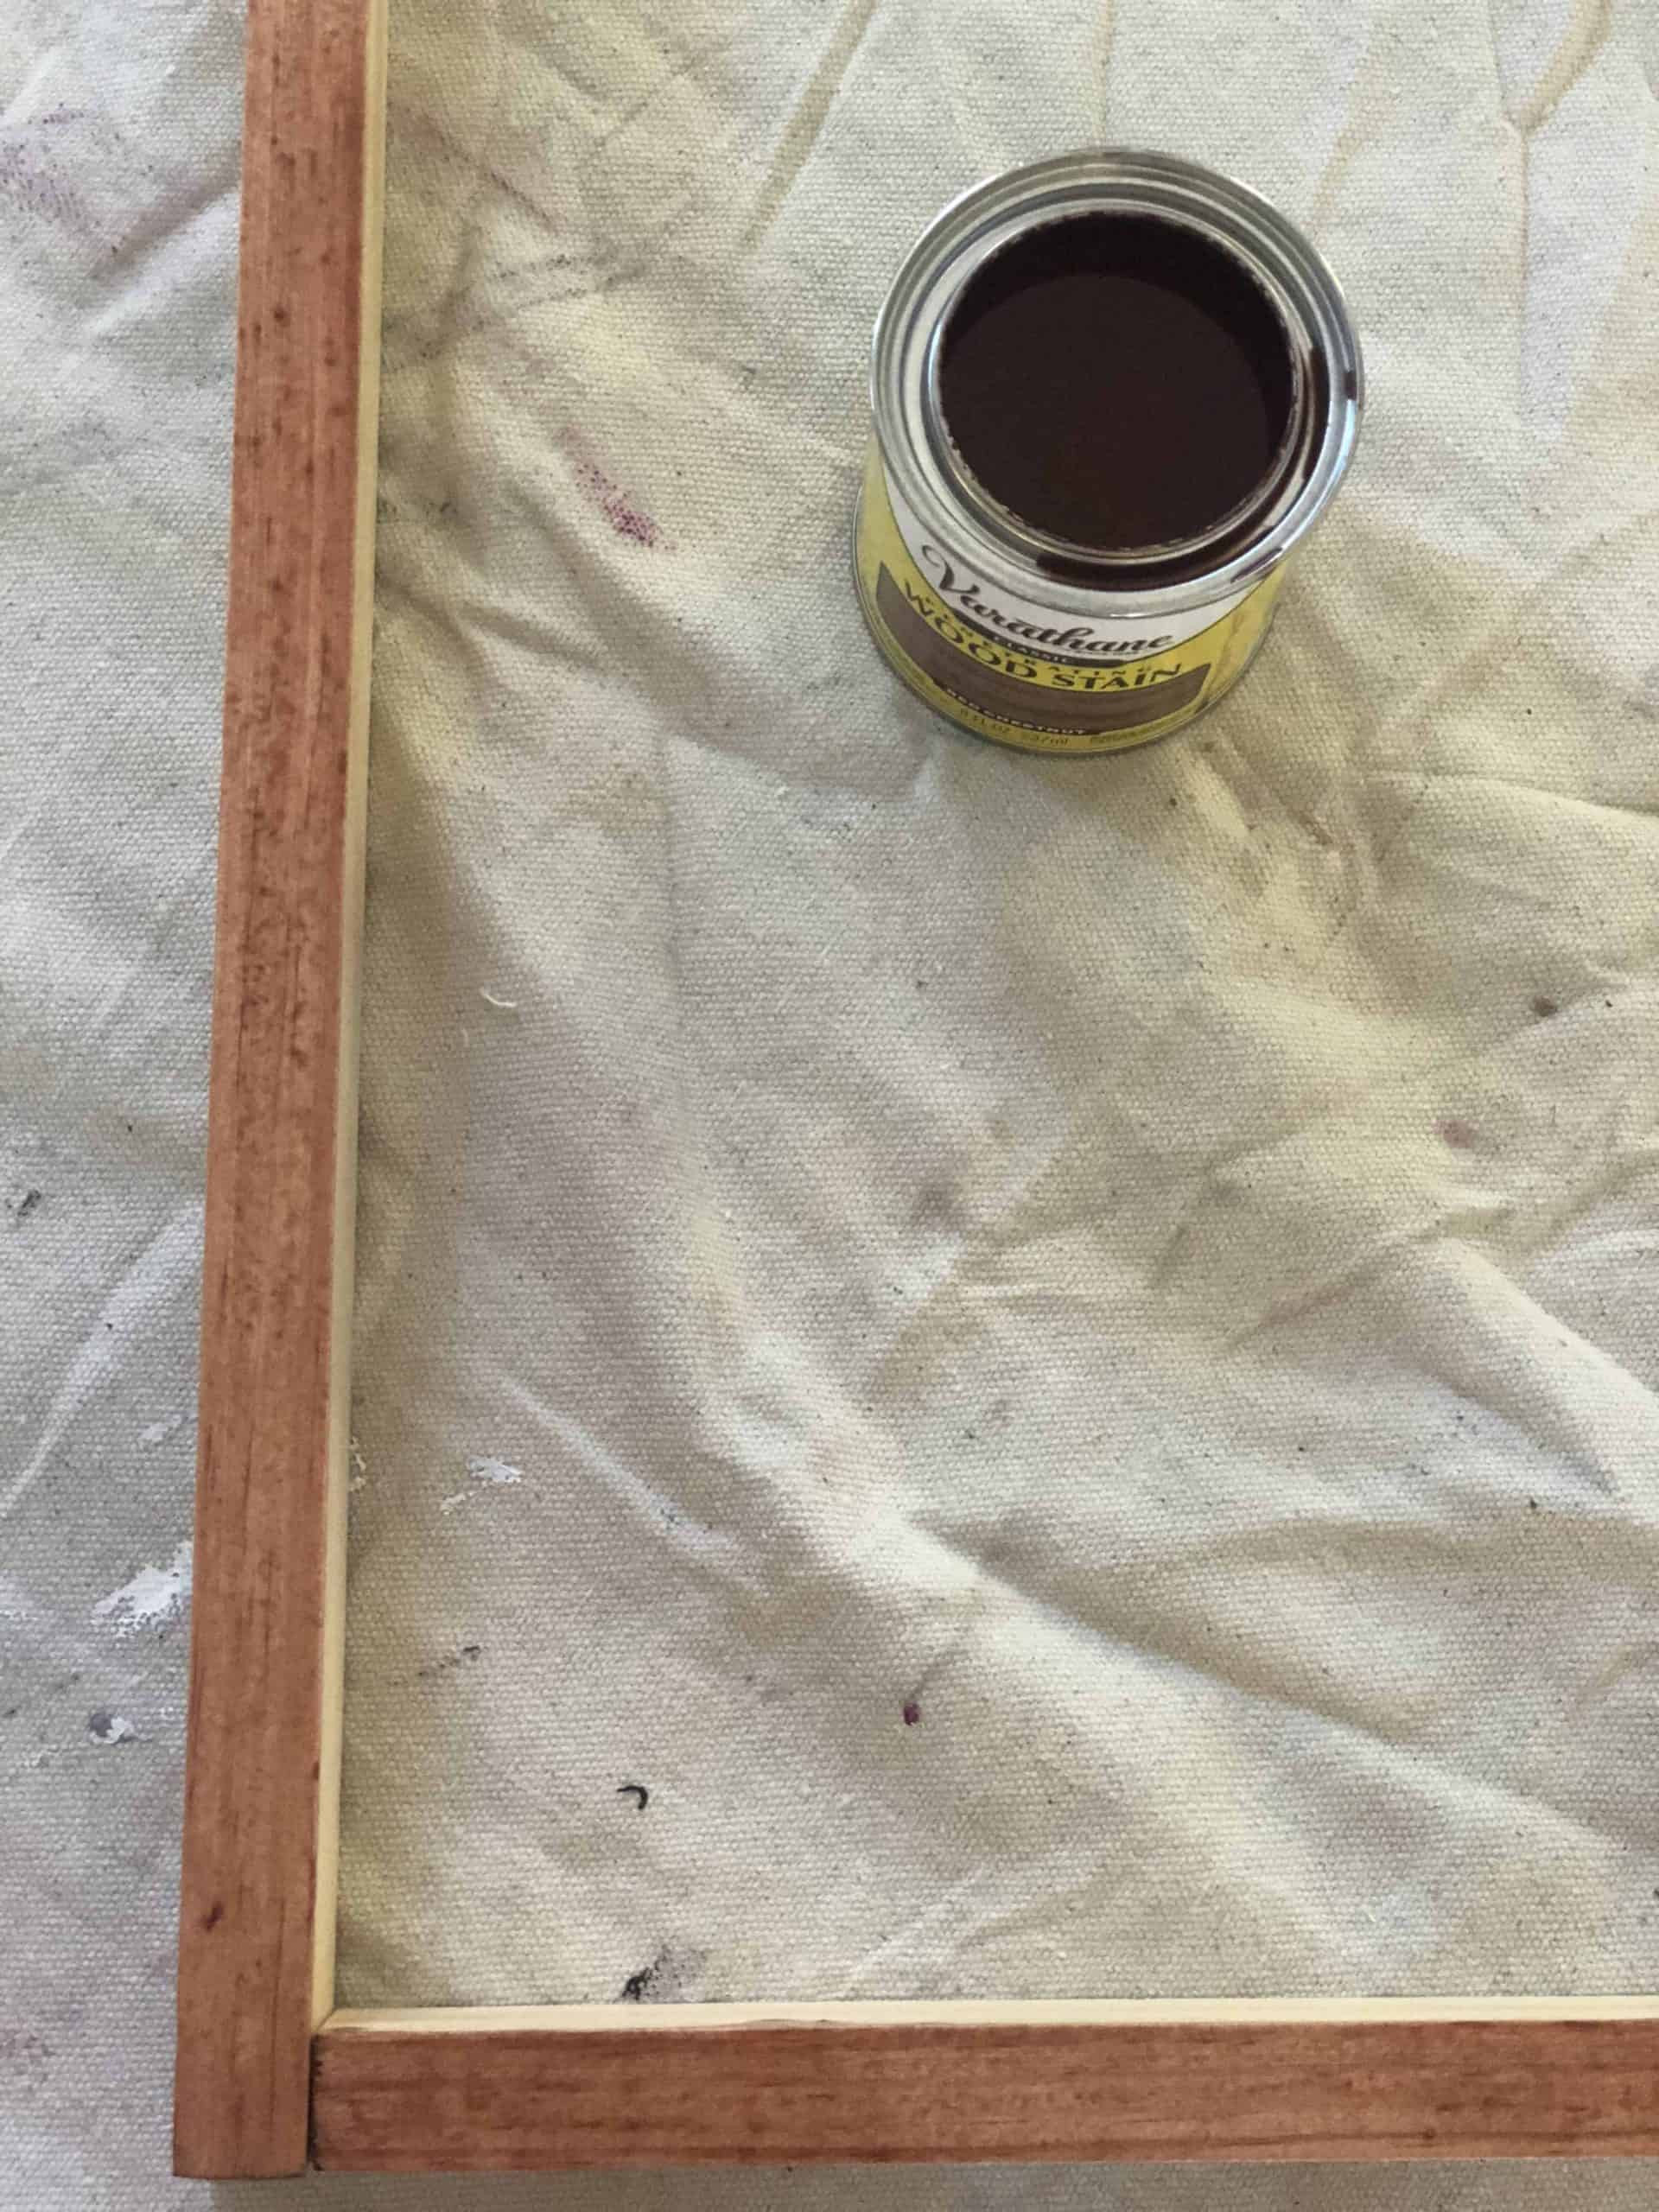
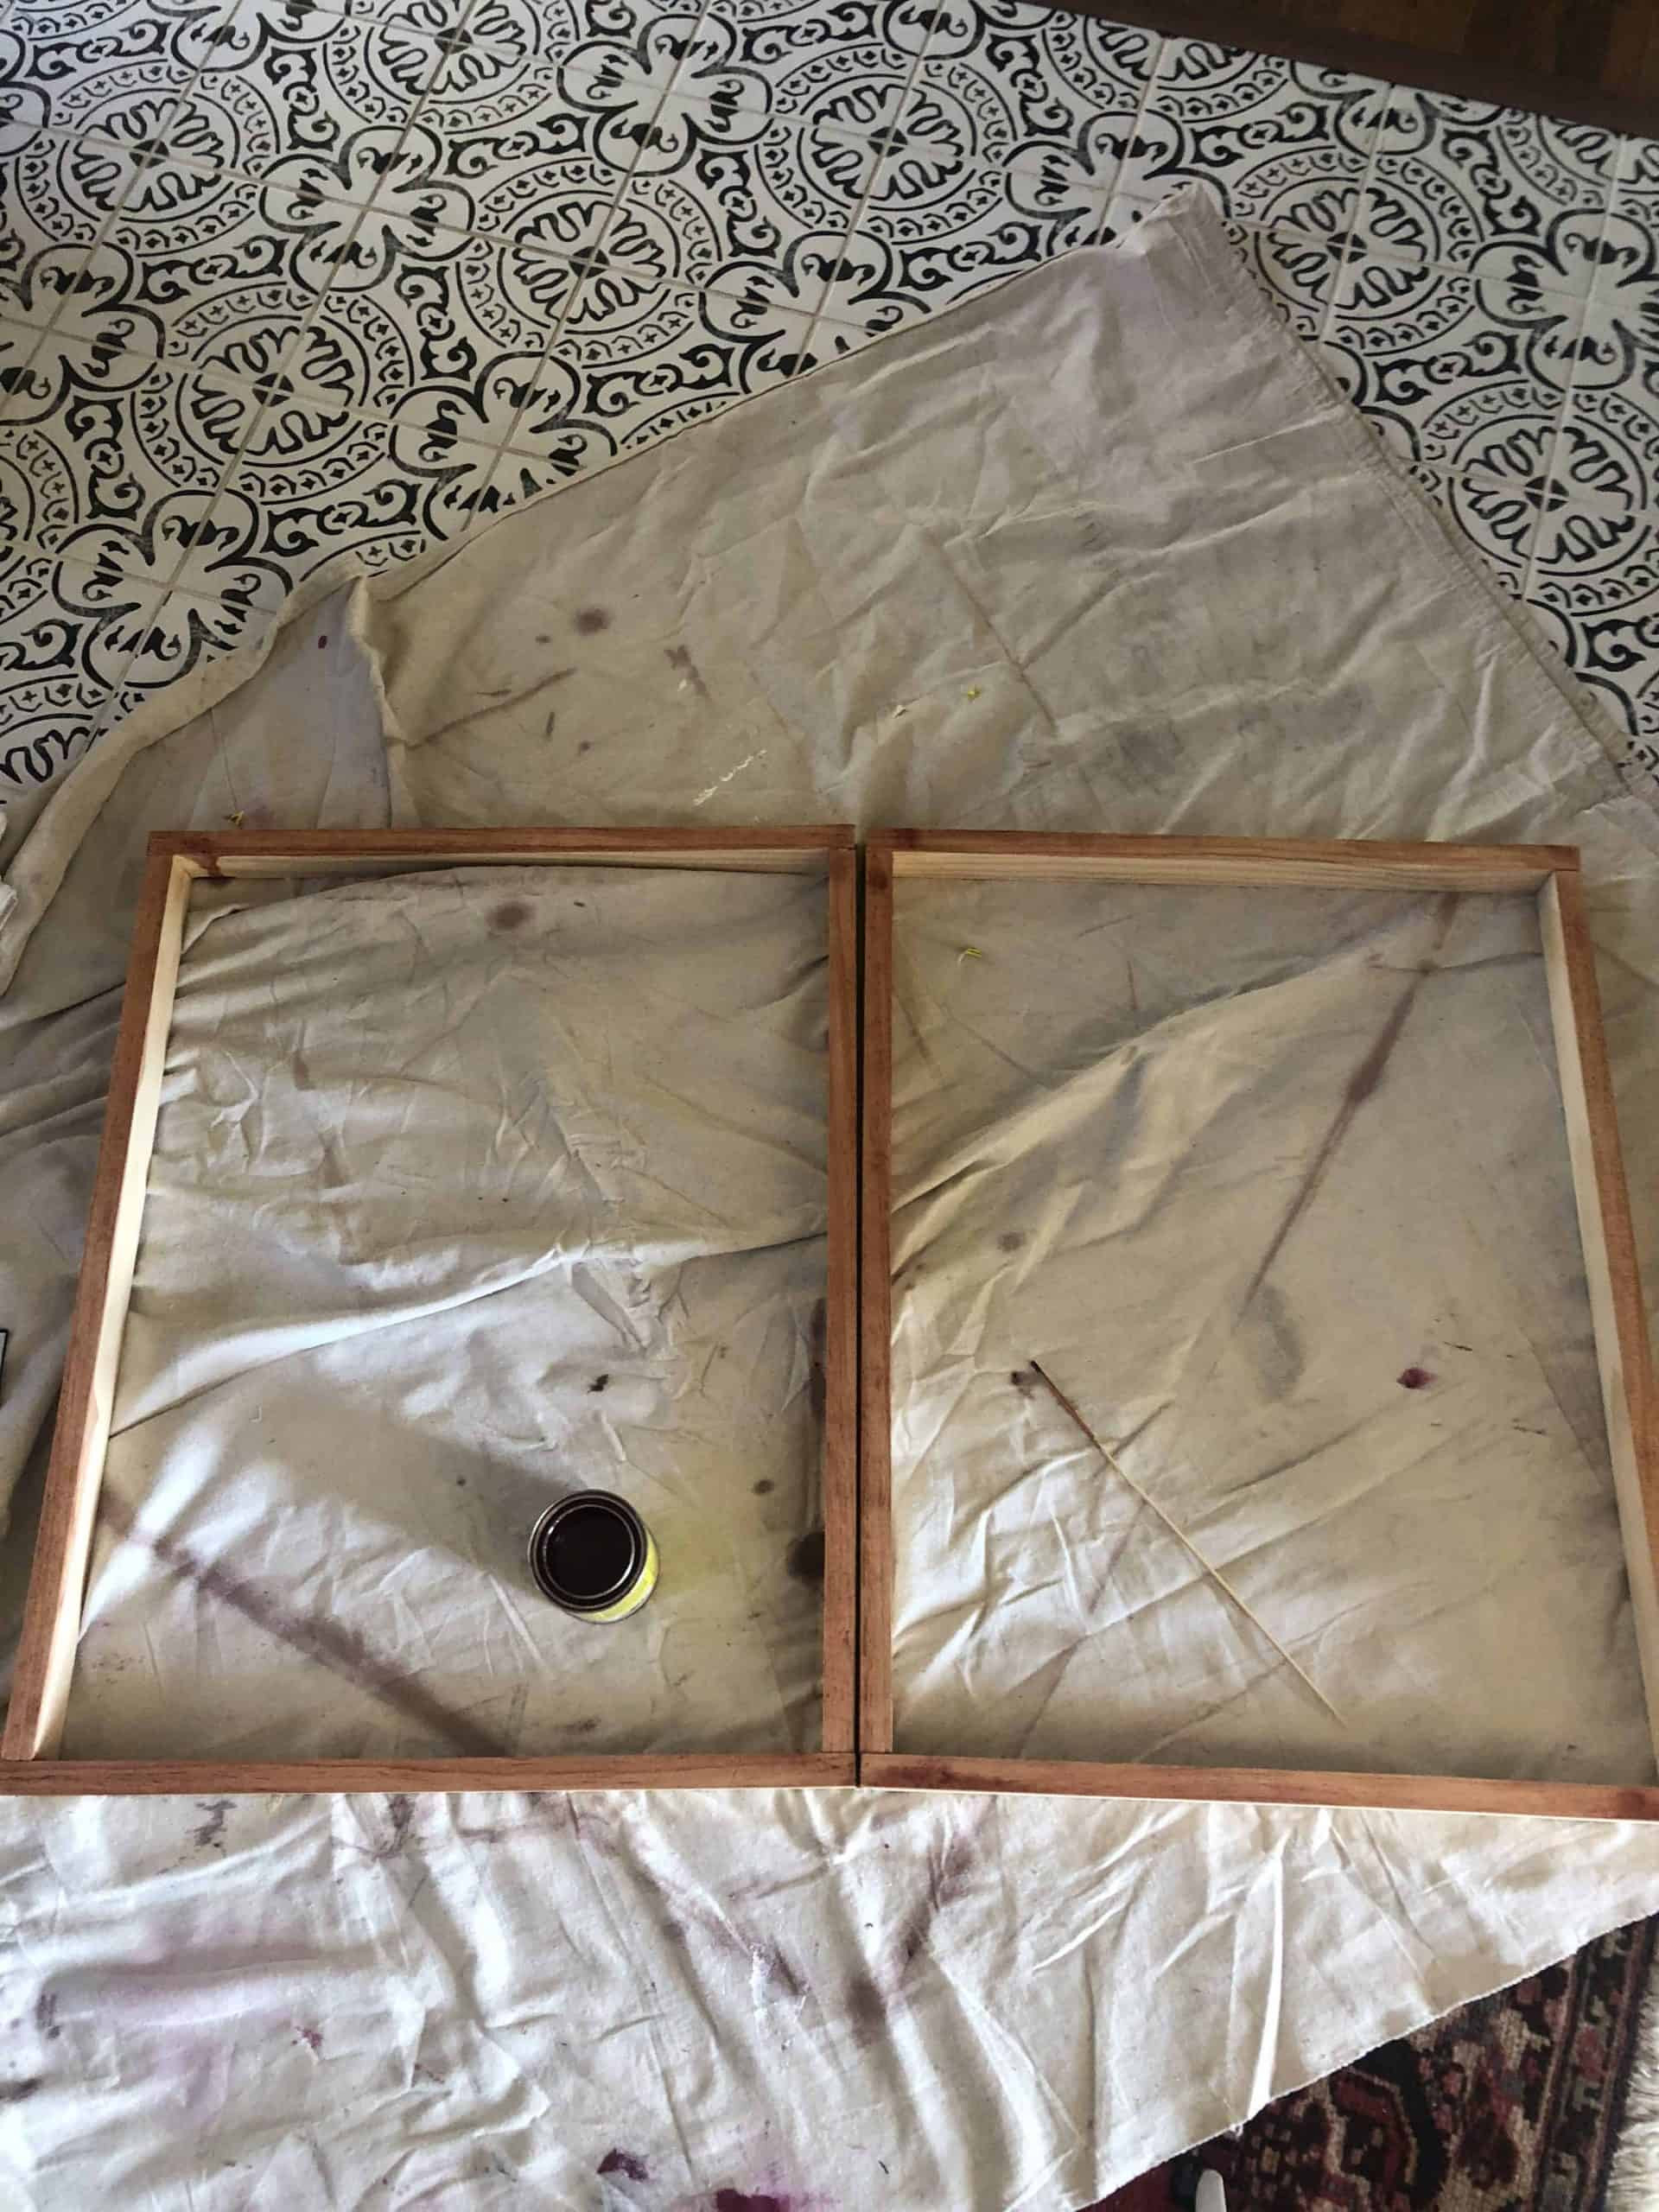
Step 3: Stain Your Wood Photo Frame
Once the frame is assembled, it’s time to enhance its natural beauty with wood stain. Select a stain color that complements your photo and home decor. For this project, a light Chestnut stain was used, which beautifully highlights the wood grain.
Apply the stain evenly to all sides of the wood frame using a brush or cloth, following the manufacturer’s instructions on the stain container. Allow the stain to dry completely, ensuring proper ventilation in your workspace.
Step 4: Secure Your Photo and Add Hanging Hardware
With the stain dry, it’s time to insert your chosen photograph or artwork.
- Position your photo: Flip the frame over so the back is facing up. Place your photo within the frame opening, centering it as desired.
- Staple the photo (optional): For a secure hold, use a staple gun to gently staple the edges of your photo to the back of the wood frame. Ensure the staples are flush and don’t damage the photo. Alternatively, you can use strong tape or adhesive.
- Attach hanging hardware: Install wall hanging hardware on the back of the frame according to the hardware instructions. This could be picture hooks, D-rings with wire, or sawtooth hangers, depending on your preference and the weight of your frame.
 DIY wood frame with black and white photo displayed in a room
Displaying Your Beautiful DIY Photo Frame
Congratulations! You’ve created a stunning do it yourself photo frame! Now, it’s time to showcase your masterpiece. These frames are perfect for displaying family photos, artwork, or prints. Hang them in your living room, bedroom, hallway, or even gift them to loved ones. The warm wood tone and personalized touch of a handmade frame will add character and charm to any space.
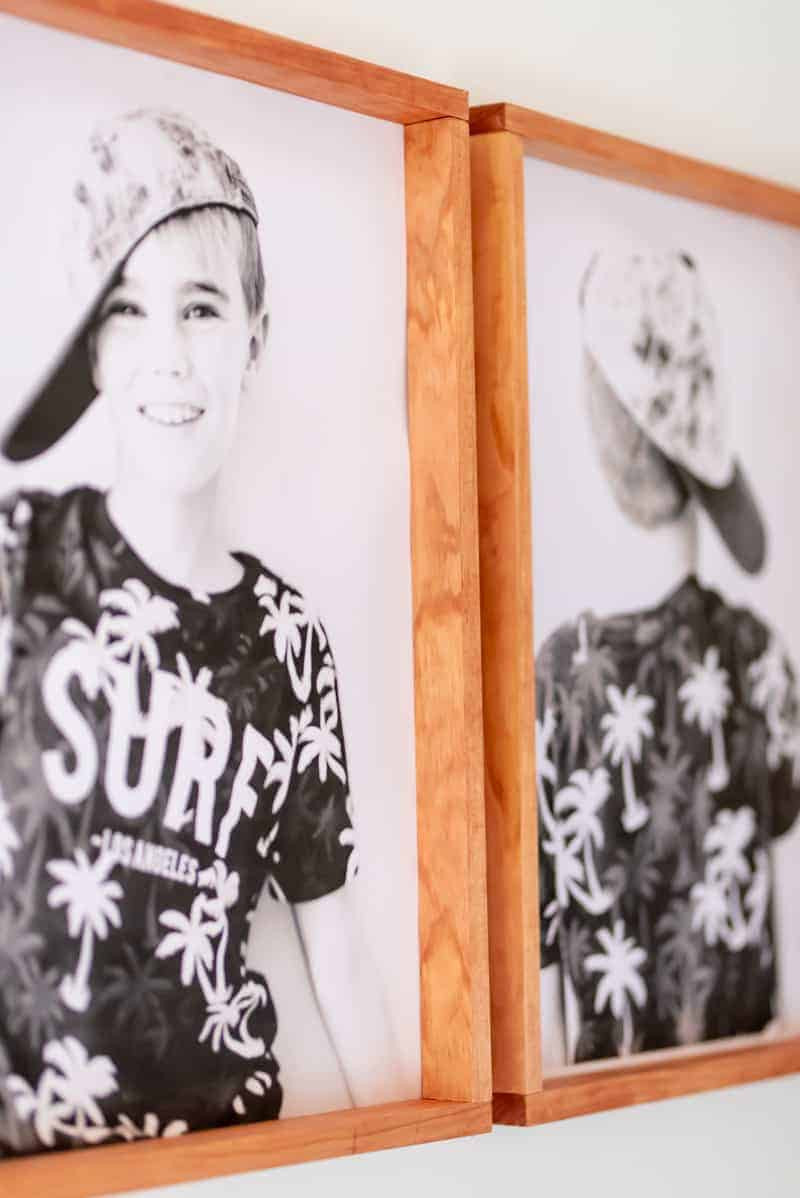
 Close up of DIY wood frames on a wall
I absolutely love how these frames turned out and how easy they were to make. Even my husband, initially skeptical, was impressed with the final result. I’m already planning to create more DIY wood picture frames in various sizes and finishes for different rooms in our home.
 DIY wood picture frames above a bed in a child's room
What do you think of this do it yourself photo frame idea? Will you give it a try? While thrift stores offer affordable frames, there’s a unique satisfaction in creating something special with your own hands. Embrace the DIY spirit and personalize your home decor with these easy and stylish frames!
 Various close-up shots of DIY wood picture frame details
 Close-up of wood grain and corner detail of DIY photo frame
 DIY photo frame with a photo of a child
 Side view of DIY wood photo frame construction
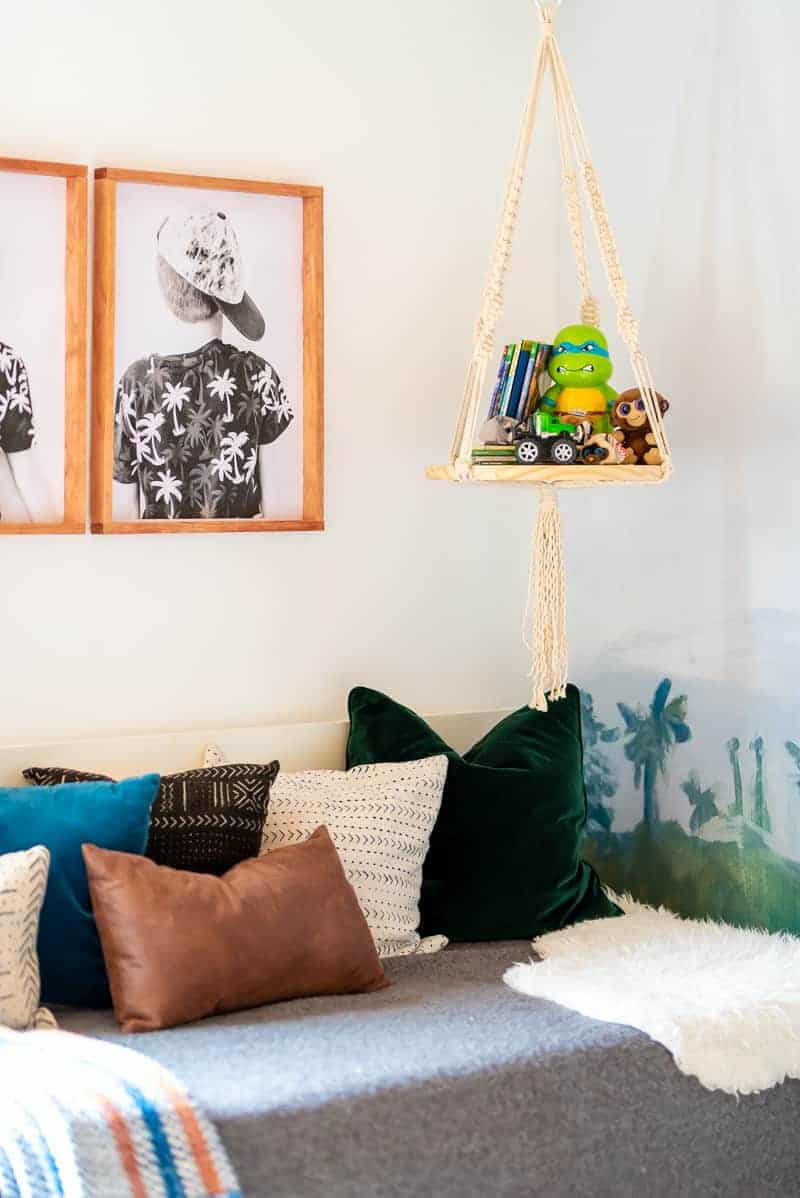
 DIY wood photo frame in a room setting
I hope you love these frames as much as I do! Let me know in the comments if you decide to try this DIY project. Happy crafting!
 Another angle of the easy DIY photo frame
 DIY photo frame displayed on a shelf
 DIY photo frame leaning against a wall
For more home decor inspiration and photo display ideas, be sure to check out my other DIY projects!
Thank you for reading!
DIY PICTURE FRAME – Quick Guide
Learn how to craft these simple picture frames quickly and easily.
Prep Time: 10 minutes
Active Time: 30 minutes
Cost: $10 (estimated)
Equipment
- Screwdriver
- Clamps
- Tape Measure
- Wall Hanging Hardware
- Dremel Ultra Saw (or wood saw)
Materials
- Pine Boards (1×2 inch)
- Wood Stain
- Wood Screws
Instructions
- Measure and Cut: For a 24″x20″ frame, cut two 24″ boards and two 20″ boards from pine. Remember to adjust measurements for your desired frame size.
- Assemble Frame: Clamp and screw the corners together at 90-degree angles to form the frame.
- Apply Stain: Stain the wood frame with your chosen color and allow to dry completely.